

7 tips for a loveshoot
Monday 11 February 2019, 14:41 by Michelle Peeters | 8,007 views | 2 commentsThis article was translated from Dutch with the help of AI. Read the original.
It’s Valentine's Day again on 14 February! A lovely gift for your partner is a Valentine's Day photoshoot. And if you’re a photographer, you can of course do the shoot yourself. With a tripod and remote control, or you can make other couples happy with your photos.
But how do you actually approach a romantic loveshoot? Here are seven tips.
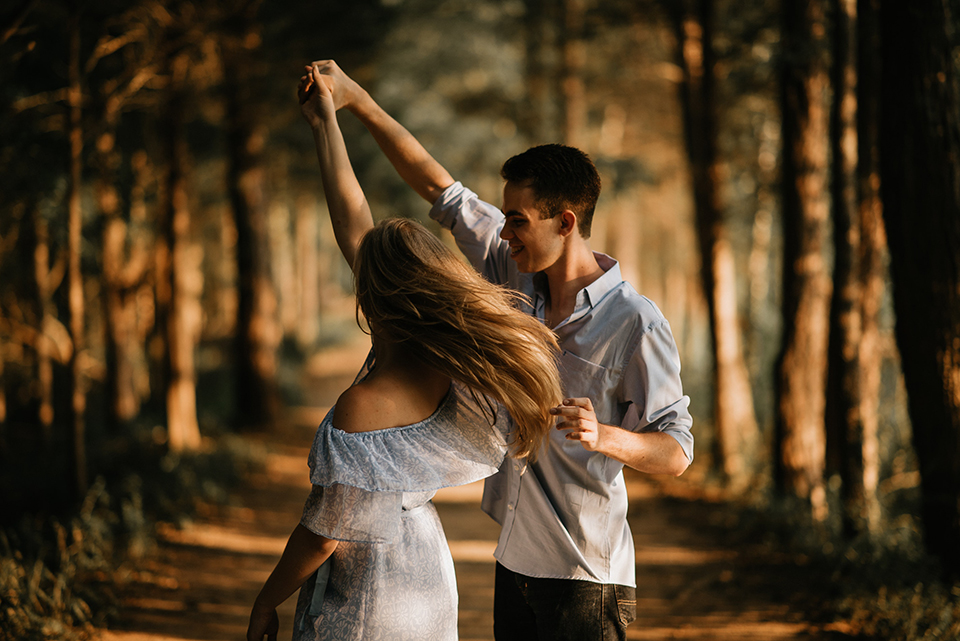
Loveshoots are actually the most fun to do. You have plenty of creative freedom, as well as the time and peace to experiment with viewpoints and camera settings. And what could be more enjoyable than capturing a lovely couple who are completely in love, just as they are!
1. Posed or spontaneous?
You probably already have plenty of poses in mind, but pay close attention to how the couple responds to your instructions. Start with some easy poses. For example, ask them to stand opposite each other, sit next to each other or walk for a bit, and build on that.
Above all, let them do what they feel comfortable with and try to record things unobtrusively. If the couple really doesn’t feel comfortable in front of the camera, take a little more time and try to turn it into a relaxed outing. Make sure they trust you completely. At some point, you’ll no longer stand out and they’ll become more absorbed in each other.
Show them some results along the way so they know what you’re doing and get an idea of how good they look in the photos. Pay attention to their reactions when they see the photos, as this immediately tells you which poses they feel comfortable with.
2. Choose a beautiful location
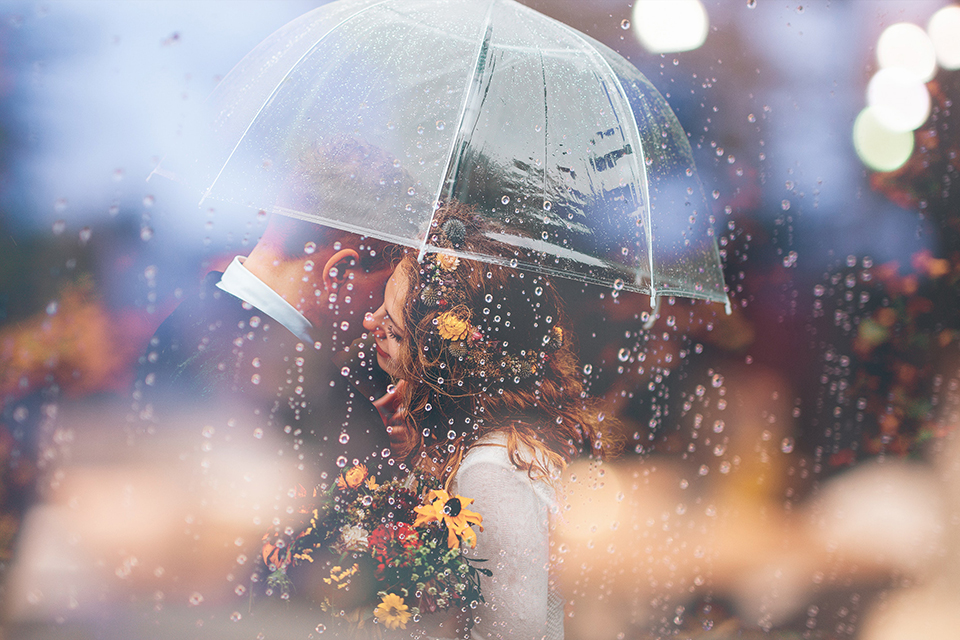
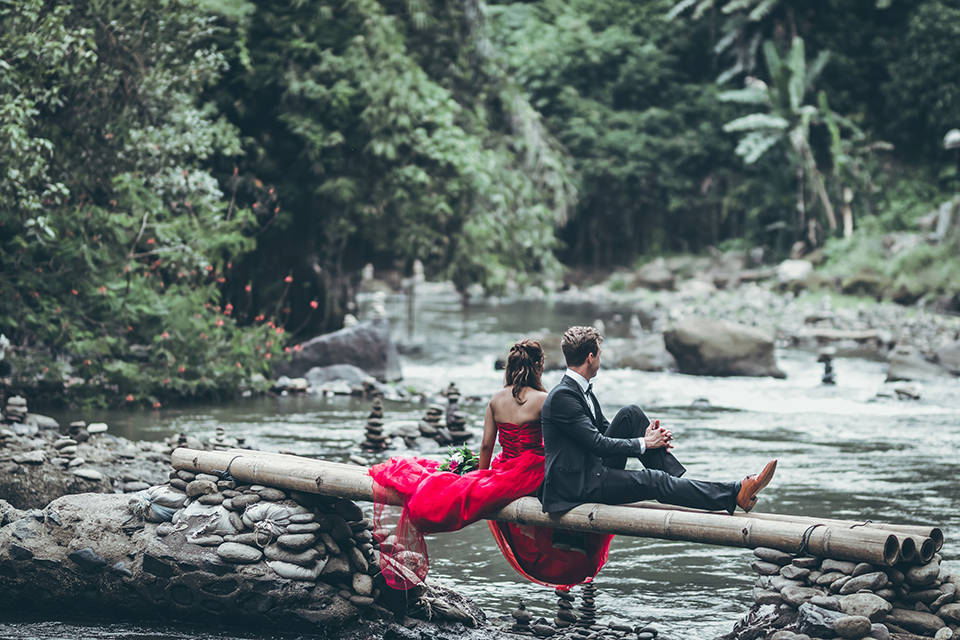
A good location is very important. Not just for you as a photographer, but also for the people in front of your camera. The couple should feel at ease, and that’s easier in a place that suits them and where they feel comfortable.
Perhaps they already have an idea for a place they both find beautiful, where they regularly go together or where they first met. If you choose a location with several options, you can make the most of it in both good and bad weather.
For example, you could start at an indoor location. An old factory hall with beautiful windows and outside walls will get you well on your way. But sometimes a town or village centre with pretty squares and alleyways, with shade, can also be very suitable. Or a park with beautiful, old trees.
If you do have to go to a busy location, for example because that’s where the couple first met, do this towards the end of the shoot rather than at the beginning. This gives them time to get used to you and your camera in peace first.
3. Several outfits
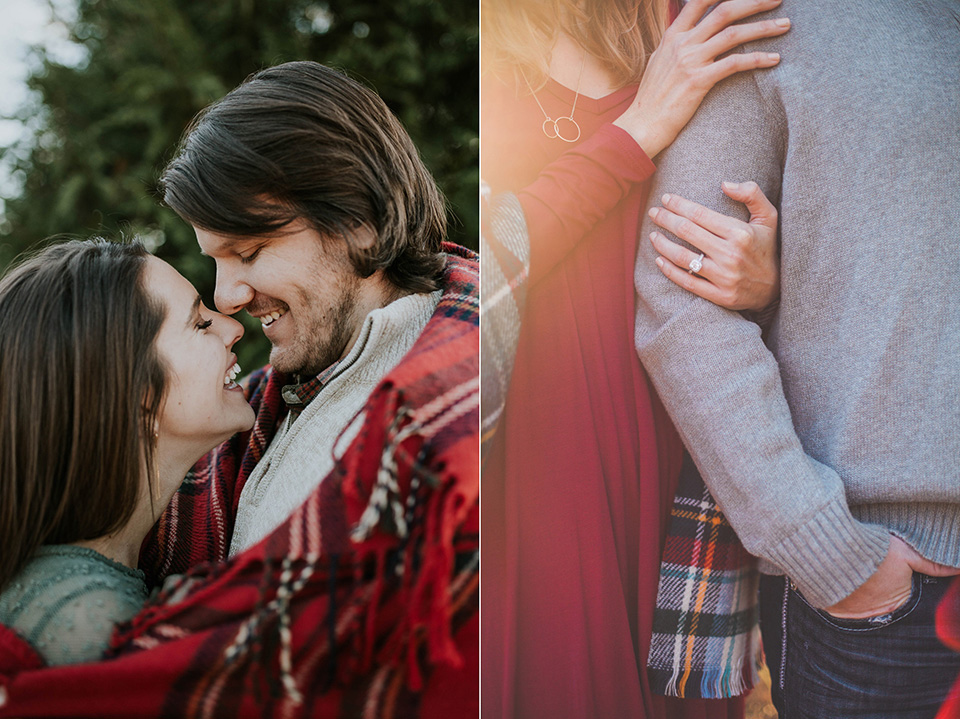
Let the couple choose clothes that suit them and feel comfortable. It’s nice if they wear clothes in roughly the same colours, or colours that go well together. Does one of them have a dark blue shirt? Ask the other to choose a shade of blue in their clothing or an accessory such as a hat or scarf.
For some variety, it’s also fun to bring several outfits and change a few times during the shoot. A different scarf, or no scarf at all, different earrings, another jacket or taking the jacket off... you’ll see that it works!
4. Details matter too
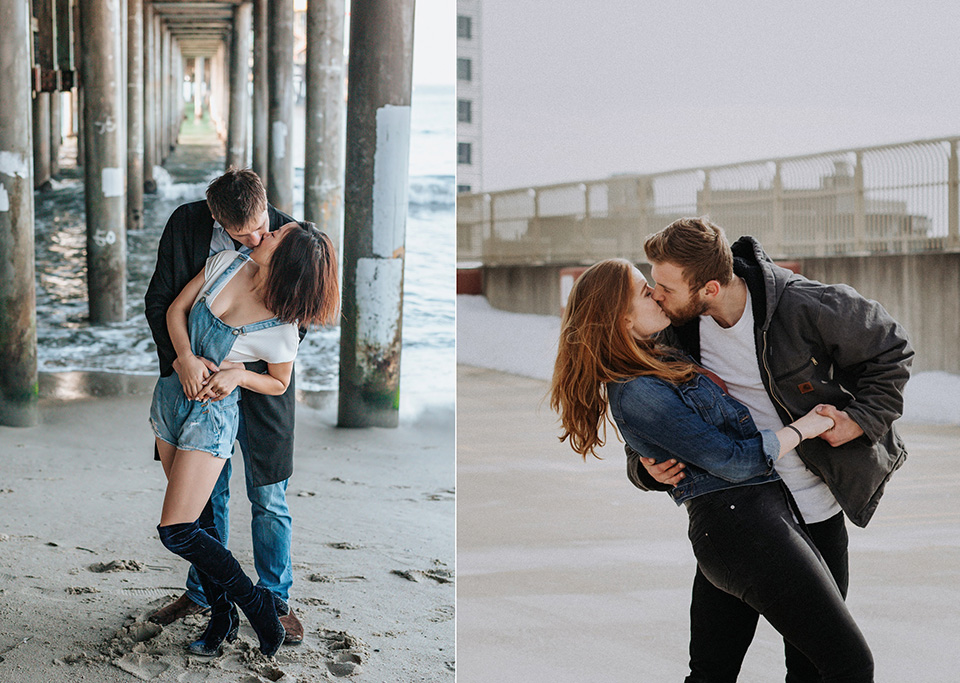
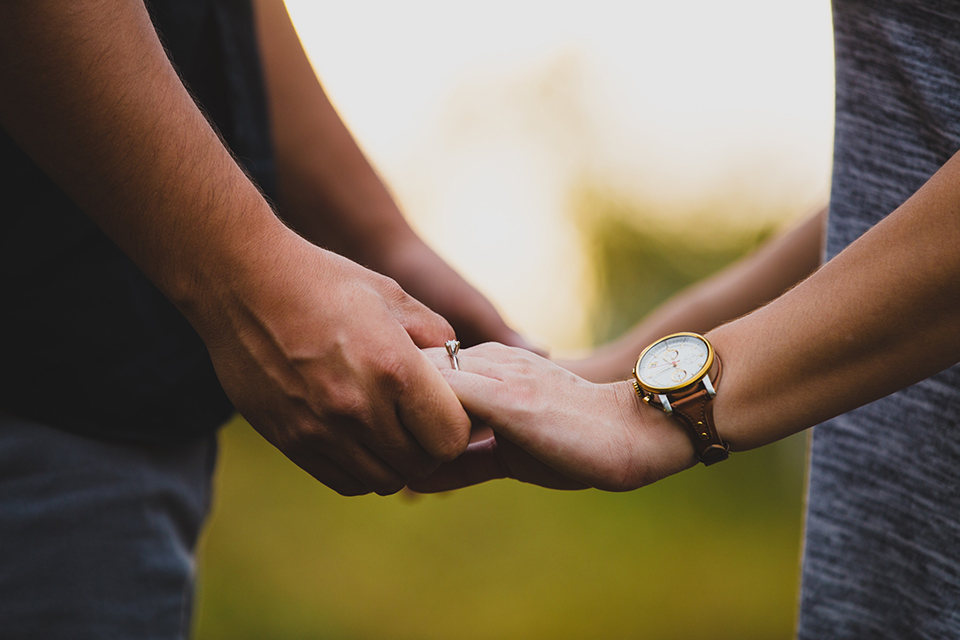
Don’t just take portraits, try to pay attention to the details and photograph them as well. Someone doesn’t always have to be fully in the frame. A close-up of them holding hands, special rings they wear, the bracelet she is wearing.
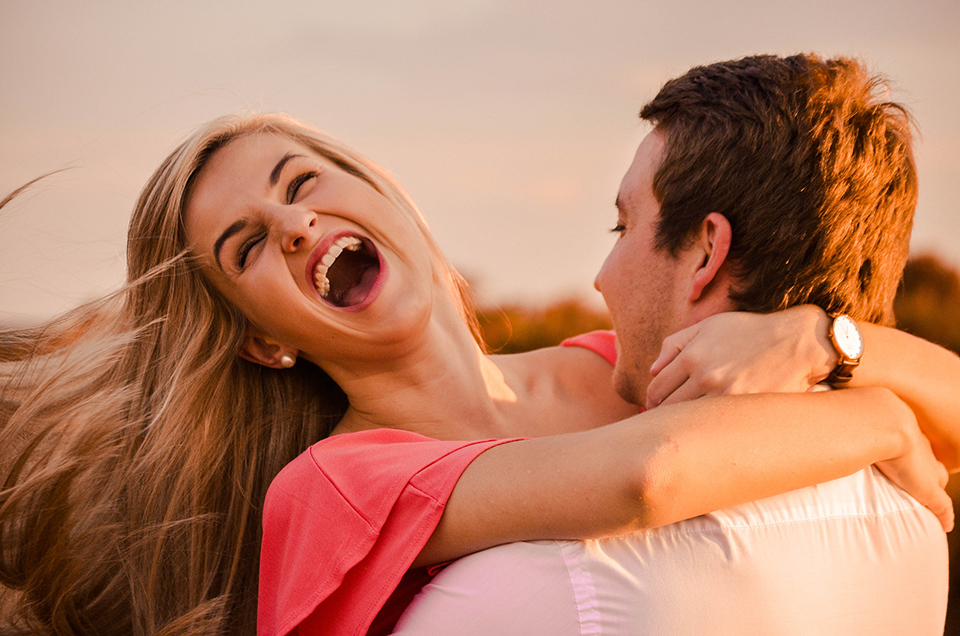
Ask them to hug each other, if they want to, and take a close-up of the way she laughs, perhaps with her eyes closed. Maybe their shoes match really well? Play around with this a little!
5. Which lenses?
You can capture a loveshoot with either a DSLR or a mirrorless camera. I often take two lenses with me, a 24-70mm and a 70-200mm, which allow me to cover pretty much everything. I use the 70-200mm most often.
Sometimes it’s useful to take a little more distance and zoom in. This fast lens, with an aperture of f/2.8 throughout its range, also produces lovely, calm-looking photos with beautiful bokeh.
But the 24-70mm is also very useful when I can get close and the atmosphere is just right and relaxed. I can quickly zoom out with it if I want to show more of the surroundings, and then zoom in again on a beautiful, intimate look.
6. To flash or not to flash?
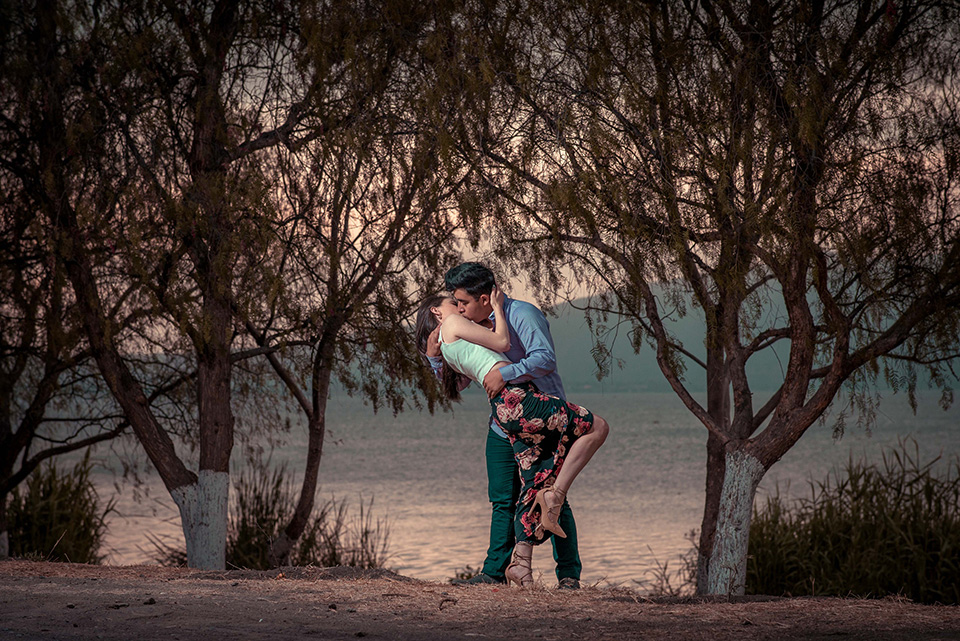
Using a flash as fill light can look great. Or you can use the flash as effect lighting, for example to create dynamic effects. You could point a hair light at the back of your model’s head so that they stand out from the background.
Or you can place the flash directly behind your subject, the Halo effect. If you place your flash in the frame behind the subject, you get a flare effect. With effect lighting, the flash is turned more than 90 degrees away from the camera, so it is almost always backlighting.
A fully flashed shoot isn’t necessary, though, and it can be quite distracting. I recommend that you don’t use flash non-stop and only use the flash or flashes at specific moments.
The easiest option is simply to work with daylight and come up with one or two setups with an off-camera flash in advance for an extra wow effect. One flash is often enough! Test beforehand that your triggers are still working, and make sure the flash batteries are fully charged.
7. Make the photos tangible
Of course, you can deliver the photos digitally, but that’s a shame really. Make them tangible and include a few prints or a beautiful photo book.
If you do this, you can immediately make use of the lower VAT rate of 9 instead of 21%. This gives the couple something lovely to look back on and share with others.
Read the article How you as a photographer only have to charge 6% VAT to see exactly how it works. This lower VAT rate was increased to 9% at the beginning of 2019, but it is still well worth doing this!
About the author
Michelle Peeters is fotografe en oprichter van DeuxBleus Fotografie. Michelle herkent het bijzondere in het gewone en het gewone in het bijzondere. Ze heeft zich nooit willen specialiseren en is daardoor van alle markten thuis.
You might also like
-
 10 tips for atmospheric portrait photography
by Laura van der Burgt
-
 Nikon announces the Z 6 II and Z 7 II
by Nando Harmsen
-
 RAW output for the Nikon Z 7 and Z 6
by Michelle Peeters
-
 7 Tips for Boudoir Photography
by Elja Trum
-
 Canon announces the ultra-wide RF 14-35mm f/4L IS USM
by Nando Harmsen
-
 Models for your photoshoot; how to make sure your model turns up
by Frank Doorhof
2 comments
-
 Linda wrote on Tuesday 12 February 2019 at 22:25 | reply
Use moment design!! That’s when you really get couples looking spontaneous in photos, just as they really are. That’s the most beautiful thing...❤️
Translated from Dutch. -

 Michelle Peeters wrote on Wednesday 13 February 2019 at 10:37
| reply
@Linda: what exactly is 'moment design'? I looked it up, because I didn't know it yet:
Translated from Dutch.
Moment Design is a technique that has nothing to do with your camera, but everything to do with the people you photograph. It's a way to get people into the right flow. A state of happiness, love, emotion.
Have your say
Please note: Articles older than a week can only be commented on by signed-in visitors.Would you still like to comment? sign in or create a free account.
Become a better photographer every week
A practical photography tip in your inbox every week.
38,938 photography enthusiasts already receive the tips! More about the weekly mail. Or keep up to date via  Facebook.

Elja Trum
Photofacts; everything to do with photography!
Would you like to take better photos and keep up with what is happening in photography? Photofacts publishes articles that teach you something about photography — from a product announcement to a practical shooting tip or a look at a website. Photofacts covers photography every day and is a hobby project of Elja Trum's that got out of hand. The articles are written by a team of volunteer authors. If you would enjoy writing one or more articles for Photofacts, do get in touch.More about PhotofactsPhotofacts is made possible in part by
