

8 tips for conceptual photos
Thursday 9 July 2020, 09:55 by Michelle Peeters | 37,198 views | 7 commentsThis article was translated from Dutch with the help of AI. Read the original.
Conceptual photography has a slightly abstract reputation. That is probably why it is right up my street. I can often look at it with admiration. Some concepts are so well thought out and executed that they leave you speechless.
Perhaps you have already tried your hand at it. Or perhaps you would like to do something with it and are bursting with wild ideas…
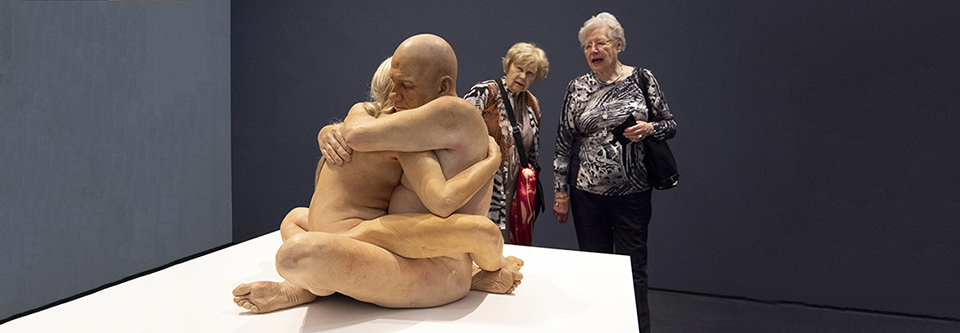
Conceptual photography is also a way to take your photography to a new level. It requires a little more thought than mindlessly taking snapshots, but it can really help you get a message across to the people looking at your photos.
But how do you go about it? To inspire you and perhaps give you a starting point, this article gives you 8 tips for a conceptual photo or series.
What exactly is conceptual photography?
This genre of photography is about photos that illustrate an idea or story. So it is about the story behind the photos. Visual storytelling can help you express a message.
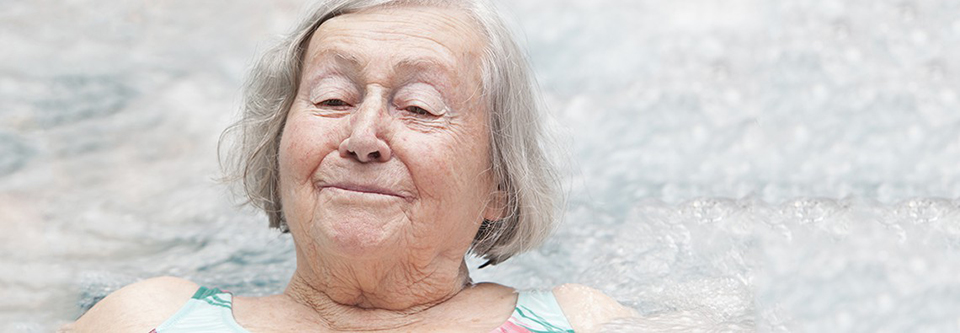
For example, you can emphasise the emotion in a photo. If your story is about the courage to live life to the full in old age, for example, the facial expression is a powerful element in your photo.
With this type of photo, it really is about the story, emotion or atmosphere that you are trying to translate into a suitable image. Conceptual photos also often have an extra layer of meaning.
To begin with, you need an idea, and that requires inspiration. Not every concept can be carried out in the short term. For example, because you have no inspiration, the weather is against you or you have not found a location yet. And sometimes an idea needs a little more development or preparation before you can actually carry it out.
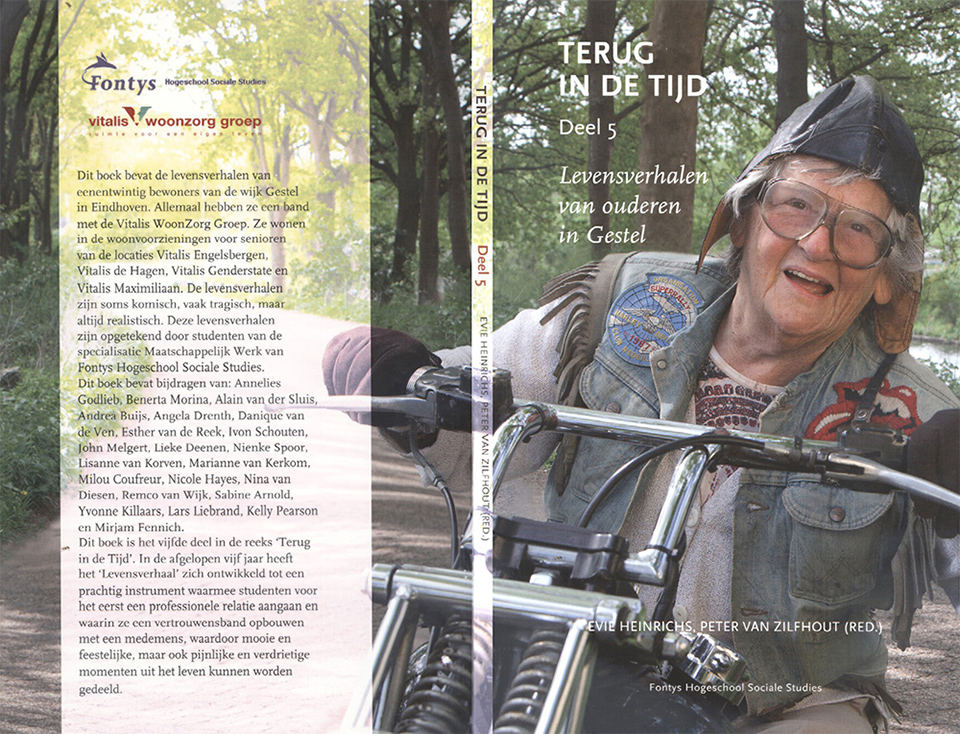
1. Checklist for the concept of 'love'
The first step is coming up with the concept. What should the image tell? Which emotion should it convey? What is the story?.
Concept photography involves a lot of 'mental' preparation, rather than scene analysis. Before you shoot, you decide on various things. If you apply all your considerations to the concept of love, you arrive at the useful checklist below:
- Message: Is your message true love or broken hearts?
- Perspective : Is your angle the true love of family or the true love of kindred spirits? The bitterness and pain of broken hearts, or recovery?
- Audience: is your story written for high-school sweethearts or couples who have been married for 50 years?
- Emotional connection: in what ways can you ensure that your story resonates best with your audience? The love that brings a sense of connection? The love that will last forever? The pain of betrayal? The desperation of 'no hope of recovery'?
- Creative composition: an audience of secondary school students needs edgy, high-contrast and inventive images. An audience of older couples may be more influenced by elegant, soft and expressive images;
- Artistic dynamics: camera angle, type of lighting, colour, location, depth and movement ... all these factors will influence the overall result of your conceptual photo;
- Storytelling - Does your concept tell the full story in one image? An image says more than a thousand words, so one image can already capture the depth of the story. This can help you enormously when selecting photos. Put yourself in the audience's shoes and ask yourself whether the story you are telling comes across well in your image.
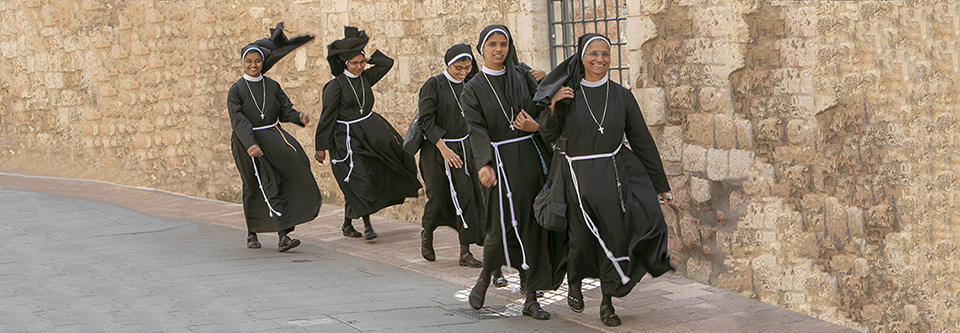
2. Photograph beautiful places
You actually always have a camera with you, your phone! So if you are somewhere beautiful and see an atmospheric spot, an old gate completely covered in plants or a pretty alleyway, take a photo of it with your smartphone.
Keep the photos you take in a separate folder in the cloud, on your phone or on your computer drive. This allows you to build up a nice collection of interesting photo locations. If you include the location in the filename, you can always find the place again when you need it.
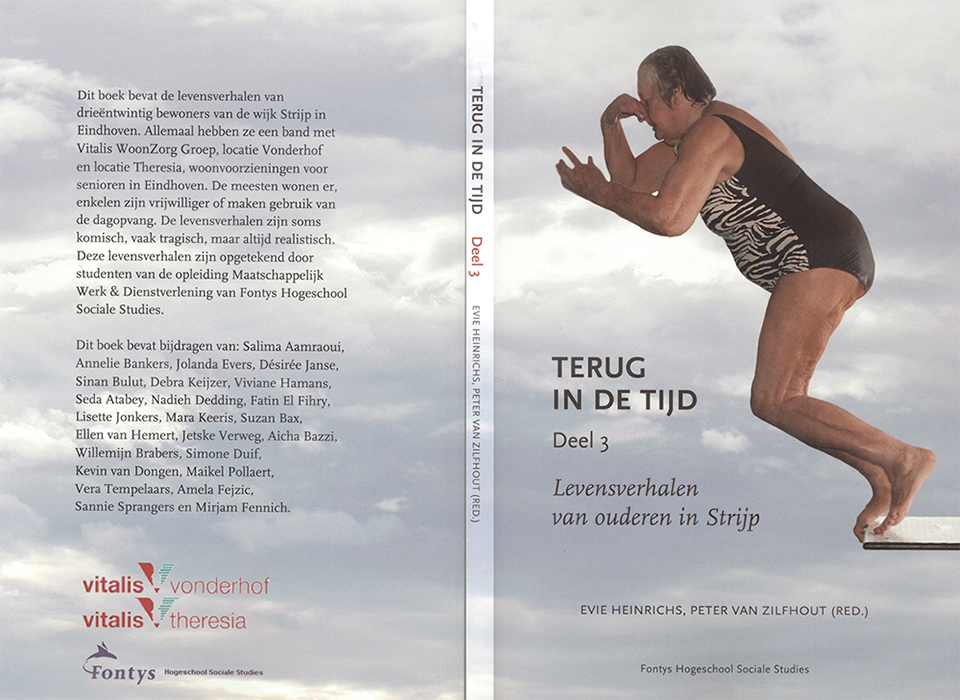
3. Always write down or sketch your ideas
Sometimes you suddenly get a brilliant idea. An important tip is to write it down straight away. Quickly work it out in a sketchbook, add it to your notes in the cloud or email the idea to yourself and then put it in your notebook.
A sketchbook can be a good investment, and you do not have to be an artist to draw or sketch. Visualising your concept as a drawing often works better than a note when preparing for your conceptual photoshoot.
You can already see the whole picture in your mind, and you can refer to your sketch if you get stuck. Writing is of course also an option for those who do not draw. Make notes as soon as you get an idea.
Or describe the message that your photo should convey, along with your reasons for wanting to make the photo. It also works well to describe how you are going to capture your message in an image. Both drawing and writing work well because your brain starts thinking about photography in a different way.
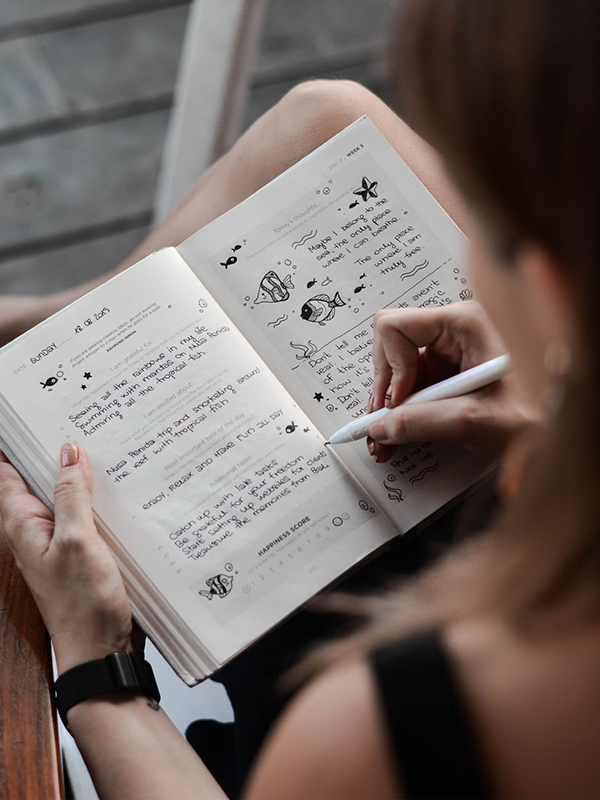
Sketch the idea you have in your head with little drawings and add keywords. Think about viewpoints, colours, a line from a song that describes the atmosphere, a feeling, how you want the light to be, which clothes are suitable and what atmosphere you want.
If you are not very good at drawing, making a moodboard is of course also an option. Do not assume that you will remember it, before you know it you will have forgotten everything. Write it all down.
4. Look back through your notebook regularly
Often, you do nothing with your notes or sketches. That is because your ideas and interests can change. That is not a problem, but if you occasionally leaf through your sketchbook of concepts, you can often find inspiration in it again. Or you may discover a common thread in the concepts already in it.
Sometimes you do nothing with an idea for years, simply because you have not yet found a location for the photo or series. As soon as you have found that location, and you can browse your smartphone collection of beautiful places for this, you can develop your idea further.
5. Now you can prepare properly!
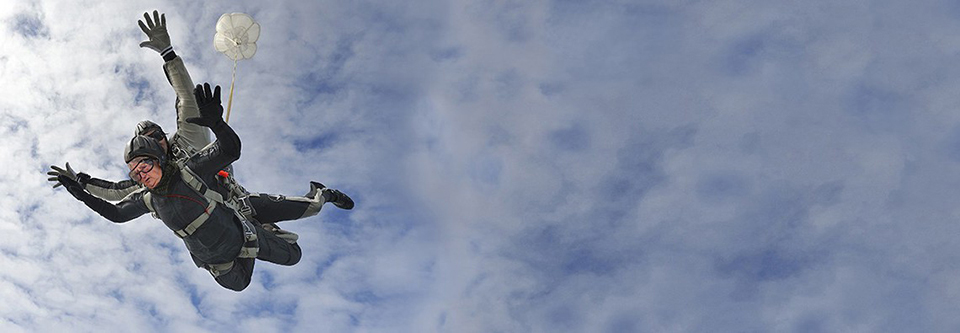
Now that you know which specific photos you are going to take, you can prepare really well. You can take your time and perhaps make a to-do list that you can tick off. Check in advance what special accessories you need and whether you have to buy them or can make them yourself.
If you have a model shoot in mind, you can ask yourself whether you need particular clothing or make-up and whether you want a make-up artist. You can pick up clothes and jewellery for next to nothing in a charity shop!
You can also check which photographic equipment you need. Wide-angle and/or telezoom lenses, flashes, tripods, et cetera. Include all these things in your preparation, think it through carefully and leave nothing to chance. If you are going to photograph outside, keep a close eye on the weather forecast.
6. Give your model clear instructions
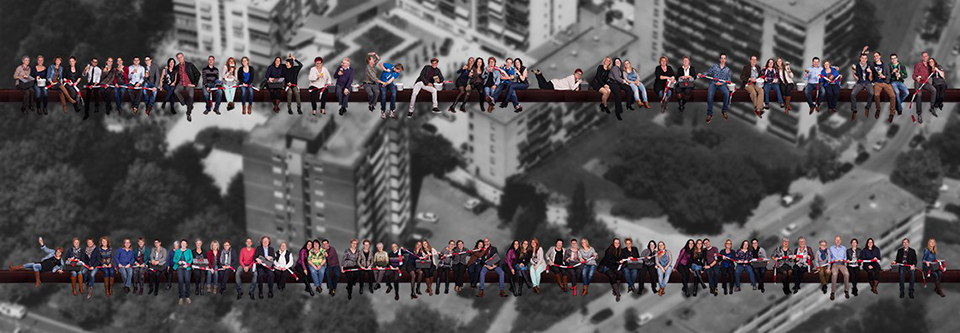
If you are working with a model, brief them properly. If, for example, you want to portray a sensitive image with lots of emotion, it may be difficult for your model to convey this well in front of the camera.
So explain clearly what kind of photo you want to make, what the idea behind it is and what you want to convey with it. This helps your model get into character and means you are more likely to achieve the result you had in mind. Tell them whether it will be a full-body shot or whether only the head or upper body will be in the frame, as this is useful for models to know.
7. While you are there...
Once you are at the intended location and have prepared well, you will have made the photo you had in mind in no time. A series takes a little longer, but it is often over and done with quite quickly. However, this is not the moment to pack your gear away and go straight home.
Try out some other things at the location, since you are already there. See whether there is more to get out of it and experiment freely while working creatively. Try out the effect of using a different lens, telezoom or wide-angle, or a different viewpoint, higher or lower. Take the time to experiment.
8. Do not start editing straight away
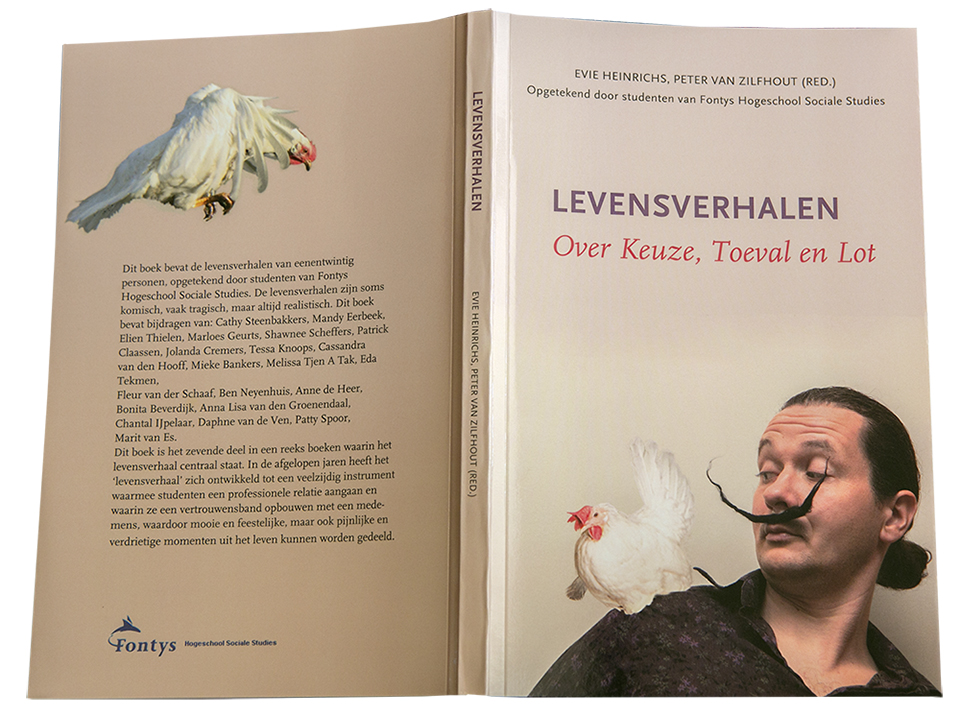
However keen you are to load your photos straight away, view them large and edit them immediately, it is better to wait a little.
You can of course look through them and perhaps mark them, but then leave them for a few days, however difficult that may be.
It may be that you see your photos differently later, which means you will edit them differently than you would have done straight after taking them. This will certainly benefit the quality of your photos or photo series!
Once you have let everything sink in properly, you can start editing the photos. This is often a time-consuming job in which you have to take elements such as shadows and reflections into account, especially if you have to merge multiple images into one whole. The result: a unique image that is guaranteed to make you stand out.
Dit artikel is voor het laatst bijgewerkt op 9 juli 2020.
De eerste publicatiedatum is maandag 17 februari 2020, 16:08.
About the author
Michelle Peeters is fotografe en oprichter van DeuxBleus Fotografie. Michelle herkent het bijzondere in het gewone en het gewone in het bijzondere. Ze heeft zich nooit willen specialiseren en is daardoor van alle markten thuis.
You might also like
-
 Tip: Describe Your Photo Project in One Sentence
by Elvira Smit
-
 Fashion photo tip: Visualise your concept with a moodboard
by Anniek Snoeijs
-
 Tomorrow I’ll Be a Photographer
by Michiel Heijmans
-
 Tip: make a project scrapbook
by Elvira Smit
-
 Professional photographers don't always take fantastic photos
by Nando Harmsen
7 comments
-
 Douwe Struiksma wrote on Wednesday 19 February 2020 at 15:02 | reply
Michelle, hi! You've written a beautiful, informative and clear article
Translated from Dutch. . Which books would you recommend reading about this subject?
Regards, Douwe -

 Michelle Peeters wrote on Wednesday 19 February 2020 at 16:51
| reply
@Douwe: thank you! The book 'The art of news photography' by Raymond Rutting has always been a great source of inspiration for me. But there are more, I'll look a bit further...
Translated from Dutch. -
Michelle Peeters wrote on Wednesday 19 February 2020 at 16:58
| reply
The book Exactitudes by Arie Versluis is also a really nice one. As are the books by Annie Leibovitz. She is able to give celebrities an image with her portrait photos.
Translated from Dutch. -
Douwe Struiksma wrote on Wednesday 19 February 2020 at 17:18 | reply
Thanks for the info, I’ll keep looking for a bit too. Cheers
Translated from Dutch. -
Michelle Peeters wrote on Wednesday 19 February 2020 at 17:29
| reply
@Douwe: just let me know if you have something interesting, I'm curious myself too!
Translated from Dutch. -
Douwe Struiksma wrote on Monday 2 March 2020 at 12:11
| reply
Regarding concepts and especially the coherence between the many perspectives/compositions/forms/lights and everything related to them, I am now reading 'Beeldspraak, Photography as visual communication' by Ton Hendriks, also recommended for further depth
Translated from Dutch.. -
Michelle Peeters wrote on Monday 2 March 2020 at 12:44
| reply
That's a nice one, Douwe, thanks for the tip!
Translated from Dutch.
Have your say
Please note: Articles older than a week can only be commented on by signed-in visitors.Would you still like to comment? sign in or create a free account.
Become a better photographer every week
A practical photography tip in your inbox every week.
38,982 photography enthusiasts already receive the tips! More about the weekly mail. Or keep up to date via  Facebook.

Elja Trum
Photofacts; everything to do with photography!
Would you like to take better photos and keep up with what is happening in photography? Photofacts publishes articles that teach you something about photography — from a product announcement to a practical shooting tip or a look at a website. Photofacts covers photography every day and is a hobby project of Elja Trum's that got out of hand. The articles are written by a team of volunteer authors. If you would enjoy writing one or more articles for Photofacts, do get in touch.More about PhotofactsPhotofacts is made possible in part by
