

Fog on the Brunssummerheide
Tuesday 7 September 2021, 22:22 by Erik Nevels | 4,461 views | 0 commentsThis article was translated from Dutch with the help of AI. Read the original.
A few weeks ago, an acquaintance messaged me. Did I fancy going out to photograph the Brunssummerheide early in the morning? I certainly did, so we picked a date.
Of course, whether it would go ahead depended on the weather. Afterwards, it turned out that we had picked exactly the right date.
No fog forecast
When I check the weather forecast the day before our trip to the Brunssummerheide, I see no reason to cancel our plans. Sunshine in the morning, some cloud and hardly any wind.
Because the dew point just before sunrise is lower than the forecast temperature at that time, I do not expect any fog.
It is a shame, but I think it would be a good idea to explore the area so that later, when there is low-lying fog, I will already know exactly where I want to take the photo.
Schedule
Because I want to arrive in good time, but do not want to get up unnecessarily early either, I make a tight schedule.
Up at 5 o'clock, pick up my mate at half past 5, at the car park at 6 o'clock, with another half hour to find a suitable viewpoint. Unfortunately, we take a wrong turn and arrive at the slope 10 minutes later, where three photographers have already beaten us to it.
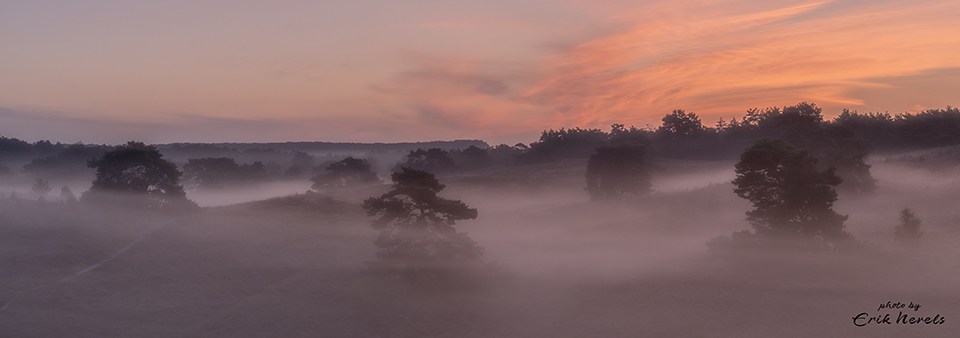
The horizon is already turning quite orange, but what is even more beautiful is the low-lying fog. Delighted, I look at the landscape and the slope in front of me.
Where will I stand? At the top of the slope, somewhere halfway down or almost at the bottom? The bottom is already ruled out, because I would be in other people's way. I decide to descend a little, just far enough to have a few bushes on the slope beside me rather than in front of me.
Happy with the viewpoint, I let my rucksack slide to the ground and raise my tripod.
Choice of lens
I choose the 28-75mm lens, which gives me more than enough width to capture the landscape in front of me. The clouds are becoming increasingly orange and the first aeroplane trails are appearing.
I realise that the tight schedule and taking the wrong turn are now increasing the pressure. I still want to use a graduated neutral density filter, and that takes a little time. Despite cleaning it at home, there is some dust on the glass again and it needs to be removed.
Finally, I am ready. Once I have decided on the composition, adjusted the settings and positioned the graduated filter at the right height, I take the first photos of the morning.
I already know that I will turn them into panoramic photos in post-processing. I would rather not have the aeroplane trails high in the sky in them.
Telephoto landscape
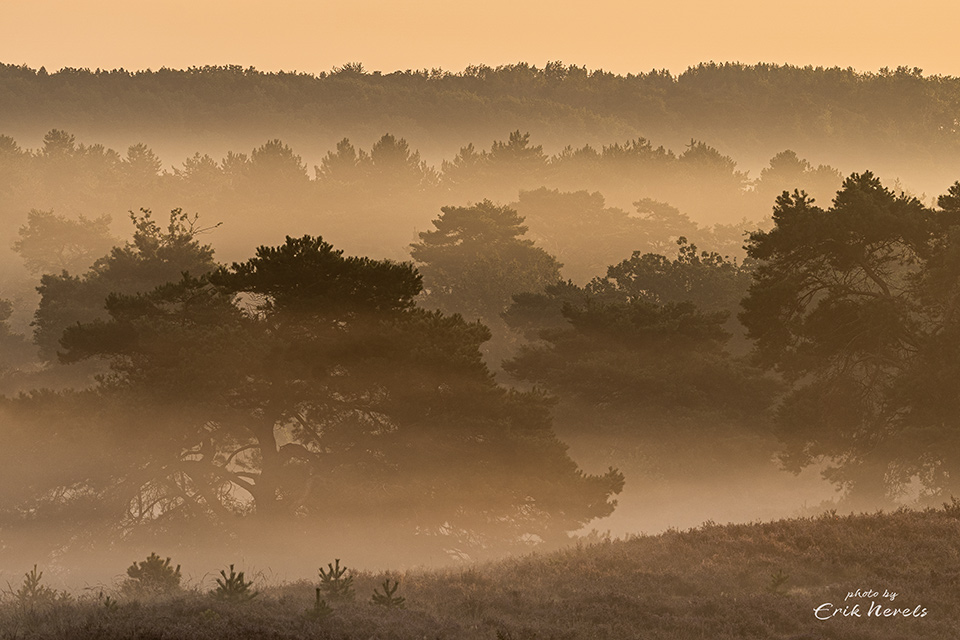
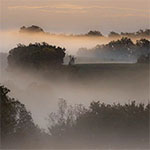
After taking several photos with different compositions, my eye is drawn to the distant landscape on my left. The low-lying fog creates beautiful layers of light and dark shades in the trees.
The orange sky has a beautiful pastel-like tone here. The landscape is far away and calls for a telephoto lens. I walk back up the hill and attach the 200-600mm to the camera.
Now my tripod is definitely my mate. Photographing at 239mm with a shutter speed of 1/80 of a second requires stability.
As with the previous series, I take several photos, varying the focal length. I am pleased with the results I see in the viewfinder. Then the sun sends its first rays over the hilltop to my right.
Aeroplane trails
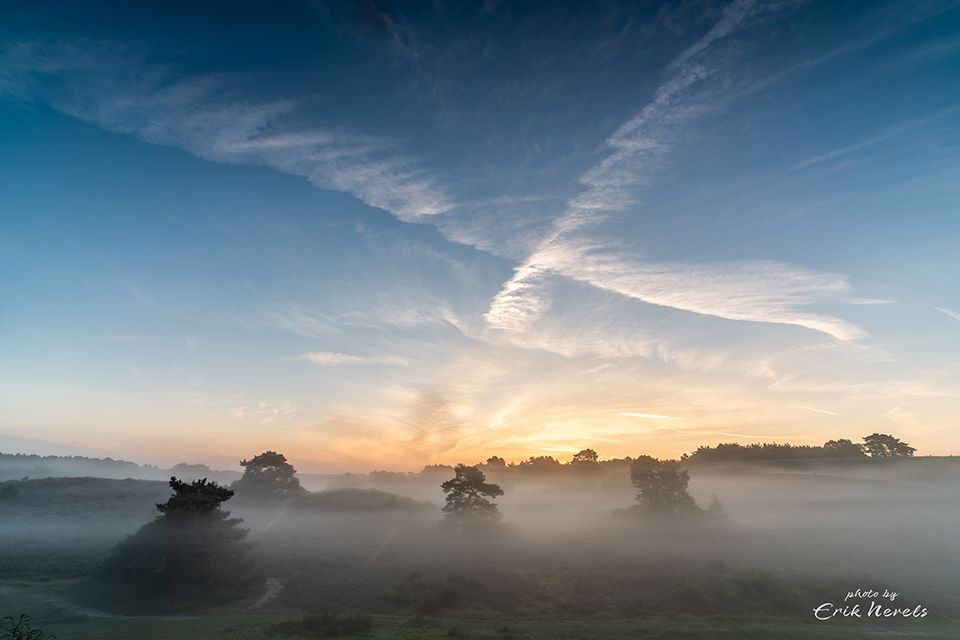
As the number of white condensation trails in the sky increases because of air traffic, I decide to descend the slope again, keeping the sun behind the ridge for a little longer. I also move a little further to the left so that I can include a distinctive pine tree standing to my left.
As I set everything up again, a striking cross of expanding trails forms in the sky. Although I often dislike these trails when I want to take a landscape photo, I do like this cross.
I quickly swap my 200-600mm for the 17-28mm so that I can capture the sky and landscape with a wide view. I zoom out as far as possible and point the camera mainly at the sky.
This also allows me to keep the other photographers, who have meanwhile moved to the bottom of the slope, out of the frame. The graduated filter goes in front of the lens again and I take the next series of photos.
Dew point
Contrary to the weather forecast, there was low-lying fog today after all. Did the weather turn out differently, or is there another explanation? The weather forecast gave a morning temperature of 11 degrees, while the dew point was 10 degrees.
Fog requires a temperature below the dew point, however. Of course, the weather forecast does not take account of the dips in the landscape, where the temperature, I suspect, fell below the dew point, causing fog to form on the spot.
Is that correct? Meteorologists among the readers, please respond to my assumption. Can anyone tell me more about it?
About the author
Steeds weer boeiend en op zoek naar de essentie! Dat is wat fotograferen in de natuur voor mij is. Gefocust op het landschap of het onderwerp in diens omgeving tracht ik meer dan alleen te registreren. Een continue uitdaging waarvan ik elke keer volop geniet. Meer foto's? Volg mij op Instagram en/of kijk op mijn website
You might also like
-
 Photographing in fog
by Erik Nevels
-
 A sunrise thanks to Photopills
by Nando Harmsen
-
 Landscapes in Haze and Mist
by Johan Elzenga
-
 Nature photography tip: Make the most of misty mornings
by Rob Dijkstra
-
 Nature photography tip: Plan your sunrise photos carefully
by Rob Dijkstra
-
 Don't Let the Weather Influence You Too Much
by Nando Harmsen
0 comments
Be the first to share what you think!
Have your say
Please note: Articles older than a week can only be commented on by signed-in visitors.Would you still like to comment? sign in or create a free account.
Become a better photographer every week
A practical photography tip in your inbox every week.
39,079 photography enthusiasts already receive the tips! More about the weekly mail. Or keep up to date via  Facebook.

Elja Trum
Photofacts; everything to do with photography!
Would you like to take better photos and keep up with what is happening in photography? Photofacts publishes articles that teach you something about photography — from a product announcement to a practical shooting tip or a look at a website. Photofacts covers photography every day and is a hobby project of Elja Trum's that got out of hand. The articles are written by a team of volunteer authors. If you would enjoy writing one or more articles for Photofacts, do get in touch.More about PhotofactsPhotofacts is made possible in part by
