

Portrait photography tip: Put something in front of your frame
Thursday 23 January 2020, 14:41 by Erik van Rosmalen | 5,528 views | 3 commentsThis article was translated from Dutch with the help of AI. Read the original.
You can make a photo more interesting in all sorts of ways. Composition, use of colour, depth of field and so on. You can also add more depth to a portrait by placing something between your model and your lens.
Lines that lead the viewer from the front to the back of a photo can make it more interesting. Or you can add tension by using perspective.
Another thing that works well is not only looking at the rule of thirds for the composition, in terms of the aspect ratio, but also applying it more or less to the content: make use of the foreground, background and middle ground.
You see this a lot in landscape photography: something has been placed in the foreground, something is in the distance and your main subject is positioned between them.
You can also apply this to portrait photography and take it a little further: put something in the foreground in front of your subject. A few examples:
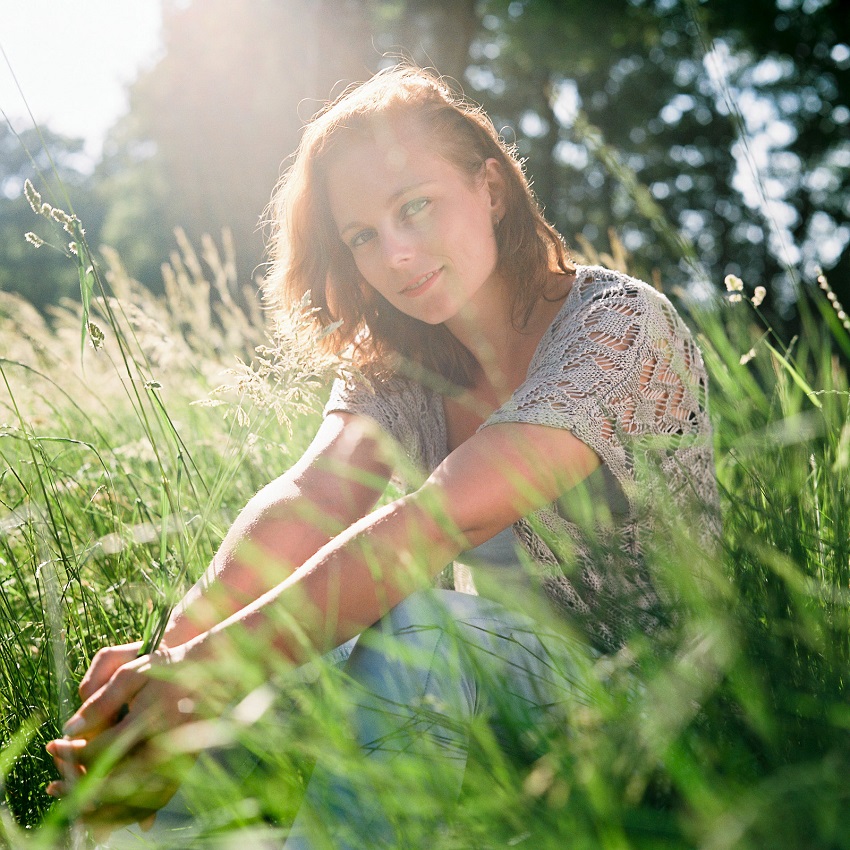
Mamiya C330s | Kodak Portra160
The combination of the flare from the sunlight coming from behind Daisy and the lively grass in the foreground gives this image an extra spring-like feel, an analogue portrait shot on Kodak Portra colour film.
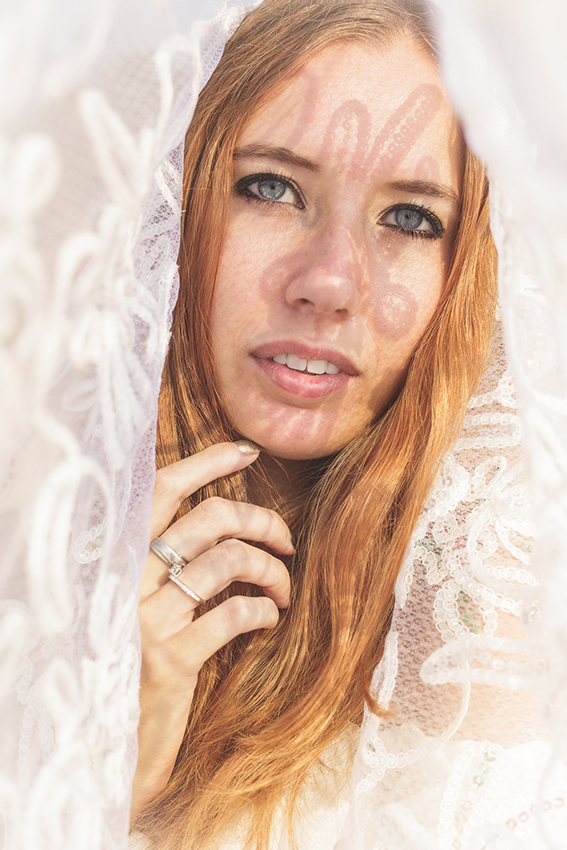
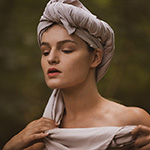
This portrait of Emma was taken outdoors, in the summer sun. It must have been quite a sight: we were standing with the piece of fabric over our heads, so that the net curtain formed a kind of little tent.
The result is that the texture of the fabric casts shadows on her face, while the white material creates a natural, light frame around Emma's face.
I always keep a few white, semi-transparent cloths in the car when I go on location. They always come in handy. This is a more extreme example, but hanging them on the left and right outside the area of focus creates a slightly more intimate atmosphere in a portrait.
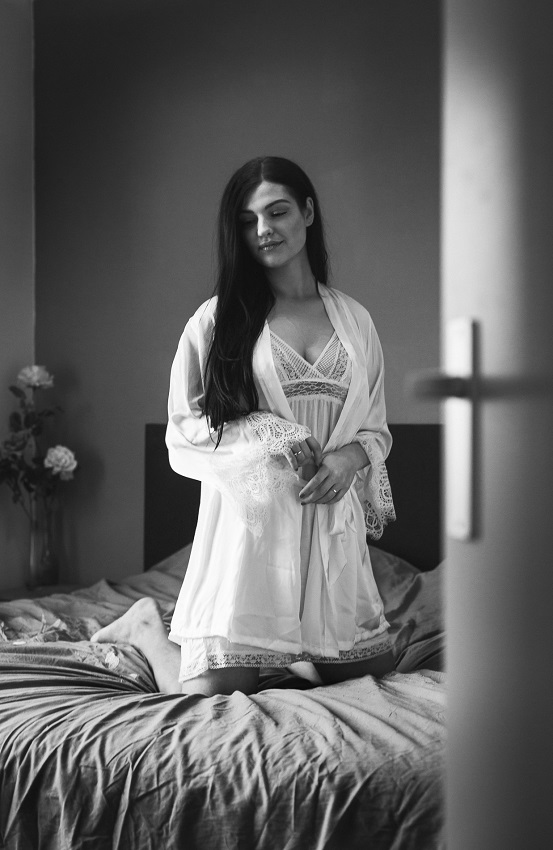
You can also create that more intimate atmosphere without cloths. As in this case, with this portrait of Jolie. I stood outside the room with my 70-200mm lens for this.
I had to, because there wasn't enough space in the room itself. I deliberately left the door in the frame to create a natural frame.
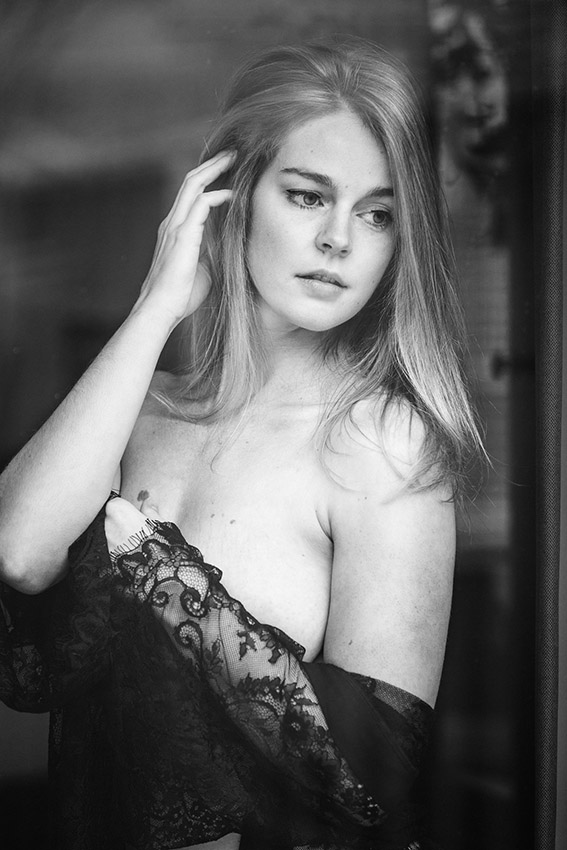
Not everything you place between your model and your lens has to be clearly visible in the frame. This boudoir portrait of Claudia through the window gains some extra atmosphere from the reflections around Claudia.
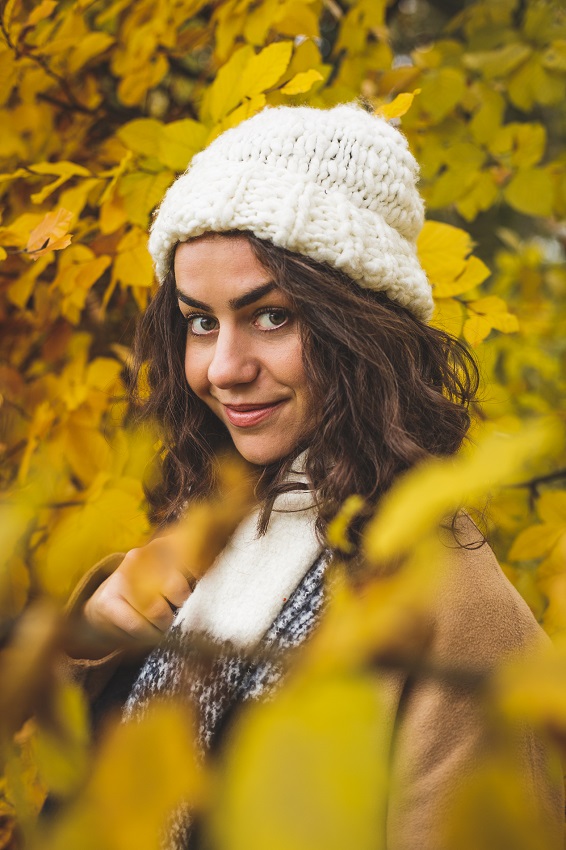
For this autumn portrait of Lisanne, I bent a branch with beautiful yellow and brown leaves downwards. By letting it enter the frame from below, Lisanne gets a natural autumnal frame around her. This benefits the image and creates extra depth in the photo.
About the author
Erik werkt als content specialist. Daarnaast is hij freelance tekstschrijver en fotograaf. Mensen vormen daarbij het hoofdonderwerp: portret- en reportage-fotografie. Volg Erik ook op Instagram!
You might also like
-
 Composition tip: Choose the right focal length
by Elja Trum
-
 10 Mistakes When Creating a Composition
by Nando Harmsen
-
 Depth of field distribution
by Michelle Peeters
-
 The truth about depth of field and what affects it
by Michelle Peeters
3 comments
-

 Huub Keulers
wrote on Tuesday 28 January 2020 at 09:21
| reply
Nice article with good tips, top photos and clear explanations, Erik. The foreground adds depth and draws even more attention to the portrait. Scott Kelby writes in his book that he almost never takes portrait photos with a 50mm lens. So I don't agree with that, as your photos also show
Translated from Dutch.
-
 Kees wrote on Tuesday 28 January 2020 at 11:05 | reply
Kelby often talks nonsense.
Translated from Dutch. -
 ErikvanRosmalen
wrote on Wednesday 29 January 2020 at 15:29
| reply
Thanks to both of you!
Translated from Dutch.
I don't agree with Kelby either, you know. If it's about going even wider, I can definitely go along with that. I don't go much closer than in Emma's portrait above with my 50mm either. But I think the distortion is quite minimal. I usually use it for somewhat wider shots. The first photo, of Daisy, was taken with an 80mm on medium-format film. Converted, that is also equivalent to 50mm on 35mm film.
Kelby likes to exaggerate. I once read a blog post by him saying that 50mm is really good for nothing (too wide for telephoto and too close for wide-angle). Well...
Have your say
Please note: Articles older than a week can only be commented on by signed-in visitors.Would you still like to comment? sign in or create a free account.
Become a better photographer every week
A practical photography tip in your inbox every week.
38,886 photography enthusiasts already receive the tips! More about the weekly mail. Or keep up to date via  Facebook.

Elja Trum
Photofacts; everything to do with photography!
Would you like to take better photos and keep up with what is happening in photography? Photofacts publishes articles that teach you something about photography — from a product announcement to a practical shooting tip or a look at a website. Photofacts covers photography every day and is a hobby project of Elja Trum's that got out of hand. The articles are written by a team of volunteer authors. If you would enjoy writing one or more articles for Photofacts, do get in touch.More about PhotofactsPhotofacts is made possible in part by
