

Printing Colour Film in the Black-and-White Darkroom
Sunday 13 November 2022, 16:32 by Erik van Rosmalen | 4,272 views | 0 commentsThis article was translated from Dutch with the help of AI. Read the original.
More and more (young) photographers are taking up analogue photography. At least, they are going for 'hybrid' analogue photography. The rolls are shot and sent to a lab, after which the negatives are scanned.
Scanning negatives so they can then be edited digitally or shared online is quite commonplace. I once heard at Fotowereld that a fair number of developed negatives are never even collected, because the scans are sufficient.
A shame, if you ask me. Because ultimately, nothing beats a beautiful print. That is true of digital photos too, but especially of a beautiful print you made yourself from your own negative.
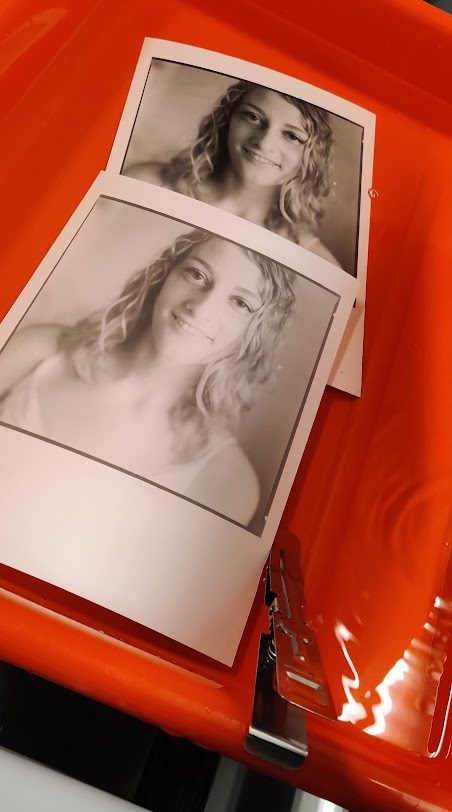
Is making your own prints not complicated, then? Not in principle. Although you can make it as complicated and handcrafted as you like using all kinds of techniques. Many 'digital' techniques such as burning in and dodging come directly from the darkroom.
Want to read more about making your own prints?
Would you like to read more about developing and printing your own material? I recently wrote a review of the comprehensive book Analogue Photography by Eduard de Kam.
Or have a look through the very practical and accessible Dokaboek 2.0 by Piet Pulles, which I already wrote about last year.
Stubborn: printing colour negatives in black and white
Every week I work in the darkroom, either developing my films or experimenting with prints. We work in black and white there.
The process of developing colour is somewhat more difficult and requires more careful control of the temperature and other chemicals, which are more harmful to nature and your health.
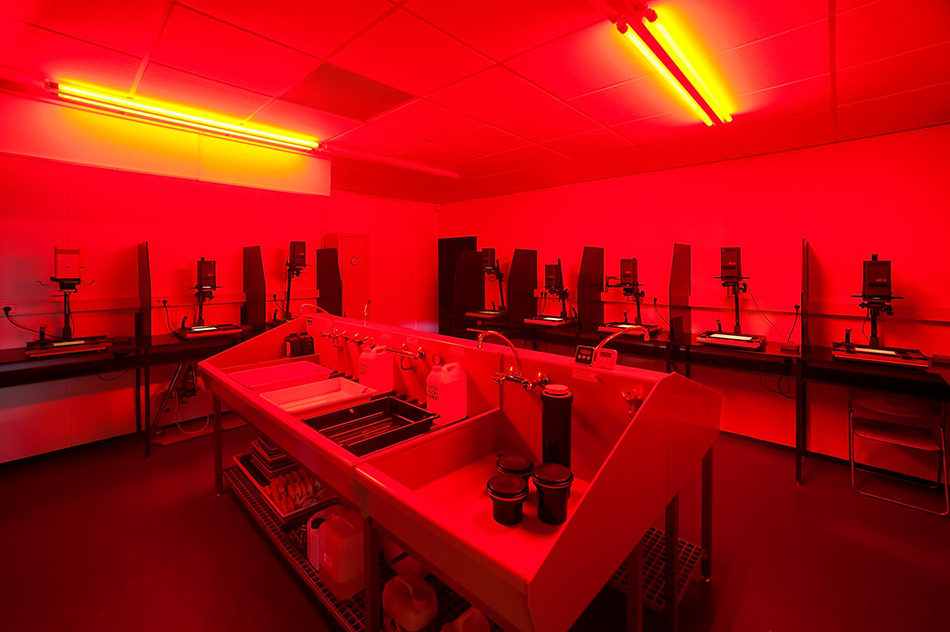
As well as the black-and-white workflow, I would also like to try some other things. For example, printing colour film in black and white.
If you know Photoshop and the tools for a black-and-white mix, that does not sound too complicated. Yet in a black-and-white darkroom you 'actually' cannot use a colour negative to make a print.
Why not? For several reasons. You need different paper and a different enlarger. But also because the negative is put together differently.
Difference between colour and black-and-white film
Black-and-white film is constructed quite simply. It consists of a base with one light-sensitive layer on it. Depending on how much light falls on the emulsion in that layer, it becomes darker.
A developed negative therefore acts as a mask that lets light through. Put it in an enlarger, let light pass through the negative onto paper and you get a black-and-white print.
Colour films are somewhat more complicated. Basically, they are actually three layers of black-and-white film on top of each other. Three emulsion layers that are made sensitive to red, green or blue through chemical processes. The top layer is sensitive to blue, with the layers for red and green underneath.
Under the blue-sensitive layer there is another orange-coloured filter layer, which prevents the blue light from penetrating further. Most films, both colour and black and white, also have a so-called anti-halation layer, which prevents the film's sharpness from being reduced by stray light.
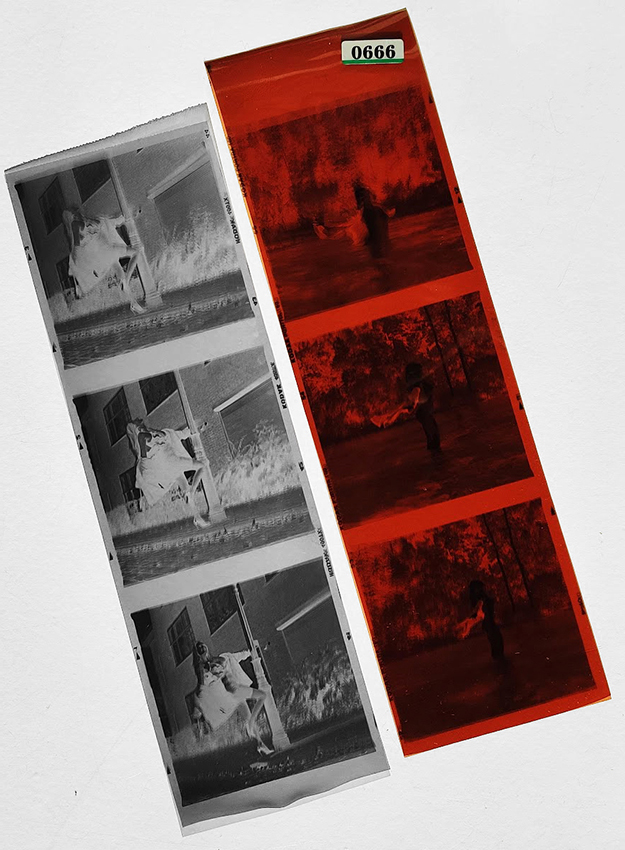
A long and technical story. In short: colour film has more layers and also has a dark orange glow. Do you want to make colour prints? Then you use a colour enlarger with filters for the different colours. And the right paper.
With a 'simple' black-and-white enlarger and black-and-white paper, you will never be able to make colour prints. You can, however, make a black-and-white print from your colour negative. That does require some patience and practice. Because the negative is much darker, you will have to expose the paper for much longer.
The negative is made up of layers. As a result, the colours will absorb and let through the light in a different way. Not every negative is suitable for this. The negative effectively acts as an additional colour filter.
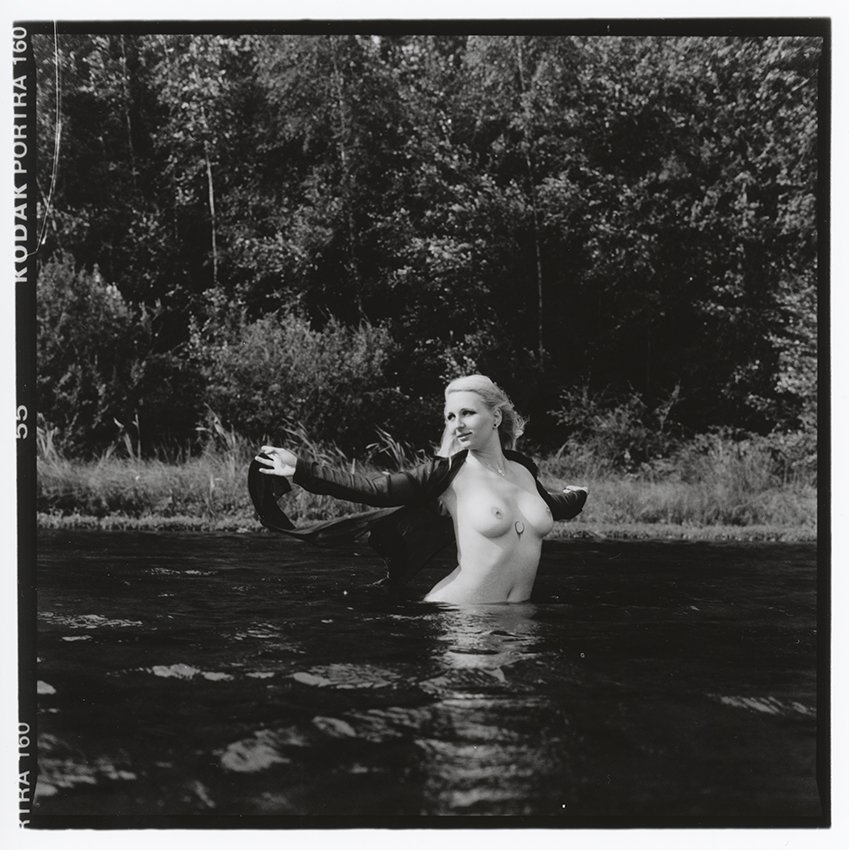
The result? A surprise every time when you see how it turns out!
.jpg "210913 Esther film(1)")
Fancy trying the darkroom too?
Are you curious about what it is like to develop or print your own photos? And would you like to learn more about 'analogue' image-editing techniques such as controlling contrast, correcting perspective, burning in or dodging?
There are several places in the Netherlands where you can now work in a darkroom. I work in the darkroom at the Kunstencentrum Waalwijk, but there are also options in the Randstad.
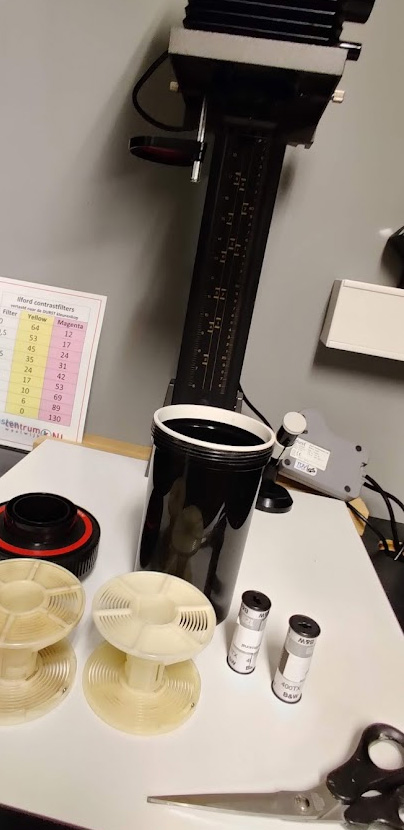
At the Kunstencentrum in Waalwijk, the Day of Photography takes place on Saturday 19 November, so you can take a look behind the scenes, or rather, in the darkroom. Perhaps I will see you there!
About the author
Erik werkt als content specialist. Daarnaast is hij freelance tekstschrijver en fotograaf. Mensen vormen daarbij het hoofdonderwerp: portret- en reportage-fotografie. Volg Erik ook op Instagram!
You might also like
-
 Mobile darkroom for analogue photographers
by Elja Trum
-
 Review: Analogue Photography
by Erik van Rosmalen
-
 This is how Ilford film rolls are made
by Elja Trum
-
 The joy of shooting with a roll of film
by Elja Trum
-
 Dokaboek 2.0, all the basics of analogue photography in one book
by Erik van Rosmalen
-
 Digital film roll for your analogue camera
by Elja Trum
0 comments
Be the first to share what you think!
Have your say
Please note: Articles older than a week can only be commented on by signed-in visitors.Would you still like to comment? sign in or create a free account.
Become a better photographer every week
A practical photography tip in your inbox every week.
39,024 photography enthusiasts already receive the tips! More about the weekly mail. Or keep up to date via  Facebook.

Elja Trum
Photofacts; everything to do with photography!
Would you like to take better photos and keep up with what is happening in photography? Photofacts publishes articles that teach you something about photography — from a product announcement to a practical shooting tip or a look at a website. Photofacts covers photography every day and is a hobby project of Elja Trum's that got out of hand. The articles are written by a team of volunteer authors. If you would enjoy writing one or more articles for Photofacts, do get in touch.More about PhotofactsPhotofacts is made possible in part by
