

Where do you place the horizon in a landscape photo?
Thursday 27 July 2023, 16:08 by Nando Harmsen | 3,637 views | 0 commentsThis article was translated from Dutch with the help of AI. Read the original.
Many landscape photos include a horizon. Where should you position it? At the top, bottom, or in the middle? Should it be at one-third, or not? Choosing can sometimes be difficult. Fortunately, it does not have to be as hard as you might think.
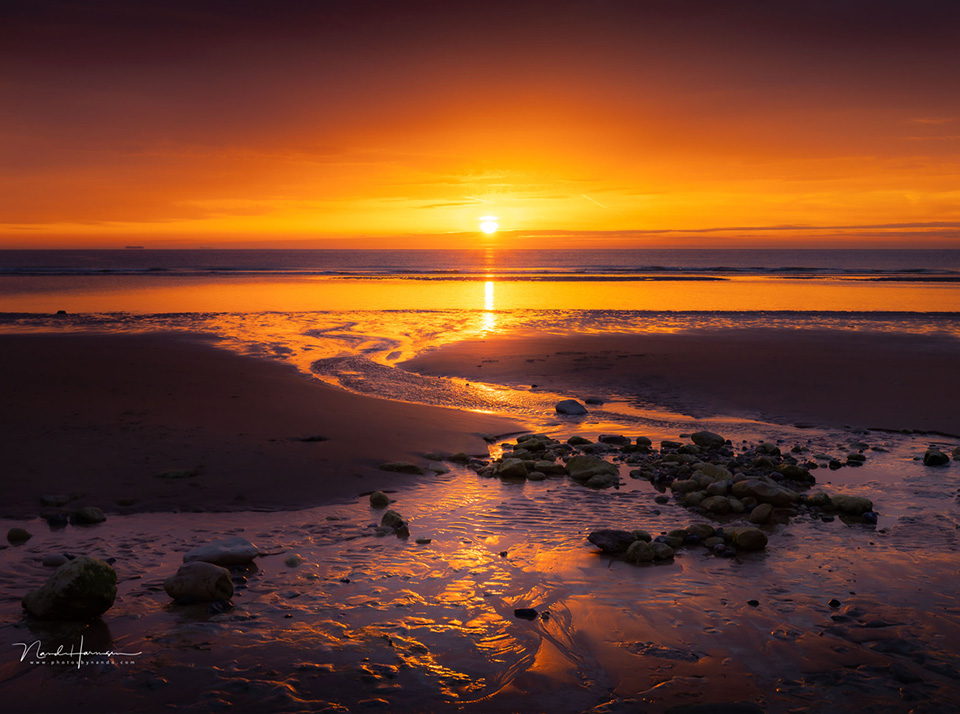
In fact, there are three places where you can position a horizon in a photo. At the top, bottom, or in the middle. Which one you choose depends on what you are photographing, and what is most interesting in your photo. If you find it difficult to choose in the field, keep the following guidelines in mind.
Is the sky the most important part of your photo? Then choose a horizon low in your photo.
Is the foreground the most important part of your photo? Then choose a horizon high in your photo.
But what if both the sky and the foreground are interesting? In that case, you could choose to place the horizon in the middle. But that is not always the best choice.
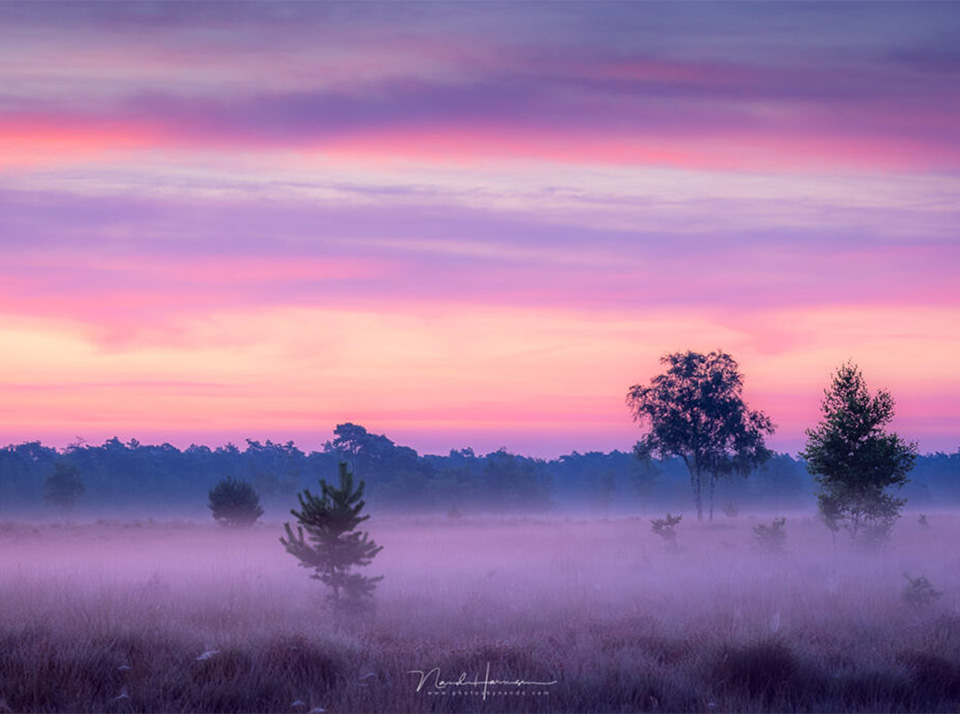
What happens with a horizon in the middle? The viewer then has to decide what is most important in the photo. If both are interesting, the eye will move up and down, from the sky to the foreground and back again. This creates unrest in your photo.
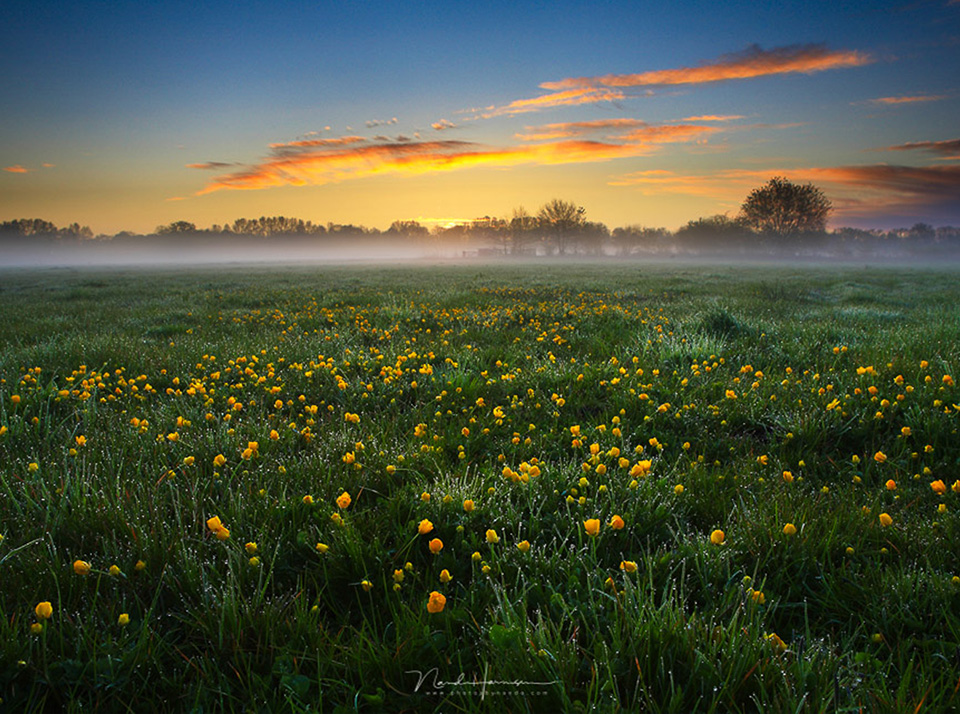
The best thing is to create calm in your image. You must decide what the viewer should see in your photo. That is either an interesting foreground or an interesting sky. Not both. If both are interesting, take two photos. One with the foreground as the main subject, and the other with the sky.
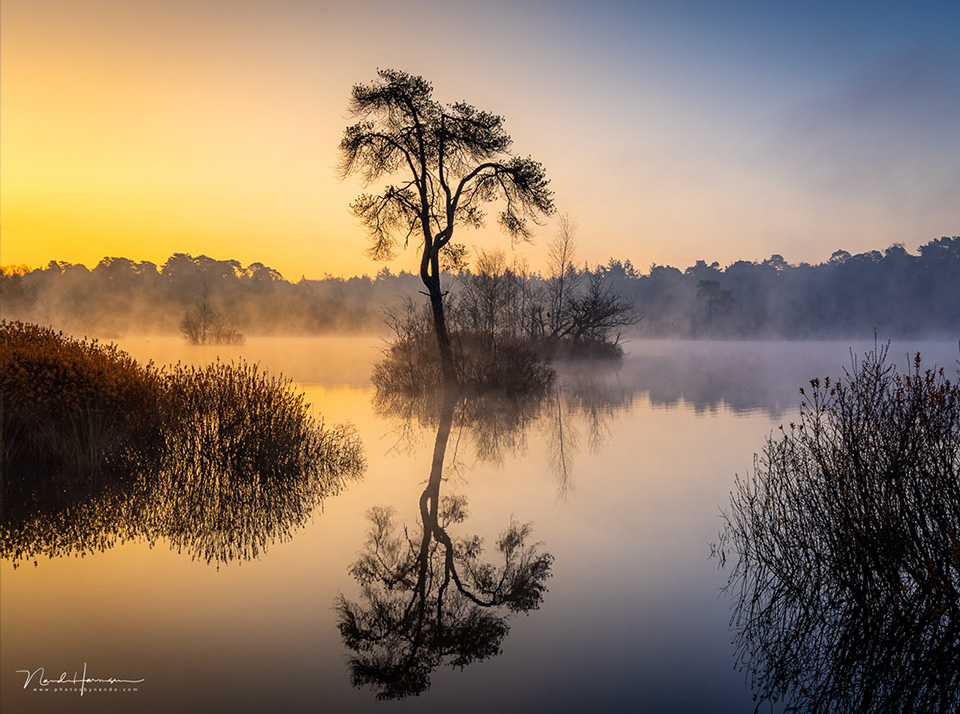
Is a horizon in the middle never right, then? No, you should not see it that strictly. A horizon in the middle can work perfectly well. But in that case, there is a subject in your image that dominates the entire frame. The horizon then becomes a secondary element in the background.
When it comes to exactly where the horizon should be in the frame, that is a matter of feeling. Do not stick strictly to a 1/2 - 2/3 rule, as that only creates forced compositions. Aim for a pleasing balance. If that means a 1/3 - 2/3 division, choose that. If it is closer to the golden ratio, choose that.
Ultimately, the photo should be pleasant to look at, not have too many distractions, and have a clear subject. And if there is nothing interesting to see above the horizon, do not be afraid to leave it completely out of the frame.
Composition in Landscape Photography
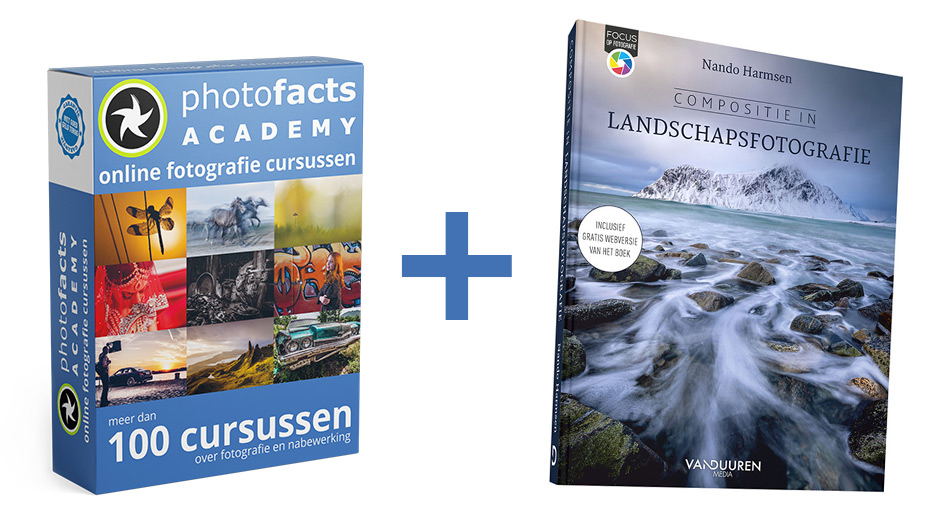
Join Photofacts Academy now and, besides an attractive discount, receive my book Composition in Landscape Photography. Read more about it in the article you can find via this link.
About the author
Nando Harmsen has been photographing for more than 40 years. He specialises in wedding photography and landscape photography. Nando also gives talks, workshops, masterclasses and photo trips, and regularly reviews new and interesting equipment.
You might also like
-
 Street Photography Tip: Try Using the Dutch Tilt Too
by Michiel Heijmans
-
 Street photography tip: Use leading lines to guide the viewer
by Michiel Heijmans
-
 Learn the Rule of Thirds So You Don't Have to Use It
by Nando Harmsen
-
 The ideal all-round lens for Micro Four-Thirds
by Nando Harmsen
-
 The perfect lens for Micro Four Thirds
by Nando Harmsen
-
 Lunar eclipse on its way
by Nando Harmsen
0 comments
Be the first to share what you think!
Have your say
Please note: Articles older than a week can only be commented on by signed-in visitors.Would you still like to comment? sign in or create a free account.
Become a better photographer every week
A practical photography tip in your inbox every week.
39,079 photography enthusiasts already receive the tips! More about the weekly mail. Or keep up to date via  Facebook.

Elja Trum
Photofacts; everything to do with photography!
Would you like to take better photos and keep up with what is happening in photography? Photofacts publishes articles that teach you something about photography — from a product announcement to a practical shooting tip or a look at a website. Photofacts covers photography every day and is a hobby project of Elja Trum's that got out of hand. The articles are written by a team of volunteer authors. If you would enjoy writing one or more articles for Photofacts, do get in touch.More about PhotofactsPhotofacts is made possible in part by
