

5 Tips for Film Noir Photography
Monday 11 July 2022, 20:02 by Elja Trum | 6,463 views | 1 commentThis article was translated from Dutch with the help of AI. Read the original.
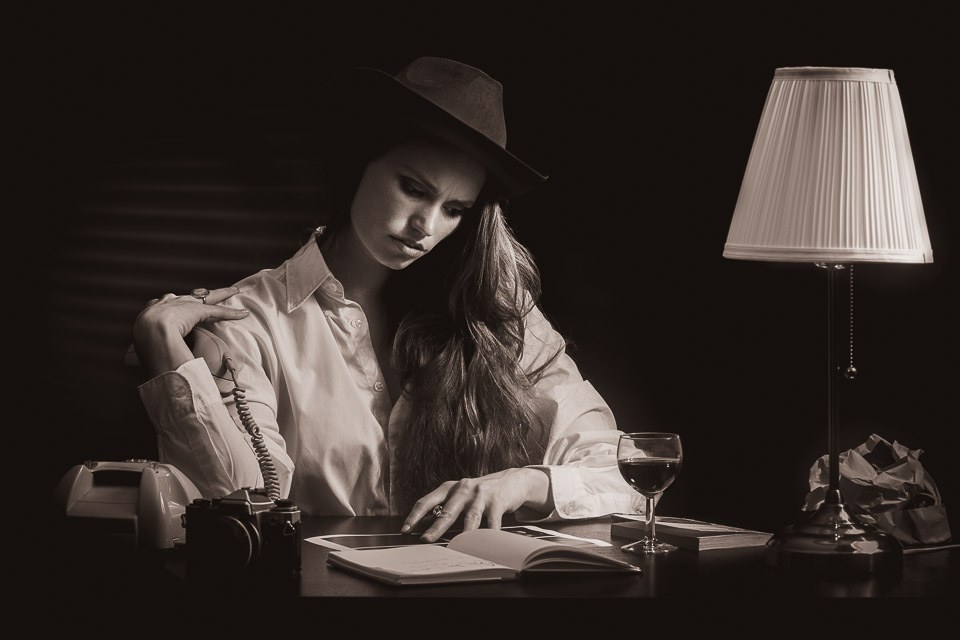
Film Noir is the name of the style of detective films from the 1940s and 1950s. It is recognisable by its high-contrast look with lots of low-key lighting. In black and white, of course. A great style to try in your own photography.
In this article, five practical tips for your own Film Noir photo shoot.
1. Photograph in black and white
A very recognisable element of Film Noir is that the result is in black and white. In black-and-white photography, the lack of colour draws much more attention to contrast, textures and brightness.
What works really well is photographing directly in black and white. So choose a monochrome colour profile in your camera. Your photos will then be displayed directly in black and white on the back of your camera.
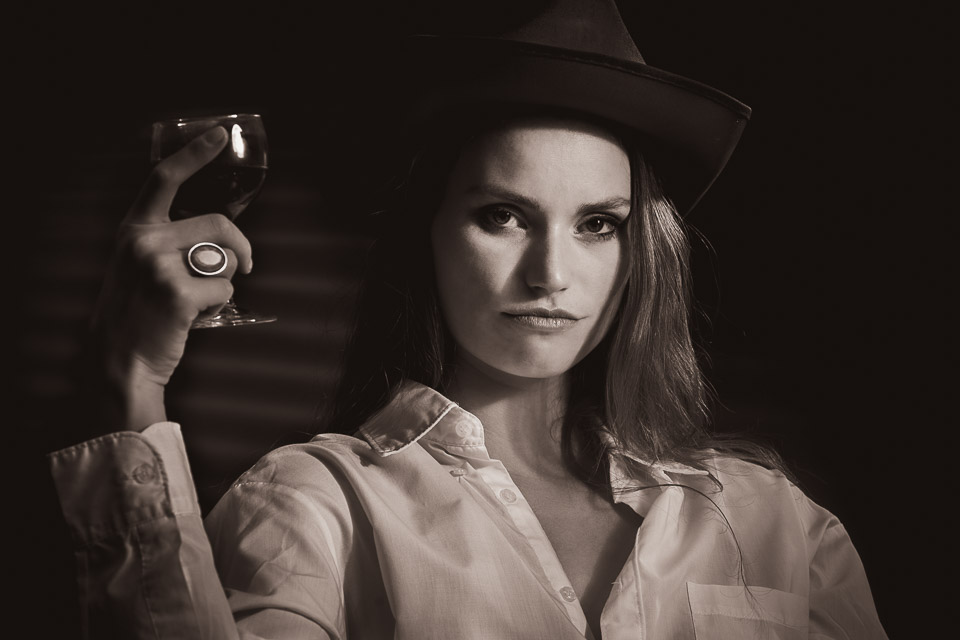
It is recommended that you photograph in RAW format. This means you always keep the colour information available as well. That lets you choose your own black-and-white conversion when editing the photos. This gives you more control.
Do you have a mirrorless camera, by the way? When you set a monochrome colour profile, you will even see everything in black and white directly in the viewfinder. That works really well!
2. Work with hard light
Another characteristic of Film Noir is the hard light used. So take that softbox off your flash.
Light becomes harder the further away it is and the smaller it is. A point source from a bare flash therefore produces much harder light than light from a large softbox.
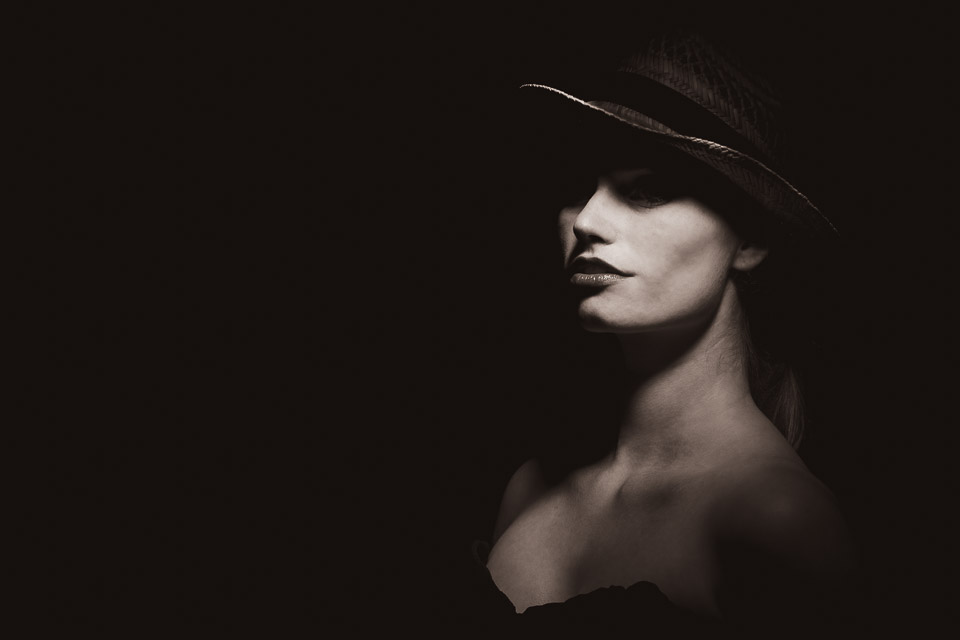
Hard light is much less forgiving. So you need to pay more attention to where the shadow falls. The harder shadows create a strong contrast between the light and dark areas.
Also watch out for reflections on larger white surfaces, such as walls in your studio. These can still create hard light.
You can reduce reflections by covering a white wall with a dark cloth or a black reflector, for example. You can also prevent light from falling on the walls by directing the light more carefully.
For example, put a reflector with a grid on your flash to direct the light strongly, or block off excess light with black boards.
3. Use gobos
Officially, a gobo, or go before optics, is something you place between your light and a lens to direct the light, but in photography it is usually used to refer to something placed between your light and the surface it falls on.
By placing something between your light and your subject or background, you create a play of light and shadow. This makes your photo more interesting and also fits Film Noir perfectly.
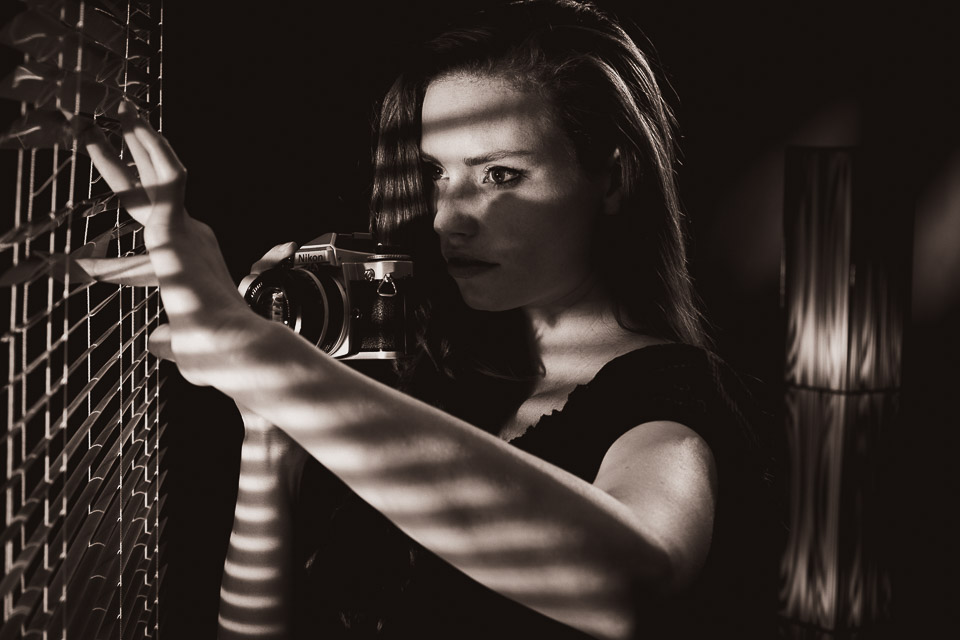
Venetian blinds are a good example, but you can also use plants, a fan, a piece of cardboard with some holes cut into it, or anything else you can think of.
You can use this light on both your model and your background. It creates attractive patterns that contribute to the atmosphere of the photo.
4. Find matching props and clothing
The Film Noir style naturally works well with styling from that period. Of course, it is not necessary. You can also use the same style for photos of today, even in colour if you want.
But often you will choose the atmosphere of the 1950s. In that case, you also need matching clothing and props.
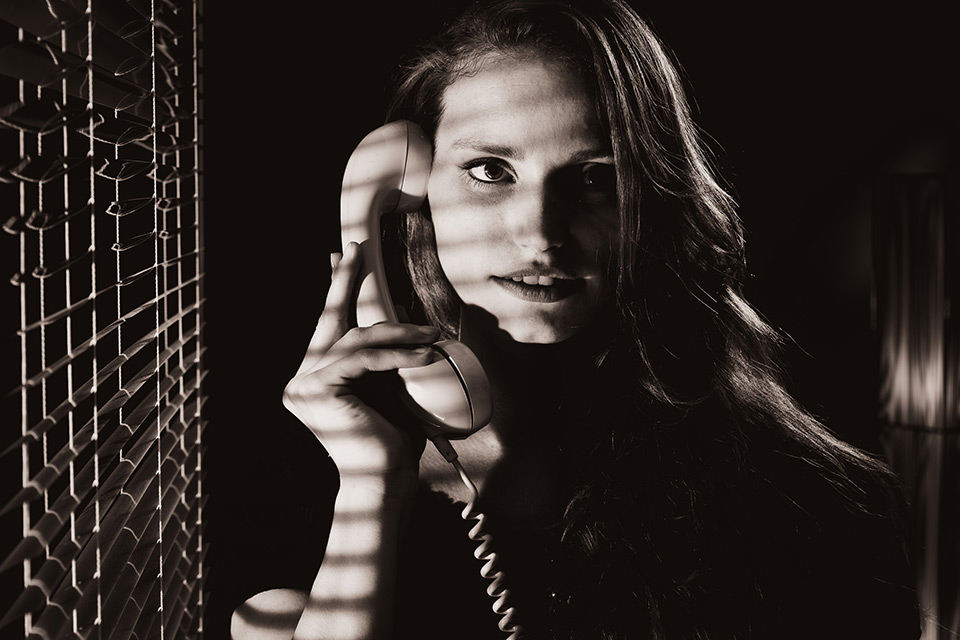
This is a good time to search the attic, browse Marktplaats or visit a second-hand shop.
Old telephones, lamps, cameras and so on can all help create your atmosphere. As can smart evening wear, hats, gloves and similar items.
5. Create scenes
With those props, clothing and your specific Film Noir lighting, you can create scenes. Have your model do something instead of just looking into the camera. This makes the viewer come up with their own story for the image.
About the author
Elja Trum is the founder of Photofacts and online photography course website Photofacts Academy. He has been writing about photography since 2006. Elja is also the author of (Dutch) books on composition, black-and-white photography, flash photography and portrait photography.
You might also like
-
 Film Noir look in photos with LED lights
by Elja Trum
-
 Setting tip: eye detection combined with back button focus
by Thijs Schouten
-
 Film Noir Photography in the Studio with Gavin Hoey
by Elja Trum
-
 This is how Ilford film rolls are made
by Elja Trum
-
 The joy of shooting with a roll of film
by Elja Trum
1 comment
-
 H'jet wrote on Tuesday 12 July 2022 at 15:50 | reply
Yeaah.. B/W photos are strong. I've never tried monochrome myself, always converted from NEF to B/W. No idea if the result would then be better/more intense.
Translated from Dutch.
Have your say
Please note: Articles older than a week can only be commented on by signed-in visitors.Would you still like to comment? sign in or create a free account.
Become a better photographer every week
A practical photography tip in your inbox every week.
39,079 photography enthusiasts already receive the tips! More about the weekly mail. Or keep up to date via  Facebook.

Elja Trum
Photofacts; everything to do with photography!
Would you like to take better photos and keep up with what is happening in photography? Photofacts publishes articles that teach you something about photography — from a product announcement to a practical shooting tip or a look at a website. Photofacts covers photography every day and is a hobby project of Elja Trum's that got out of hand. The articles are written by a team of volunteer authors. If you would enjoy writing one or more articles for Photofacts, do get in touch.More about PhotofactsPhotofacts is made possible in part by
