

Lens flares: a nudge in the wrong direction
Monday 9 September 2019, 20:02 by Michelle Peeters | 10,281 views | 4 commentsThis article was translated from Dutch with the help of AI. Read the original.
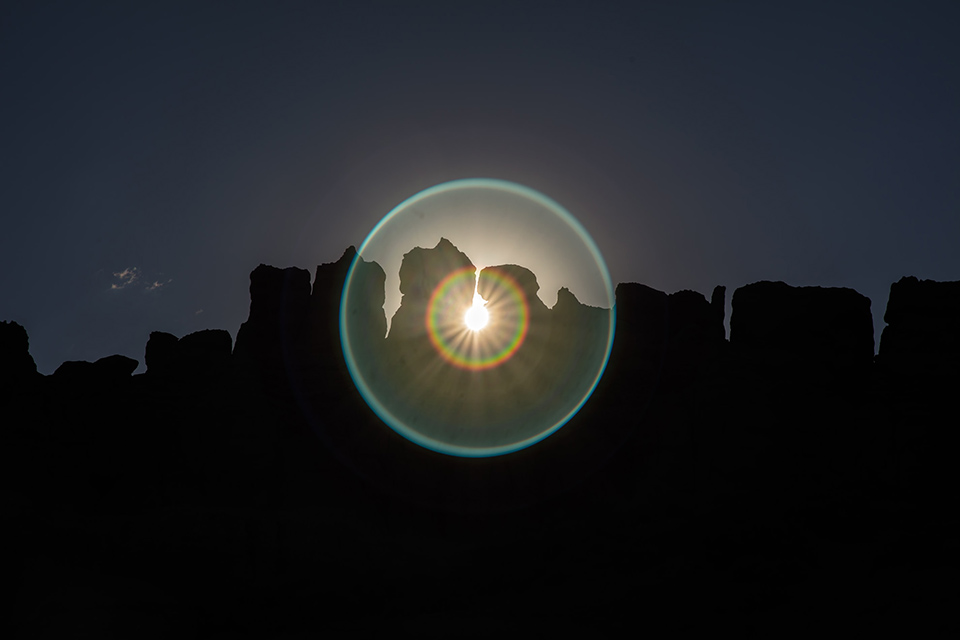
You normally try to avoid lens faults such as 'flare' as much as possible. But if you use lens flare creatively, the effect can create a very special atmosphere in your photo.
Technically, lens flare is so wrong that it becomes right! In this article, a nudge in the wrong direction...
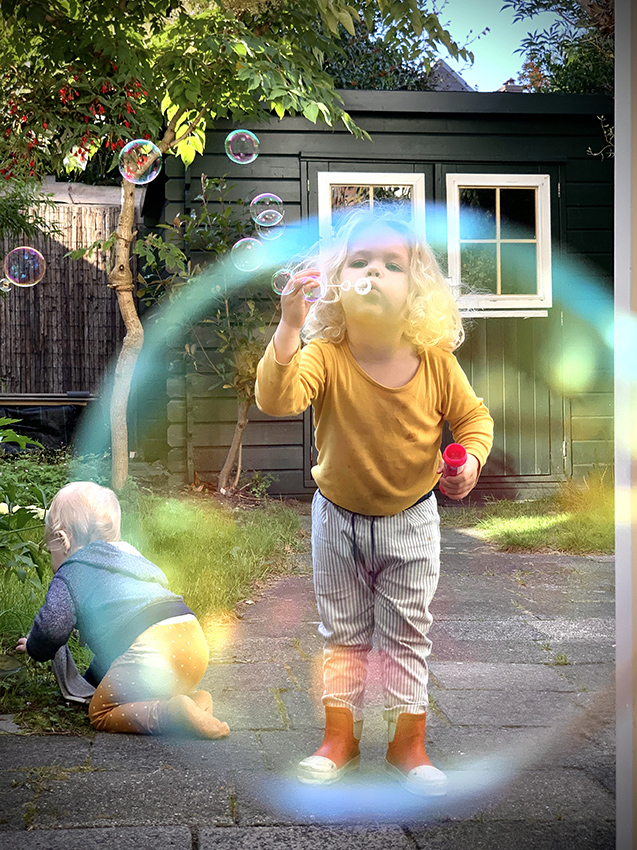
In Elvira Smit's article: Tip: try focusing incorrectly she describes how she happened to create a very special photo through an unusual focus transition, focusing incorrectly.
You can also apply these kinds of 'incorrect' focus transitions deliberately, and lens flare, direct sunlight shining into your lens, can also help you create very unusual photos.
Turn your lens towards the sun!
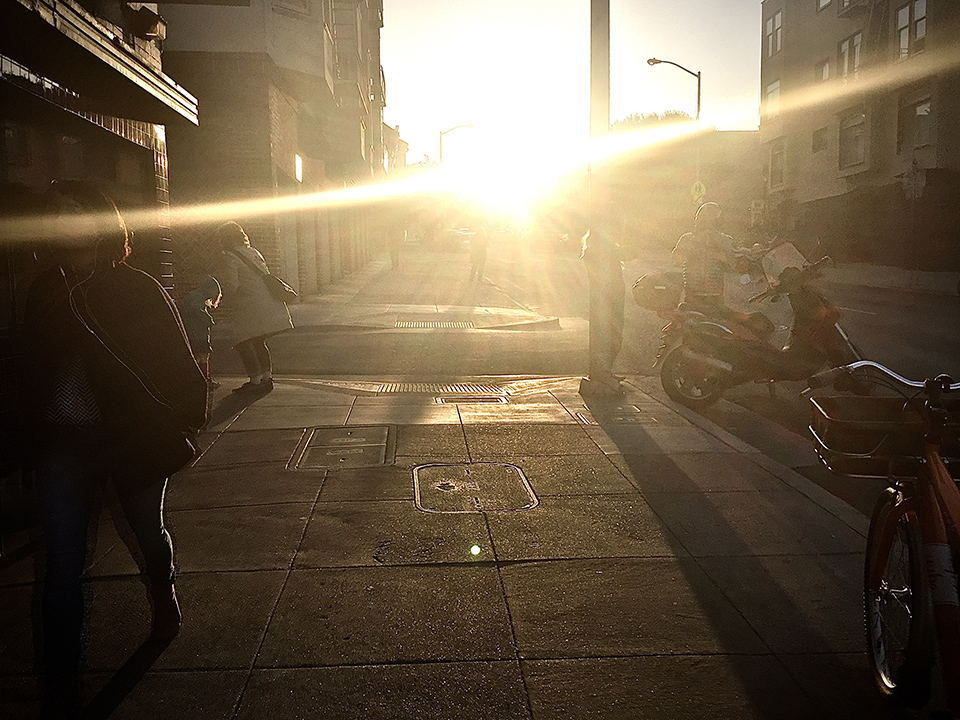
A lot changes in your photo when you turn your back to the sun and photograph into the light. Especially when the sun is shining! All the shadows that were previously behind your subject suddenly appear right in front of you in the frame, giving you more contrast.
But if you create considerable lens flare, or veiling flare, it can also give you less contrast in your photo. A sort of light haze appears, which can greatly enhance the atmosphere.
How does lens flare occur?
Sunlight reflects off the inner edges of your lens several times before reaching your sensor. The chance of lens flare increases as your lens contains more elements. And of course, it happens when the sun shines directly into your lens.
Incidentally, the flare effect increases when you photograph towards the sun at a small angle. So not when you are standing directly in front of it. You can try it yourself by turning your camera slightly while keeping the sun in the frame. You will notice that the effect becomes stronger or weaker at different angles of incidence.
If you make sure the sun just shines onto the front lens element, with the sun just outside the frame, you will still see flare. It really is a matter of millimetres! A zoom lens is more susceptible to lens flare than a lens with a fixed focal length.
A requirement for a nice or fun flare is that you remove the lens hood from your lens. It is designed precisely to prevent this phenomenon.
The use of filters can also affect the amount of lens flare, so it is better not to use them. The filter coating can counteract the flare effect. Wide-angle lenses are also sometimes given coatings to prevent flare. Because of their wide angle of view, there is a greater chance that the sun will shine into your lens.
Odd-numbered blades
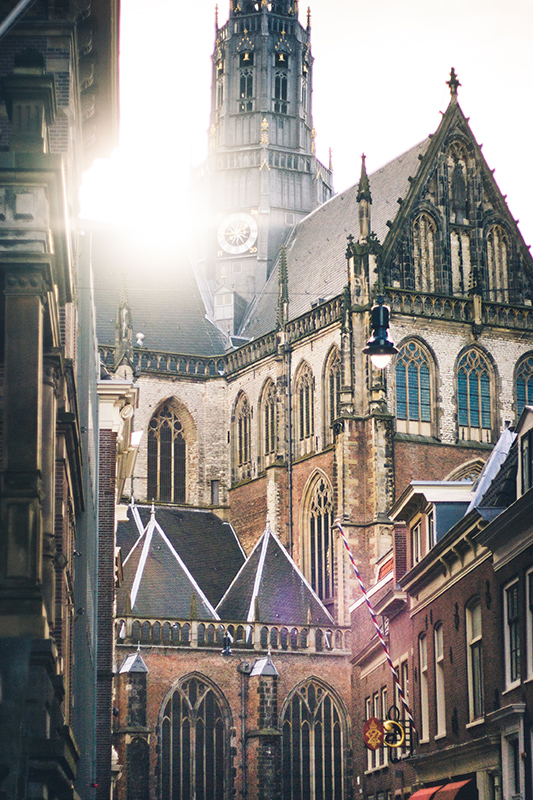
Every lens produces a different type of flare. Try it out with different lenses, if you have them. Some flares look like a circle, while others look like a rainbow. And if your aperture has an odd number of blades, you can get octagonal flares, for example.
Composition
You can place the sun or the rays in different positions in your frame. Completely separate from your subject, giving you an overexposed haze, or you can place it completely outside the frame, so it does not distract from the subject.
Or you can let the sun peek out just around your subject for a completely different effect. You will then see the sun as a clear little circle, which cuts away part of your subject, in the frame. You can control this effect by moving slightly to the left or right.
You get a very nice result if you leave about half of the sun visible. If you open your aperture fully, the sun remains a circle. Otherwise, it becomes a star. Try experimenting with different aperture settings and you will immediately see the difference.
Time of day
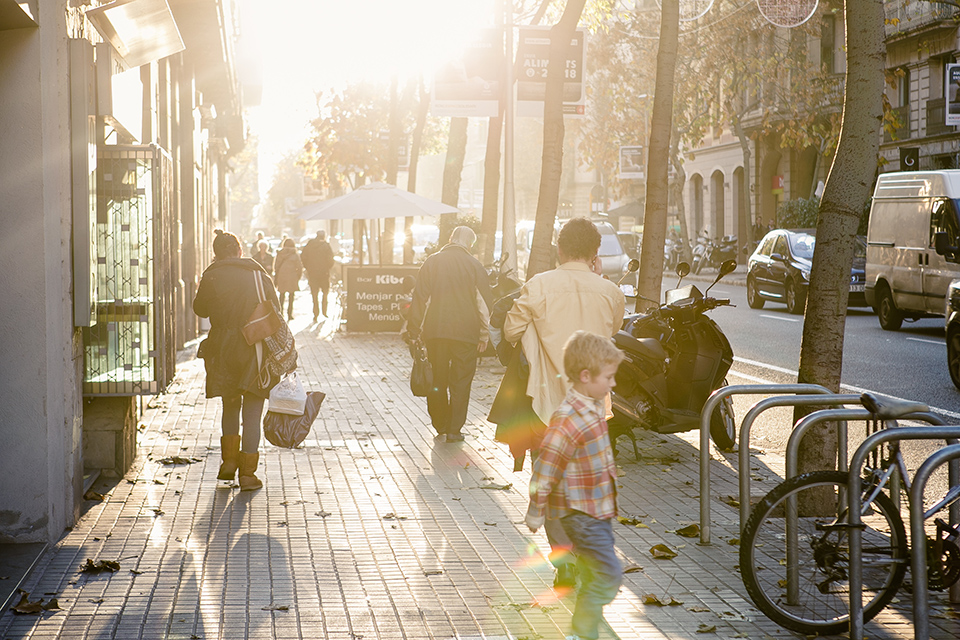
The best time to take lens flare photos is around sunrise and sunset, the golden hours. The sun is low then and less intense, giving you a nice balance with your subject.
When the sun is high, you have to photograph more from below and you miss the golden glow you get during the golden hours. The light is also much less harsh then.
Many lens flare photos are taken in nature. A wide horizon, for example in heathland or open plains, always works very well. An added advantage of an open plain is that you can see the sun until just before it sets, allowing you to make the most of the last rays of sunlight. In the city, between tall buildings, you can forget about that.
Camera settings
Your light meter can become quite confused because it tries to produce an average exposure. With direct sunlight, your photo can quickly become too dark. Compare this with your own eyes. When you look into the sun, you squeeze your eyes shut.
So it is best to set your camera to manual mode, M. Then meter the light so that the exposure meter reads 0. After that, overexpose by one, two or three stops, depending on the situation. You will see that there is no longer any black in your photo, but that is simply part of the lens flare effect. The highlights will also be blown out, and this is allowed for once!
If you want to achieve a different effect, such as creating a silhouette, you can choose not to overexpose. With a silhouette, make sure you retain enough shape in your subject so that it does not become a completely abstract photo.
You can photograph models nicely 'in profile' so that their nose and mouth stick out. This shows that it is a person and not a bag of stones.
Frank Doorhof and lens flare
Frank considers lens flare one of the most beautiful extras in a photo, a real atmosphere enhancer. You regularly see it in his photos. His book Photographing in every situation covers this subject extensively.
He explains how to 'place' lens flares so that they add atmosphere to your photo instead of detracting from it.
In our latest course: Photoshoot under Control with Frank Doorhof on Photofacts Academy, you can see in practice how Frank approaches this subject too.
About the author
Michelle Peeters is fotografe en oprichter van DeuxBleus Fotografie. Michelle herkent het bijzondere in het gewone en het gewone in het bijzondere. Ze heeft zich nooit willen specialiseren en is daardoor van alle markten thuis.
You might also like
-
 How to prevent flare in a photo with the sun in it
by Nando Harmsen
-
 Portrait photography tip: Shooting into the sun
by Elja Trum
-
 13 Common Photographic Mistakes and Tips to Avoid Them
by Michelle Peeters
-
 10 Mistakes When Creating a Composition
by Nando Harmsen
-
 The three directions of light
by Nando Harmsen
4 comments
-
 Robert Vogels wrote on Wednesday 11 September 2019 at 10:13 | reply
Do it very regularly Michelle. The effect can sometimes really surprise you. When photographing against the sun, be careful that the light enters your viewfinder amplified and can seriously damage your eye.
Translated from Dutch.
With photographic regards Robert -
 guest wrote on Wednesday 11 September 2019 at 12:30 | reply
I find this way of photographing very surprising, but I wonder if it isn't harmful to my expensive digital camera when I photograph directly into the sun.
Translated from Dutch.
But by all means keep it up!
Have lots of fun photographing, Bert. -
 Stefanie wrote on Thursday 12 September 2019 at 08:20 | reply
I also regularly take a photo where I can expect flare, sometimes it's nothing, but sometimes it creates a nice effect, like with desert pictures where flare can give you a nice effect in an otherwise rather boring sandy picture
Translated from Dutch.
I once wrote a piece about it on my blog myself, I don't know if it's allowed but here's the link
http://sluiter-op-bulb.blogspot.com/2016/01/lens-flare.html -

 Michelle Peeters wrote on Thursday 12 September 2019 at 22:54
| reply
@Bert: during the golden hours, the sunlight is less intense, so you also have less chance of damaging your sensor when photographing into the sun.
Translated from Dutch.
Have your say
Please note: Articles older than a week can only be commented on by signed-in visitors.Would you still like to comment? sign in or create a free account.
Become a better photographer every week
A practical photography tip in your inbox every week.
38,982 photography enthusiasts already receive the tips! More about the weekly mail. Or keep up to date via  Facebook.

Elja Trum
Photofacts; everything to do with photography!
Would you like to take better photos and keep up with what is happening in photography? Photofacts publishes articles that teach you something about photography — from a product announcement to a practical shooting tip or a look at a website. Photofacts covers photography every day and is a hobby project of Elja Trum's that got out of hand. The articles are written by a team of volunteer authors. If you would enjoy writing one or more articles for Photofacts, do get in touch.More about PhotofactsPhotofacts is made possible in part by
