

Photographing frozen soap bubbles
Sunday 9 January 2022, 16:32 by Laura van der Burgt | 7,557 views | 3 commentsThis article was translated from Dutch with the help of AI. Read the original.
Winter frost is still a little way off, but as soon as the daytime temperature drops below zero, you have a great opportunity to photograph frozen soap bubbles outdoors.
This is a very fun and challenging experiment, but also very surprising because each soap bubble develops a different pattern when it freezes.
To be well prepared, make sure you have the necessary ingredients at home. It can also be useful to ask someone to help with blowing the bubbles.
The soap solution recipe
The recipe for a sturdy soap solution is a mix of water, washing-up liquid, glycerine and sugar. If you already have a ready-made bubble pot at home, you will be done quickly. However, in winter they are not part of the standard range in shops.
Fortunately, making your own is not difficult, and the ingredients are as follows:
- 1 cup of water
- 2 tablespoons of green Dreft
- 1 tablespoon of sugar
- 1 tablespoon of glycerine.
- Straw or bubble wand
- Small bowl or bubble pot
The glycerine keeps the soap bubble intact for longer, while the sugar creates beautiful frozen patterns. This mix also gives you a little more time to photograph the bubble.
As with any recipe, there are variations that can make it even better and sturdier. Adding wallpaper paste or cornflour is said to be another option.
The best weather conditions
>It needs to be at least -4 degrees outside to get those beautiful crystals. A windless spot also helps to keep the soap bubble intact for as long as possible. Ideally, you should also have soft sunlight in the background for a beautiful, bright photo.
Camera settings
A soap bubble in its surroundings can look beautiful, but you actually want to capture the details and crystals clearly. A macro lens is best suited to this. If you do not have one, you can focus closer by using a macro close-up lens or an extension tube.
Settings and composition
When you want to get as much detail as possible in focus, you cannot avoid using a high F-number, meaning a large depth of field. I varied my photos between f/6.3 and f/8.0, and set the ISO quite high to prevent motion blur because I was shooting handheld.
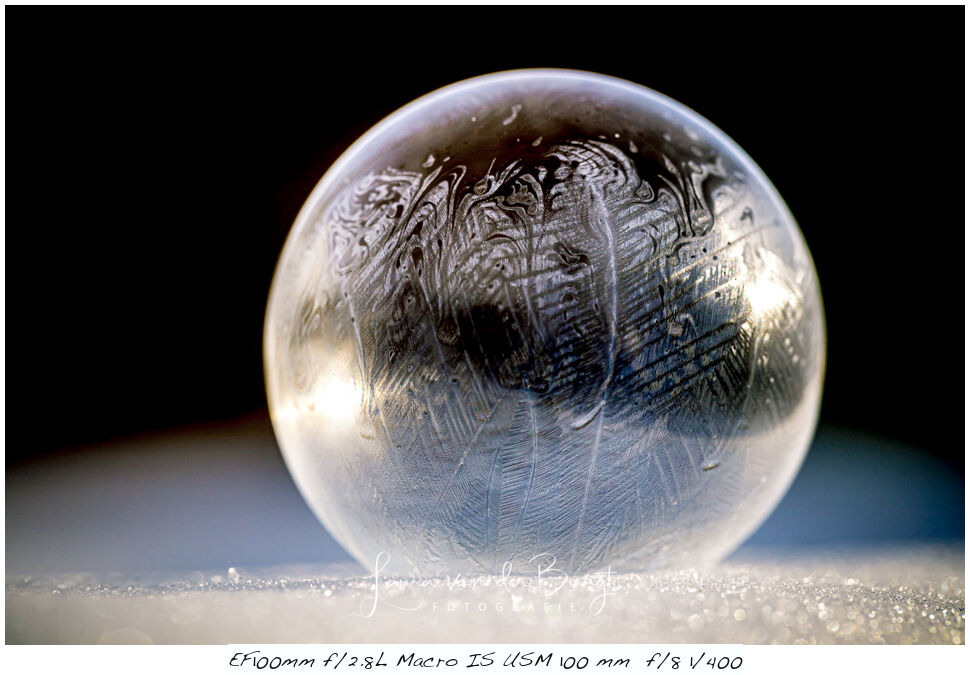
When you are shooting on a tripod, the latter is not strictly necessary and this reduces noise in your images. In this case, you can also use focus stacking. Perhaps this is available as an option on your advanced camera!
Make sure the background is as uncluttered as possible. This only benefits the detail and beauty of the crystals. Try varying between a black or white background, for example by using a sheet of paper.
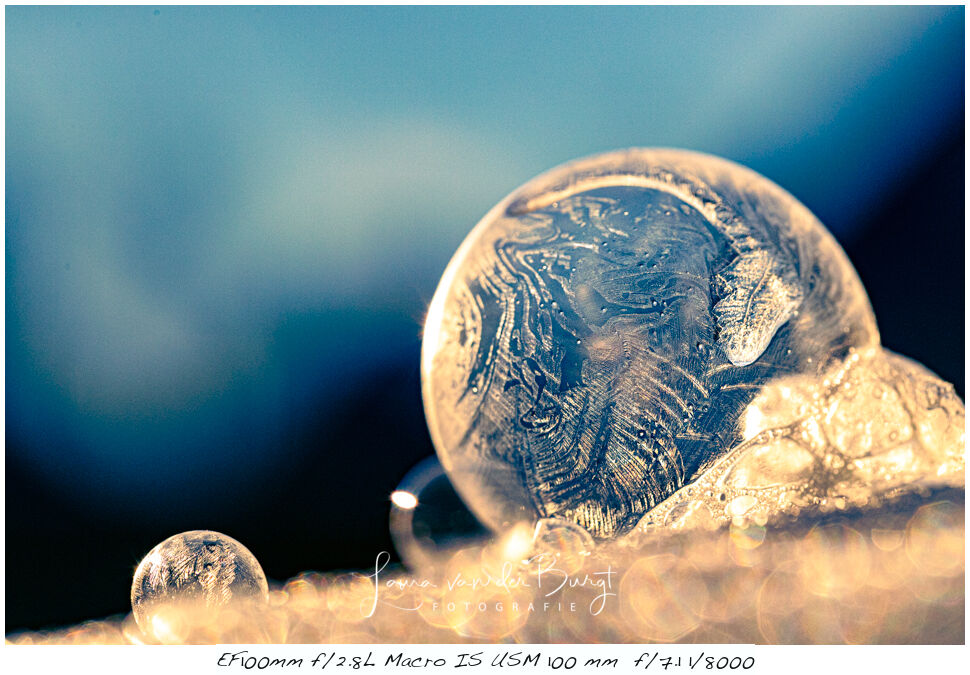
By including snow in the foreground, you get bokeh bubbles that can give your photos a magical effect.
And oh yes, quite a few of my soap bubbles turned into unintended selfies, so be critical of the reflections while no crystals have formed yet.
All beginnings are difficult
Do not get frustrated if it does not work straight away. The soap bubbles do not need to be very large. A smaller soap bubble lasts longer, and a size of a few centimetres is already enough.
When you blow through a ring, it is impossible to know where the soap bubbles will land. If this is on snow, which is quite sharp, they will quickly burst.
By using a straw, you can choose where you want the soap bubble to be. You can then inflate the bubble in a reasonably controlled way, from small to slightly larger.
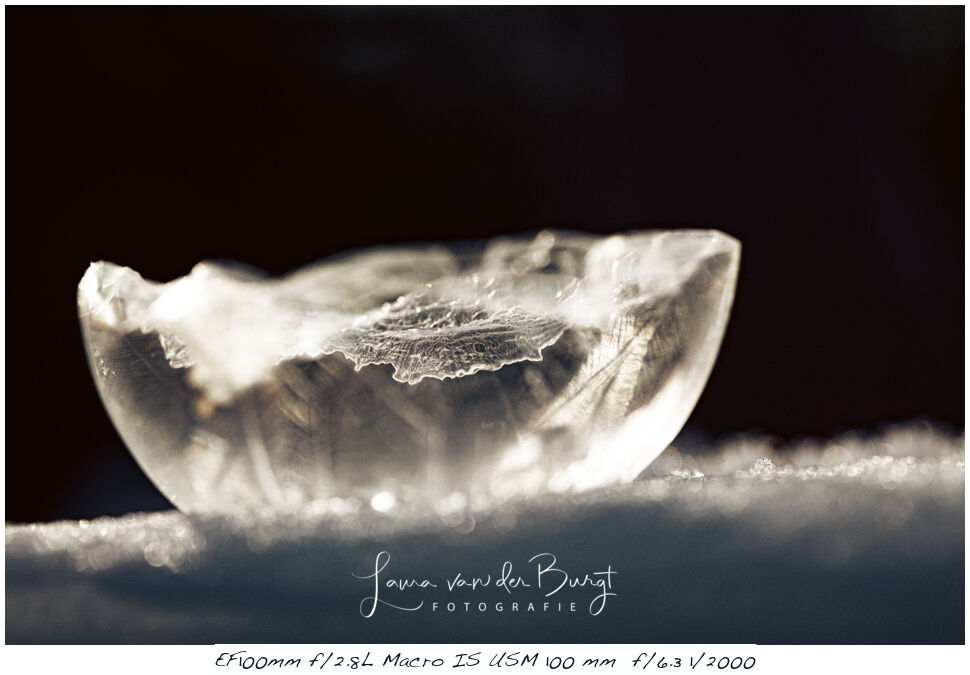
If you coat the surface with soap solution beforehand, this works even better. Alternatively, use a smooth surface such as a mirror, but unfortunately you will only get half bubbles.
A wonderful spectacle
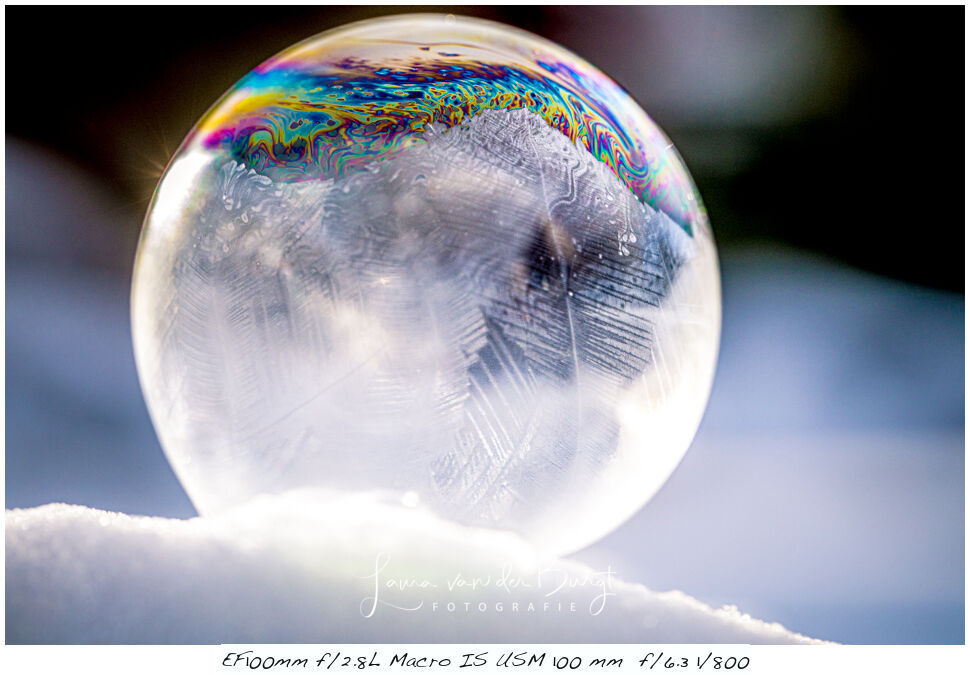
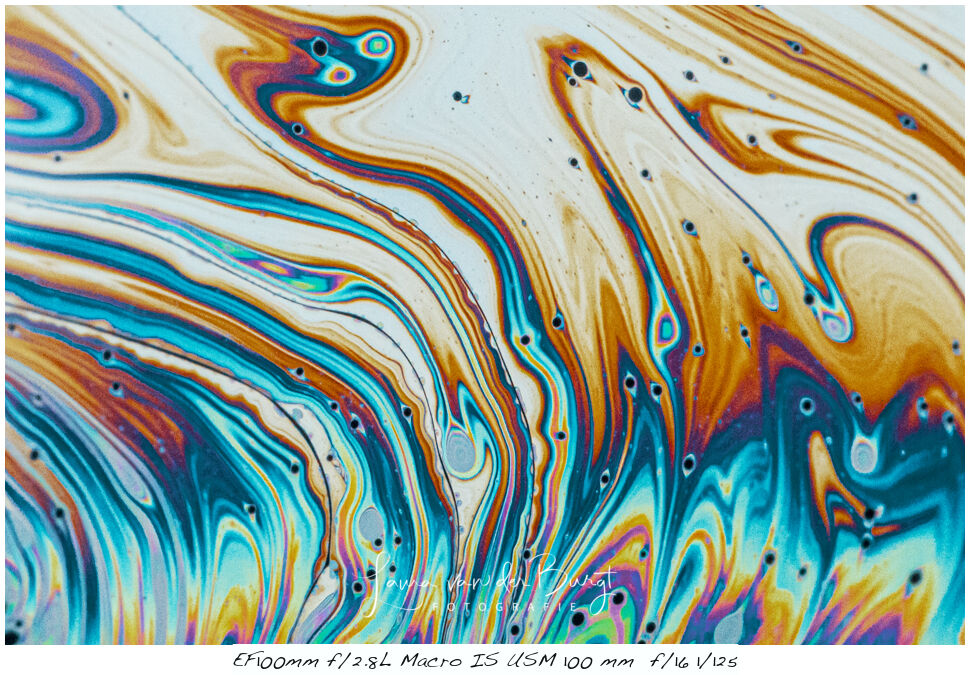
The changing colours of a soap bubble are a wonderful spectacle. At the very beginning, you can still see all the colours of the rainbow reflected, after which the water in the film starts to freeze. This is when the crystals begin to form all kinds of figures and shapes.
Photographing soap film indoors
Of course, you do not have to wait for frost. You can also take beautiful photos indoors using this soap solution. Not by blowing bubbles, but by photographing it 'flat'.
The different shades of colour and shapes that pass before your eyes in a matter of seconds are fascinating to study and photograph.
In this article you can read more about it.
Post-processing
I edit photos in Adobe Lightroom Classic as standard. By adding extra 'Texture', you emphasise the shape and relief of the crystals. I set this to 100 per cent.
By playing with the 'Dehaze' slider and moving it to the right, the image becomes more contrasty and slightly darker.
If you use the web version of Lightroom, for example, Adobe presents you with presets created and made available by other users. This gives you new ideas. So it is fun to try.
You will find these under profiles > presets > recommended. By clicking 'view more', you will be presented with even more variations.
You can view the edits for each preset and optionally copy or save them. A great way to learn more about editing!
About the author
Natuurfotografie is voor Laura een samensmelting van het ongelooflijk genieten van in de natuur zijn en haar passie voor fotografie. Het fotograferen met een minimale scherptediepte is favoriet en ook trekt ze er vaak met de lensbaby op uit.
You might also like
-
 To stack or not to stack
by Erik Nevels
-
 Winter fun! Photographing in the snow
by Laura van der Burgt
-
 Ideas for the Long Winter Evenings
by Nando Harmsen
-
 Where do you find your inspiration?
by Nando Harmsen
-
.jpg "Inspiration, essential for your photography!") Inspiration, essential for your photography!
Inspiration, essential for your photography!by Laura van der Burgt
-
 Focus stacking: experimenting is learning
by Juliette Gribnau
3 comments
-
 John Boutsen wrote on Monday 10 January 2022 at 14:27 | reply
nice article, do you mean by tablespoon a soup spoon ?
Translated from Dutch.
I'm just asking because otherwise I'll end up messing around again without getting a good result.
I had already bought the glycerine
John for this, the sugar was unknown to me, thanks for this -

 Laura van der Burgt
wrote on Monday 10 January 2022 at 15:06
| reply
Laura van der Burgt
wrote on Monday 10 January 2022 at 15:06
| reply
Hi John, I mean a tablespoon! Good luck with it!
Translated from Dutch. -
 Dianne wrote on Tuesday 11 January 2022 at 18:30 | reply
Another enthusiastic article, clearly written and with sublime photos. Thank you for all your info, great to do and now wait for frost to get started with all your info in the back of my mind.
Translated from Dutch.
Have your say
Please note: Articles older than a week can only be commented on by signed-in visitors.Would you still like to comment? sign in or create a free account.
Become a better photographer every week
A practical photography tip in your inbox every week.
39,078 photography enthusiasts already receive the tips! More about the weekly mail. Or keep up to date via  Facebook.

Elja Trum
Photofacts; everything to do with photography!
Would you like to take better photos and keep up with what is happening in photography? Photofacts publishes articles that teach you something about photography — from a product announcement to a practical shooting tip or a look at a website. Photofacts covers photography every day and is a hobby project of Elja Trum's that got out of hand. The articles are written by a team of volunteer authors. If you would enjoy writing one or more articles for Photofacts, do get in touch.More about PhotofactsPhotofacts is made possible in part by
