

The power of accent lighting
Monday 16 November 2020, 20:40 by Frank Doorhof | 5,314 views | 0 commentsThis article was translated from Dutch with the help of AI. Read the original.
We all know that light is incredibly important in a photograph. After all, photography is painting with light, but how does this actually work when you look at a photograph without any photography knowledge?
Most people will respond best to a photograph that is evenly lit, for the simple reason that you can see everything clearly. So you could say 'just shoot everything with a large softbox, send the invoice, and you're done'.
But of course, as a photographer, you also want a bit of a challenge. So how are we going to approach this?
If we look purely at art, anything is possible, of course. In fact, when I look at the photographs that sell for thousands of euros, I regularly think 'WTF'.
And I don't think I'm the only one, so let's see how we can make a standard portrait a bit more interesting.
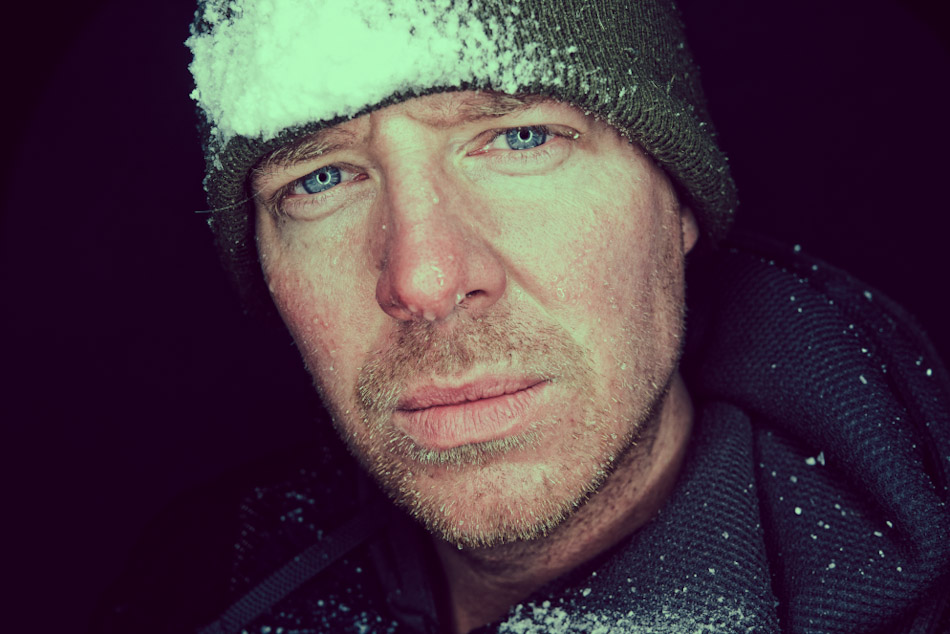
Flat light
There is definitely a place for flat light. Think, for example, of shooting a so-called 'face book'. In fact, it is ideal for that. You want the client to immediately see who they are dealing with.
Then, let's be honest, it is simply our job as photographers to photograph someone as well as possible.
Do keep in mind that when you do this kind of assignment, you must ensure continuity at all times. So don't make it too difficult.
Choose a background that you can recreate exactly every time, or make sure that every background is different, while still being able to recreate that 'style' exactly at a later date.
So one staff member in the snow and the rest in summer... Doesn't seem like a good idea to me. Although sometimes that can be fun too. Discuss this properly with your client and plan it that way.
Do note: flat lighting does not always have to be 'boring', of course. But let's put it this way, it has a particular look.
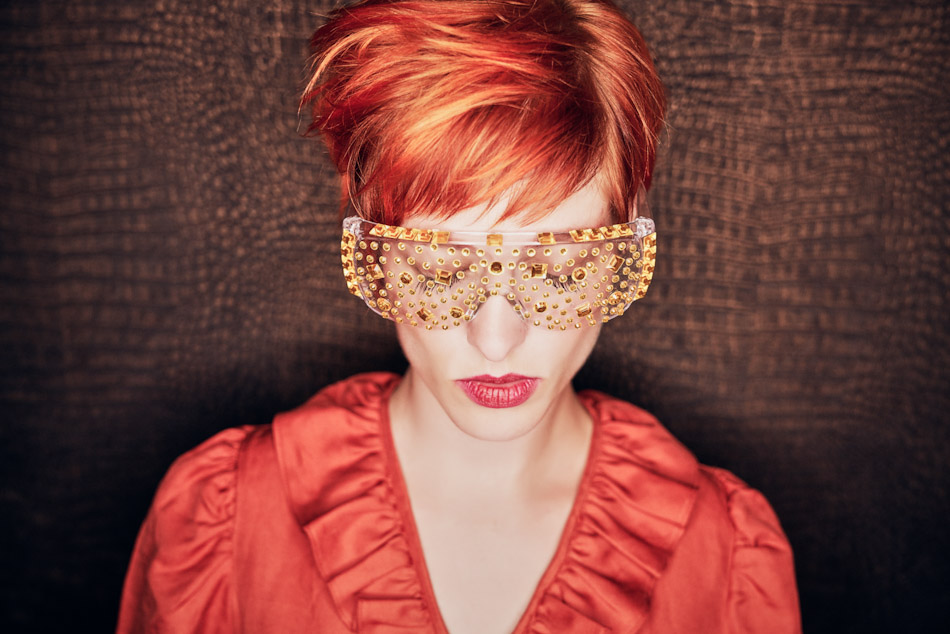
High-contrast light
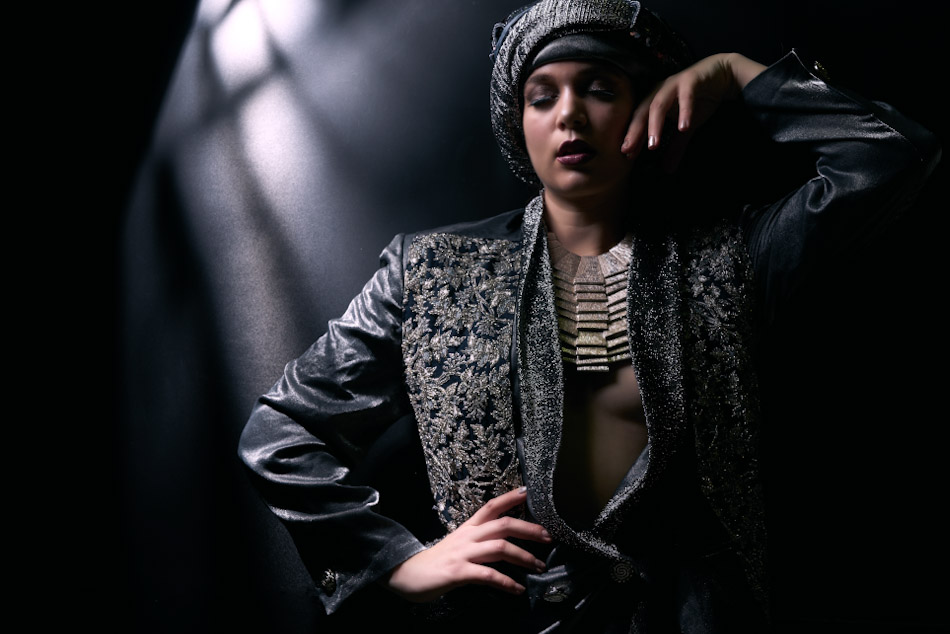
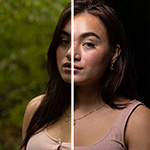
Now it often gets a lot more fun. You place the light more to the side, which effectively creates a dark side and a light side.
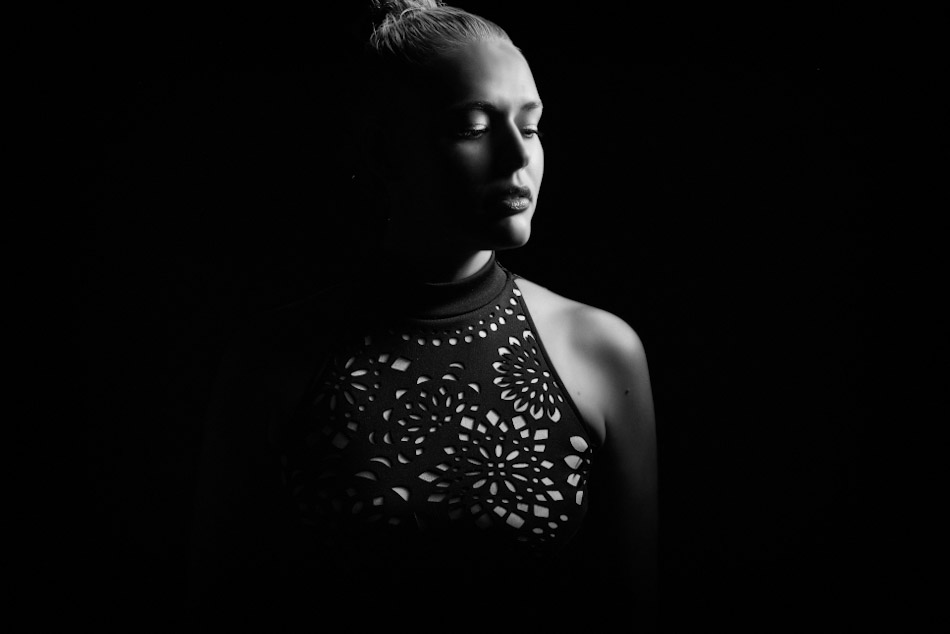
This is of course much more fun for us as photographers. You also get much more of a 3D effect in your photographs now, but the problem is that the subject can no longer look directly into the camera.
The light would no longer fall into their eyes, and that is something we do like to see, so these kinds of photographs are not really suitable for a face book. There, we do like that direct communication with the viewer.
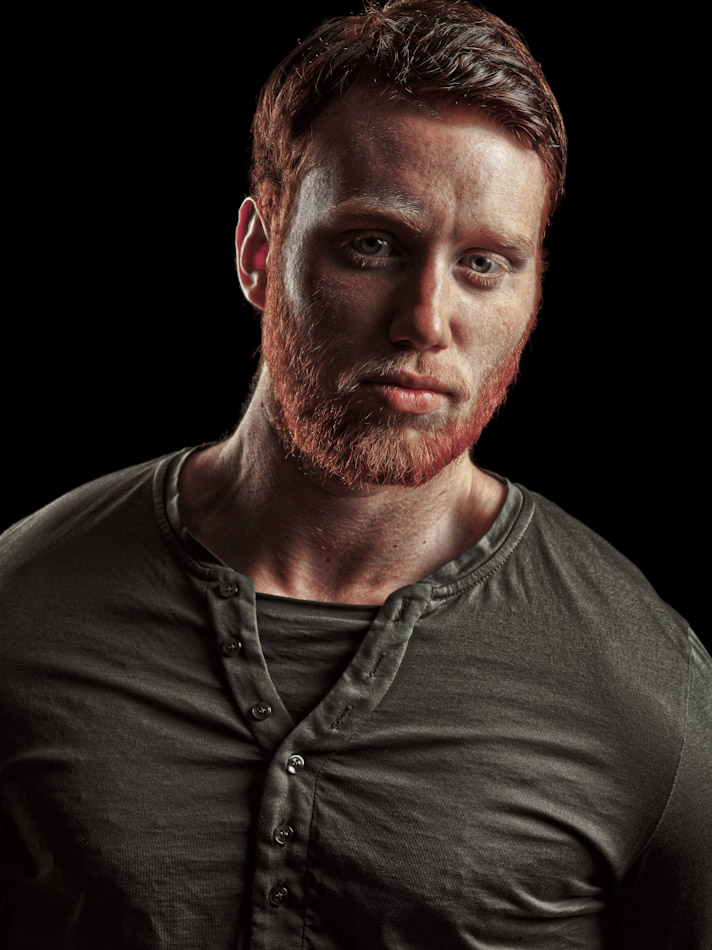
With a bit of adjusting, you can create photographs that give a sense of depth, but it really takes some searching to find the balance.
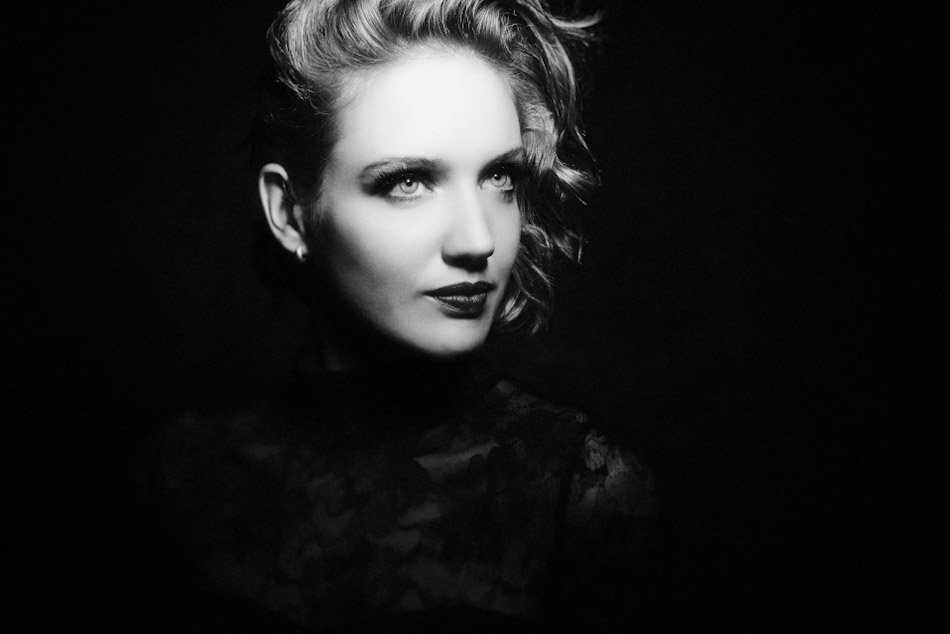
But that does not mean that this cannot produce a beautiful portrait. In fact, in my opinion it creates a much stronger image.
But let's be honest, often all we want is a dark side and a light side. So...
Separation
This is where things often go wrong. The subject disappears against a background that is too dark, and let's be honest, those are often the most commonly chosen backgrounds for this kind of photograph.
We can solve this in a few ways.
The first is the most commonly used, and the easiest. Just put an extra flash on the background behind the model and... well, that immediately gives you the difference we need.
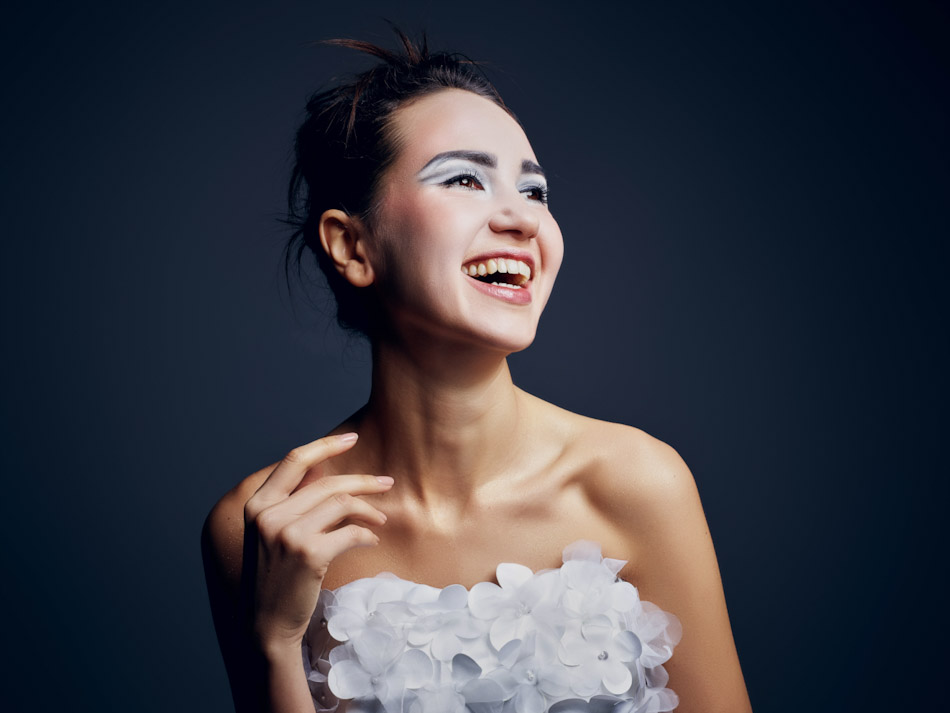
But let's be honest, these are often somewhat less striking photographs. So we usually also use an extra light at the side, which we call accent or rim lighting. And that can be quite tricky when you are just starting out with photography.
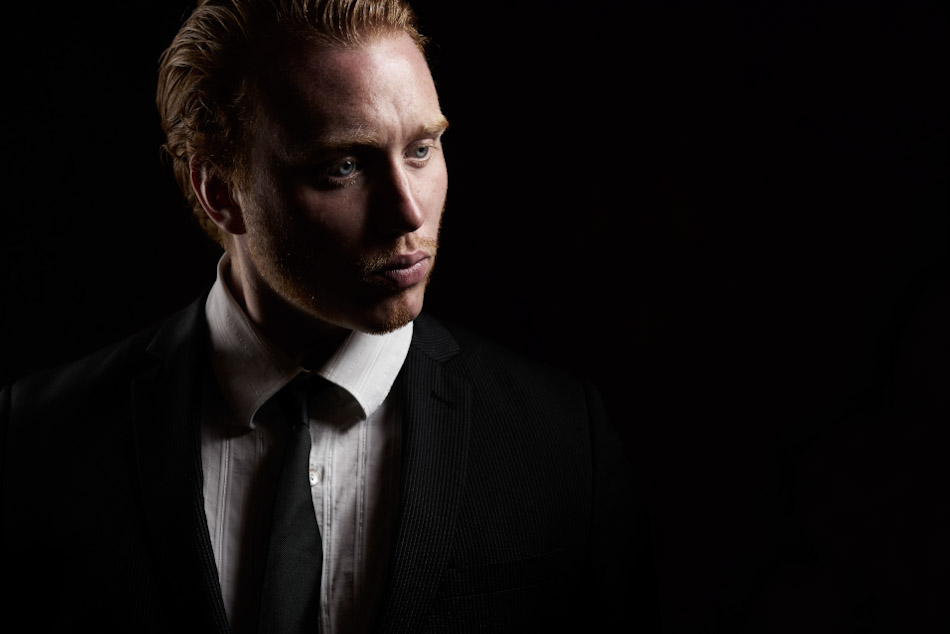
The first thing you need to keep a close eye on is that this is a very important light source. If you position the accent light incorrectly, you end up with photographs that... well, are not what you want.
With ugly shadows, or overexposed areas on the shadow side. Or you cannot see it at all, or it... You get the idea, all sorts of things can go wrong.
I usually use a strip light with a grid or a standard reflector, with or without a grid, as accent lighting. I often use the latter feathered for lens flares, I will cover that in more detail in another article in the future if you like, but for now let's look at the strip light.
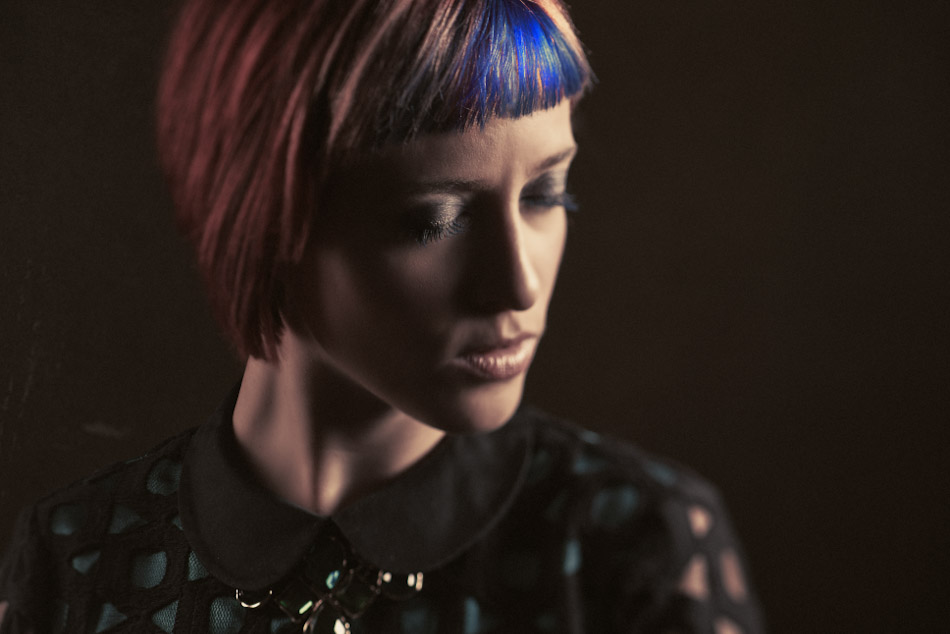
The advantage of a strip light is that you have a nice, large light source. So you get soft light, but because it is very narrow you have a lot of control over the light. With a grid, it all becomes even “better”
How do you set this up successfully?
I always ask the model to move the hair away from the side with the accent light and to tilt her head slightly.
What I really want is to light the jawline properly without the light falling directly on the cheekbones, because that often creates ugly bright spots.
The difficulty here is that the main light is normally controlled and fine-tuned. We are actually used to just leaving the other lights 'as they are'.
With well-positioned accent lighting, it is key, pun intended, as the main light is called the key light in English, to get that accent lighting absolutely right.
The best place to start is with a sort of Rembrandt lighting. Place the flashes on both sides just behind your model and have your model look slightly to the side. Make sure the main light is positioned a little further forward than the accent light and basically you are there.
It is important, though, that BOTH flashes are really behind and beside the model. As soon as you pass the imaginary line, so that the flashes end up in front of the model, the entire setup falls apart.
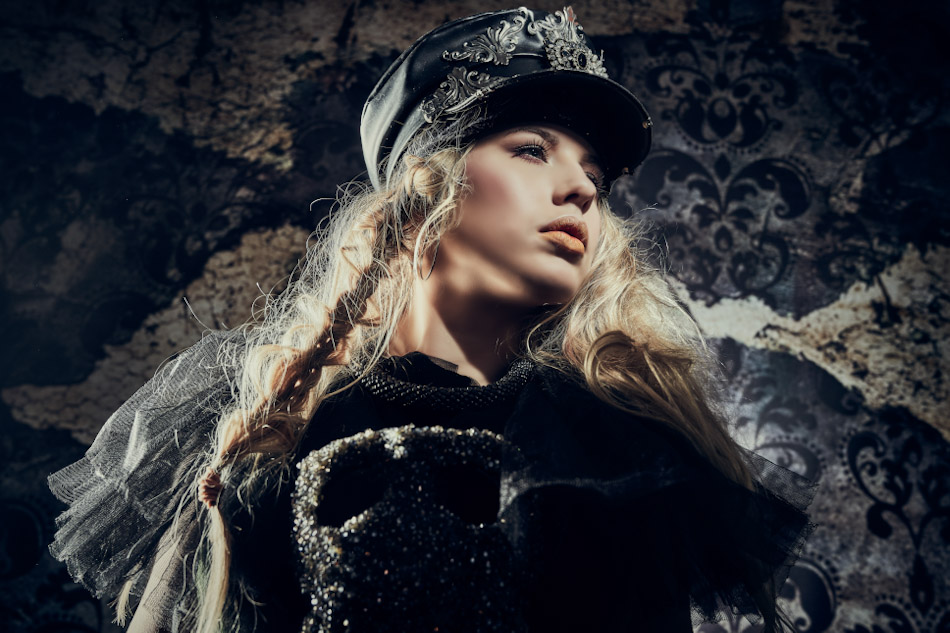
Once you have the “main lighting” sorted, you will soon discover that there is very little room for the model to move when adjusting the accent lighting.
Don't worry, though. It is absolutely not rocket science, but you do need to pay close attention to how the accent lighting falls.
That is why I put “main light” in quotation marks, because although it remains the light that has the greatest influence on the overall image, setting the accent light correctly is especially important, and it is actually the light source that gets the most attention.
About the author
Frank Doorhof blogt dagelijks in het Engels op zijn website en geeft wekelijks workshops model fotografie in zijn studio in Emmeloord, maar ook op locatie in binnen en buitenland. Van beginners tot gevorderde, iedereen kan bij Frank terecht. Ook voor specifieke 1 op 1 workshops, of maatwerk voor groepen.
You might also like
-
 Paintshoot; playing with paint in the studio
by Elja Trum
-
 5 Tips for Variety in the (Home) Studio
by Elja Trum
-
 Recreating a Room in Your Studio
by Elja Trum
-
 From dining table to winter wonderland
by Rob Zwart
0 comments
Be the first to share what you think!
Have your say
Please note: Articles older than a week can only be commented on by signed-in visitors.Would you still like to comment? sign in or create a free account.
Become a better photographer every week
A practical photography tip in your inbox every week.
39,079 photography enthusiasts already receive the tips! More about the weekly mail. Or keep up to date via  Facebook.

Elja Trum
Photofacts; everything to do with photography!
Would you like to take better photos and keep up with what is happening in photography? Photofacts publishes articles that teach you something about photography — from a product announcement to a practical shooting tip or a look at a website. Photofacts covers photography every day and is a hobby project of Elja Trum's that got out of hand. The articles are written by a team of volunteer authors. If you would enjoy writing one or more articles for Photofacts, do get in touch.More about PhotofactsPhotofacts is made possible in part by
