

Available light in portrait photography
Thursday 13 December 2018, 10:55 by Michelle Peeters | 11,151 views | 1 commentThis article was translated from Dutch with the help of AI. Read the original.
You cannot take photographs without light. Many photographers prefer natural light to flash or other artificial light. You cannot fully control natural light, of course. So how can you make the most of it?
The difference between a perfect and an average photograph is often in the lighting. The lighting can make or break your photograph. Light is the basis of all photography. Without light, you simply cannot take photographs, which alone makes it such an important aspect of photography.
Fortunately, light can be found almost everywhere, even at night when the moon and/or stars still provide some light. The trick is to use the available light as well and as beautifully as possible.
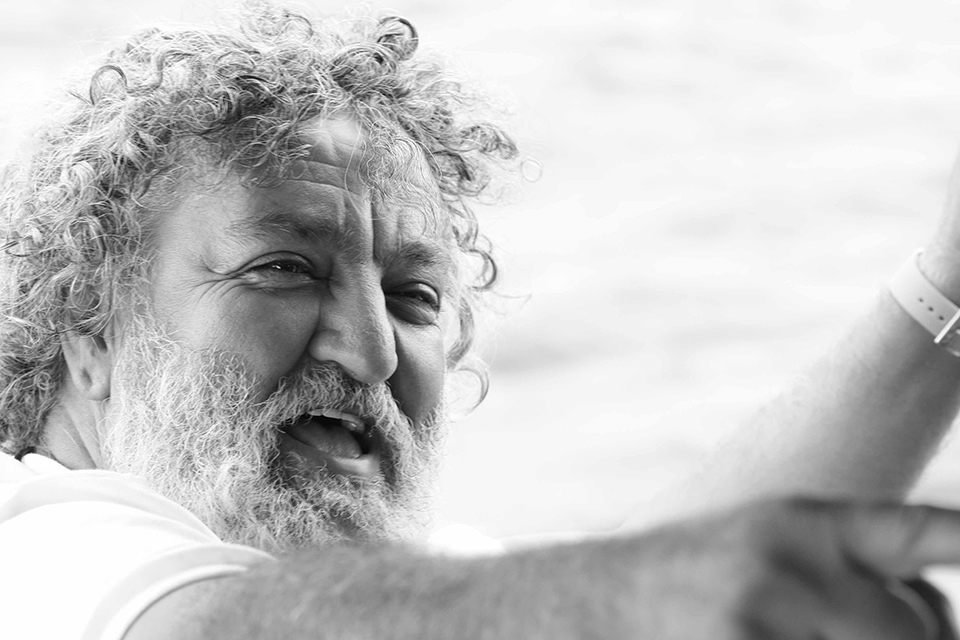
What is good light and where can you find it?
Good light is just right. Not too bright, beautifully even, diffuse and shining from a single point. But how exactly do you find that light?
As a photographer, you need to develop the ability to recognise beautiful or good light. In fact, and at some point you do this unconsciously, you are constantly looking for good, or preferably perfect, light.
You need a great deal of experience to recognise good light, but there are also places where you have a good chance of finding beautiful lighting conditions.
It also depends on what you want to photograph when deciding what good light actually is. Portrait photographs have different lighting needs from interior or landscape photographs.
For portraits, diffuse, soft light is best, while with landscapes you often use front light or sidelight.
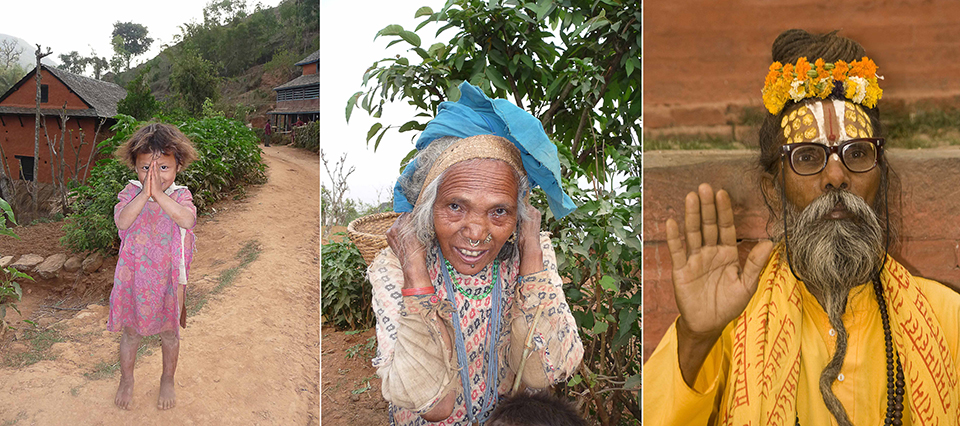
How do you use good light?
If you want to take a portrait in natural light, good light in this case means that it falls beautifully diffuse, or spread out, and is therefore soft. This gives your model attractive and interesting lighting, without ugly, hard shadows across the face or blown-out white areas.
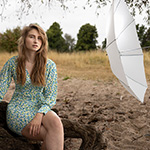
A cloudy day is perfect for this situation. The clouds work as a natural softbox, spreading the light beautifully across the face. In this case, you do not need studio lighting with softboxes or umbrellas either.
Backlighting can also work very well for portraits. Sometimes you need to add a little flash or use a reflector. Do not do this in the middle of the day, though. Choose a time early in the morning, at sunrise, or in the afternoon or evening, around sunset.
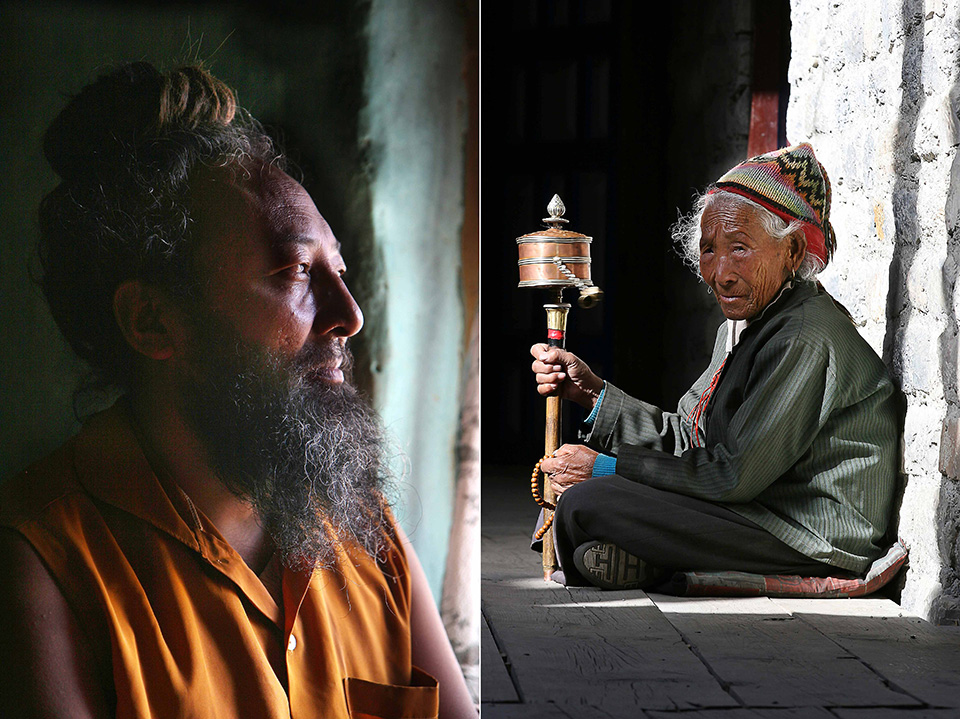
You can also use light coming in through a window for portraits. This means the light comes from one side, so it falls very naturally on your model's face.
When your model is turned towards the window, the front and face are beautifully and brightly lit. The rest of the body is a little darker. And that is good, because it draws attention to the face, the most important part.
Turning your model five centimetres further to the left or right can make a big difference. So try out lots of positions and take plenty of photographs. Your model's expression and pose can also make a huge difference. Think carefully in advance about what you want to achieve with your photographs and what you want to express.
You can find windows with beautiful light coming through them almost anywhere. This means you can take this type of portrait in most places.
Think about your position
When you work with natural light, which you can only control to a limited extent, your own position and that of your model become even more important. For example, when you work with light coming in through a window, every change of position can make a huge difference to how the light falls.
If you move closer to the window, more light falls on your sensor. If you move further away, you get less light. Turning your model towards or away from the light also makes a world of difference.
Natural light can be extremely changeable. A cloud can suddenly pass in front of the sun, completely changing the character of the light. You also cannot rely on it if you need to take a whole series of photographs with uniform lighting.
You can still correct small nuances in post-processing, but if you photograph throughout the day, uniformity in your photographs is really not possible.
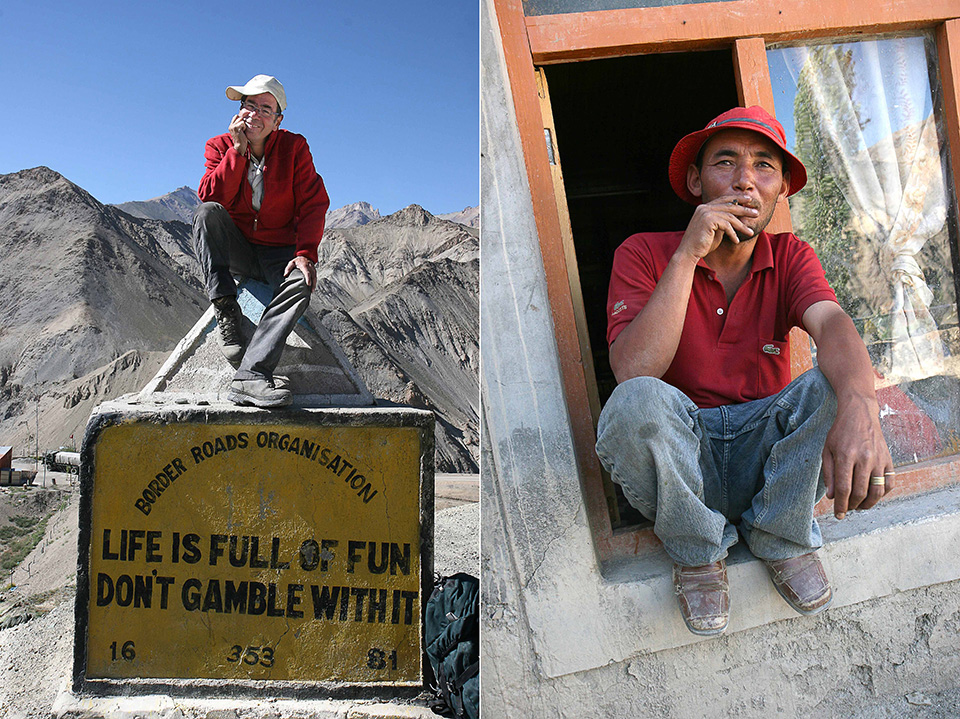
How do you assess the light?
Ask yourself questions such as: is the sun bright or weak? Are there many or few shadows, or is little light getting through the clouds? How does the light fall on my subject? Is it lit in a flattering way or not? And can I improve this by changing my own position or that of the model?
The times when the sun rises and sets are also important to remember. And bear in mind that you have considerably fewer hours of light for photography in winter.
You can also use the unpredictable nature of natural light to your advantage. Try allowing yourself to be surprised by what happens from time to time.
On a cloudy day, the sun can suddenly appear, creating a sparkle in your model's eyes or giving the skin a little extra glow.
Using a wide aperture is recommended for portrait photography. This is especially true when you are photographing in dark places where light only comes in through a window. This draws all the attention to your model and allows you to make the background dark and less recognisable.
The shallow depth of field created by the wide aperture also makes the background nicely blurry, allowing you to focus attention on your model.
One important point: watch out for overexposure, especially on very sunny days. It is better to underexpose slightly so you can brighten the image again in post-processing.
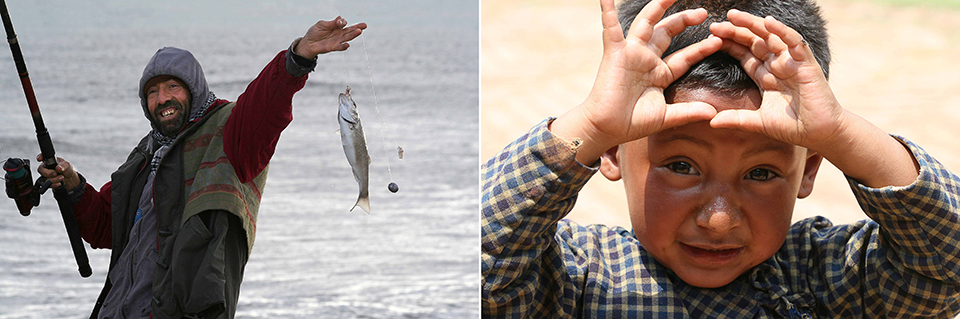
Camera/lens
It is preferable to work with a camera that performs well in low light and a fast lens. There are several reasons for this.
Because you often work with large contrasts, the difference between the dark and light areas in your photograph, it is useful to have a camera with a high dynamic range, meaning a large sensor.
If you use a fast lens, you can still work with very wide apertures, such as f/1.8 or f/2.8, in poor lighting conditions, such as dark rooms. With wide apertures, make sure you focus accurately on the eyes.
Manipulating natural light
Natural light can be beautiful, but it is also very unpredictable and difficult to influence. Fortunately, there are still ways to gain some control over natural light.
For example, you can use a reflector. This type of screen is made from a reflective material, white, silver or gold, and you can control the incoming light fairly precisely by holding it at the right angle in the sun.
You can also place your model in the shade and bounce the light, which is reflected and comes back at a lower intensity, onto your model. You can also use it to brighten shadows on the face or to block the sun from the face.
Black screens are also available. They do not reflect the light, but absorb it instead.

Post-processing
If you photograph in RAW, post-processing is a must. The main thing is to adjust the basic settings properly, such as exposure, highlights, shadows, whites and blacks.
If you hold down the Alt key while moving the sliders, the photograph temporarily turns black and you can see only the overexposed or underexposed areas. This allows you to adjust the exposure very accurately.
Sometimes the colours are not captured entirely accurately. To adjust them by colour, go to the HSL panel on the right.
Under Hue, you can move the colours towards a tint that looks more true to life. Under Saturation, you adjust the intensity of the specific colour, while under Luminance you make that colour lighter or darker.
A small adjustment often has a big effect because natural light already gives your photograph a good foundation. Also think about things such as sharpness, a possible black-and-white conversion, or adding more saturation.
Want to learn more about portrait photography?
At Photofacts Academy, our online learning environment for photographers, we have several courses on portrait photography.
- Portrait photography tips (Elja Trum)
- Portrait photography in practice (Elja Trum)
- Business portrait photography (Maurice Jager)
- From Image to Art (Micky Hoogendijk)
- Basic course: Flash on location (Piet van den Eynde)
You can follow these courses for two weeks with a free trial membership.
About the author
Michelle Peeters is fotografe en oprichter van DeuxBleus Fotografie. Michelle herkent het bijzondere in het gewone en het gewone in het bijzondere. Ze heeft zich nooit willen specialiseren en is daardoor van alle markten thuis.
You might also like
-
 Ambient and artificial light in macro photography
by Nando Harmsen
-
 9 Tips for Using an On-Camera Flash
by Nando Harmsen
-
 LED versus flash: which is better?
by Elja Trum
-
 Flash photography tip: Set your flash manually
by Elja Trum
1 comment
-
 Anita wrote on Tuesday 15 May 2018 at 15:08 | reply
A good refresher on portrait photography and useful tips for post-processing
Translated from Dutch.
Thank you
Have your say
Please note: Articles older than a week can only be commented on by signed-in visitors.Would you still like to comment? sign in or create a free account.
Become a better photographer every week
A practical photography tip in your inbox every week.
38,886 photography enthusiasts already receive the tips! More about the weekly mail. Or keep up to date via  Facebook.

Elja Trum
Photofacts; everything to do with photography!
Would you like to take better photos and keep up with what is happening in photography? Photofacts publishes articles that teach you something about photography — from a product announcement to a practical shooting tip or a look at a website. Photofacts covers photography every day and is a hobby project of Elja Trum's that got out of hand. The articles are written by a team of volunteer authors. If you would enjoy writing one or more articles for Photofacts, do get in touch.More about PhotofactsPhotofacts is made possible in part by
