

9 Tips for Using an On-Camera Flash
Monday 12 October 2026, 16:16 by Nando Harmsen | 111 views | 0 commentsThis article was translated from Dutch with the help of AI. Read the original.
Using an on-camera flash properly can greatly improve the quality of the light. Using it badly will ruin the photo. These nine tips will help you achieve the best possible results.
Many people hate on-camera flashes because they do not produce attractive photos. Do you have that problem? Then you are not using the flash and camera settings properly. You need to learn how to work with it.
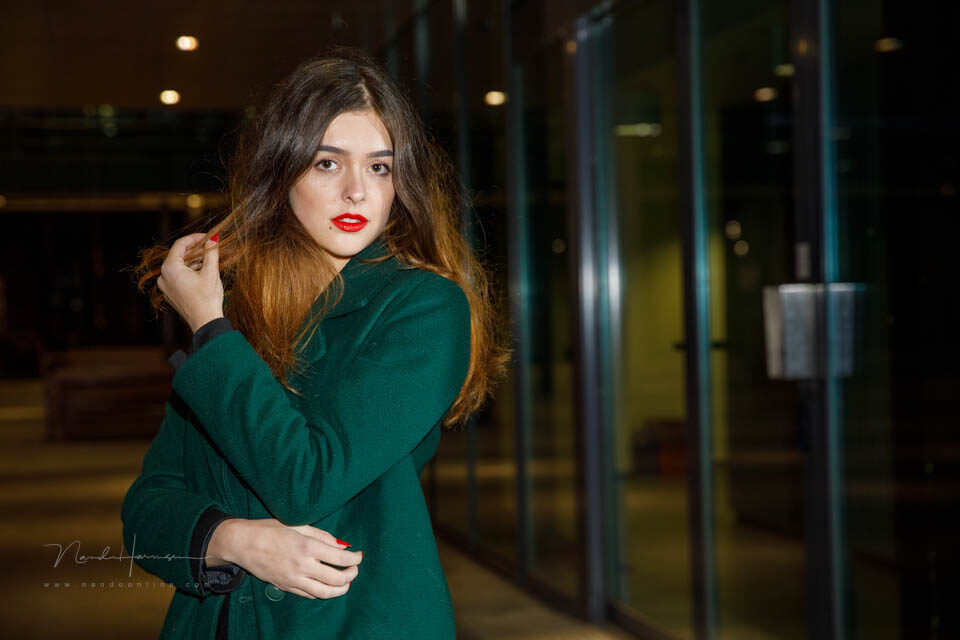
Balance between flash and ambient light. - f/4, 1/100s, 1600 ISO @ 70mm
With a few tips, you can achieve good results too. Good enough that the photo does not show that a flash was used. So do not let it put you off, and use your on-camera flash when the situation calls for it.
Tip 1 - Set the exposure for the surroundings
Flash is used for the subject. The surroundings are never lit by the flash. Set your aperture, shutter speed and ISO value for a correct exposure of the surroundings.
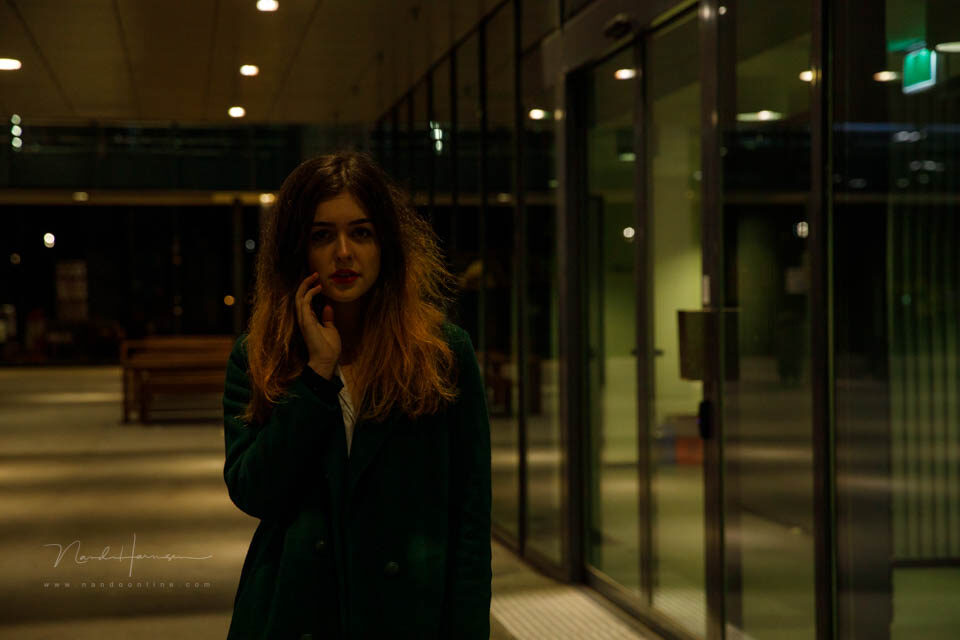
Set the exposure for the ambient light. Then add flash - f/4, 1/100s, 1600 ISO @ 70mm
You can underexpose by one or two stops if necessary, so that the ambient light becomes less dominant. Do not be afraid of a high ISO value, and make sure the shutter speed stays below the flash sync speed.
Is the exposure of the surroundings set correctly? Then add flash.
Tip 2 - Use M mode
Always use manual exposure on the camera. Indoors, the ambient light is constant, so setting it once is enough. If necessary, take a test photo without flash first.
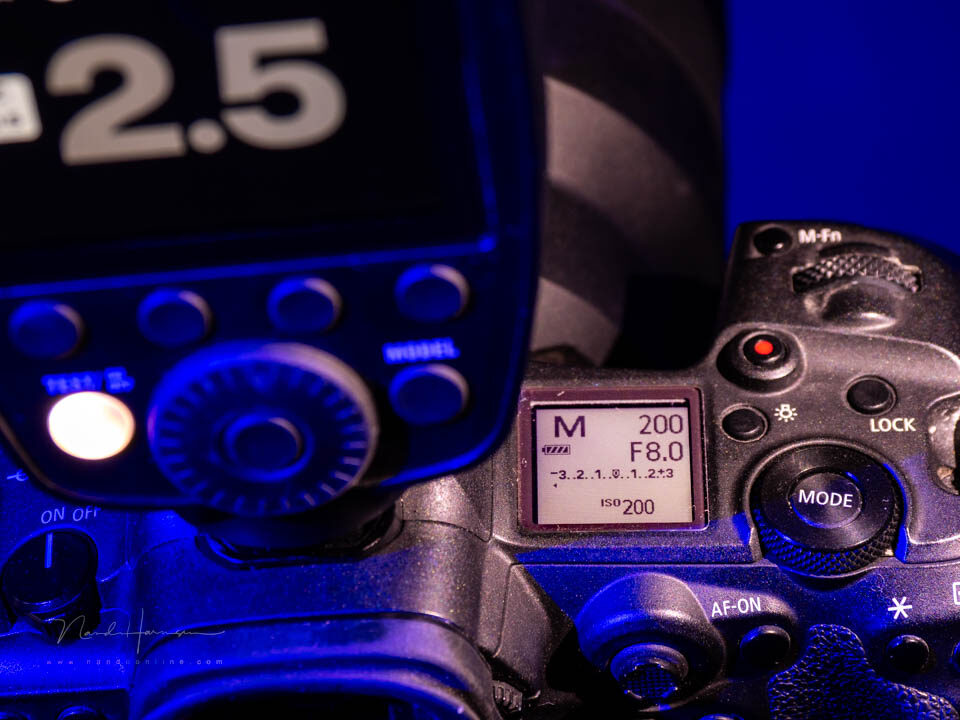
Set your camera to manual exposure for consistent results.
Manual exposure ensures that the exposure setting does not unintentionally react to light or dark areas in the background. This gives you full control over how the ambient light is rendered.
Tip 3 - Use TTL
Because the flash is mounted on the camera, the distance between the subject and the camera will constantly change. The flash power needs to be set again for every new photo. Let the camera do this for you.
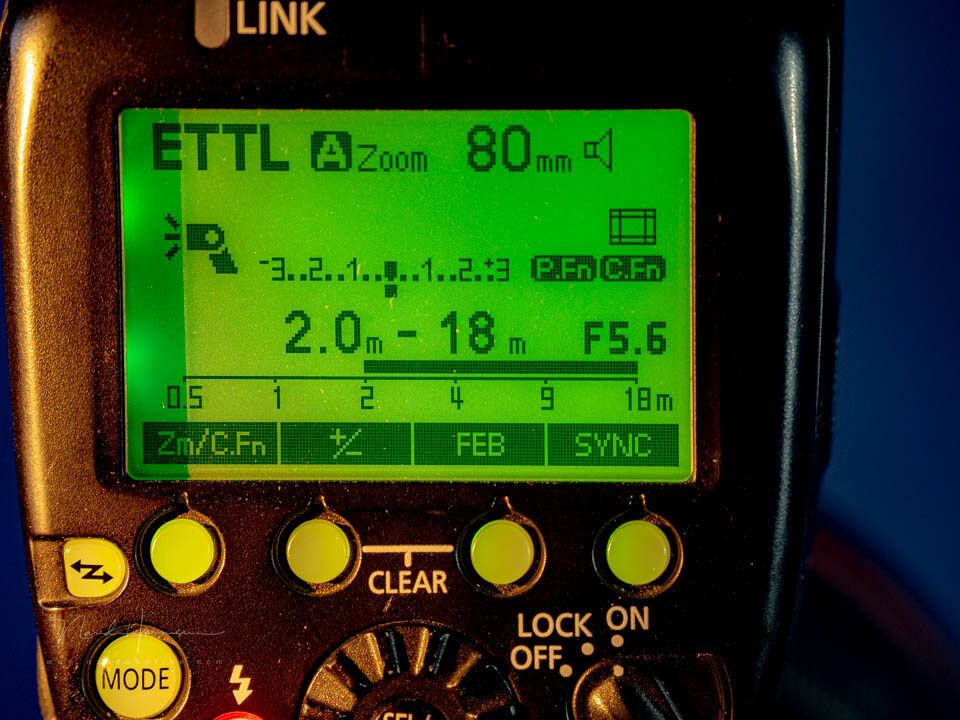
With the flash on the camera, the correct flash power must be measured for every photo. Do this with TTL flash.
With TTL, the camera recalculates the required flash power for every photo. It then sets it for you. This keeps you flexible and lets you respond quickly.
Setting the flash power manually only makes sense if the distance between the flash and the subject remains constant. Do this when using a separate, wirelessly controlled flash.
Tip 4 - Bounce the flash
Direct flash produces flat light. There are no shadows, so depth is lost. By bouncing the flash, you make the light come from another direction. This creates shadows.
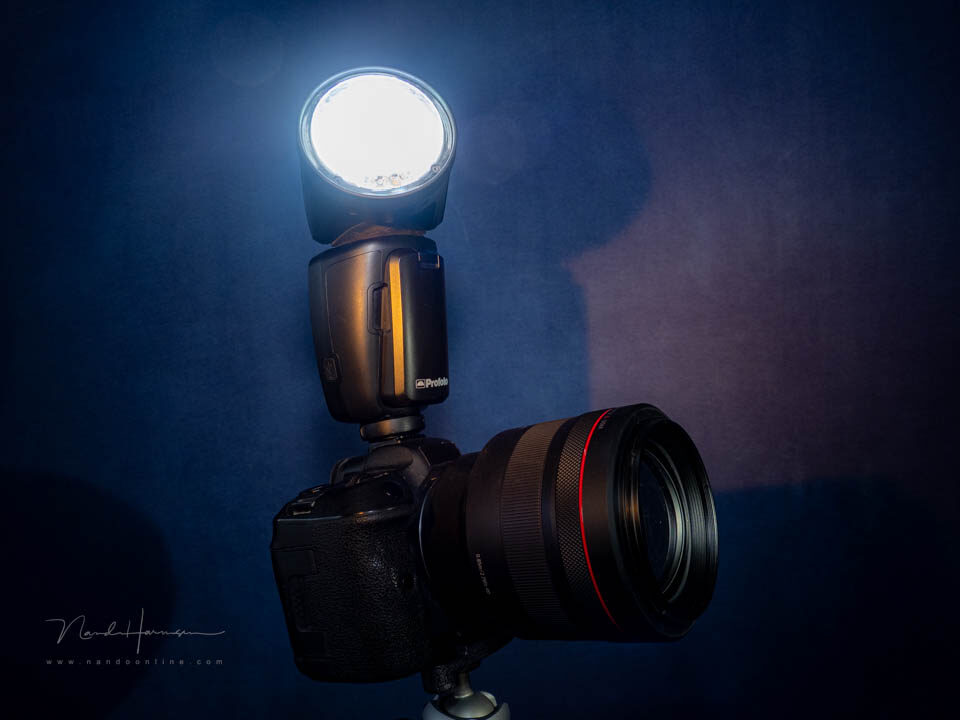
Use the option to swivel the flash head. Choose the desired direction and let the light reach the subject indirectly.
Turn the flash head to the left, right or diagonally upwards. This makes the light reflect back from a large surface and illuminate the subject naturally.
Tip 5 - Avoid bouncing the flash off the ceiling
Firing the flash straight upwards, via the ceiling, is best avoided. When the light comes straight from above, it creates shadows in the eye sockets, under the nose and under the chin.

Light from the ceiling is not ideal. Avoid it as much as possible. - f/4, 1/200s, 800 ISO @ 85mm
It is better to set the flash to 45 degrees, so that there is also some direct light to lift those shadows. If you can bounce the flash to the left or right, that is always preferable.
Tip 6 - Flag the flash
By preventing direct light from the flash, you ensure that the light reaches the subject indirectly only. There is then no direct light left. This is called flagging the flash.
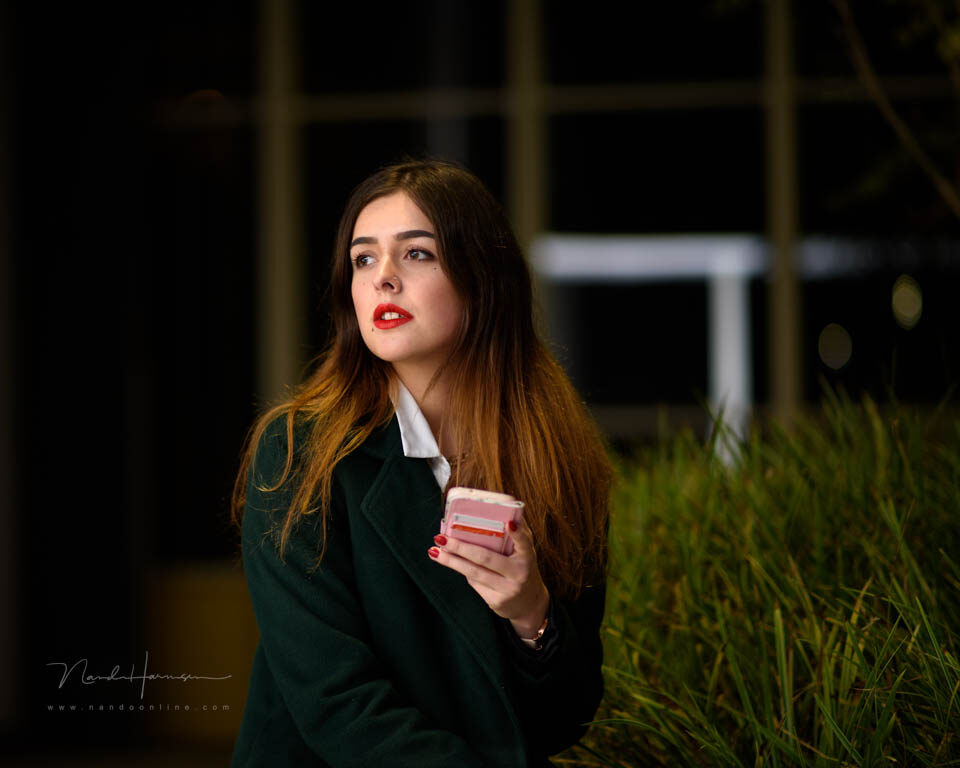
A flag ensures that no direct flash reaches your subject - f/1.4, 1/100s, 100 ISO @ 85mm
Bounce the flash indirectly from the left or right and use a flag. This makes the flash look like normal light coming through a window. Is this possible? Use it.
Tip 7 - Use flash exposure compensation
TTL flash uses the camera's exposure meter. As you know, it sometimes gets things wrong. If that happens, the flash photo will be too dark or too light. You need to compensate for the flash.
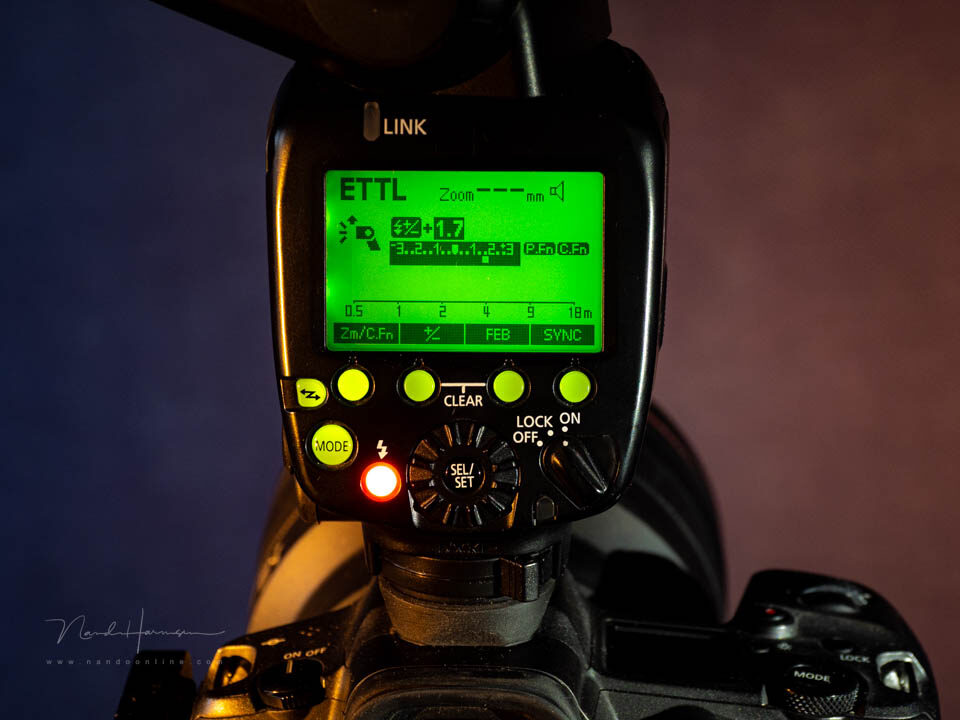
Flash exposure compensation is exposure compensation for the flash - f/5.6, 1/3s, 400 ISO @ 54mm
You do this not with the camera's exposure, but with flash exposure compensation. This is abbreviated to FEV. You can then make the flash give one or more stops more or less light.
Tip 8 - Use direct flash as fill flash
Can you not bounce the flash? Then you can use direct flash instead. Make sure the camera exposure is set correctly for the ambient light. The flash then becomes a fill flash.

Fill flash is perfect for lifting shadows, including outdoors. Make sure you use direct flash. - f/8, 1/125s, 400 ISO @ 85mm
Fill flash lifts the shadows created by the ambient light. It is often necessary to use slightly less flash by applying flash exposure compensation.
Tip 9 - Forget all those expensive flash accessories
There are many different types and shapes of flash accessories. They promise perfect results. Often, they all do just one thing. They spread light in all directions.
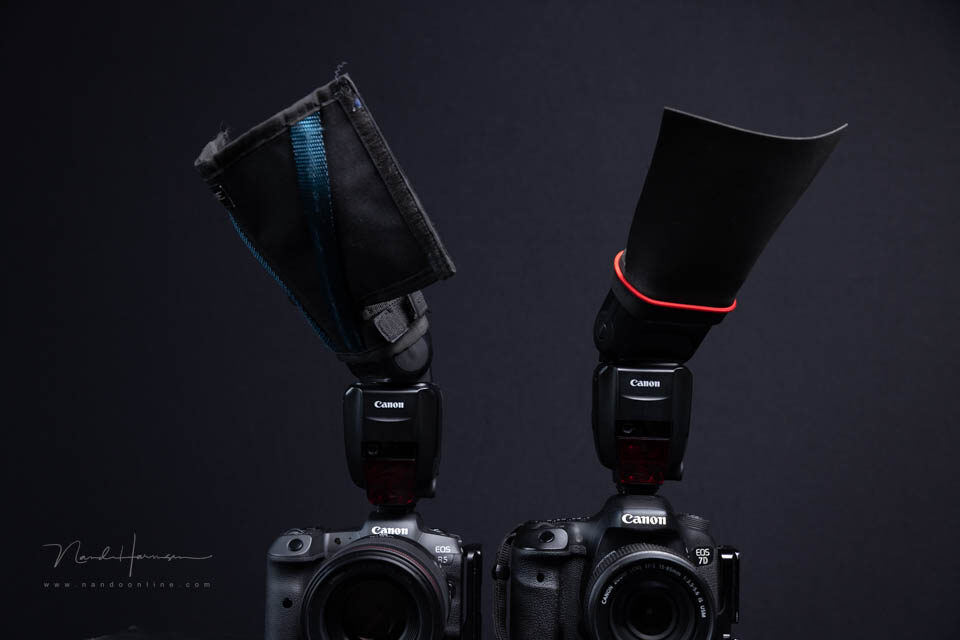
The only accessory you need is a flag for your on-camera flash.
The disadvantage is the loss of flash power. Light is also scattered in directions that are of no use to you. Their effect is often limited to small spaces with low ceilings.
Avoid the trap of buying all those accessories and learn how to use flash. When you use flash, make sure you have a flag. That is the only accessory you really need.
About the author
Nando Harmsen has been photographing for more than 40 years. He specialises in wedding photography and landscape photography. Nando also gives talks, workshops, masterclasses and photo trips, and regularly reviews new and interesting equipment.
You might also like
-
 Which is best: a ball head or a 3-way head
by Nando Harmsen
-
 Street photography tip: Embrace the shadow
by Michiel Heijmans
-
 Setting up a ball head
by Nando Harmsen
-
 Adjusting a gimbal head
by Nando Harmsen
-
 Review: Sirui L324F with KS-G3 geared tripod head
by Nando Harmsen

0 comments
Be the first to share what you think!
Become a better photographer every week
A practical photography tip in your inbox every week.
39,077 photography enthusiasts already receive the tips! More about the weekly mail. Or keep up to date via  Facebook.

Elja Trum
Photofacts; everything to do with photography!
Would you like to take better photos and keep up with what is happening in photography? Photofacts publishes articles that teach you something about photography — from a product announcement to a practical shooting tip or a look at a website. Photofacts covers photography every day and is a hobby project of Elja Trum's that got out of hand. The articles are written by a team of volunteer authors. If you would enjoy writing one or more articles for Photofacts, do get in touch.More about PhotofactsPhotofacts is made possible in part by
