

The basic settings for action photography
Monday 27 June 2022, 15:30 by Nando Harmsen | 9,151 views | 0 commentsThis article was translated from Dutch with the help of AI. Read the original.
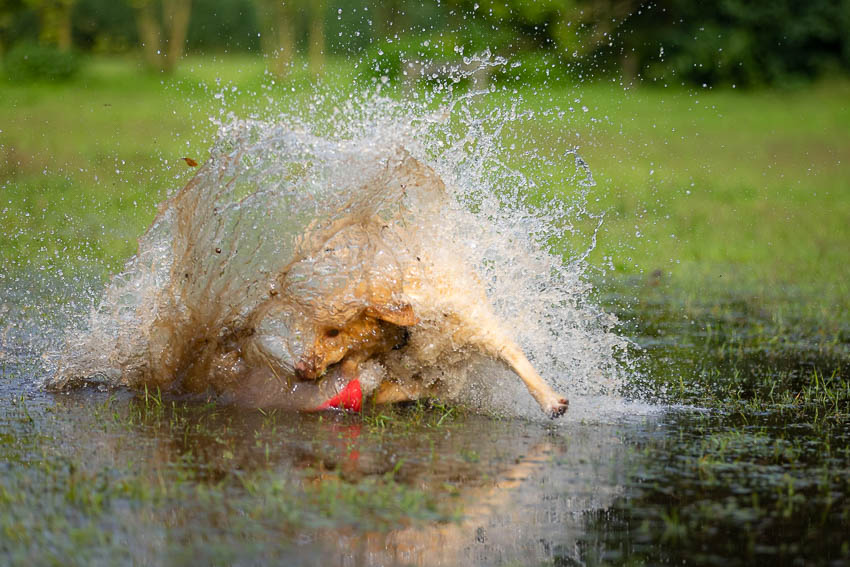
I am not an action photographer. The only action I regularly photograph is my dog. In that respect, I am just an amateur.
In this article, I want to tell you which settings I use to get successful images. If you want to start this type of photography, I think this is a good starting point.
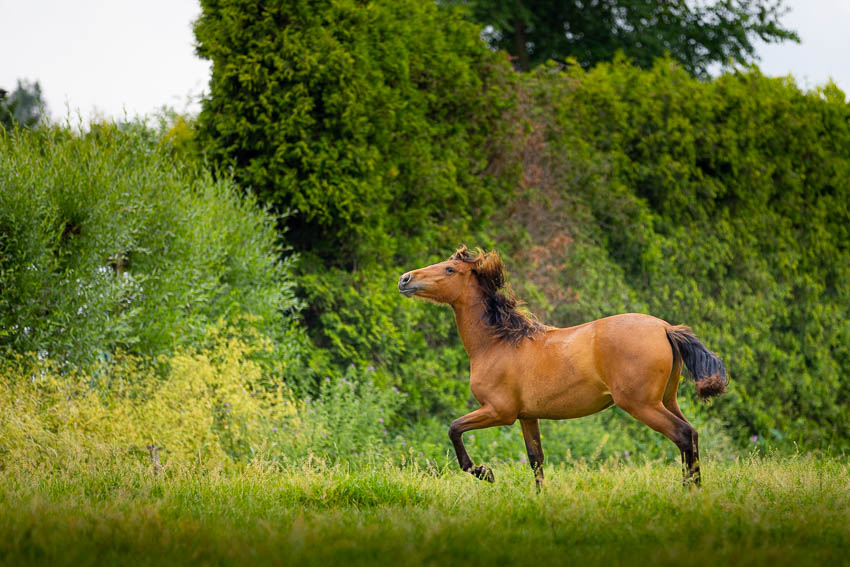
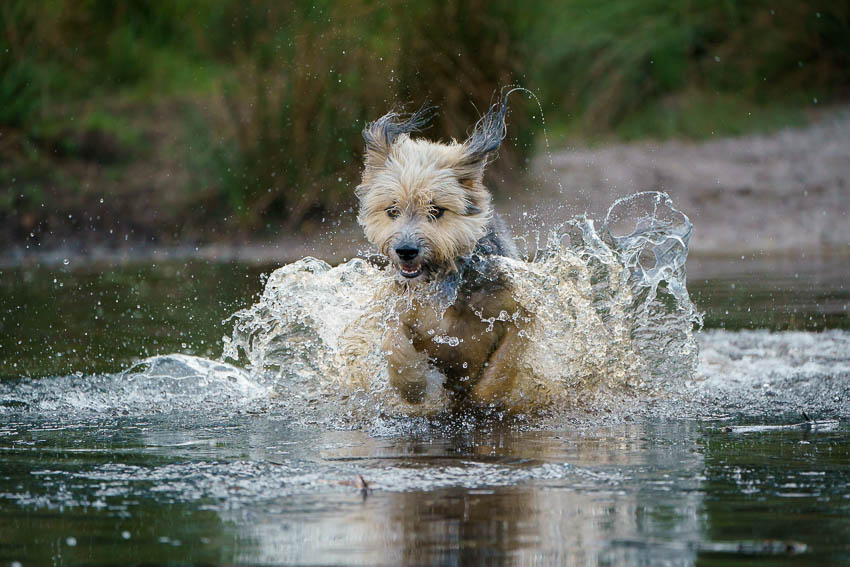
The things I photograph most are landscapes, weddings and the necessary corporate reports and portraits. But that does not mean it stops there. I do like to photograph action from time to time. Anyone who has read more of my articles will undoubtedly have seen photos of my dog Bruc.
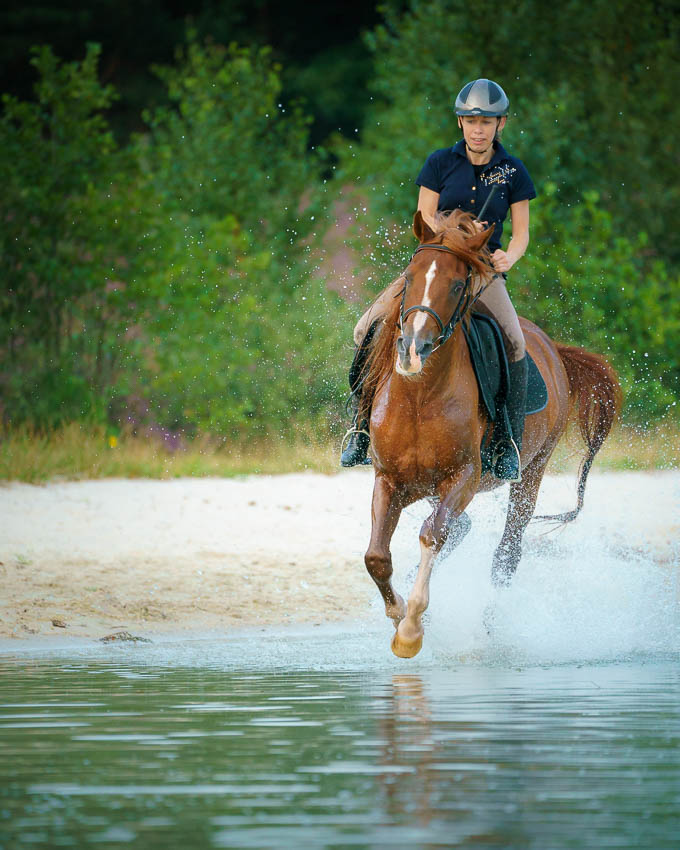
There are also other moments of action that I have captured. In particular, various sports have featured in the 'sports' cameras I have reviewed, and I have had several photo sessions with horses.
Of course, all this is nothing compared with the seasoned action photographer, who probably does nothing else. But my results are (usually) satisfactory.
This is partly due to the right camera settings, but also to lots of practice. It is not simply a case of “take a single photo and Nando is done”.
In this article, I want to share the settings I use for my action photography. It should be clear that this is my way, and not necessarily the only right way. There is not just one way of doing something, but several ways. One person prefers this, another that.
I see it as a starting point from which you can continue through practice and discovery to find your own style and way of working. Remember that if your result is successful, you have found a good way of doing action photography. Your way.
Panning
This is not so much a setting as a method of action photography. When the movement passes in front of your camera, move the camera along with it while keeping the subject as much as possible in the centre of the frame.
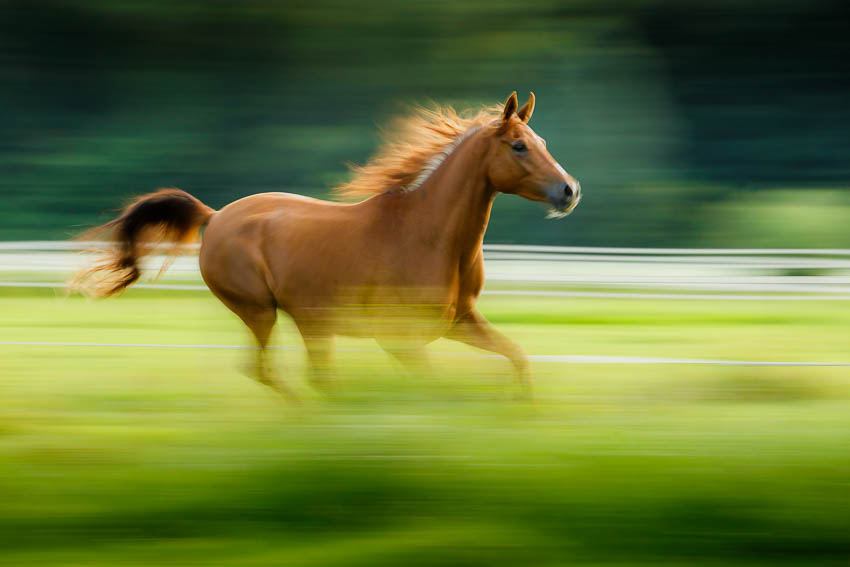
This movement along with the subject is called panning, and it is very difficult to master properly. In other words, it takes practice, practice and more practice.
It is especially challenging when the movement can suddenly change direction. Make sure you do not zoom in too far, as that only makes it more difficult. Leave some room.
Autofocus
I set my camera to servo AF so that the camera can continue focusing constantly. Let the camera choose from the available AF points, so that autofocus can keep following the subject as it moves through your frame.
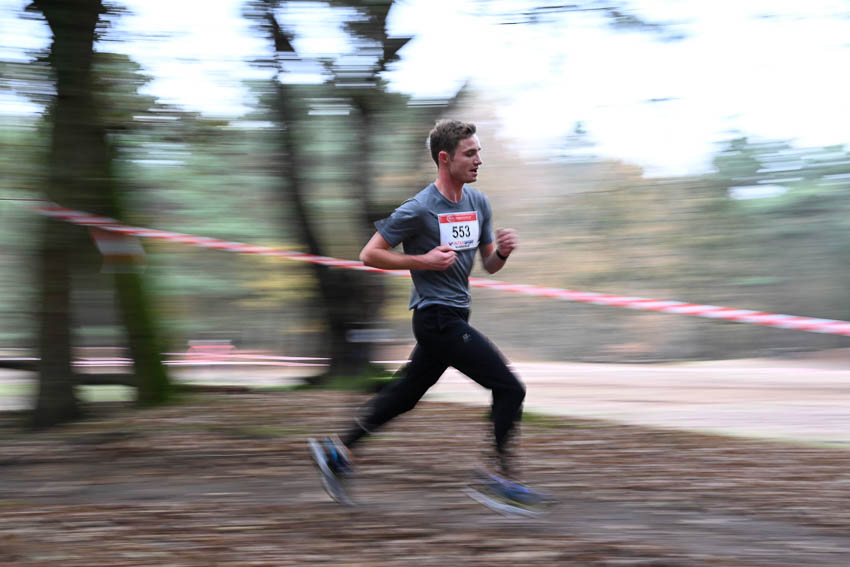
There are many extra settings in your AF menu, depending on the type and model of your camera. When tracking action, you want the camera to keep focusing on your subject. If there is a setting for that, select it.
Modern mirrorless cameras may have options for recognising people. These kinds of tricks are, of course, a great help in keeping the image sharp.
Continuous shooting
Taking a single action photo is impossible, unless you are very lucky. You need to take short bursts of photos. To do this, set your camera to continuous shooting mode, and if available, the fastest mode. This could be 6 frames per second, or 10 frames per second.
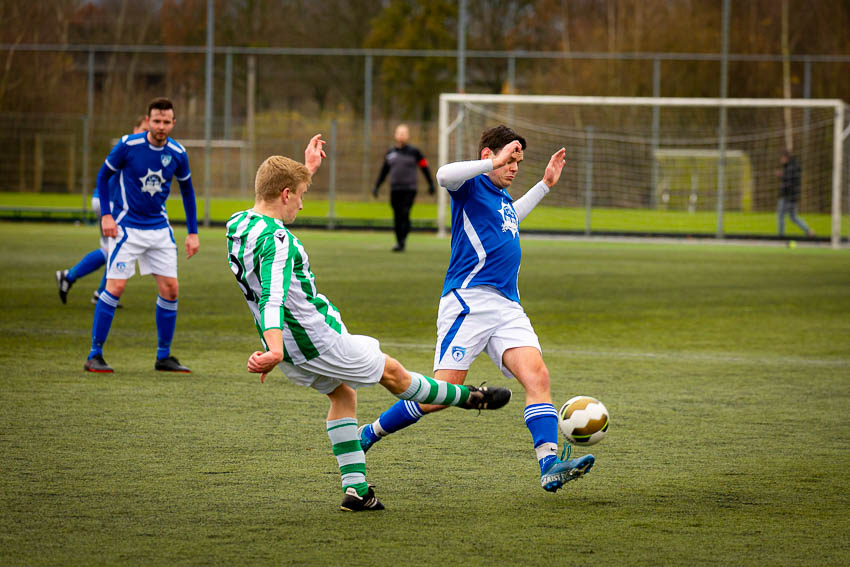
Modern cameras can even go up to 20 or 30 frames per second, but do not think this guarantees a successful action photo. It is perfectly possible with 6 frames per second too. More frames per second does give you a greater chance of capturing that one perfect pose of your subject.
Take short bursts of photos. Two, three or four seconds long. This means lots of photos, but that is just how action works. Do keep your camera's and memory card's write speed in mind. It can take a while for all those photos to be saved.
Exposure
Do not make it too difficult for yourself. Choose the T(v) or S mode. This lets you choose a shutter speed, while the camera sets the correct exposure using the aperture. Also choose auto ISO, so that the camera can use the ISO for the correct exposure too.
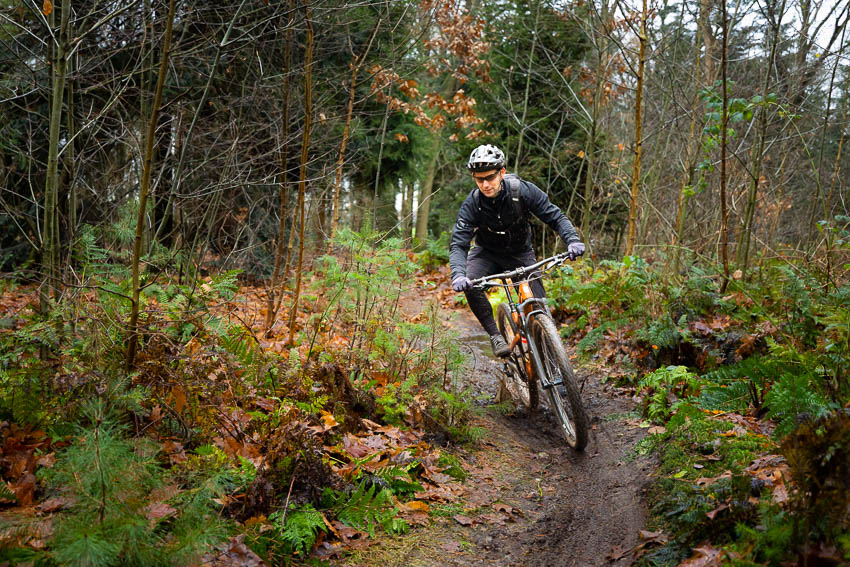
This way, you do not waste unnecessary time setting the exposure correctly. The shutter speed you choose determines whether you show the movement or freeze it, and for the rest you can concentrate on following the movement of your subject.
If you really want a frozen subject, preferably choose a shutter speed between 1/1000 and 1/2000 second. If you want to show the movement, it is a matter of trying things out. A shutter speed of 1/60 is a good starting point. Make it longer or shorter depending on the result.
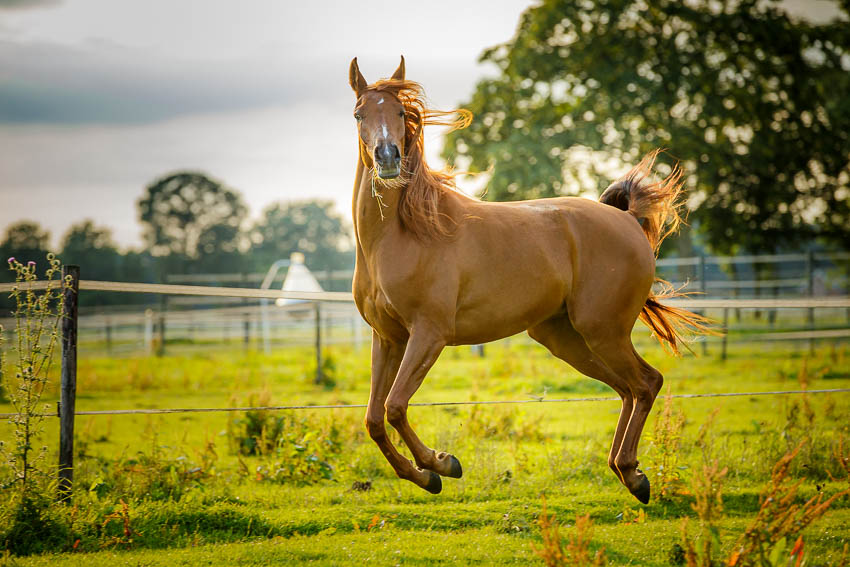
Are you in an environment with constant lighting? Then M mode can work well, because once you have set the correct exposure, it will also be right for every following shot. In changing lighting conditions, T(v) or S mode is a better choice.
Lens and focal length
It is not easy to advise which focal length you should choose. This depends on how far you are from the action. A 70-200mm lens usually works very well on full frame (for crop sensors, convert accordingly).
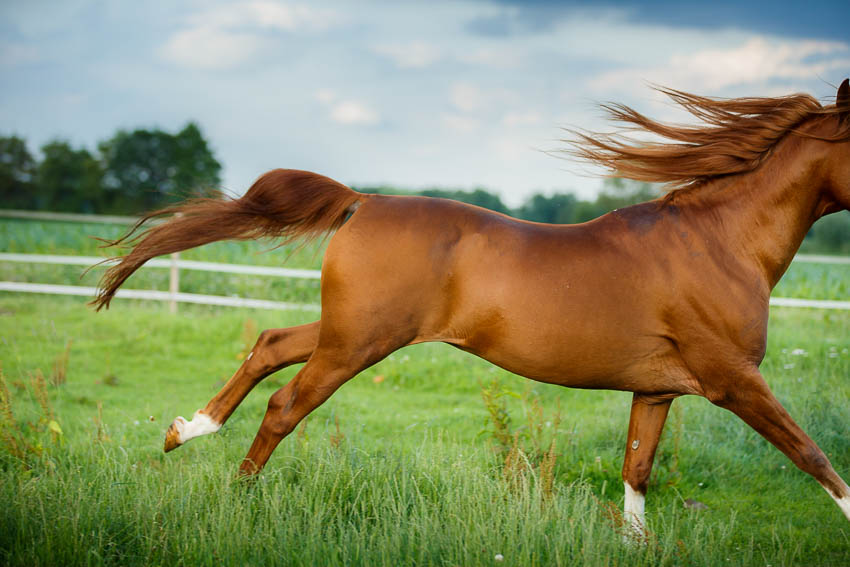
It is important not to keep your subject too large in the frame, as that makes it more difficult to follow the action. Leave room so that you can still crop, for example to straighten the horizon, because that can sometimes go wrong during the action. If your 70-200mm is too long, choose a 24-70, for example.
If you have the option, use a lens with a maximum aperture of f/2.8 (or wider). It lets in so much light that it becomes easier to use fast shutter speeds.
This does not mean that an f/4 or f/5.6 lens will not work, but you will then have to use a higher ISO value more often.
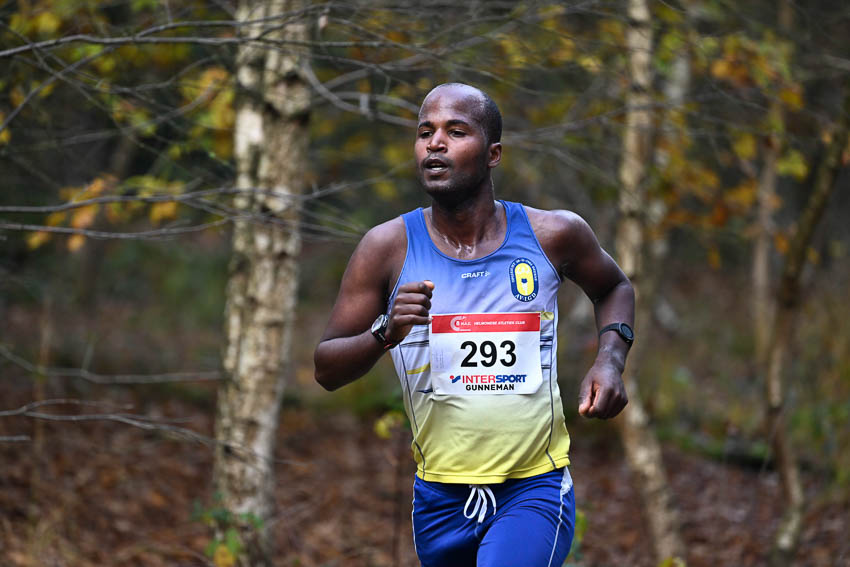
Practise, practise and practise some more
These are tips that help me do action photography in the way I do it. Others may use or recommend different settings, or even claim that it should be done differently. I achieve my results this way. It works for me, and it may work for you too. Just give it a try.
Beyond that, it is a matter of doing it a lot. Do not throw away your failed results too quickly either, but study them to find out why something went wrong. You can learn a lot from that, and it gives you a clue about what you can do differently next time.
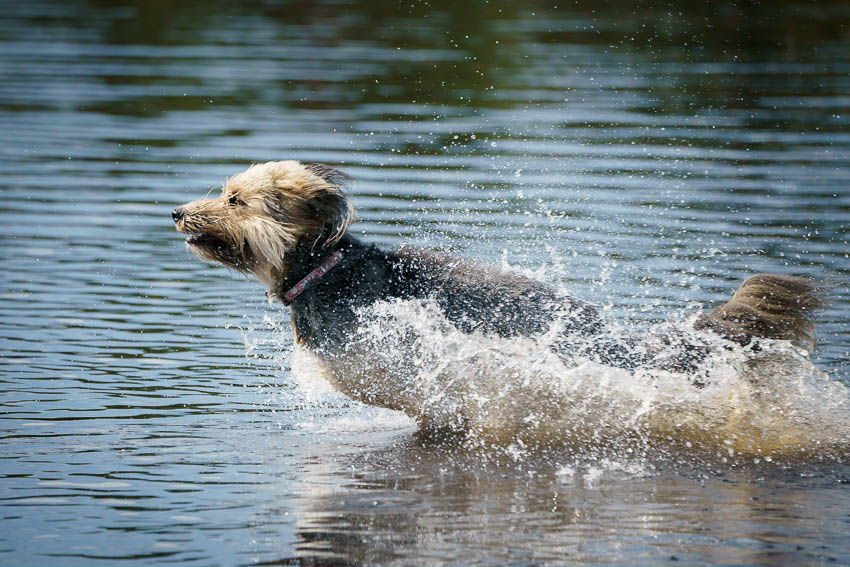
The camera you use also plays a part, of course. Some cameras are better suited to fast action than others. But this does not mean you cannot photograph action if you do not own such a camera. You just have to bear in mind that it may be a little more difficult.
Do you have any tips for successful action photography? Share your way of doing action photography and your settings in a comment below this article. Tell us how you achieve your successful results. I look forward to hearing about your way of doing action photography.
About the author
Nando Harmsen has been photographing for more than 40 years. He specialises in wedding photography and landscape photography. Nando also gives talks, workshops, masterclasses and photo trips, and regularly reviews new and interesting equipment.
You might also like
-
 Landscape with or without an animal?
by Nando Harmsen
-
 Sports photography: Know what your camera can do
by Nico Delmeire
-
 3 Tips for Successful Sports Photography (and get my book free)
by Nico Delmeire
-
 Sports photography tip: Think like an athlete
by Nico Delmeire
-
 Show more than just an animal in the photo
by Nando Harmsen
-
 My settings for action photography
by Nando Harmsen
0 comments
Be the first to share what you think!
Have your say
Please note: Articles older than a week can only be commented on by signed-in visitors.Would you still like to comment? sign in or create a free account.
Become a better photographer every week
A practical photography tip in your inbox every week.
39,079 photography enthusiasts already receive the tips! More about the weekly mail. Or keep up to date via  Facebook.

Elja Trum
Photofacts; everything to do with photography!
Would you like to take better photos and keep up with what is happening in photography? Photofacts publishes articles that teach you something about photography — from a product announcement to a practical shooting tip or a look at a website. Photofacts covers photography every day and is a hobby project of Elja Trum's that got out of hand. The articles are written by a team of volunteer authors. If you would enjoy writing one or more articles for Photofacts, do get in touch.More about PhotofactsPhotofacts is made possible in part by
