

Seek Out Difficult Lighting Conditions
Saturday 18 July 2026, 16:32 by Nando Harmsen | 1,795 views | 5 commentsThis article was translated from Dutch with the help of AI. Read the original.
Correct exposure is important. It is also something many photographers feel very unsure about. One way to really practise setting the correct exposure is to seek out difficult lighting conditions.
Photographing in M mode can be educational. You learn the relationship between aperture, shutter speed and ISO value. However, it teaches you little about setting the correct exposure.
Under normal conditions, setting the exposure is very easy. The exposure meter should be at 0 EV. It does not matter how you achieve this, manually or partly automatically.
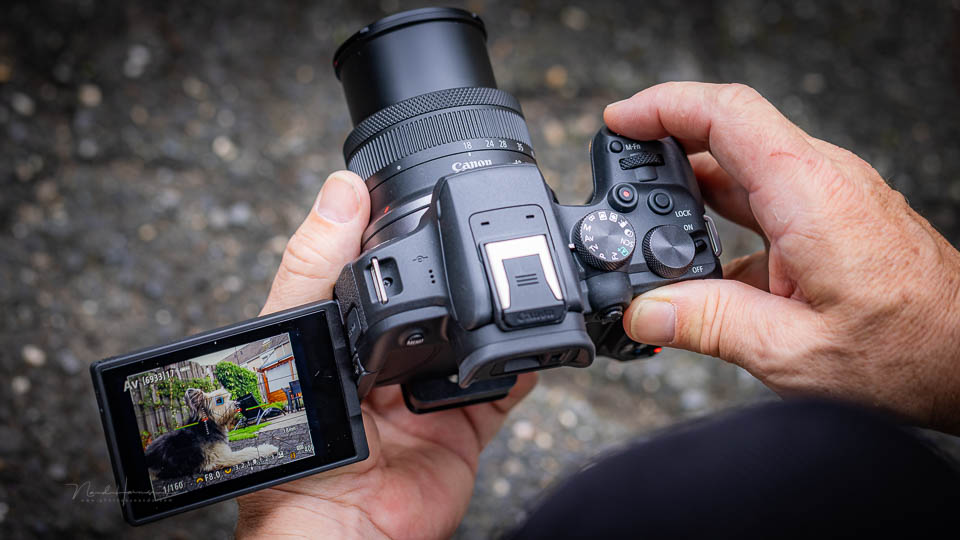
You learn nothing from normal lighting conditions, but of course you do need to know how to do it. It only becomes educational in situations where the exposure meter measures the wrong value.
When you are in that situation, 0 EV is no longer the correct exposure. You need to go up or down, as it is so nicely called. How do you know whether it should be plus or minus, and how far should you go?
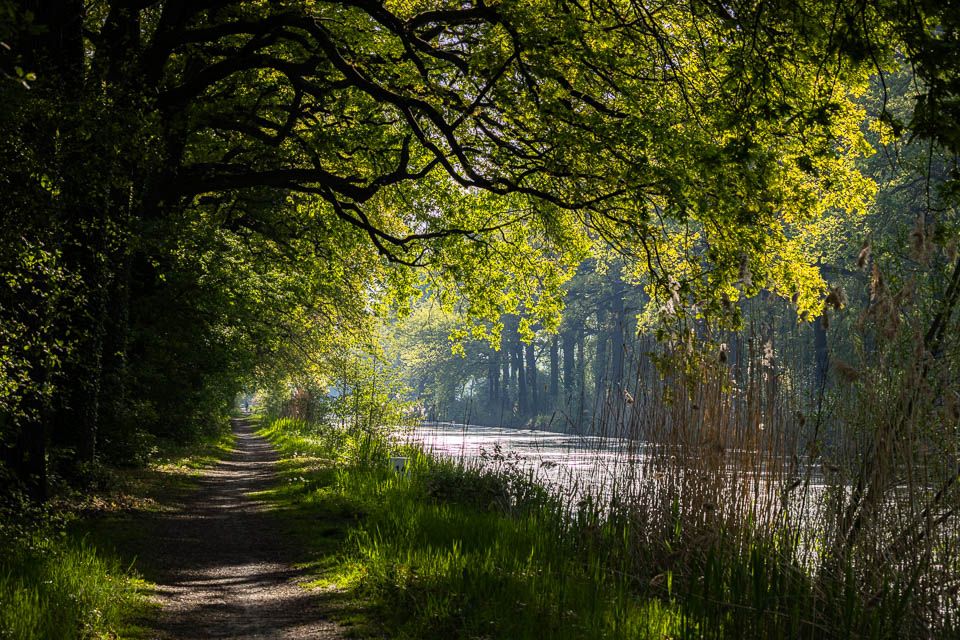
Difficult lighting conditions are very educational. You learn what the exposure meter indicates in those conditions. You learn what you need to do to achieve the correct exposure after all.
It does not matter whether you use M mode or A(v) mode. Choose whichever you prefer. If you use M mode, change the shutter speed to correct the exposure. With A(v) mode, use the exposure compensation button.
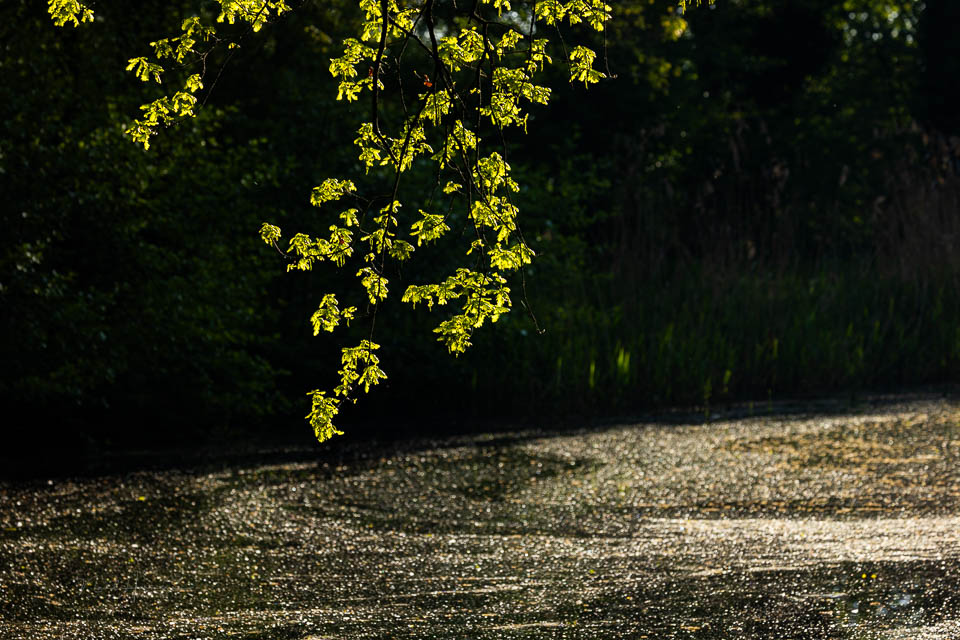
Seek out those difficult lighting conditions. Full sun in forests can certainly be a challenge. Do not reach for exposure bracketing for HDR. You learn nothing from that. Make use of light and dark.
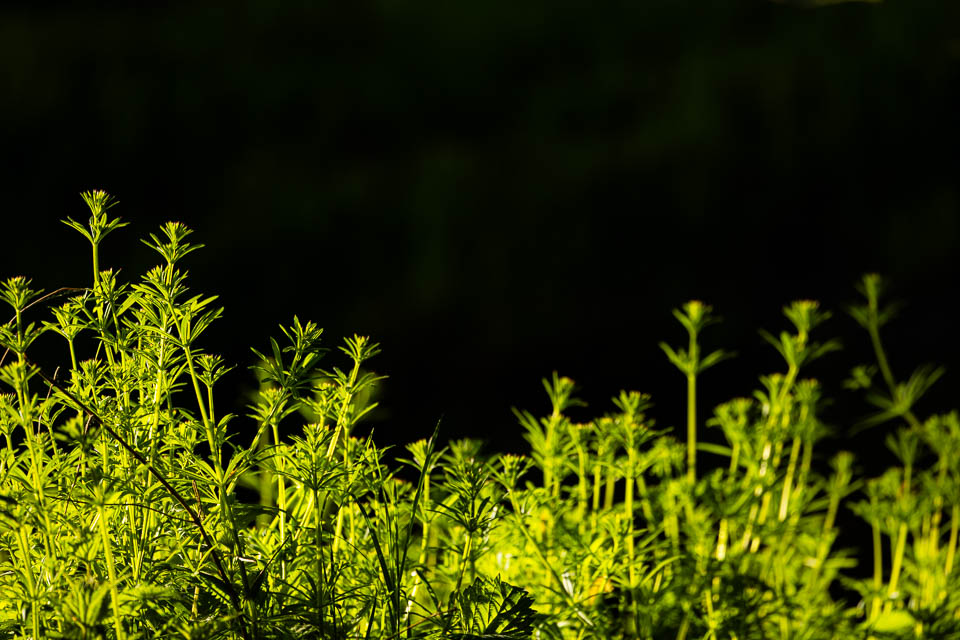
Do not think that you learn what the setting should be 'in those situations.' That is not how it works, because every situation is different. What you do learn is to anticipate the prevailing situation. If you can do that, you have mastered setting the exposure 'in practice.'
Go and practise, and embrace those difficult conditions. Because you learn nothing from always choosing the easiest option.
About the author
Nando Harmsen has been photographing for more than 40 years. He specialises in wedding photography and landscape photography. Nando also gives talks, workshops, masterclasses and photo trips, and regularly reviews new and interesting equipment.
You might also like
-
 Photographing birds? Practise first.
by Nando Harmsen
-
 Dull grey weather? Adapt your photography to the conditions
by Nando Harmsen
-
 Don't Let the Weather Influence You Too Much
by Nando Harmsen
-
 You have to practise to learn
by Nando Harmsen
-
 Graphic black and white for bright summer light situations
by Nando Harmsen
5 comments
-
 Ben wrote on Tuesday 21 July 2026 at 12:22 | reply
Great tip, of course.
Translated from Dutch.
Is there any difference with post-processing in RAW? -

-
 Govaerts wrote on Tuesday 21 July 2026 at 13:05 | reply
Indeed, that is why I always take different photos at locations where light and dark areas in the composition contrast with each other. I use spot metering on the light and dark parts and then look at the histogram (use of ETTR). Since I work a lot with a tripod, I then proceed to take several photos with an exposure between the two so-called extremes. It is then a matter of deciding whether or not to make an HDR photo from them.
Translated from Dutch. -
 André Kremer wrote on Tuesday 21 July 2026 at 23:01 | reply
I also find it difficult to find the right exposure when photographing people outdoors with a lot of "bare" skin, with a big difference between shade and sunny spots. I sometimes use a speedlight as fill flash, with the sun behind the model, and that works well with 1 person, but with groups that is difficult.
Translated from Dutch. -

Have your say
Please note: Articles older than a week can only be commented on by signed-in visitors.Would you still like to comment? sign in or create a free account.
Become a better photographer every week
A practical photography tip in your inbox every week.
39,079 photography enthusiasts already receive the tips! More about the weekly mail. Or keep up to date via  Facebook.

Elja Trum
Photofacts; everything to do with photography!
Would you like to take better photos and keep up with what is happening in photography? Photofacts publishes articles that teach you something about photography — from a product announcement to a practical shooting tip or a look at a website. Photofacts covers photography every day and is a hobby project of Elja Trum's that got out of hand. The articles are written by a team of volunteer authors. If you would enjoy writing one or more articles for Photofacts, do get in touch.More about PhotofactsPhotofacts is made possible in part by
