

Add colour to your backgrounds
Tuesday 27 August 2024, 20:02 by Frank Doorhof | 2,803 views | 2 commentsThis article was translated from Dutch with the help of AI. Read the original.
Colour sets the mood. It is an important part of how we experience photographs. A black-and-white photo evokes different emotions than a colour image. In this article, I show two ways to add colour to your portrait.
Colour is therefore an important part of how we experience photographs. In fact, simply removing colour immediately gives a photo or video a completely different feel. But as well as being a 'mood maker', colour is also the perfect way to get much more out of your sets and shoots than you might think.
I usually help choose the perfect background for our clients, and very often the question comes up: 'We want to be able to use it as flexibly as possible'.
That is why I often advise taking one background with a theme, for example a graffiti wall or an old wall, depending on what suits you (or your target audience).
But one of my favourite background groups is 'Old masters'. These are often somewhat darker backgrounds with a gradient. You can use these backgrounds in several fantastic ways.
Here, for example, we see our model Claudia in front of one of these backgrounds. This is the Clicki Silver Tones. A background that is just 1.52 metres wide.
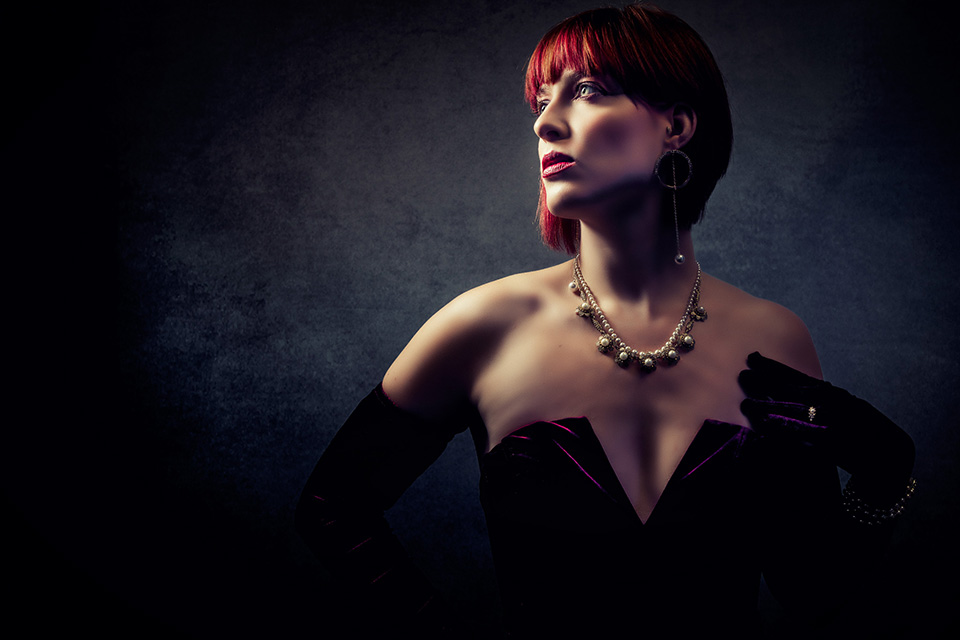
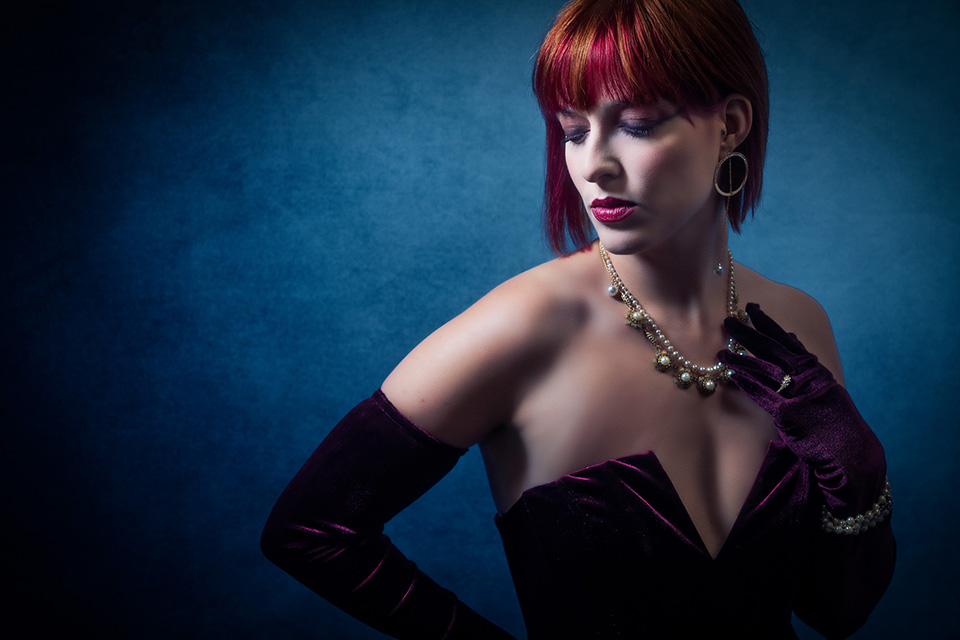
In the first photo, I am not using colour gels, just the background as it is. It is a nice photo in itself, but when I place a blue gel on the background, you immediately see that it gives the image a huge boost. The contrast and separation from the background are much clearer.
And if we use the omni-directional dome from Rogue (with a blue gel) and point it towards the camera, you can make both the background blue and give the model a small accent. And of course capture some lens flare in the camera as well.
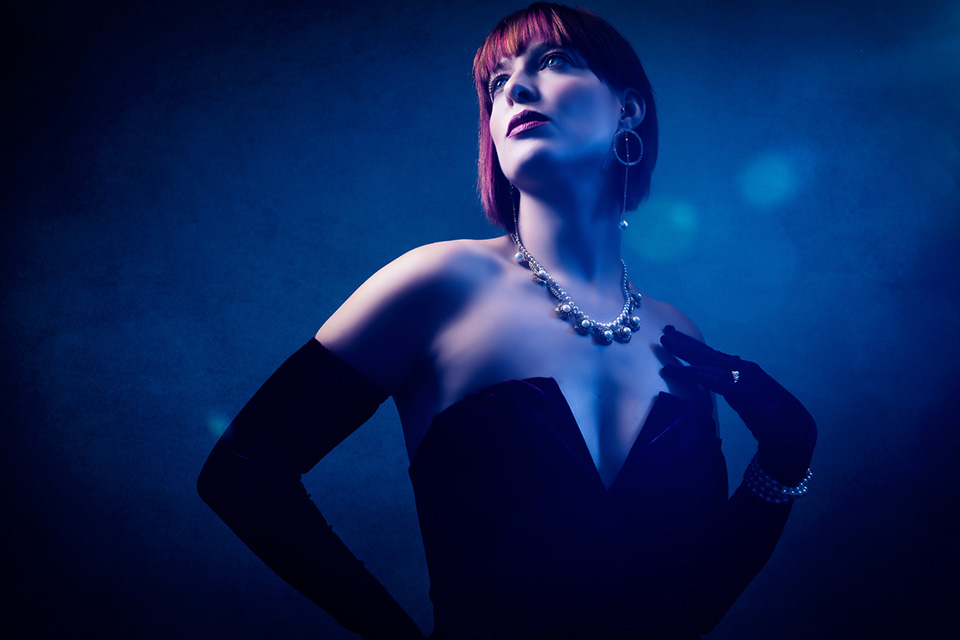
By adding a gel, you can therefore create two completely different photos with the same setup. And when you know how many different colours there are in a Rogue pack...
And of course you can also combine colours in your lighting setup. You soon notice that a fairly neutral (but interesting) background that is somewhat darker gives you many different options.
About the author
Frank Doorhof blogt dagelijks in het Engels op zijn website en geeft wekelijks workshops model fotografie in zijn studio in Emmeloord, maar ook op locatie in binnen en buitenland. Van beginners tot gevorderde, iedereen kan bij Frank terecht. Ook voor specifieke 1 op 1 workshops, of maatwerk voor groepen.
You might also like
-
 Create a washed-out look in a black-and-white photo
by Nando Harmsen


2 comments
-
 Wim Coudenys wrote on Tuesday 27 August 2024 at 19:44 | reply
it would be nice if the lighting setup was shown sometime too.
Translated from Dutch.
greetings wim -

 frank doorhof
wrote on Wednesday 28 August 2024 at 16:59
| reply
frank doorhof
wrote on Wednesday 28 August 2024 at 16:59
| reply
hi Wim, on our YouTube there's a video about this shoot: just search for: a demo day for Sony.
Translated from Dutch.
On the left is the FlashBender and on the right a flash with a color gel. By moving the latter you change the blue light.
Have your say
Please note: Articles older than a week can only be commented on by signed-in visitors.Would you still like to comment? sign in or create a free account.
Become a better photographer every week
A practical photography tip in your inbox every week.
39,079 photography enthusiasts already receive the tips! More about the weekly mail. Or keep up to date via  Facebook.

Elja Trum
Photofacts; everything to do with photography!
Would you like to take better photos and keep up with what is happening in photography? Photofacts publishes articles that teach you something about photography — from a product announcement to a practical shooting tip or a look at a website. Photofacts covers photography every day and is a hobby project of Elja Trum's that got out of hand. The articles are written by a team of volunteer authors. If you would enjoy writing one or more articles for Photofacts, do get in touch.More about PhotofactsPhotofacts is made possible in part by
