

Colour manipulation with colour filters
Sunday 20 October 2024, 20:02 by Frank Doorhof | 2,217 views | 0 commentsThis article was translated from Dutch with the help of AI. Read the original.
In my earlier article about working with colour and gels, you read that colours evoke emotion and are connected to each other. Today we are going to work with three colours: red, green and blue. And I mean that literally.
You saw that colours are connected to each other in the colour triangle with the primary and secondary colours. In a number of examples in my earlier article, you saw how you can combine ordinary (white) light with an accent colour, such as blue.
And how you can get some very unusual effects by changing the colour balance. I use the light meter and the Colorchecker to measure the light and set the correct white balance. Combine three gels for great results and even white light
Colours can be mixed, and that is what I am going to show you today.
Additive and subtractive colours
This often causes a lot of confusion about what primary and secondary colours are. For photography and video, we use red, green and blue to create the colour we see. A printer uses CMYK to print the colours we see.
These are two different ways of working with colours, which we call additive and subtractive. Additive colour is created by mixing light. Subtractive colour is created by mixing materials.
When we combine a red, green and blue gel and point them at a subject, we get a great effect. You see a mix of the colours in the shadows, but the fun thing is that where all two colours overlap, you get a 'white' light.
This is how gels actually work, so you can use them to create some truly stunning photos. In this setup, I use three flashes with gels. Let's first see what it looks like without green.
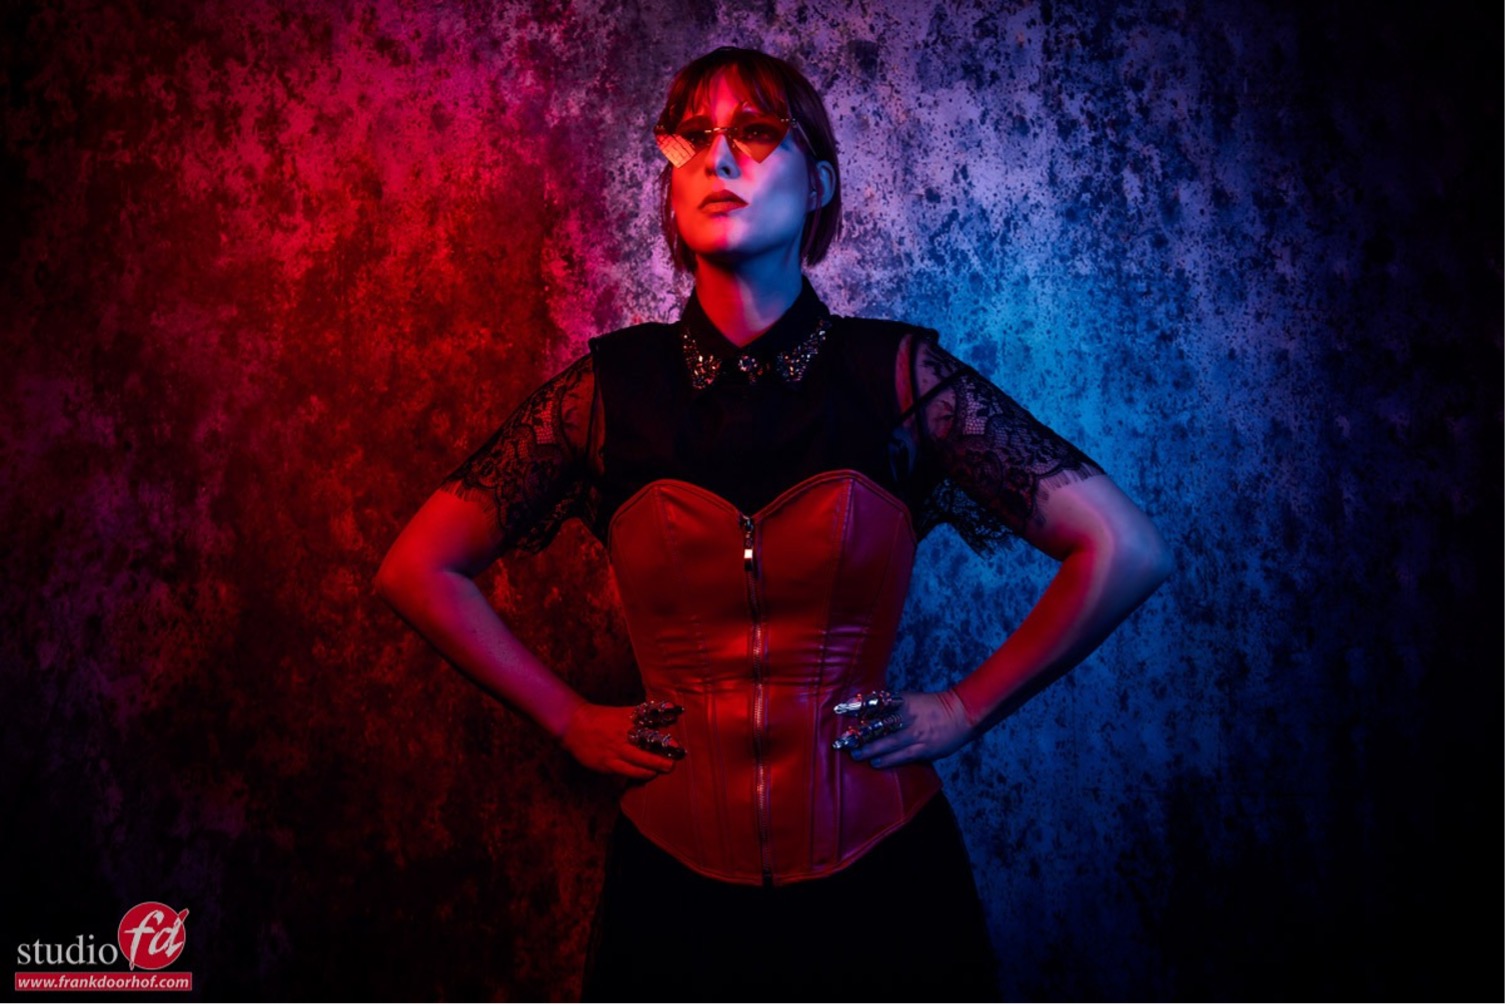
As you can see, it doesn't look very good. There is a hard shadow line and it doesn't really stand out. So let's add green (in the middle). The green flash is pointed directly at the model, while the red and blue ones come from the sides.
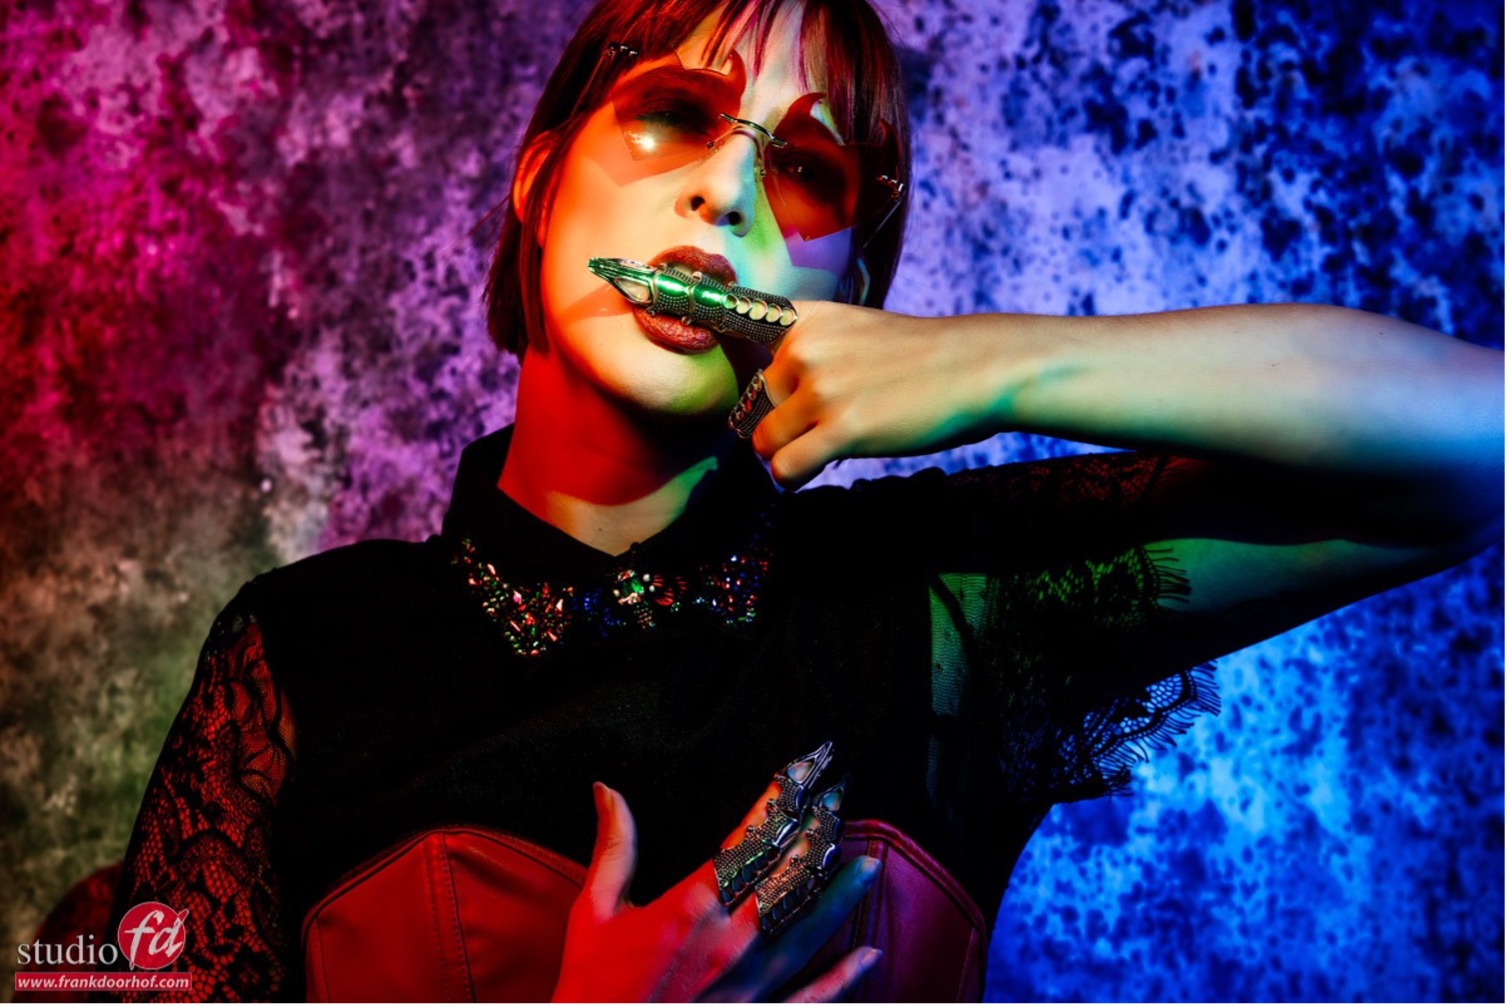
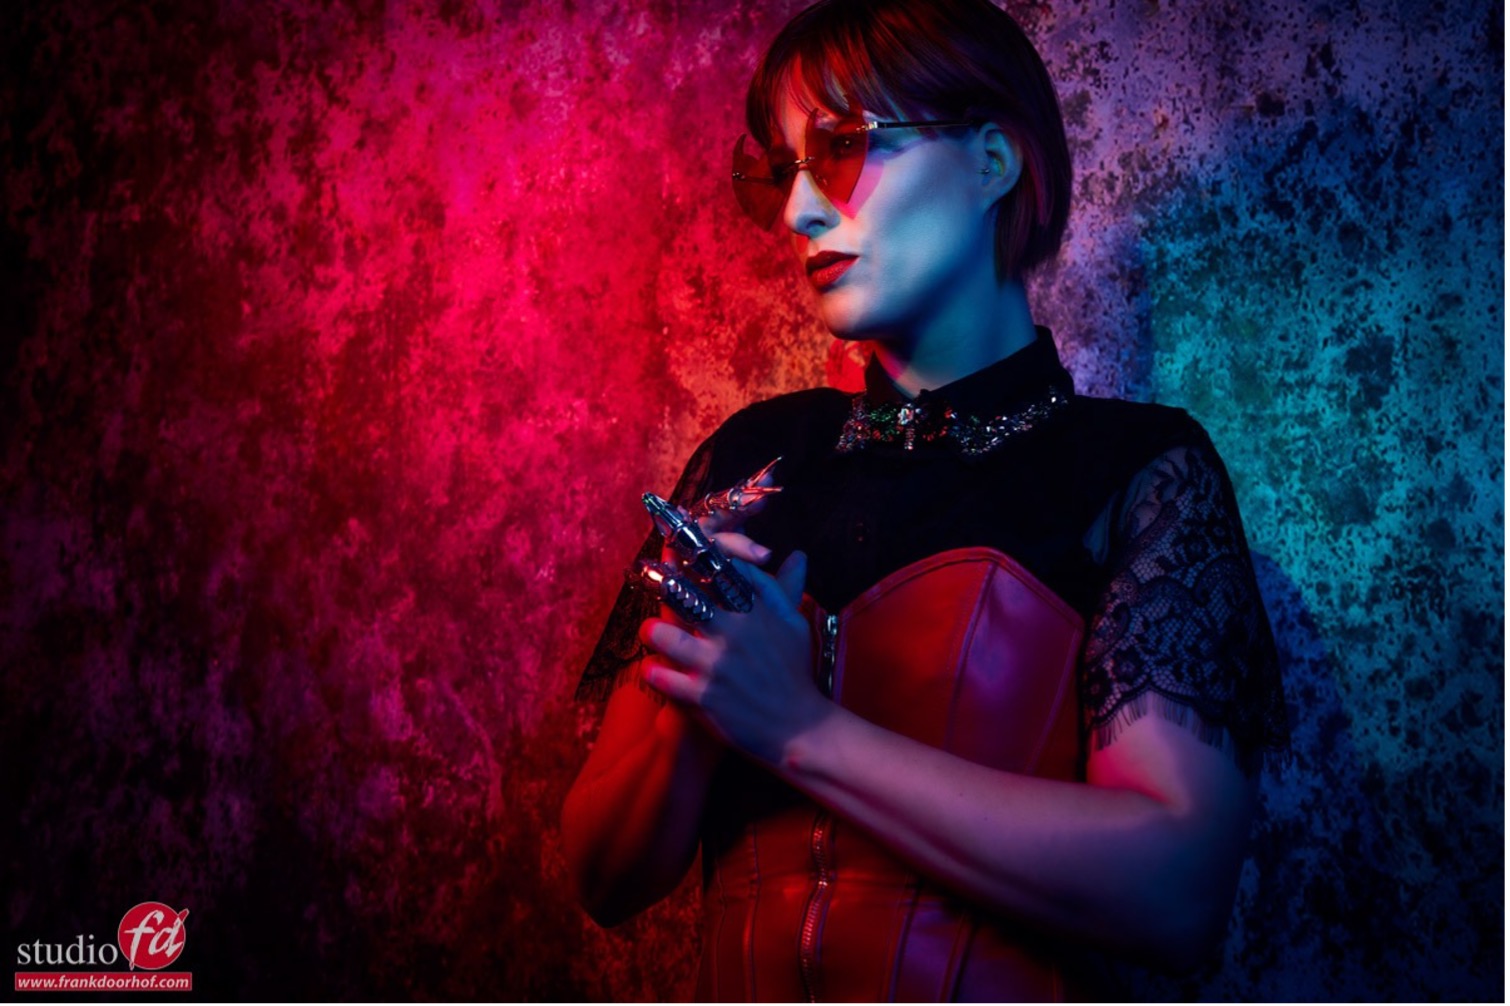
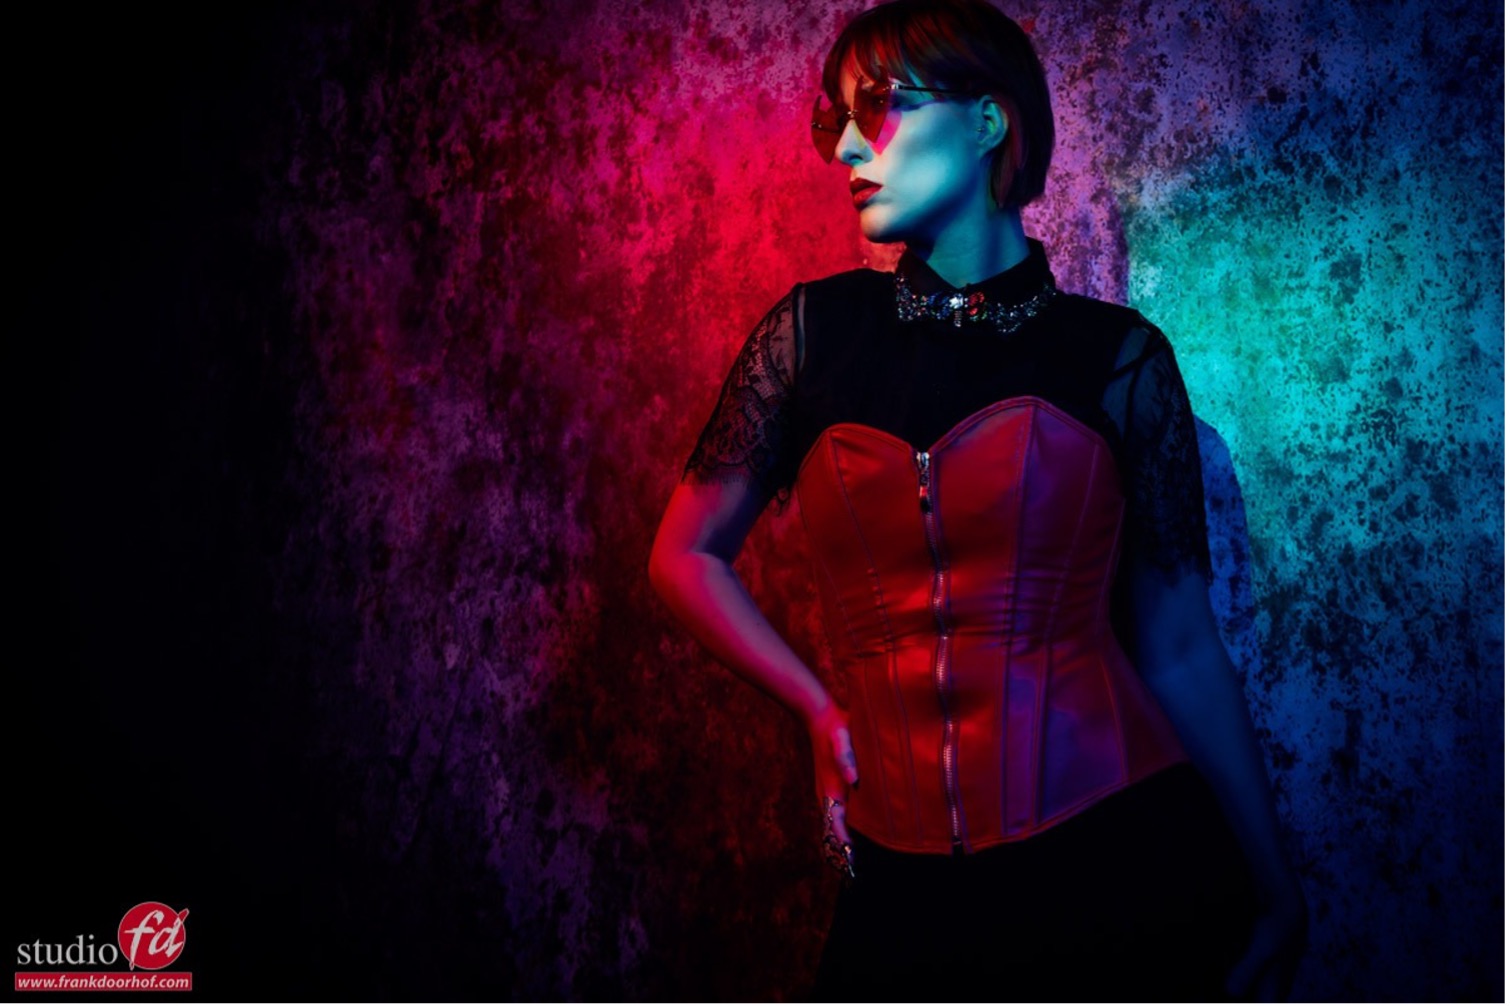
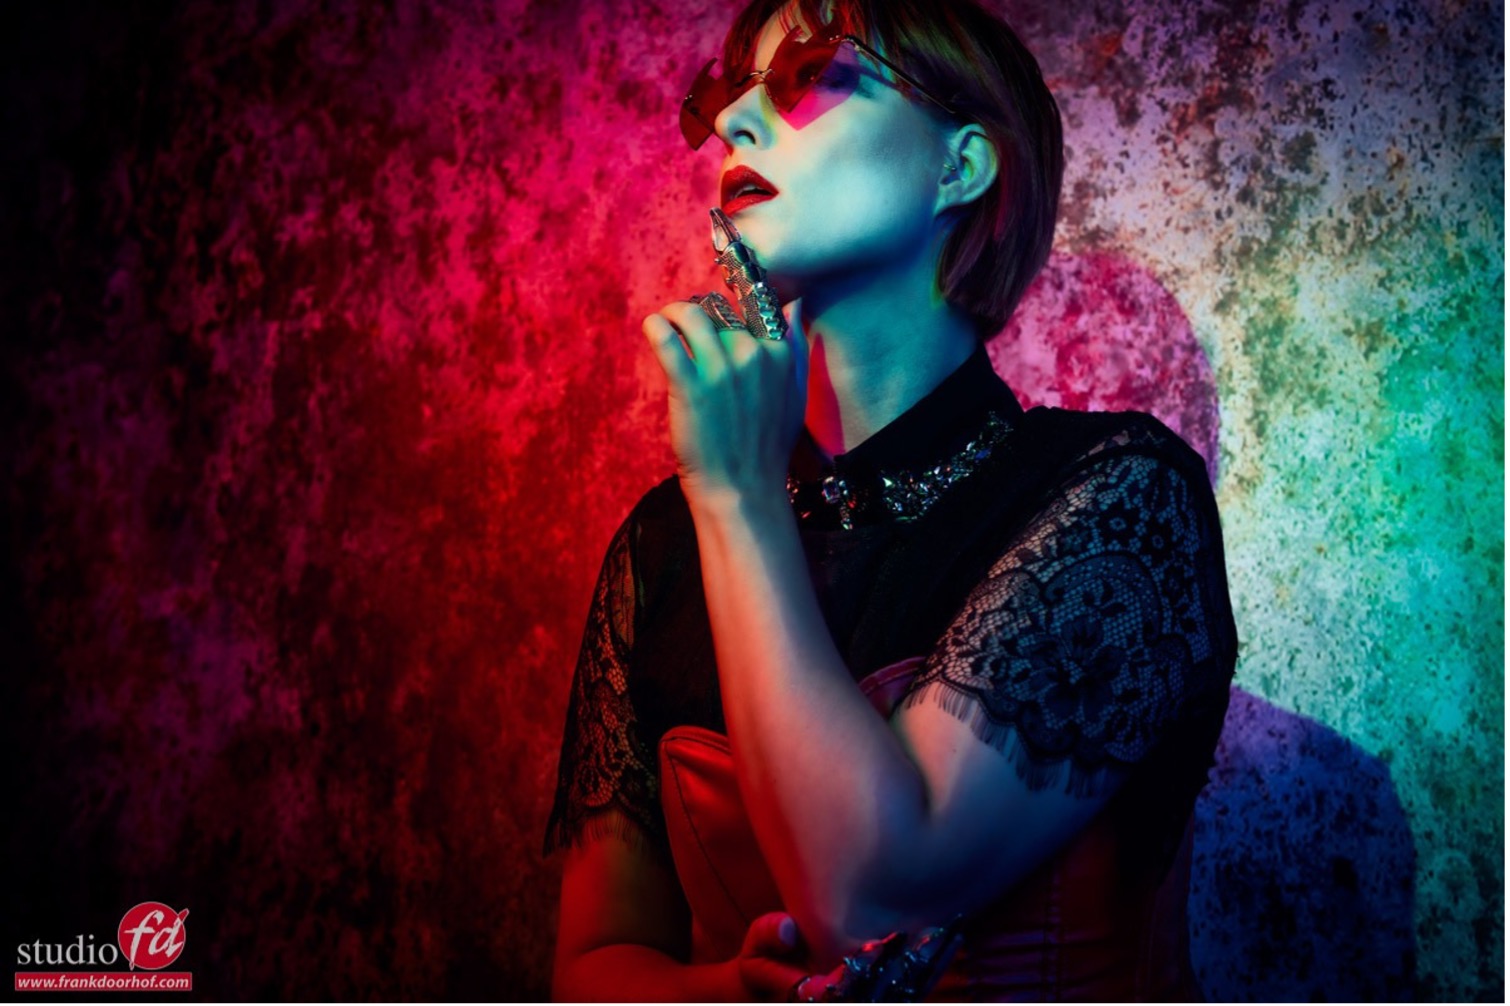
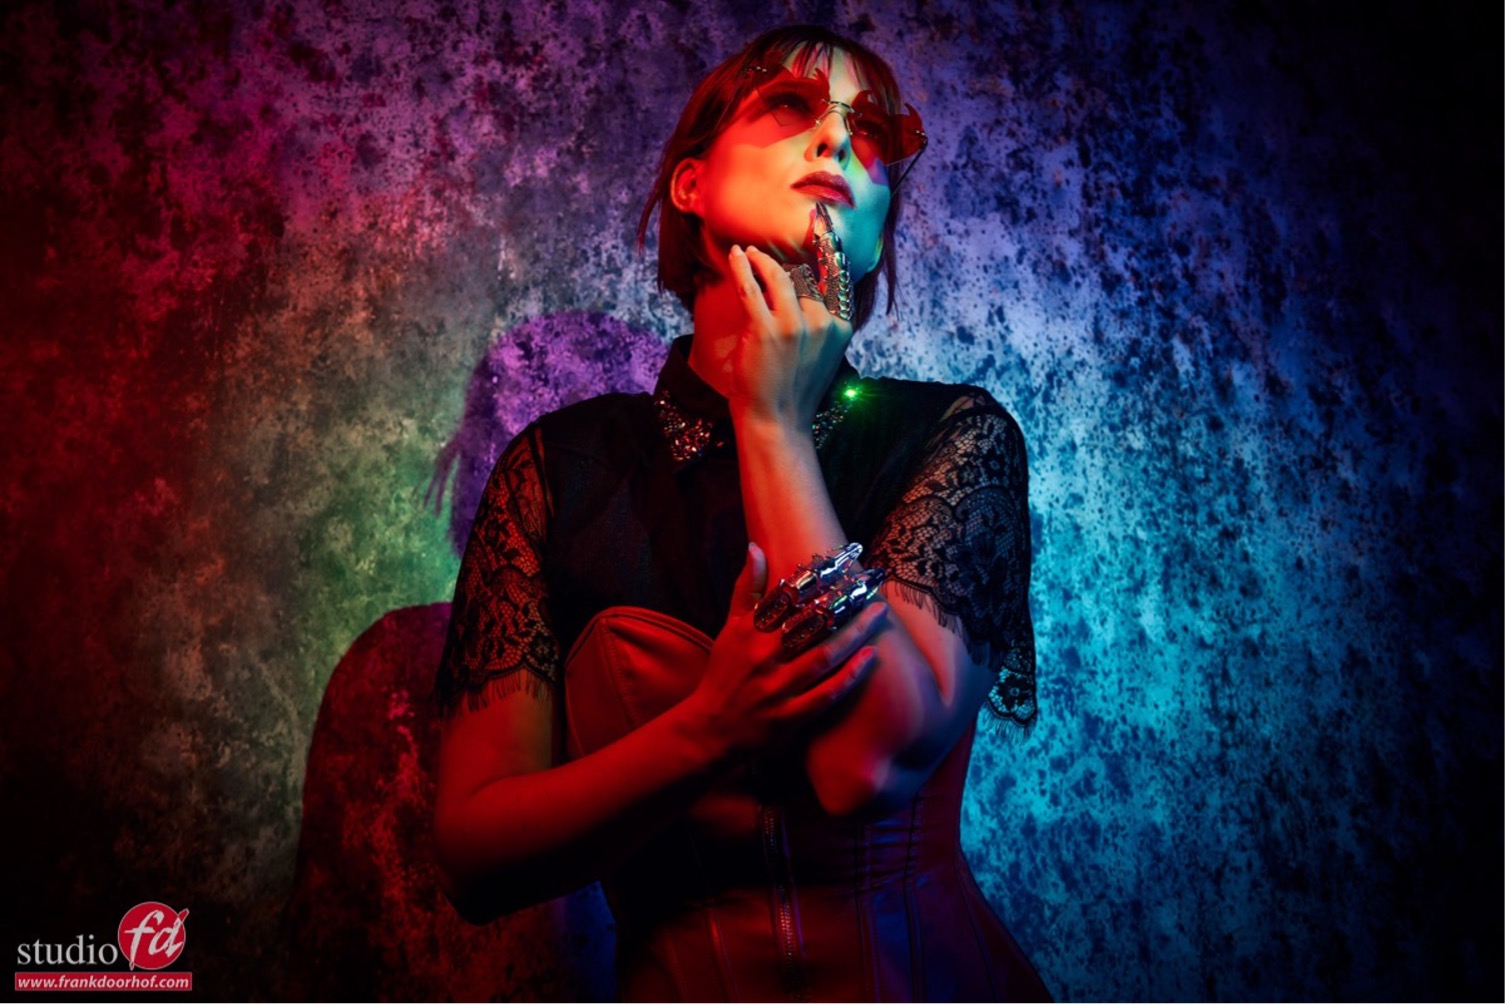
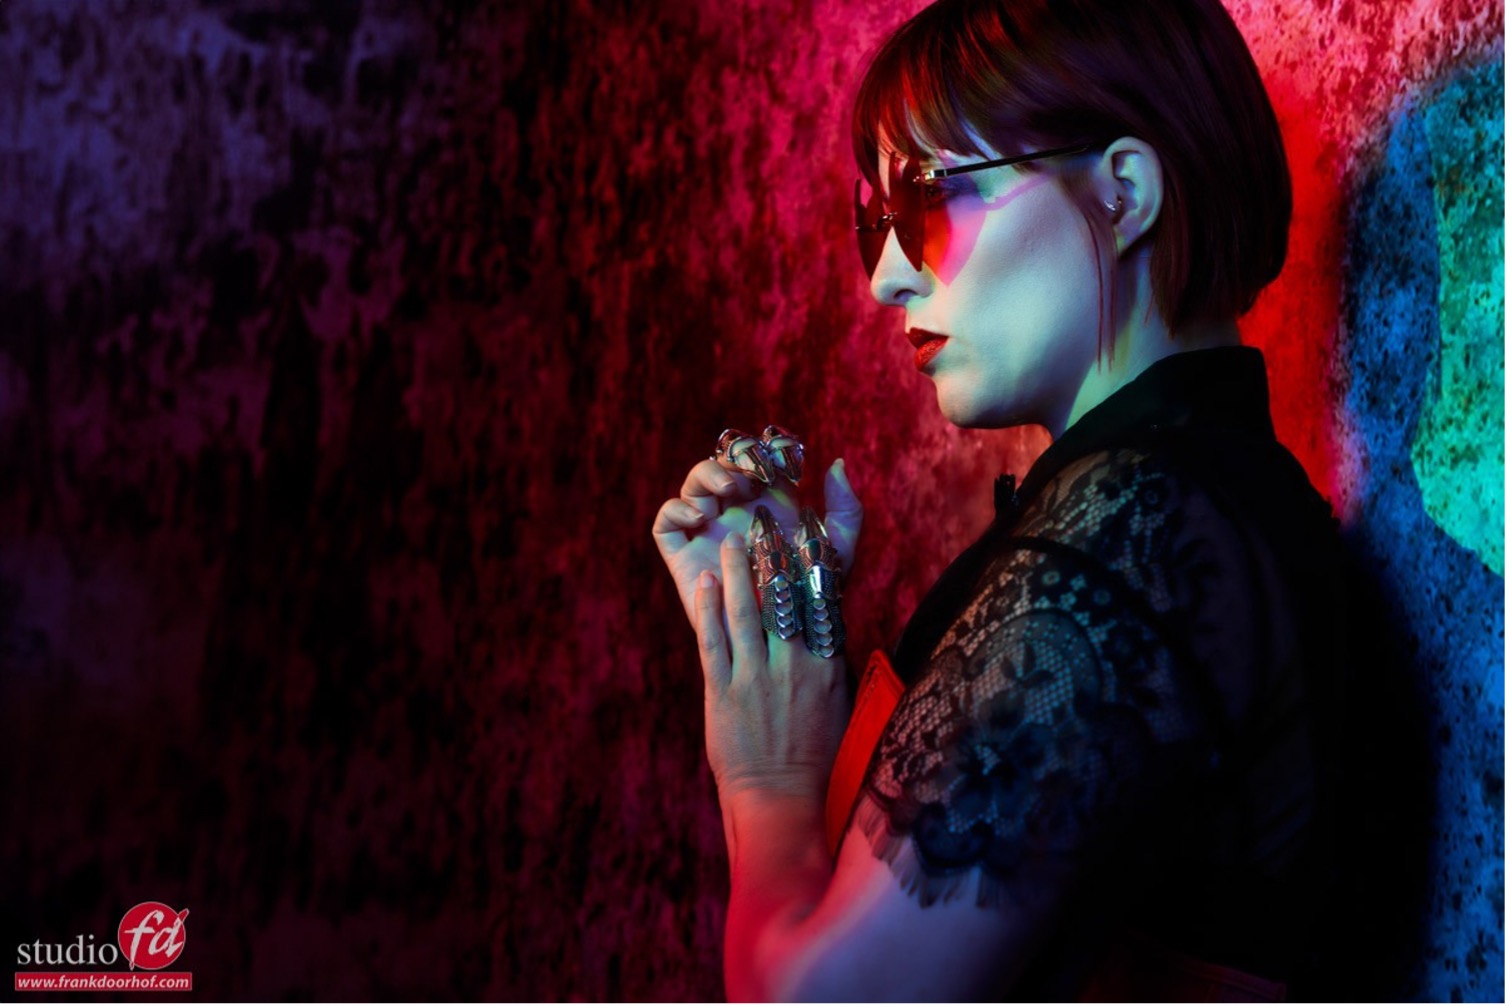
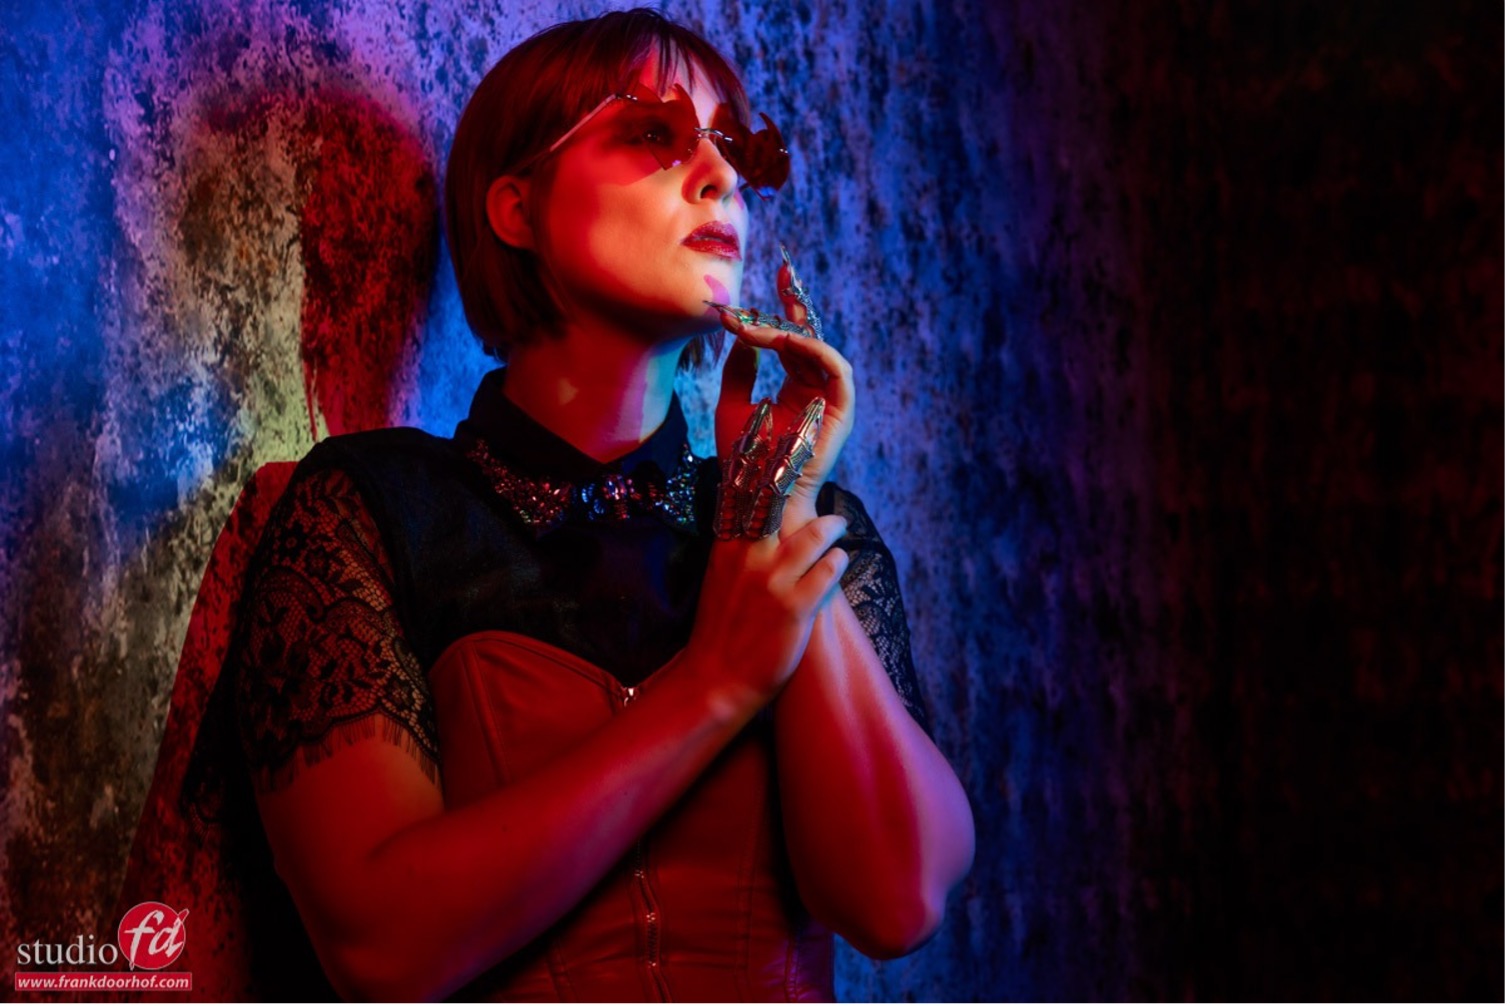
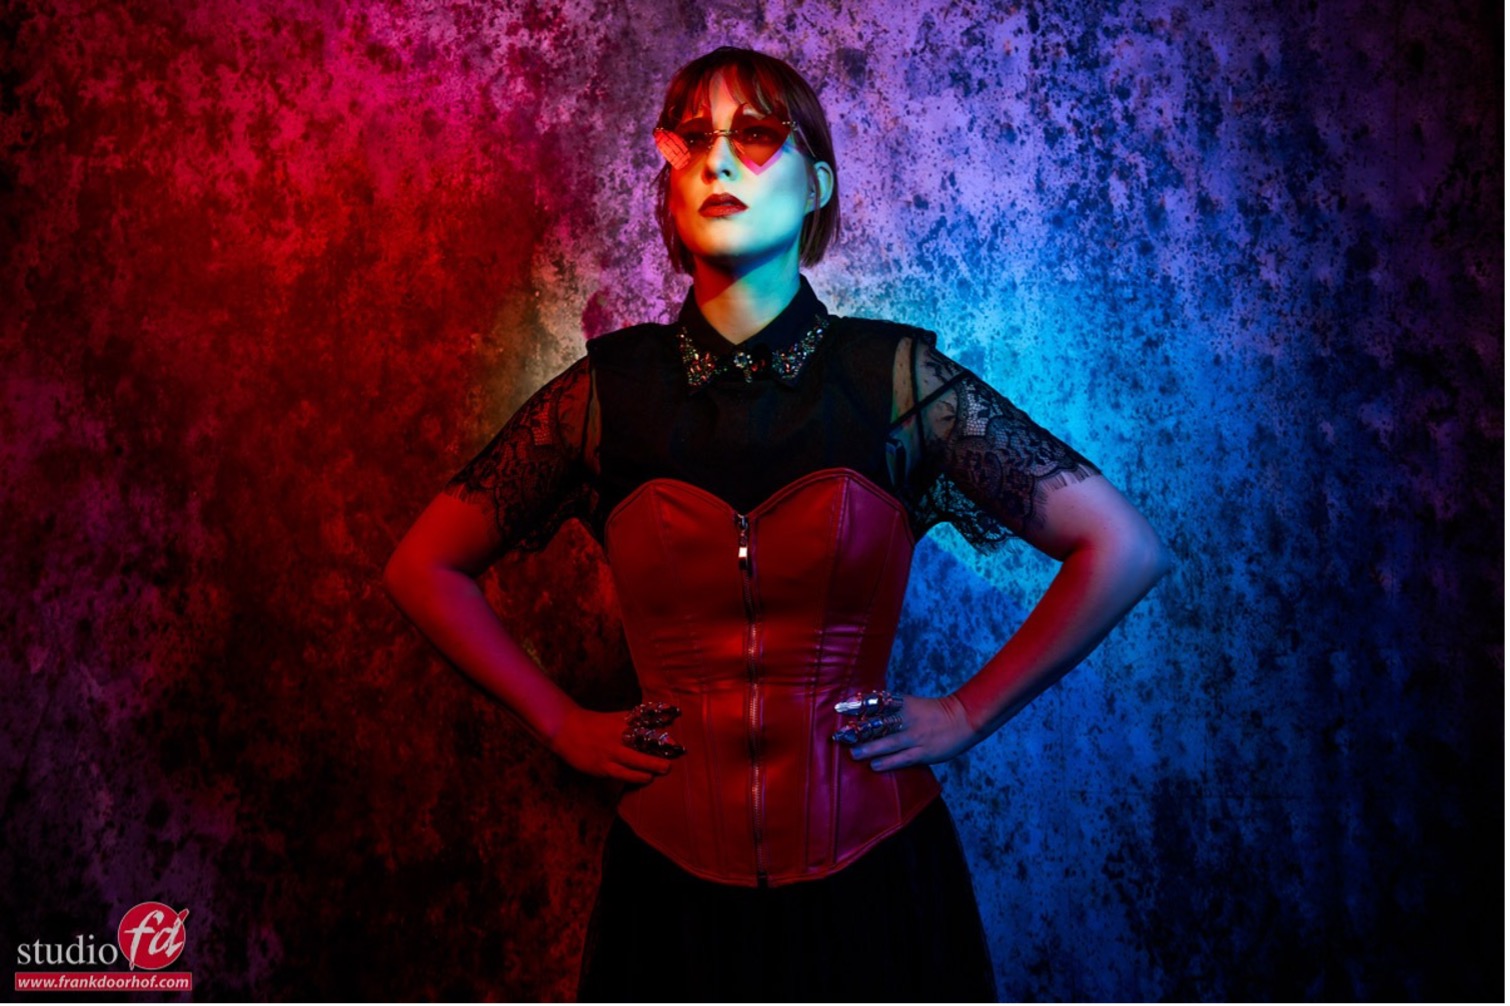
As you can see, by changing the angle at which the model is posing and where you photograph from, you can play with the colours and get very different results.
This is without doubt a very creative way of taking photos. If you want to do this for a client, show them an example first. I love it, but tastes differ.
An extra tip
As you have read, the brightness of a colour is important. This means that if your shot is not correctly exposed, the colours will not look accurate.
Of course, you may sometimes want a certain mood in your photo, but it is important to understand the basics of colour. That way, you can manipulate them as you wish.
To assess your colours correctly, you need a good workflow. For me, this includes a light meter and Colorchecker. This means that I first measure the light with the light meter and adjust it. And I use the Colorchecker to create a profile and white balance for that series.
And remember that this is only to make all the images look the same. So that any presets you apply or anything else in your workflow produces an expected result.
BenQ monitor
I have been using BenQ monitors for years and can highly recommend them. They have a great line-up of professional photo monitors and a great range of P3 colour space monitors, between sRGB and Adobe RGB, at very affordable prices.
As well as their excellent quality, most BenQ monitors also support hardware calibration. This means that you calibrate the monitor, rather than your operating system. This is a much better way to calibrate your screen than using standalone software.
We have received a few codes from BenQ for 10 per cent off in the European BenQ online shop. Contact me for more information.
About the author
Frank Doorhof blogt dagelijks in het Engels op zijn website en geeft wekelijks workshops model fotografie in zijn studio in Emmeloord, maar ook op locatie in binnen en buitenland. Van beginners tot gevorderde, iedereen kan bij Frank terecht. Ook voor specifieke 1 op 1 workshops, of maatwerk voor groepen.
You might also like
-
 Colour manipulation; Creating unusual skies with a colour gel
by Frank Doorhof
-
 Colour manipulation, working with colour and gels
by Frank Doorhof
-
 A critical look at connecting to a camera wirelessly
by Nando Harmsen
-
 The difference between a photograph and an AI-generated image
by Nando Harmsen
-
 The dark side of modelling
by Michelle Peeters
0 comments
Be the first to share what you think!
Have your say
Please note: Articles older than a week can only be commented on by signed-in visitors.Would you still like to comment? sign in or create a free account.
Become a better photographer every week
A practical photography tip in your inbox every week.
38,982 photography enthusiasts already receive the tips! More about the weekly mail. Or keep up to date via  Facebook.

Elja Trum
Photofacts; everything to do with photography!
Would you like to take better photos and keep up with what is happening in photography? Photofacts publishes articles that teach you something about photography — from a product announcement to a practical shooting tip or a look at a website. Photofacts covers photography every day and is a hobby project of Elja Trum's that got out of hand. The articles are written by a team of volunteer authors. If you would enjoy writing one or more articles for Photofacts, do get in touch.More about PhotofactsPhotofacts is made possible in part by
