

Ideas for Photographing Mushrooms
Monday 1 November 2021, 20:02 by Nando Harmsen | 8,263 views | 10 commentsThis article was translated from Dutch with the help of AI. Read the original.
It is autumn and mushrooms are appearing again. Photographing a mushroom is not difficult, but creating a really attractive image can be a challenge. In this article, I share ideas you can try.
Mushrooms come in all shapes and sizes. Some are just millimetres across, while others grow up to half a metre tall. You can find them on leaves, trees, in grass and on moss. Mushrooms can even be found in the sand of a dune.
Equipment
You don't necessarily need a macro lens to photograph mushrooms. Most lenses can get close enough to make a mushroom large enough in the frame.
If you want to get closer than your lens allows, you may need a macro lens. Or extension tubes.
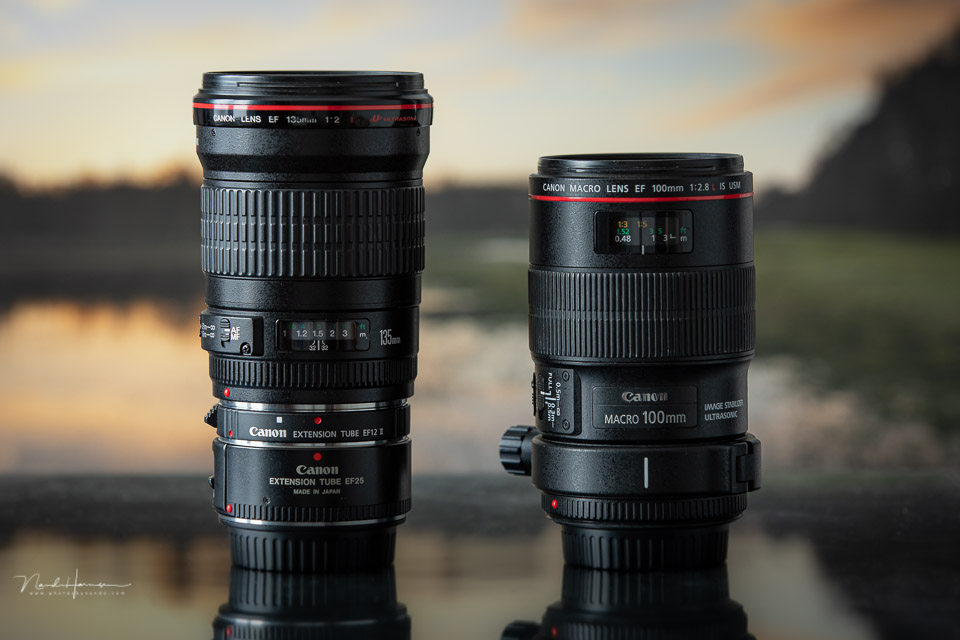
Extension tubes are useful accessories that are placed between the lens and camera. They are often relatively inexpensive, and come in sets of 36mm, 24mm and 12mm lengths. This allows you to achieve greater magnification.
They do have limitations, such as being unable to focus at infinity when in use. The alternative is a macro lens. That gives you the most flexibility. Did you know that you can also use extension tubes and a macro lens together?
Read more about the difference between extension tubes and a macro lens.
Almost never photograph from a high viewpoint
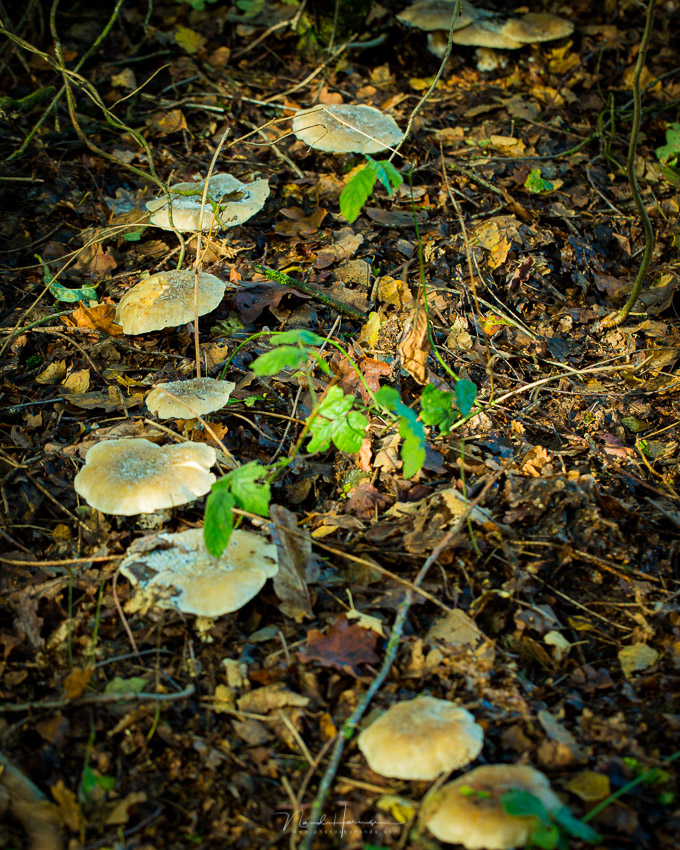
A high viewpoint is usually not very flattering for mushrooms. It does show where they are growing, but from a photographic point of view it is usually not very attractive.
In many cases, the same applies to mushrooms as to other types of photography: preferably photograph your subject at eye level.
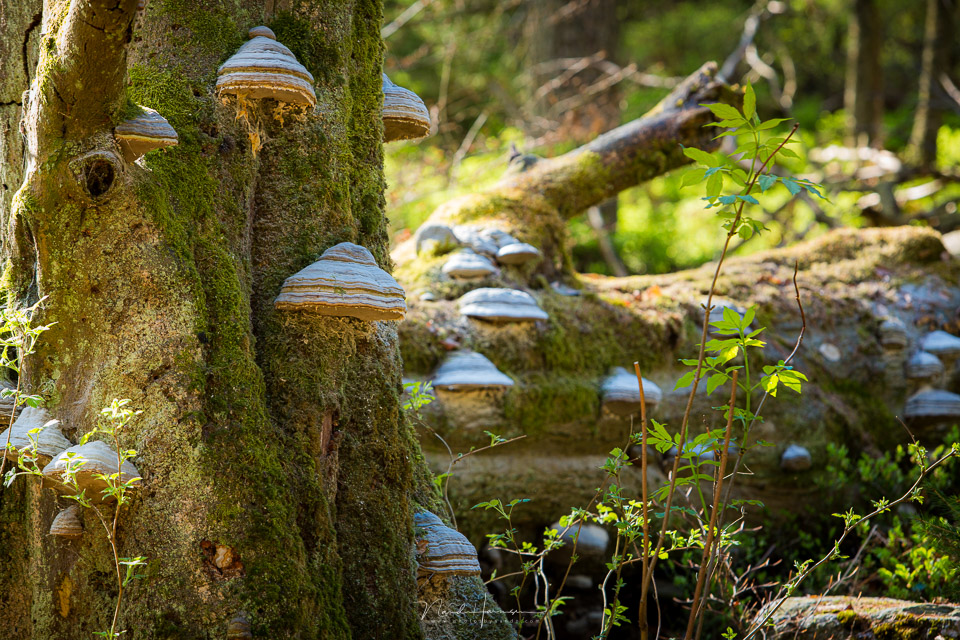
Mushrooms obviously don't have eyes, but think of it as eye level for an imaginary goblin. So not a frog's-eye view, but a goblin's-eye view. At that point, you really imagine yourself in the world of the mushroom.
Use a shallow depth of field
A large depth of field shows lots of details of everything around your subject. In macro or semi-macro photography, this can become distracting. The photo becomes too busy, and as the viewer you get too many distractions.
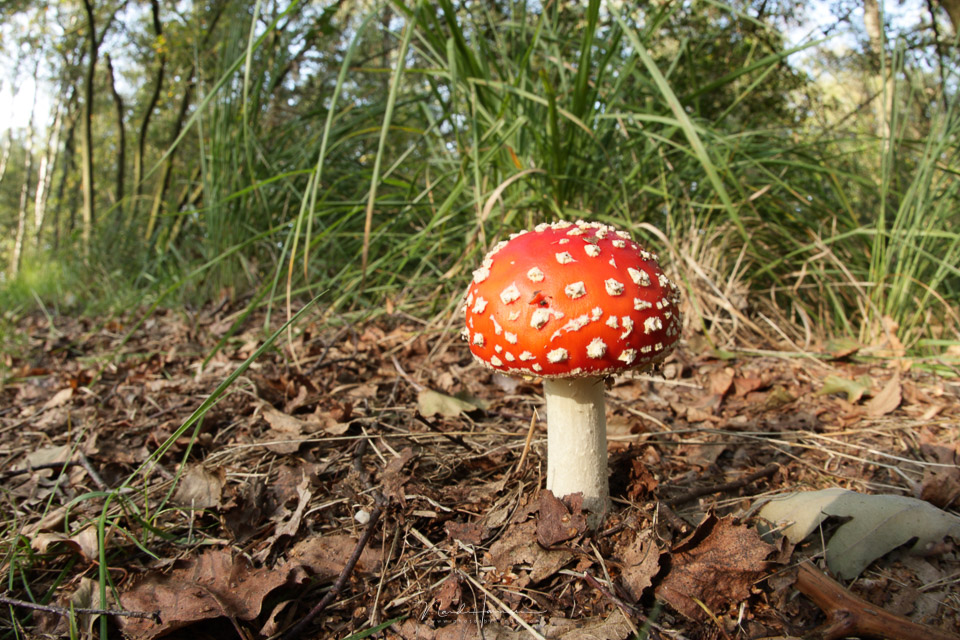
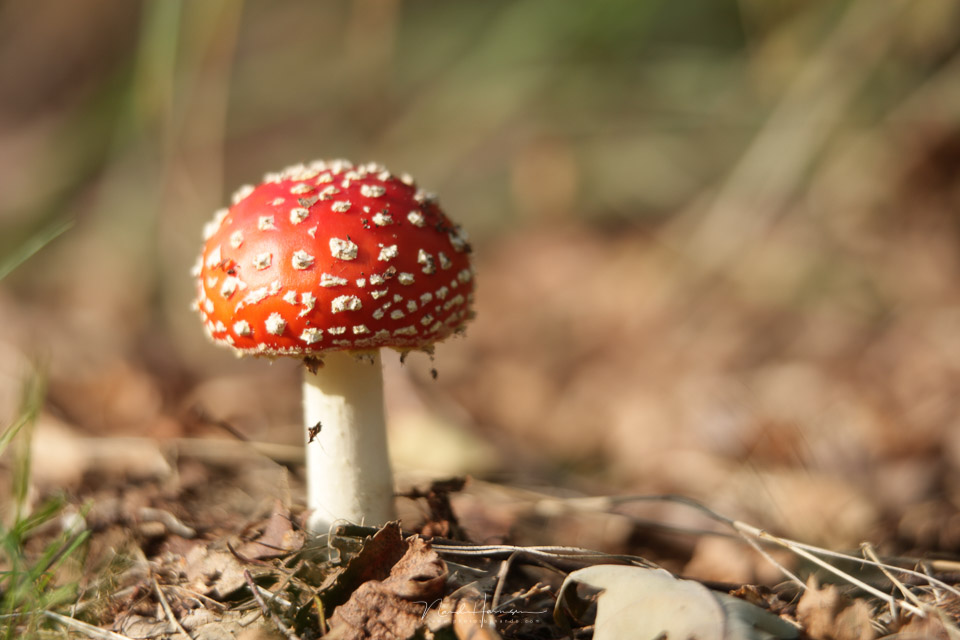
A shallow depth of field is just what you need to isolate your subject from the background and surroundings. You can combine this perfectly with a longer focal length. The photo becomes calmer and more pleasant to look at. Give it a try.
Clear the surroundings
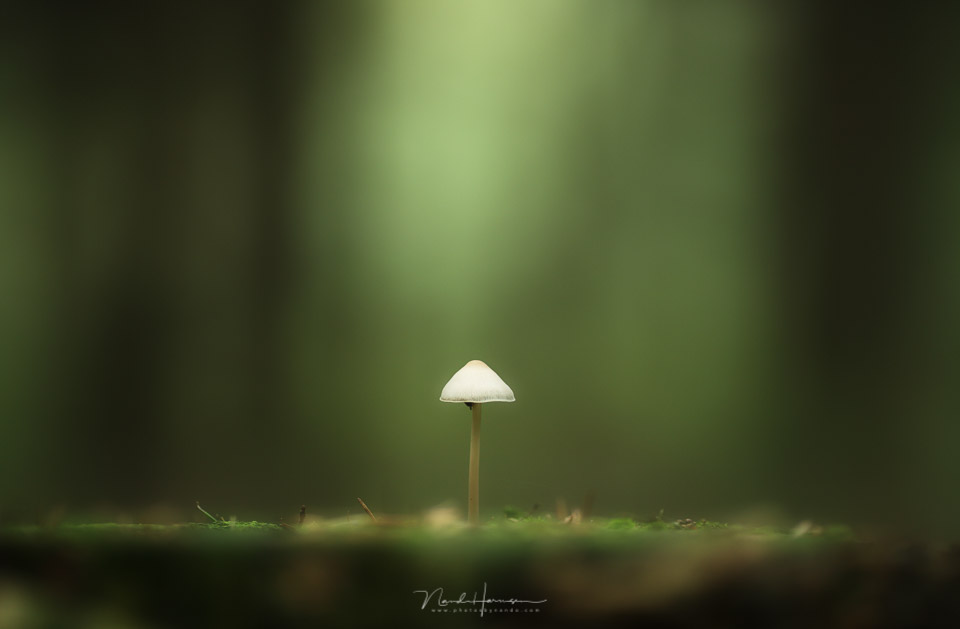
It is not compulsory, of course, but removing twigs, pine needles, pieces of bark or leaves can make the photo calmer. In many cases, these small things are distracting. They make the photo busy and can even create ugly spots in the image.
Do it carefully and gently. Take your time. It won't work everywhere or in every location, but with a little gardening, you can make the photo much more appealing.
Show the surroundings
This may sound contradictory, but sometimes it is nice to let the surroundings play a part in the image. In that case, don't use a macro lens, but a wide-angle lens. Get close to your mushroom and include the surroundings in your composition.
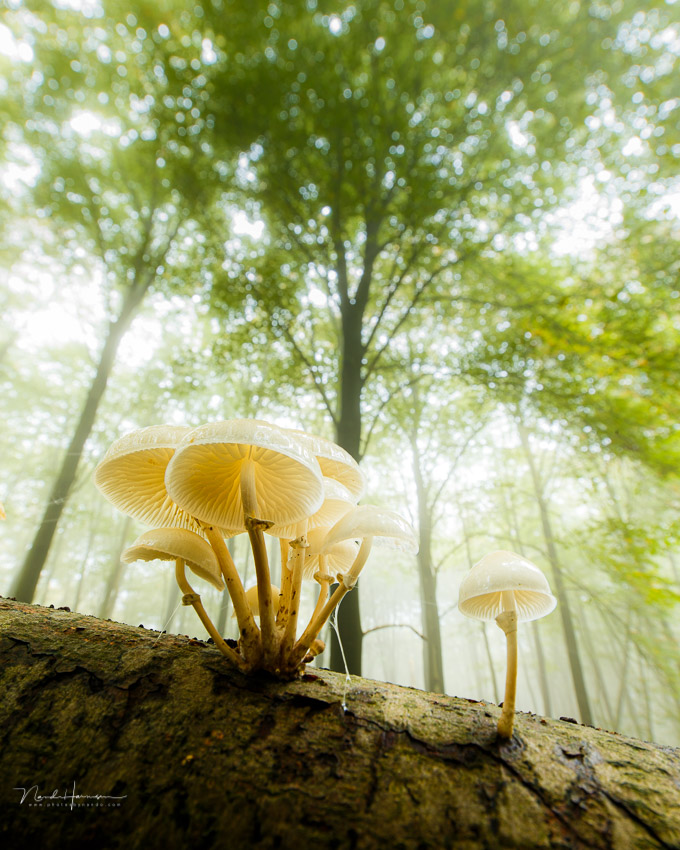
Unusual viewpoints, a shallow depth of field and good light are important. Try to be critical about what you include in the frame. It won't work everywhere or every time, but always keep the possibility in mind.
Details can be beautiful too
Especially with gilled mushrooms, where the gills are clearly visible, detail shots can be a nice extra in your mushroom photography.
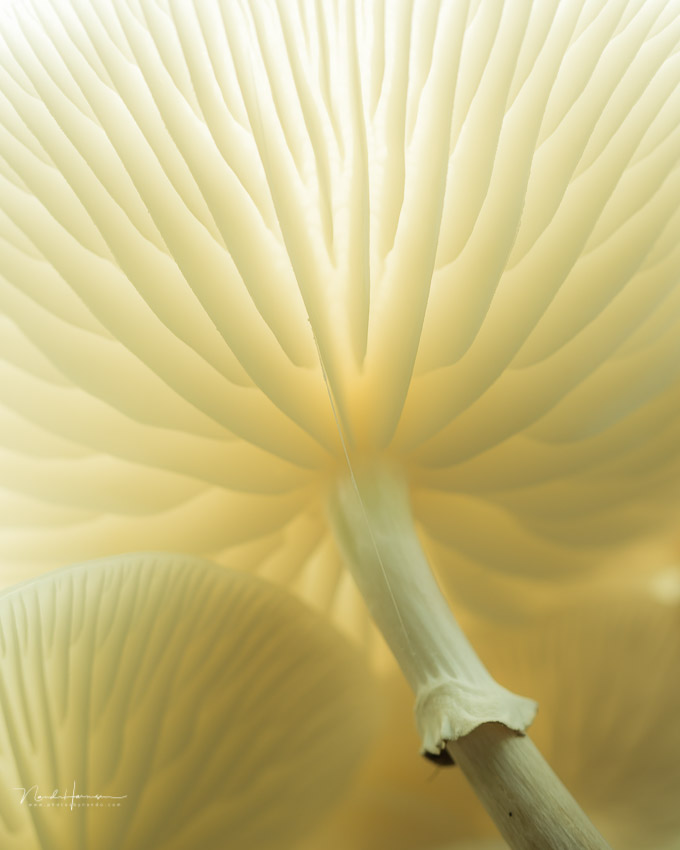
For this type of photography, a macro lens is indispensable, possibly combined with extension tubes. It can be difficult to see properly underneath the cap, but a small mirror can help.
Of course, there are more details to find. Perhaps an insect on the cap, or certain shapes and patterns on a cap. Also think of the ink dripping from ink caps. Examine a mushroom carefully and attentively, and you will always see something that may be worth photographing.
Use bokeh rings
Bokeh rings are the circles of light that appear in the out-of-focus part of a photo because of a shallow depth of field. How attractive these rings are depends on the quality of your lens.
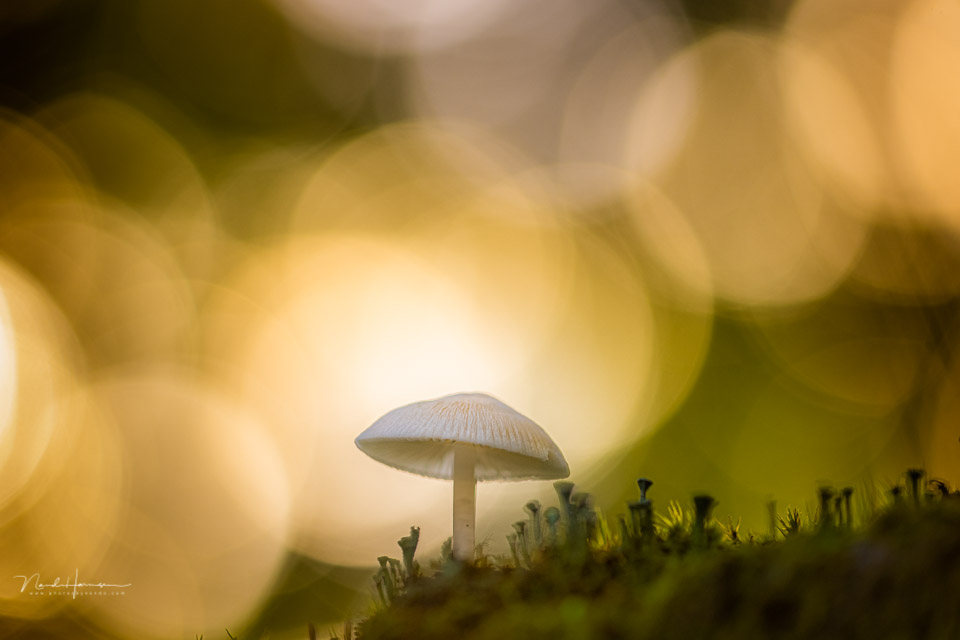
Use the available light playing through the branches of the trees in a forest. This is often enough to create these rings. You can also use sunlight at the end of the day. Try to create a good composition by placing your mushroom in the right spot between or inside the bokeh rings.
You can read more about bokeh in my article the difference between a shallow depth of field and bokeh.
Bring your own light
A small torch or flash can provide just that little bit of extra light to get a mushroom looking good in the frame. When you use separate flashes, it is essentially strobist photography.
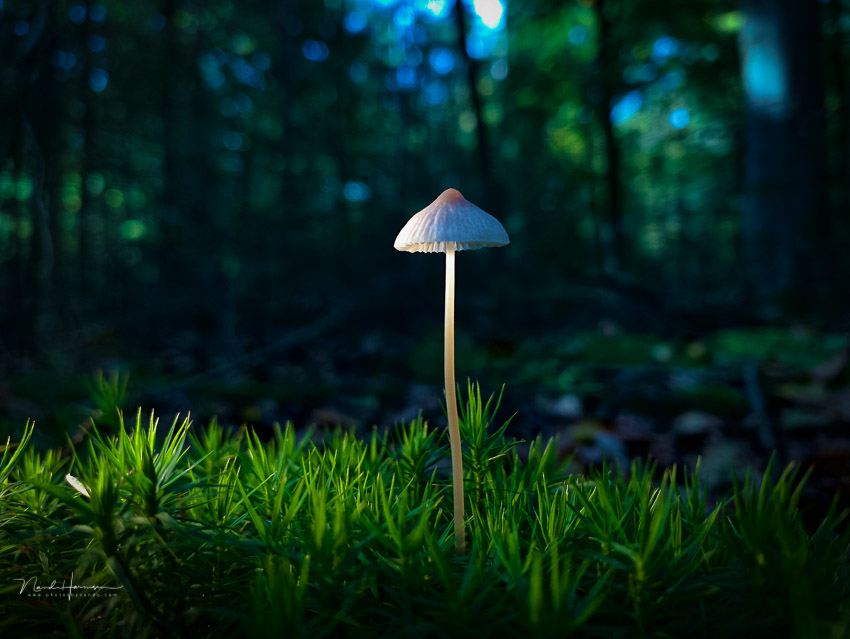
It can be a challenge to get the light looking good, but you have time. Try different positions and directions for the light. Backlighting, side lighting. Or even from below. Play around with it and you can get beautiful results.
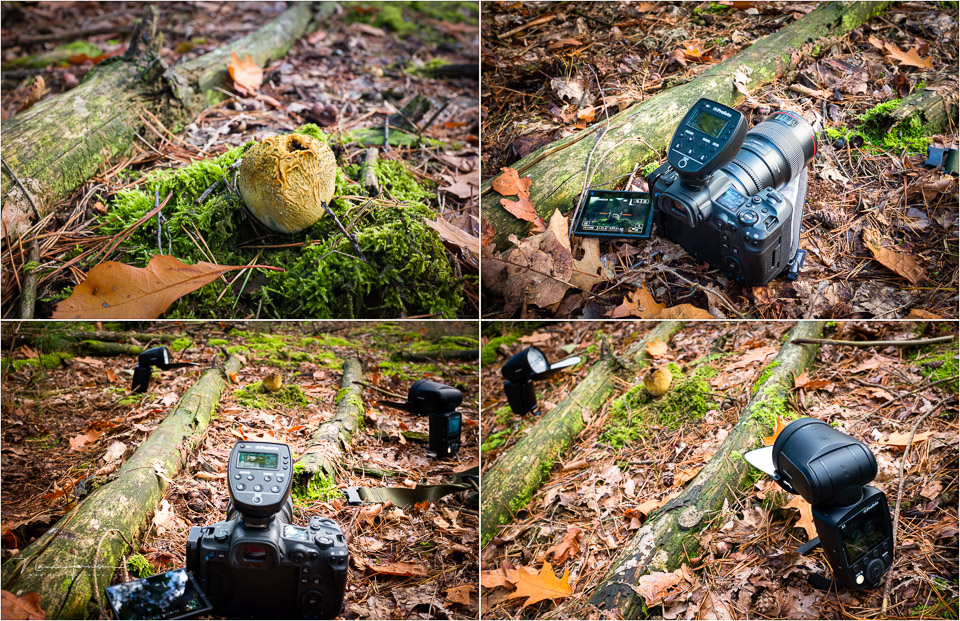
Use a plant sprayer to make your own rain
Combined with flashes and a plant sprayer, you can very easily create your own rain. A little backlighting is enough to light up the drops beautifully.
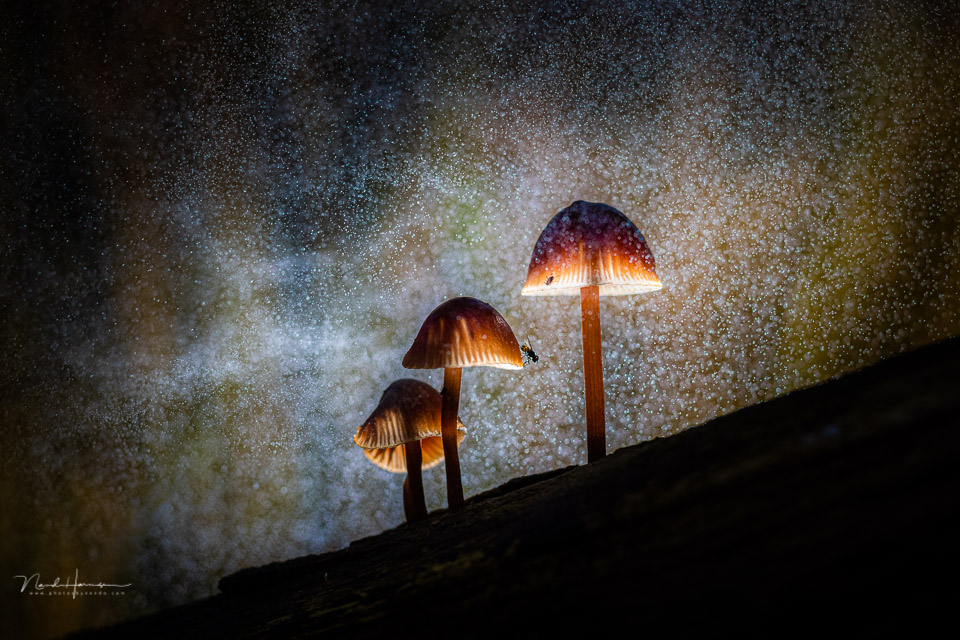
You can also use this technique to photograph spores from a mushroom, as I did in the photo below. A little light from diagonally behind lights up the "smoke" beautifully. You do have to lend a hand to make the spores escape.
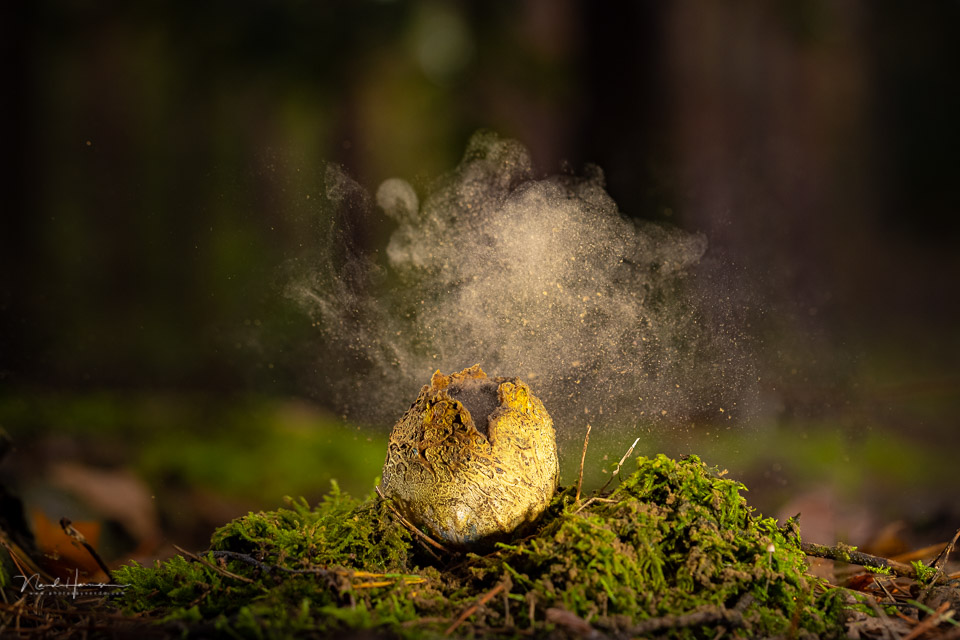
Read more about photographing the spores of the potato earthball in the blog post photographing a mushroom.
Try things out
There are more things you can try. A mushroom won't walk away, so you can take all the time you need to experiment. Also, don't always just look for unusual mushrooms. The simplest mushrooms can already produce sufficiently photogenic images.
Good luck photographing mushrooms. If you have any other tips, please leave them below this post. That way, you can inspire others to photograph mushrooms too.
About the author
Nando Harmsen has been photographing for more than 40 years. He specialises in wedding photography and landscape photography. Nando also gives talks, workshops, masterclasses and photo trips, and regularly reviews new and interesting equipment.
You might also like
-
 Do you love autumn photography too?
by Laura van der Burgt
-
 10 tips for photographing mushrooms
by Nando Harmsen
-
 Mushrooms with bokeh
by Erik Nevels
-
Mushrooms without a macro lens, plus a few extra tips
by Nando Harmsen
-
 Where do you find your inspiration?
by Nando Harmsen
-
 Creative with (Autumn) Leaves
by Laura van der Burgt
10 comments
-
 ans wrote on Tuesday 2 November 2021 at 10:30 | reply
thanks, it's very clear again.
Translated from Dutch.
what I personally get a lot of enjoyment from when photographing mushrooms is using a gorillapod, because with it you can easily photograph from below and also because you can quickly bend it into the right position -
 Richard wrote on Tuesday 2 November 2021 at 12:03 | reply
The only thing I miss is the warning to pay close attention to where you stand or lie down, because a mushroom is usually not alone. It would be a shame if you trampled 3 mushrooms to photograph 1.
Translated from Dutch. -
 Marijke wrote on Tuesday 2 November 2021 at 19:58 | reply
Hi Nando, nicely structured article. Thanks!
Translated from Dutch.
The combination macro lens + extension tube isn't mentioned explicitly, but I suspect most readers understand that this is also possible. That way you can zoom in well and work at short distances. My appreciation as well for Richard's comment. Pay attention to where you stand. The longer you acclimatize in one spot, the more you will see. -
 paul wrote on Wednesday 3 November 2021 at 08:22 | reply
Another very good article by Nando with lots of practical tips. Personally, however, I think using extension tubes to emulate a macro lens is complete rubbish, you wouldn't believe how many people have those extension tubes lying in the cupboard after using them just once. I also think Richard's remark is absolutely justified, every nature photographer should have respect for nature, unfortunately that is not always the case.
Translated from Dutch. -
 A H M Kerkhoff wrote on Wednesday 3 November 2021 at 17:31 | reply
Another great piece and written in an inspiring way. a question I sometimes struggle with myself, is that it is difficult to show the viewer of the photo how big the mushroom actually was. in general, it is difficult to place a tape measure next to it. But perhaps our master knows something smarter?
Translated from Dutch. -

-
-
-
 Nando
wrote on Tuesday 9 November 2021 at 09:48
| reply
Nando
wrote on Tuesday 9 November 2021 at 09:48
| reply
@Paul: calling extension tubes junk is a bit too simplistic. Just because that is your opinion, doesn’t mean that others can’t make good use of them. I think it’s a great tool that can be put to very good use.
Translated from Dutch.
I do know that many photographers buy them unnecessarily. They then end up in the cupboard. -
Nando
wrote on Tuesday 9 November 2021 at 09:51
| reply
@A.M.H. Kerkhof:
Translated from Dutch.
Personally, I think that the size of the mushroom doesn't matter for a photo. It's about the beautiful representation in the image. I see showing the size more as being for identification purposes, and then a tape measure is perfect.
Be creative if you do want to have the size in the image. A chestnut, acorn or an autumn leaf next to it can already give an idea of the size. Use recognisable, natural elements. But I have to admit that this can be very difficult or even hard, if not impossible.
Have your say
Please note: Articles older than a week can only be commented on by signed-in visitors.Would you still like to comment? sign in or create a free account.
Become a better photographer every week
A practical photography tip in your inbox every week.
38,982 photography enthusiasts already receive the tips! More about the weekly mail. Or keep up to date via  Facebook.

Elja Trum
Photofacts; everything to do with photography!
Would you like to take better photos and keep up with what is happening in photography? Photofacts publishes articles that teach you something about photography — from a product announcement to a practical shooting tip or a look at a website. Photofacts covers photography every day and is a hobby project of Elja Trum's that got out of hand. The articles are written by a team of volunteer authors. If you would enjoy writing one or more articles for Photofacts, do get in touch.More about PhotofactsPhotofacts is made possible in part by
