

Photographing at a funfair
Sunday 8 May 2022, 23:23 by Nando Harmsen | 6,472 views | 0 commentsThis article was translated from Dutch with the help of AI. Read the original.
From spring onwards, you can find them in villages and towns again. The funfair. It always offers great photo opportunities, especially in the evening when the lights are on. I received a question about photographing at a funfair.
How do you bring order to the chaos? How do you stop people from being too dark in the photo? How do you prevent motion blur? What are the best settings for your camera? In this article, I will answer these questions, while also providing inspiration.
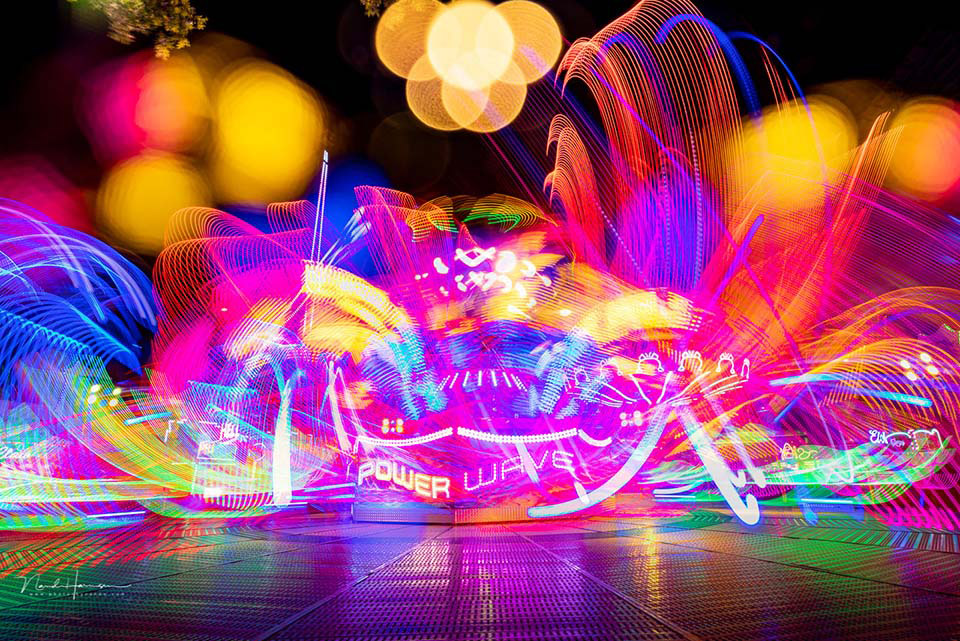
Settings
There is no single setting that is suitable for every type of photography at a funfair. I can only give you a few guidelines that can serve as a basis for choosing the right setting at the right moment.
In fact, you can practise two types of photography. One is photographing moments, with people among and on the rides. The other is capturing the movement of the rides. You need different settings for each.
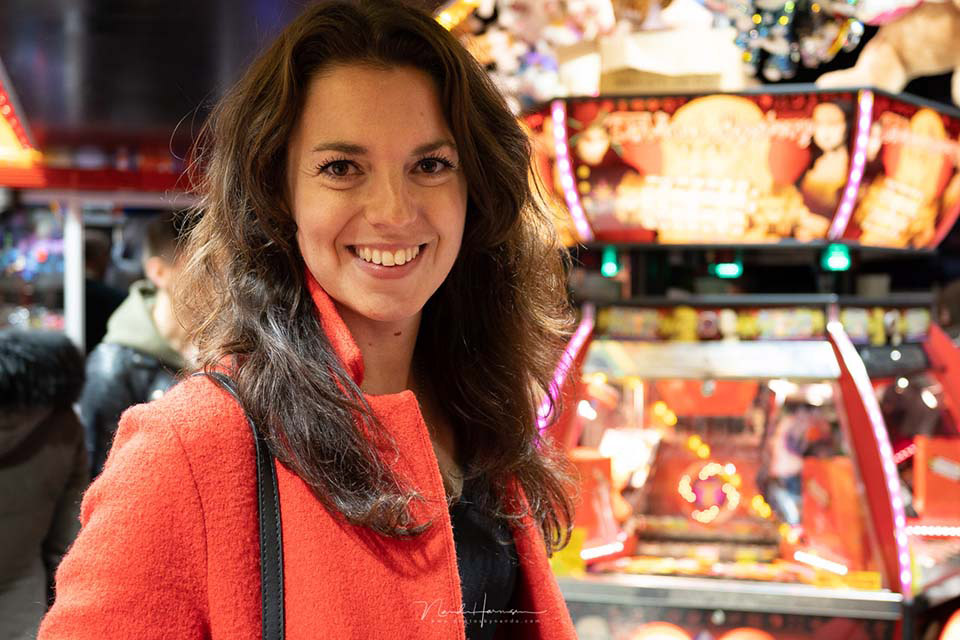
The first may be the most difficult. Photographing people requires a reasonably fast shutter speed. This means you need to use high ISO values to achieve it. A shallow depth of field helps to separate your subject from the background. This makes your photo less cluttered.
Expose for your subject, not the background. The background may then become overexposed, but it prevents the person you are photographing from being too dark. You can use fill flash if necessary, but this does attract a lot of attention.
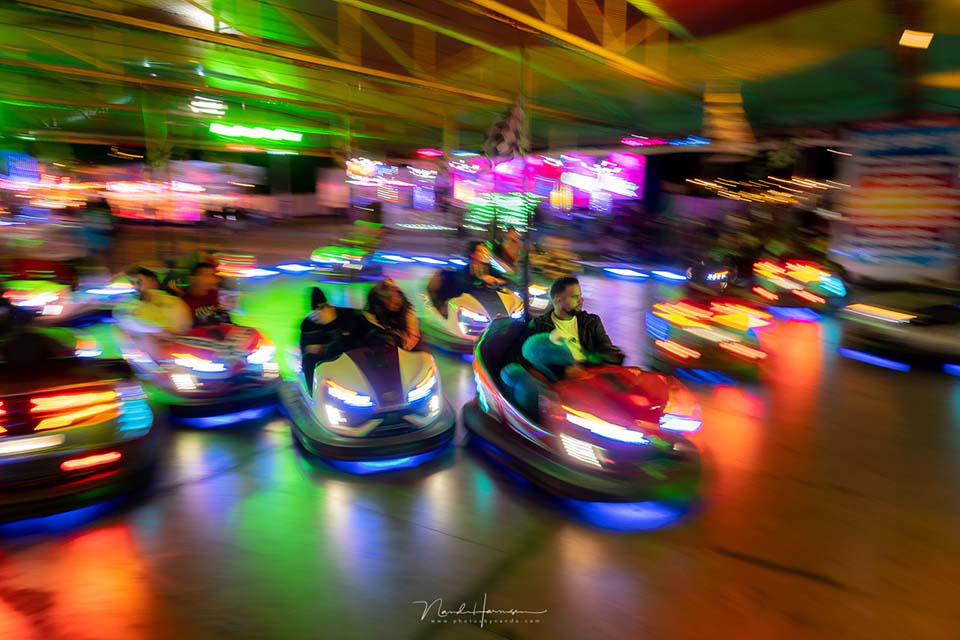
For movement, you can put the camera on a tripod. By choosing a small aperture together with a low ISO value, you can get slower shutter speeds. This allows you to capture the movement of the rides beautifully.
Calm in your photo
A funfair can be a chaotic environment. You can create calm in your photos by not including everything in the frame. Concentrate on details, on people, on the things they are doing. In other words, choose a clear subject.
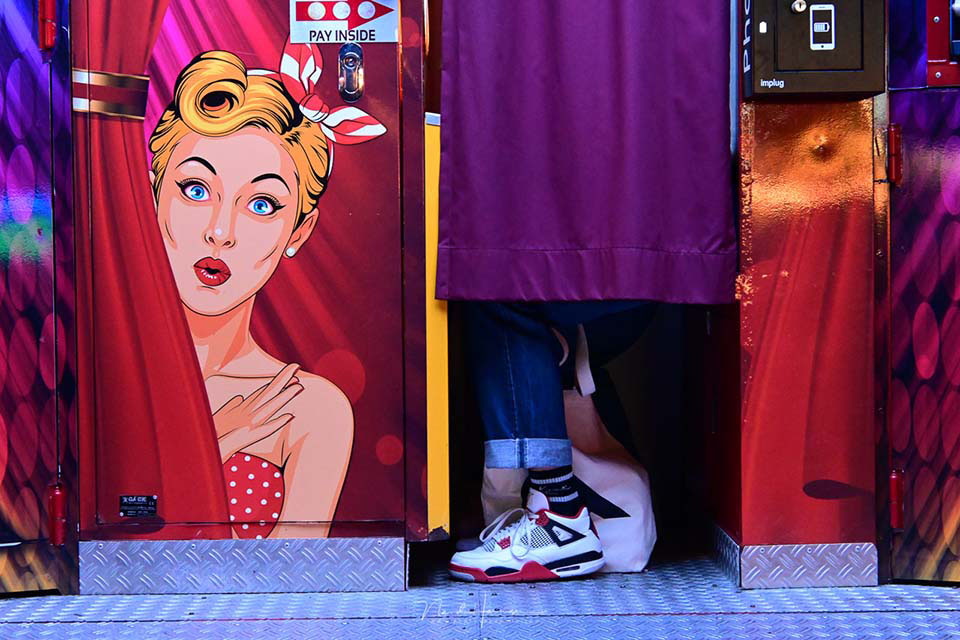
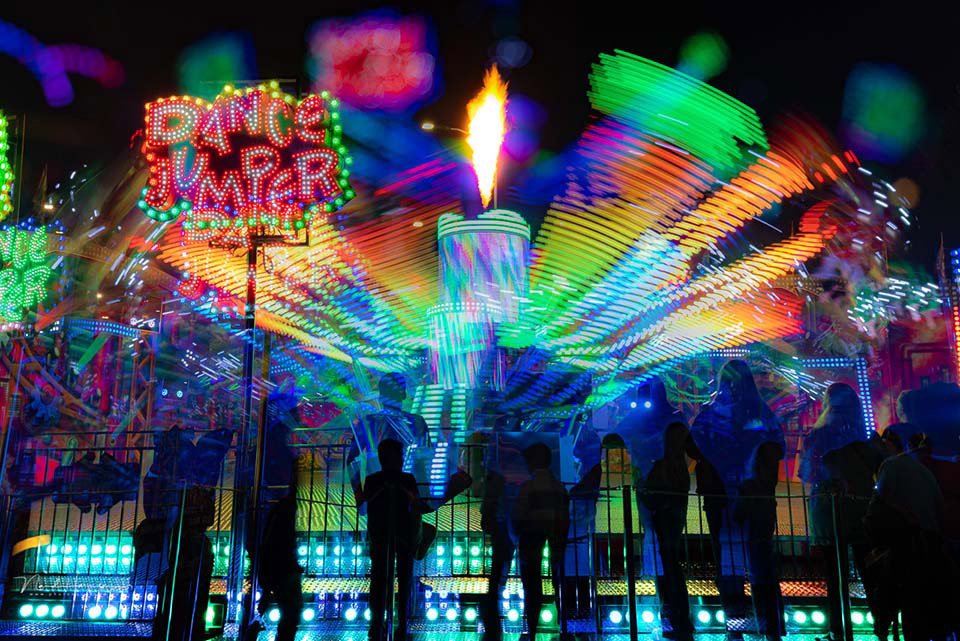
You can also use silhouettes against moving rides. You can use longer focal lengths to highlight things. Use a shallow depth of field to blur the background.
Capturing movement
A funfair is always moving. Rides do not stand still. With a slower shutter speed, it is possible to capture that movement. You do not even need to choose very slow shutter speeds. Sometimes 1 second is enough.
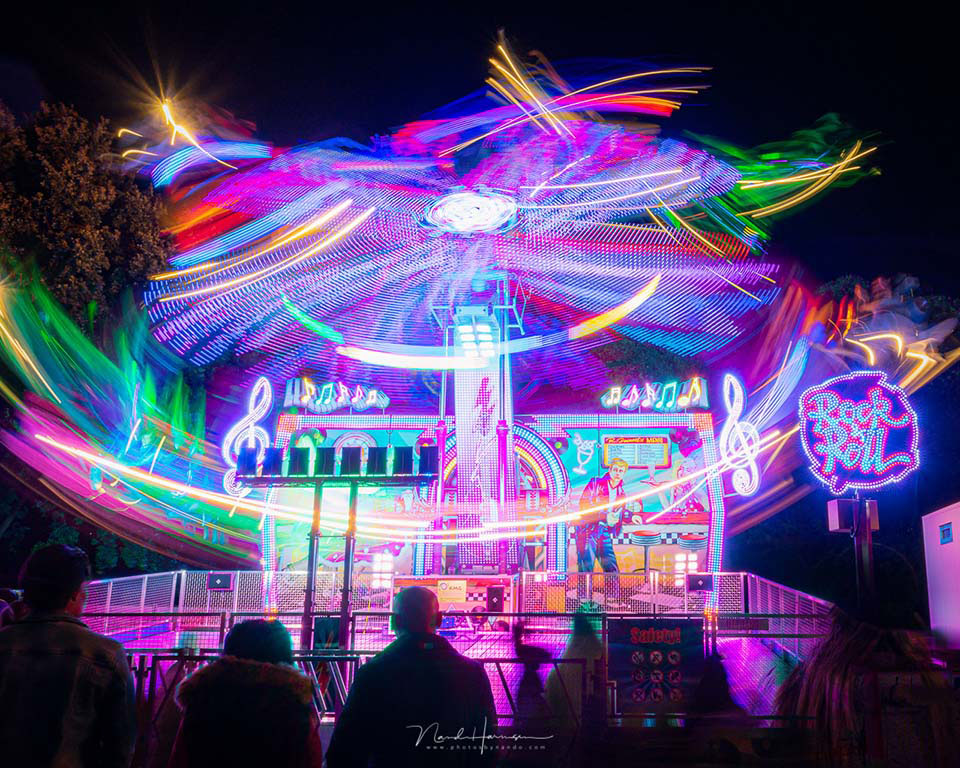
That movement is what makes the photo dynamic. Add a human element, a point of calm amid all the movement. A simple silhouette of spectators by a ride may be enough.
Fill flash
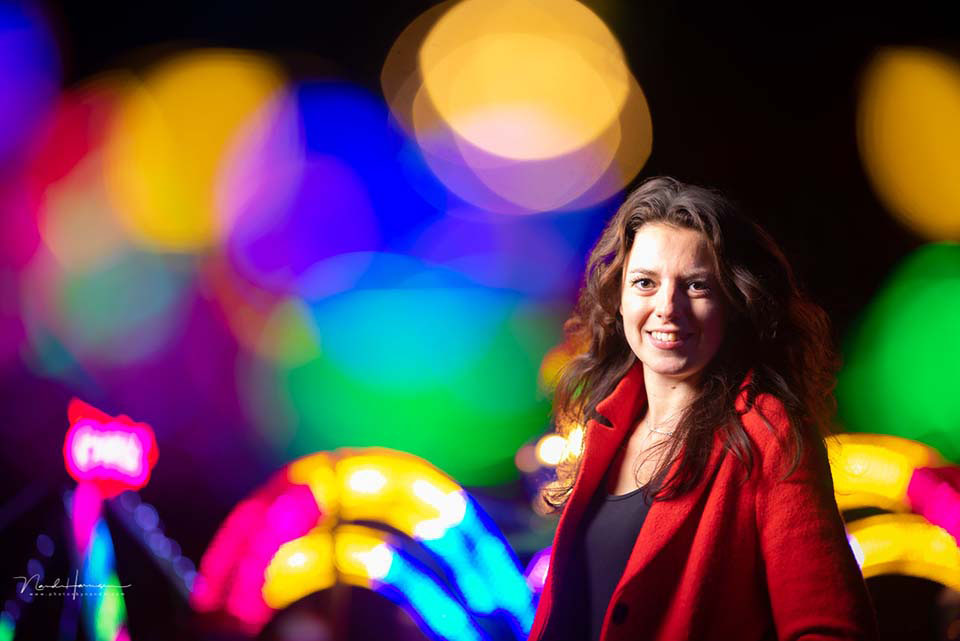
With a flash, it is possible to expose a person perfectly. This is not really suitable for an unobtrusive candid photo, but it does work for a portrait session.
Expose for the background lighting and use the flash to light your model. You can use slow shutter speeds to keep the background moving. Or choose a wide aperture to make the lights in the background appear as bokeh balls.
Use your creativity
There is even more you can do at a funfair in the dark. For example, you can use panning and intentional camera movement (ICM) techniques. By moving your camera yourself with a slow shutter speed, you can achieve unusual effects.
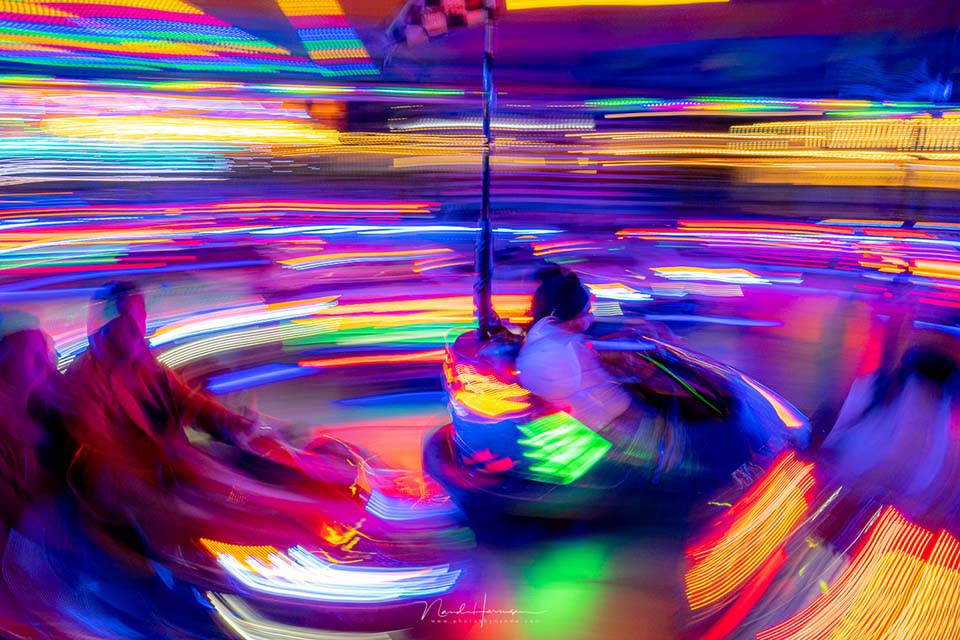
If your camera supports double exposures, you can make perfect use of them. Multiple exposures, with different settings for each shot, give you an endless number of possibilities.
Do you have any ideas too?
These are, of course, just a few ideas for photographing at a funfair. Do try out new things, or practise with a special technique. Spend an evening trying things out and look at the results afterwards.
Go a second time to do things differently based on your first results, or to put the ideas you had while looking at them into practice.
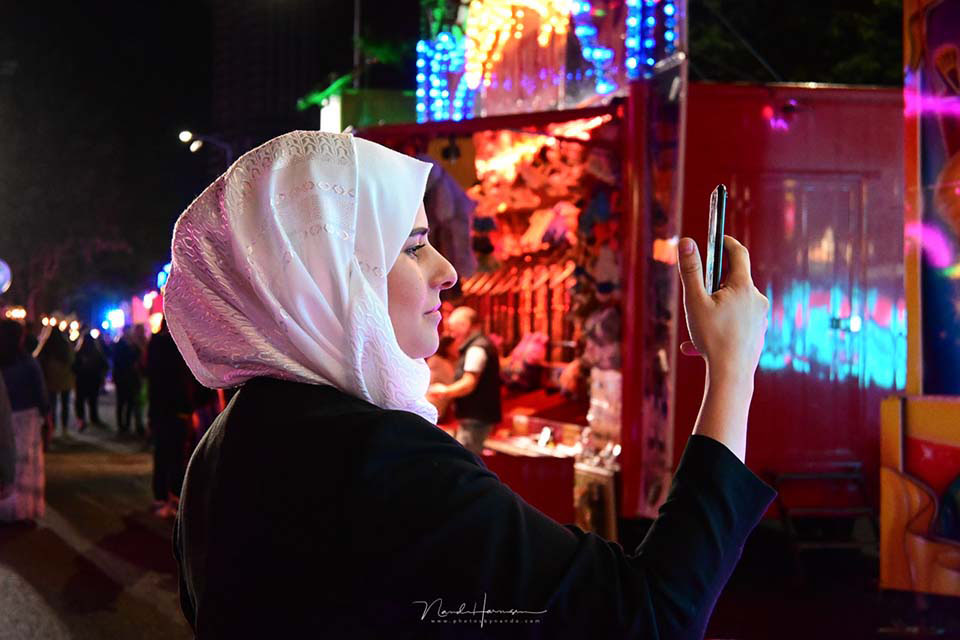
Maybe you have ideas or tips for funfair photography too? Let us know in a comment below this post. I wish you success with your funfair photography.
About the author
Nando Harmsen has been photographing for more than 40 years. He specialises in wedding photography and landscape photography. Nando also gives talks, workshops, masterclasses and photo trips, and regularly reviews new and interesting equipment.
You might also like
-
 Night photography tip: choose the blue hour
by Nando Harmsen
-
 Photographing Italian ghost towns
by Michelle Peeters
-
 Night photography tip: photograph the moon at twilight
by Nando Harmsen
-
 Night photography on Schiermonnikoog (part 2)
by Erik Nevels
-
 Showing and freezing movement with flash photography
by Elja Trum
-
 Night photography tip: consider a shoulder bag
by Nando Harmsen
0 comments
Be the first to share what you think!
Have your say
Please note: Articles older than a week can only be commented on by signed-in visitors.Would you still like to comment? sign in or create a free account.
Become a better photographer every week
A practical photography tip in your inbox every week.
38,901 photography enthusiasts already receive the tips! More about the weekly mail. Or keep up to date via  Facebook.

Elja Trum
Photofacts; everything to do with photography!
Would you like to take better photos and keep up with what is happening in photography? Photofacts publishes articles that teach you something about photography — from a product announcement to a practical shooting tip or a look at a website. Photofacts covers photography every day and is a hobby project of Elja Trum's that got out of hand. The articles are written by a team of volunteer authors. If you would enjoy writing one or more articles for Photofacts, do get in touch.More about PhotofactsPhotofacts is made possible in part by
