

Tilt-shift lens for extreme depth of field
Friday 15 August 2025, 16:32 by Nando Harmsen | 2,533 views | 0 commentsThis article was translated from Dutch with the help of AI. Read the original.
In landscape photography, an extremely large depth of field is sometimes desirable. You can achieve this in several ways. A tilt-shift lens is one of them. It is not easy, though.
You can achieve an extremely large depth of field with a small aperture. The shorter the focal length, the greater the depth of field. If you have an APS-C or M42 sensor, you have an advantage there.
Don't have enough depth of field with the smallest aperture? Then you can use the hyperfocal distance. This means focusing at the distance where the far end of the depth of field lies at infinity.
Do you still not have enough depth of field? Then you can use focus stacking. A series of photos with the focus point at different distances. You then combine these with software into a single photo.
There is another way: the tilt-shift lens. You can use it to correct the perspective of buildings, or to 'flatten' the plane of focus. This means you can get everything sharply in focus from front to back, even with a large aperture.
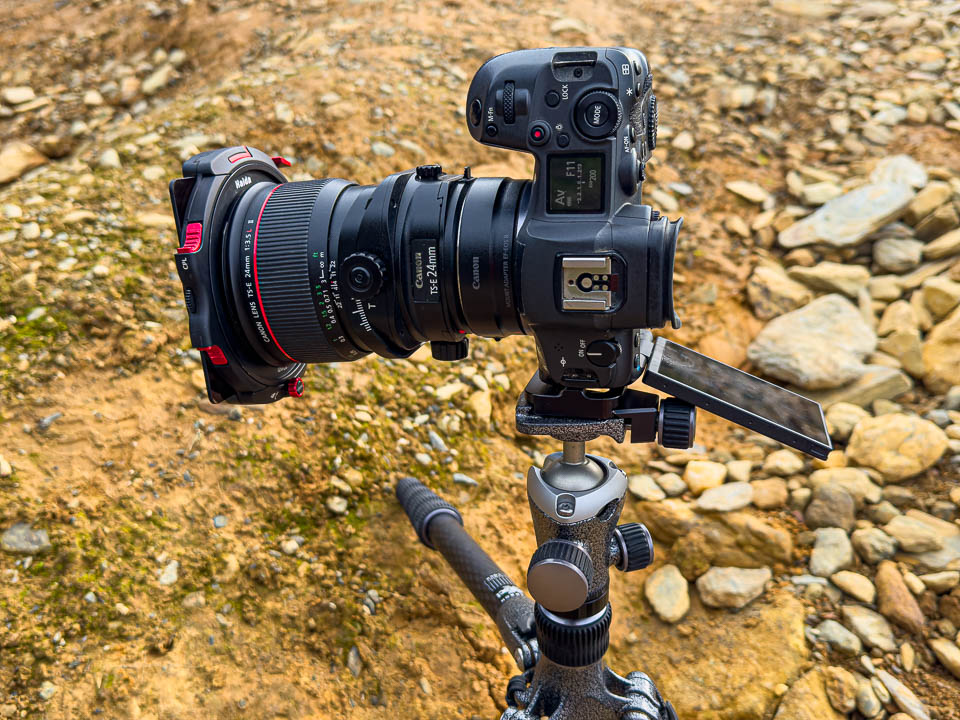
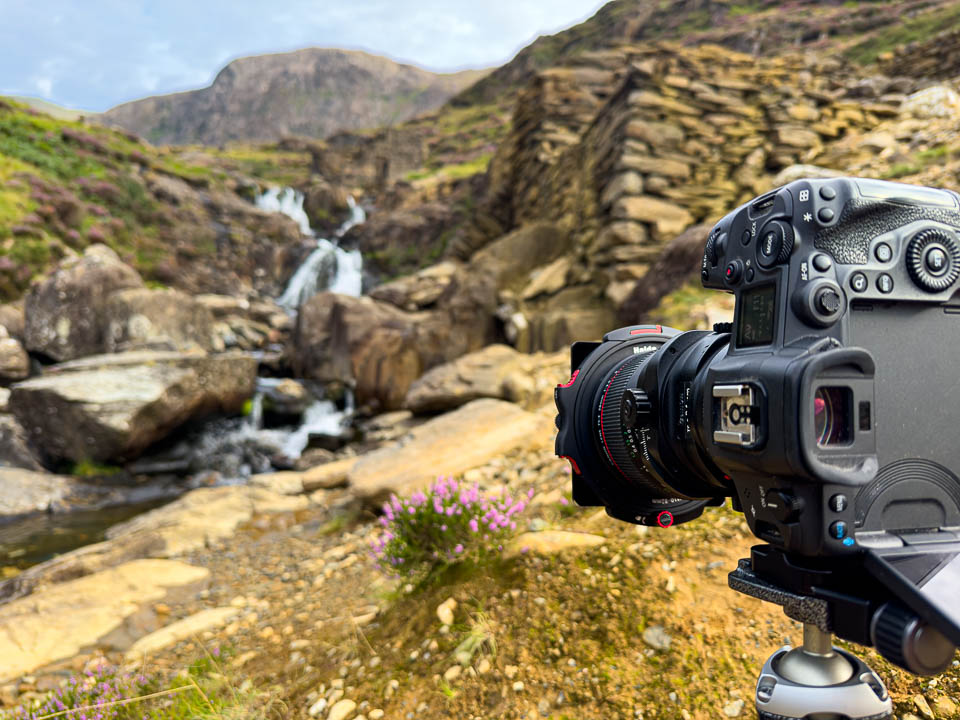
This is the Scheimpflug principle, a difficult term for something explained in the tilt-shift course on Photofacts Academy. I had my 24mm tilt-shift lens with me during a holiday in Wales.
By tilting the lens down using the tilt function, the plane of focus tilts. This allows me to get both the foreground and background sharply in focus. In theory, this is even possible with the largest aperture.
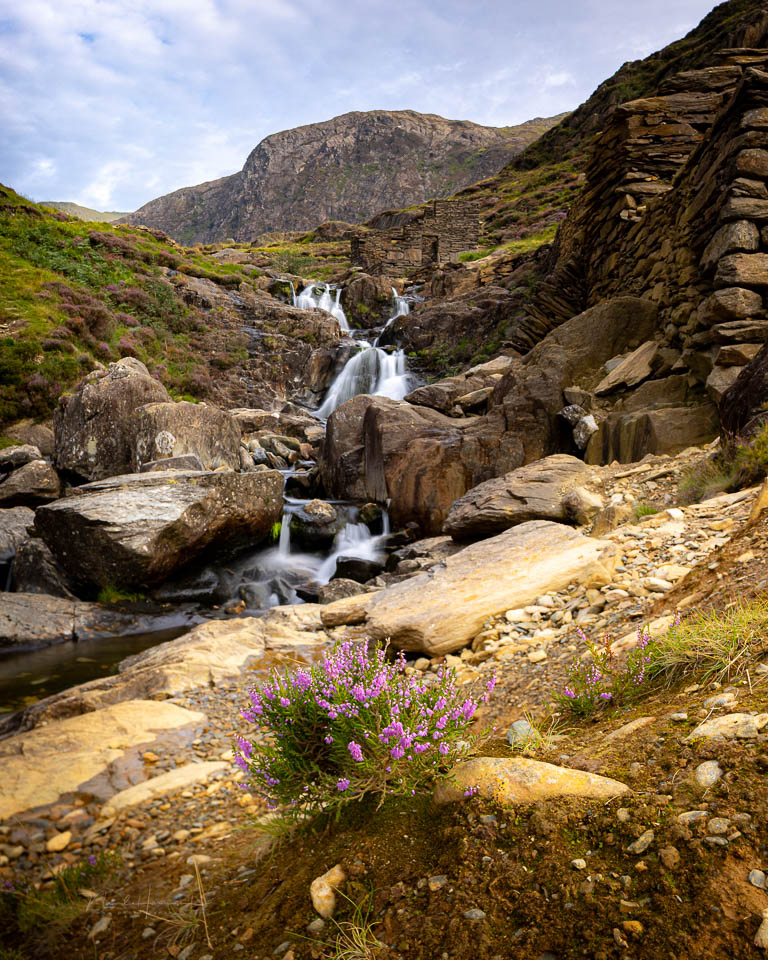
There is a disadvantage, though. Everything above or below the plane of focus will become blurred. That is why I chose f/11 in this case, so that the depth of field extends above and below the plane of focus.
A requirement for using this technique is that the landscape does not have too many changes in elevation. But that is the case in the mountains. As a result, parts of the landscape may still be out of focus.
About the author
Nando Harmsen has been photographing for more than 40 years. He specialises in wedding photography and landscape photography. Nando also gives talks, workshops, masterclasses and photo trips, and regularly reviews new and interesting equipment.
You might also like
-
 The tilt of a tilt-shift lens explained
by Nando Harmsen
-
The shift of a tilt-shift lens explained
by Nando Harmsen
-
Tilt-shift effect in landscape photography
by Nando Harmsen
-
 A tilt-shift adapter for the Canon RF mount
by Nando Harmsen
-
 Laowa launches a new 20mm Zero-D shift lens
by Nando Harmsen

0 comments
Be the first to share what you think!
Have your say
Please note: Articles older than a week can only be commented on by signed-in visitors.Would you still like to comment? sign in or create a free account.
Become a better photographer every week
A practical photography tip in your inbox every week.
39,079 photography enthusiasts already receive the tips! More about the weekly mail. Or keep up to date via  Facebook.

Elja Trum
Photofacts; everything to do with photography!
Would you like to take better photos and keep up with what is happening in photography? Photofacts publishes articles that teach you something about photography — from a product announcement to a practical shooting tip or a look at a website. Photofacts covers photography every day and is a hobby project of Elja Trum's that got out of hand. The articles are written by a team of volunteer authors. If you would enjoy writing one or more articles for Photofacts, do get in touch.More about PhotofactsPhotofacts is made possible in part by
