

10 tips for fantastic snowy landscapes
Saturday 16 January 2021, 15:30 by Nando Harmsen | 8,426 views | 4 commentsThis article was translated from Dutch with the help of AI. Read the original.
Taking landscape photos in the snow is always a real treat. Of course, you have to wait and see whether it snows, but when it does, it helps to be prepared. I have 10 tips to help you take that fantastic landscape photo in the snow.
As landscape photographers, we all want to photograph a beautiful snow-covered landscape. A world covered in a pristine white blanket has something surreal about it. Especially because we get so little of it in the Netherlands these days, it is even more appealing.
We can head out to photograph these landscapes. The High Fens in Belgium are close by for many people, but the Alps can also offer beautiful snowy landscapes. If you are adventurous, and I try to convince everyone, including myself, that I am, you can visit Scandinavia in winter. You may even get an extra treat in the form of the legendary green glow in the sky.
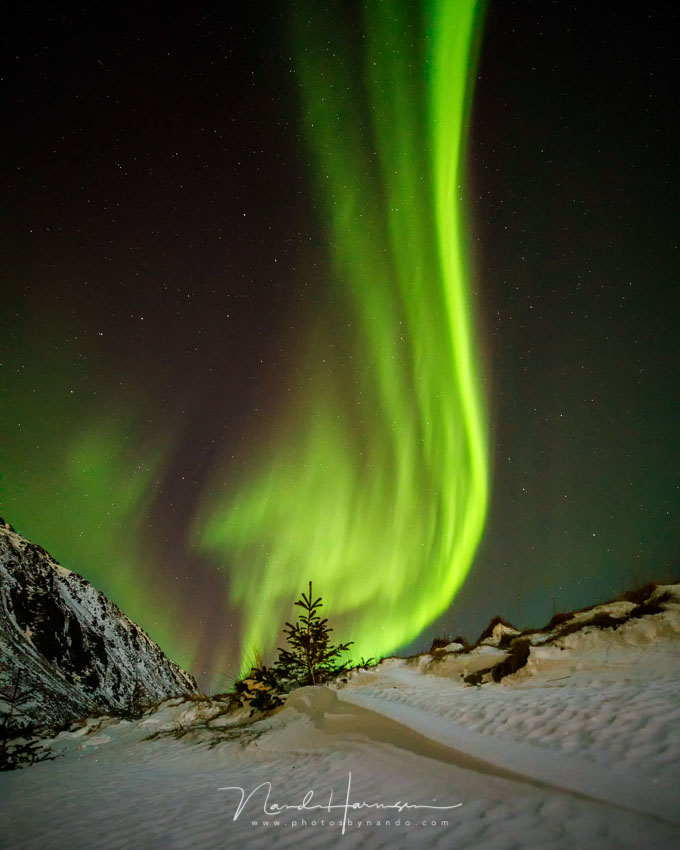
Before you go and photograph snowy landscapes, it is good to know what to look out for. Once the snow is there and you have to figure it out then, it is already too late. In this post, I give you 10 tips. Make the most of them.
1. Know where you want to go
This may sound strange, but have a goal when you head out. Once it starts snowing, you should not still have to decide where you want to go. Once you have made a choice, stick to it: stick to the plan. So think now about where you hope to take photos with a white blanket of snow, and write it down. It will prevent decision stress later.
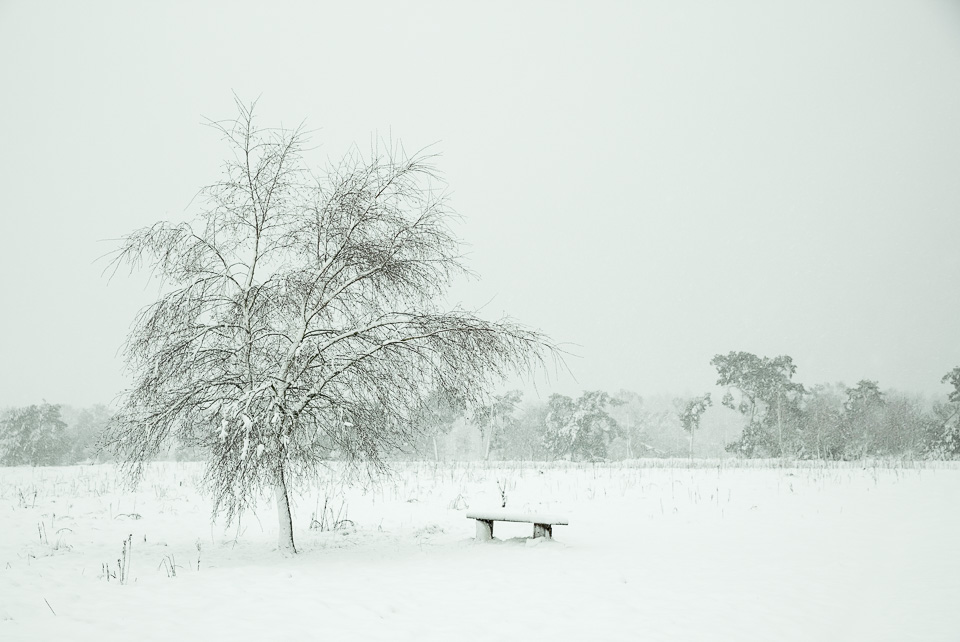
2. Make sure you have warm, waterproof clothing and boots
This sounds logical, but it is often overlooked. Dress warmly, but above all, make sure your clothing is waterproof. Snow, especially dry snow, sticks to you and often melts on your clothing. You can get thoroughly soaked. Even so-called waterproof jackets and trousers eventually give up. Proper waterproof trousers and a rain jacket over your warm clothing work wonders, and they also keep the wind out.
Of course, good gloves, a scarf and a warm hat are also important. Consider taking a second pair of gloves in case one pair gets too wet. Just remember that you still need to be able to operate the camera. A thin pair of gloves with thick, waterproof mittens over them may be the best choice.
Good hiking boots can cope with a knock and plenty of water. But trudging through the snow for an hour makes them incredibly wet. If you are unlucky, you will also sink into the snow and it will get into your shoe. A good pair of boots protects your feet from snow and moisture.
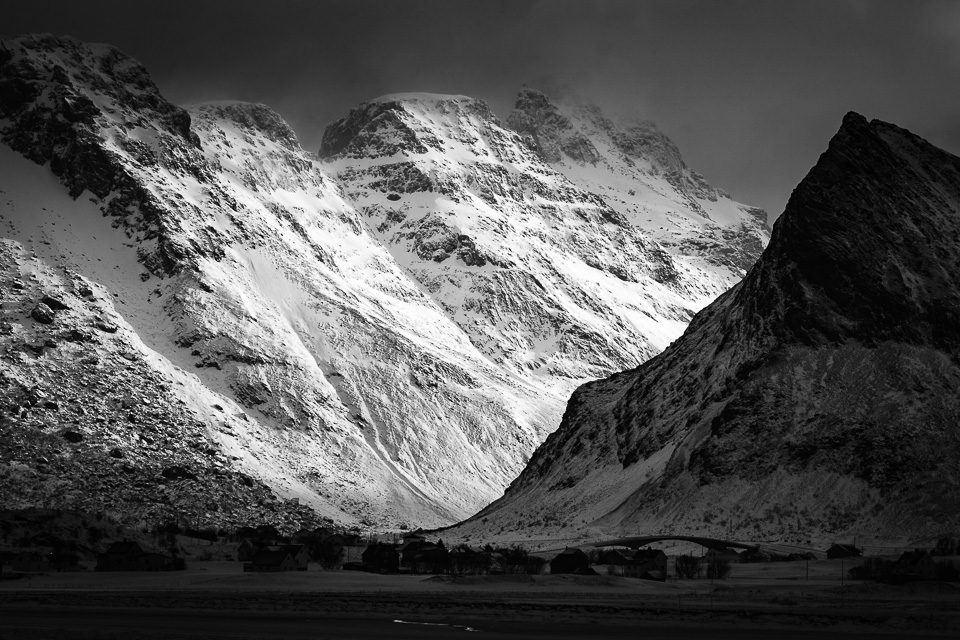
3. Make sure you have a full battery, and a spare
When it snows, it is cold, and the cold can quickly reduce your camera battery's capacity. It would be a shame to run out of power for your photos. So make sure you have a full battery, and always take a spare with you. Put the spare in your pocket under your jacket so it stays warm.
If you do end up with a flat battery, put it back in that warm place under your jacket. Once the battery reaches a normal temperature again, the voltage may return, allowing it to serve as a spare battery in turn.
4. Take a rain cover with you
Cameras are reasonably well protected against moisture these days. You can take the risk and bring the camera out in the snow without one, but a rain cover can protect the camera even better. Whichever you choose, a rain cover will be awkward to use when it is snowing, while a camera without one will end up covered in snow.
For mirrorless users, remember that snow can block the eye sensor. So switch manually from the viewfinder to the LCD screen. It will no longer do this automatically when there is snow on it.
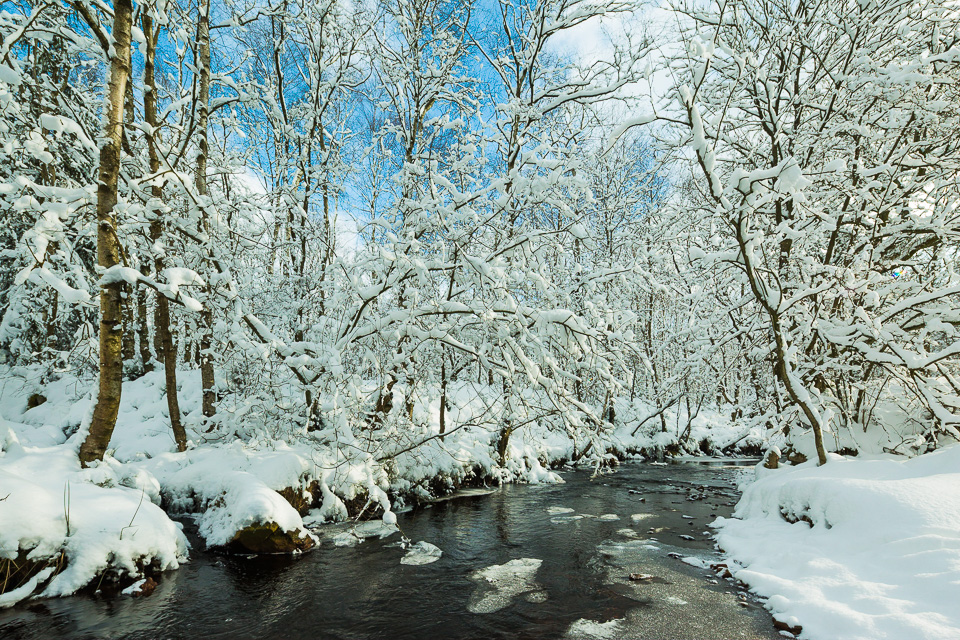
5. Make sure you have a well-washed tea towel with you
You can use a tea towel to wipe snow and moisture from the camera, both from the lens and from your LCD screen. Make sure the cloth has already been washed thoroughly several times. It will then shed fewer fibres, or none at all.
You can also use the tea towel to cover your lens for a moment and prevent snow from getting on it. Draping a cloth over your lens and removing it is quicker than fiddling with a lens cap.
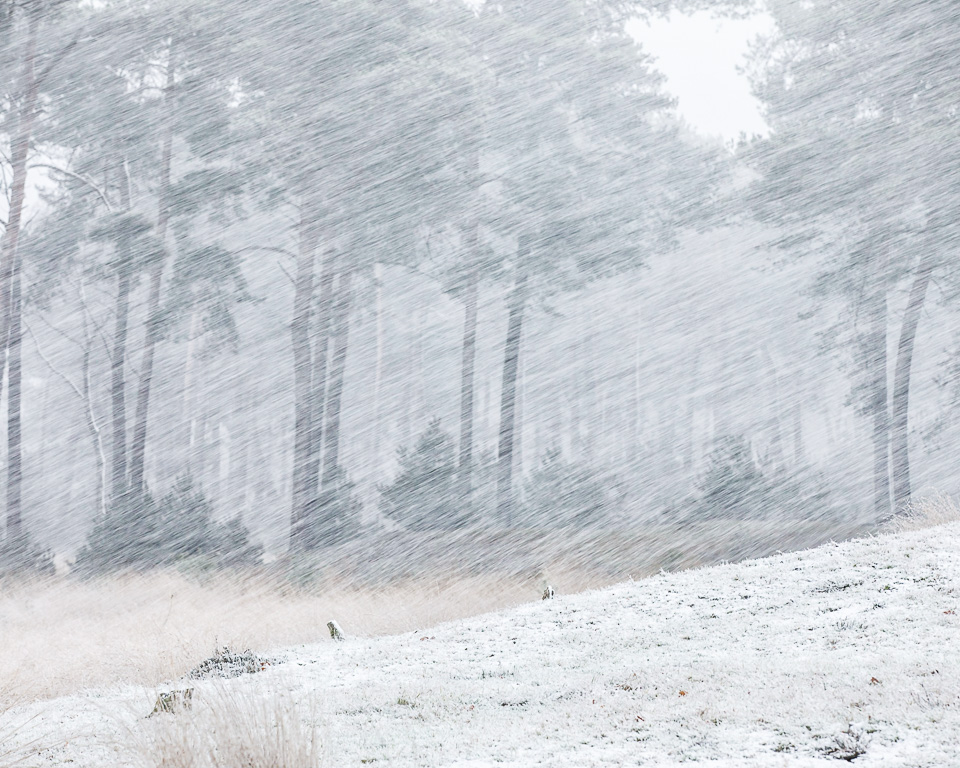
6. Do not change lenses during a snow shower
That makes sense, right? You do not want snow and water getting into your camera body. So choose the lens you think you will use most. For landscapes, that is often something like a 24-70mm zoom lens or a 24-105mm. But a 70-200mm can also be a perfect choice.
Because you know where you are going, point 1, you know what you may encounter. So you also know which lens is most suitable. If the snow stops falling, you can of course change your lens without any problem.
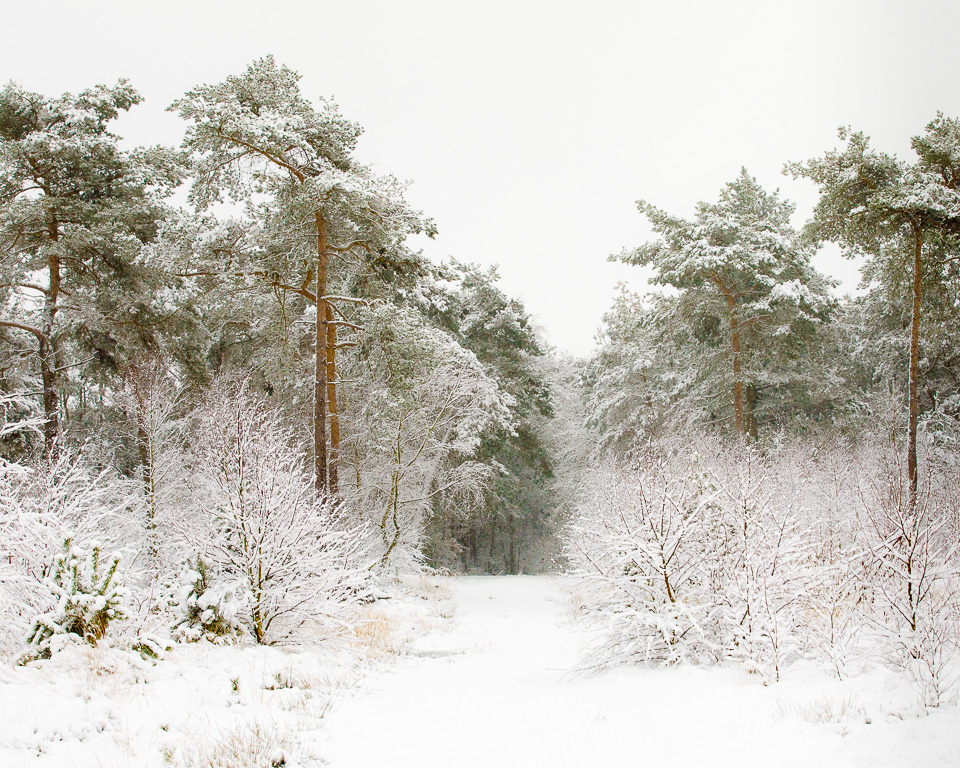
7. Use that lens hood
Even though there is no sun during a snow shower, a lens hood can provide a lot of protection against snowflakes. That may only be temporary, but perhaps it will last long enough to take the photo. Once you have taken your photo, quickly put the lens cap on. Or drape your tea towel over it, as I mentioned in point 5.
Also always consider the direction of the wind. Photographing with the wind prevents snow from getting on your lens during a snow shower. Photographing into the wind is more difficult.
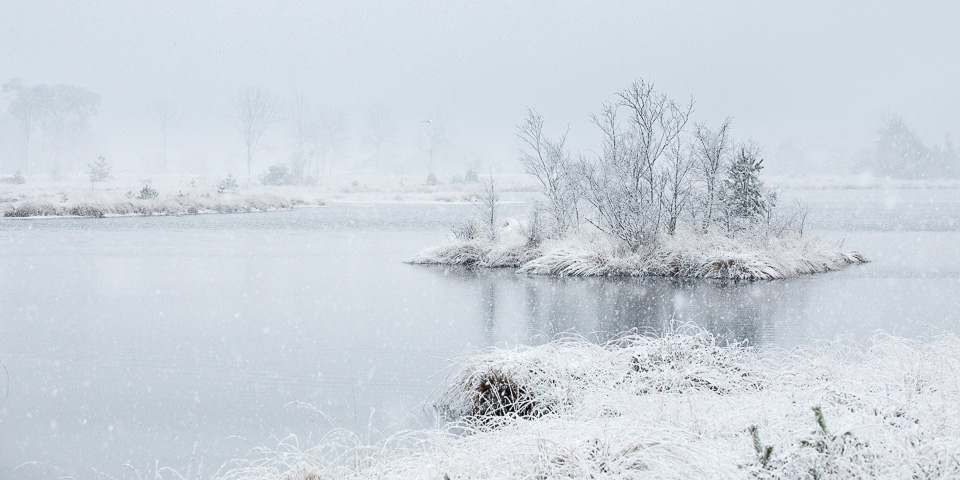
8. Make sure you are there before the snow settles
Keep an eye on the weather forecast. Is snow forecast, head out. Even if there is only a chance of snow, that may be enough reason to go. Take the gamble, because if you are there before the snow has fallen, you will be the first to photograph a pristine white blanket. Without footprints.
If you only go once the snow has fallen, you can be sure that I have got there before you, and that my footprints may spoil your landscape.
9. Keep an eye on your histogram
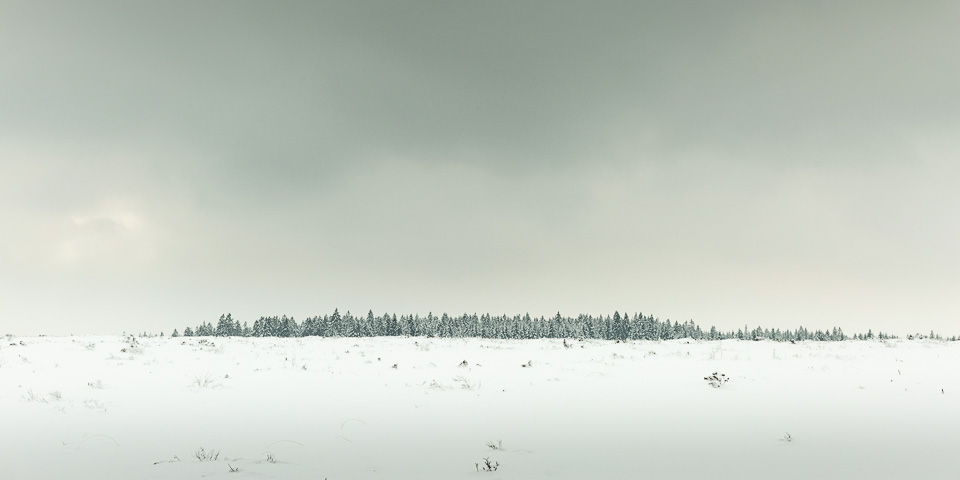
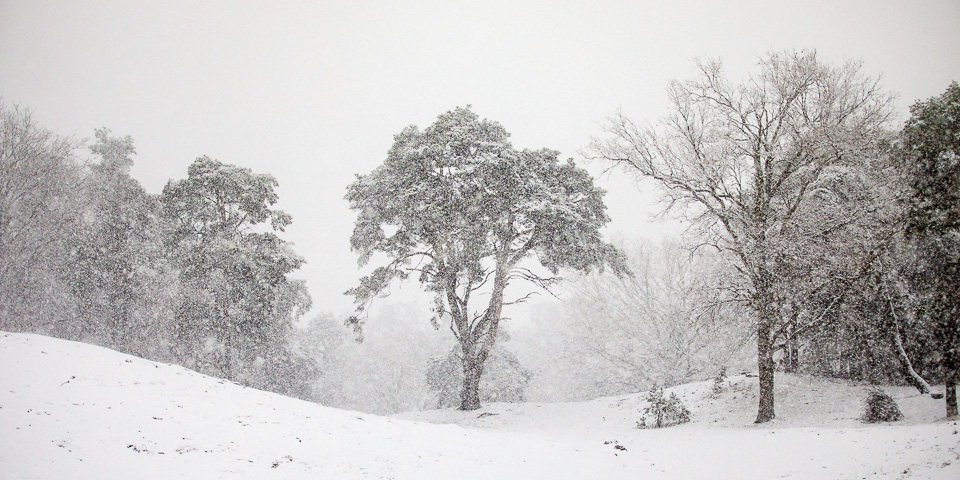
Snow is white, so most of your image will be very light. This confuses the camera, and it assumes that the white should be shown as 18% grey. That is simply how a light meter works. You therefore need to correct this incorrect reading by deliberately exposing for longer than the light meter indicates.
If you photograph in A mode, you can do this with the exposure compensation button. Set it to +1 EV or +2 EV. Sometimes even +3 EV is needed, depending on the conditions. If you photograph in manual mode, you need to make the shutter speed 1, 2 or 3 stops slower.
If you have the chance to look at your histogram, provided your screen is not covered in snow, check it. If your pixels are mainly in the middle or even to the left of the middle, your photo is too dark. But be careful not to overexpose your photo with your exposure compensation.
10. Enjoy yourself
Of course, you should enjoy yourself. That is the most important thing. It does not snow very often in the Netherlands, so enjoy it when it happens. Take photos, have snowball fights and build a snowman. Or roll around in the snow and make a snow angel. If you enjoy yourself, your photos will be better too.
About the author
Nando Harmsen has been photographing for more than 40 years. He specialises in wedding photography and landscape photography. Nando also gives talks, workshops, masterclasses and photo trips, and regularly reviews new and interesting equipment.
You might also like
-
 Winter fun! Photographing in the snow
by Laura van der Burgt
-
 The best snow photos from our members
by Nando Harmsen
-
 7 tips for snow photos
by Elja Trum
-
 Collected tips for snow photography
by Elja Trum
-
 White balance and exposure in snow
by Nando Harmsen
-
Smarter exposure when photographing in snow
by Nando Harmsen
4 comments
-
 Yolande wrote on Tuesday 19 January 2021 at 16:06 | reply
Thanks Nando, by the time the snow in Antwerp had settled nicely it was gone again. Still got a few gotos but because of the snow that kept falling for a while they aren't sharp. Pity. Yolande from Antwerp
Translated from Dutch. -
 Rien wrote on Wednesday 20 January 2021 at 16:40 | reply
Metering when photographing snow is important. I measure the incident light with a separate light meter and manually set the camera using that data. This way I always have perfectly exposed shots
Translated from Dutch. -
 mannau wrote on Wednesday 20 January 2021 at 19:53 | reply
Beautiful photos Nando! I'm insanely jealous
Translated from Dutch.
-

 Nando
wrote on Thursday 21 January 2021 at 10:39
| reply
Nando
wrote on Thursday 21 January 2021 at 10:39
| reply
@Rien,
Translated from Dutch.
Measuring incident light is always more accurate than a reflected-light meter. Personally, I prefer using my camera's light meter. With the right correction applied, the results are always perfect too.
@Mannau:
Thank you
Have your say
Please note: Articles older than a week can only be commented on by signed-in visitors.Would you still like to comment? sign in or create a free account.
Become a better photographer every week
A practical photography tip in your inbox every week.
39,078 photography enthusiasts already receive the tips! More about the weekly mail. Or keep up to date via  Facebook.

Elja Trum
Photofacts; everything to do with photography!
Would you like to take better photos and keep up with what is happening in photography? Photofacts publishes articles that teach you something about photography — from a product announcement to a practical shooting tip or a look at a website. Photofacts covers photography every day and is a hobby project of Elja Trum's that got out of hand. The articles are written by a team of volunteer authors. If you would enjoy writing one or more articles for Photofacts, do get in touch.More about PhotofactsPhotofacts is made possible in part by
