
Illuminated mushrooms (part 1)
Wednesday 9 December 2020, 20:20 by Erik Nevels | 5,937 views | 2 commentsThis article was translated from Dutch with the help of AI. Read the original.
Until recently, I photographed macro subjects such as mushrooms using only daylight as my light source. No flash, no lamp and no reflectors to bounce the daylight back after all.
There is of course nothing wrong with that. Many nature photographers probably stick to this way of working. Pure nature that way! It also means no carrying and fiddling with all kinds of accessories.
If you are open to some illuminated creativity, do read on.
Extra light
Without accessories, I depend on natural light, and that does not always cooperate. Is there enough light or perhaps too much, is the light too harsh, is it coming from the right direction?
Sometimes, however, the subject is so worthwhile that disappointing light deserves a little help. That is why over the past few months I have added a set of reflectors, a flash and an LED light to my camera bag. That way I can work with some extra light.
In this part 1, the LED light is covered.
Personal
The fun and challenge of using accessories to add light to your subject and its surroundings is that I have started looking much more closely at the light that is there at that moment and how it falls on the mushroom or mushrooms.
I also asked myself whether extra light adds anything. Literally, the answer is of course 'yes'. But does it make the photograph better? The answer to that last question is of course very personal.
As I said, if you like pure nature, any hint of added light will quickly have you scrolling further on Facebook or Instagram. I do like a bit of creativity myself. At least for me, that makes the process and, when it works, the result more interesting.
The process
Over the past few weeks, my mate and I have mainly been working with mushrooms. How do we go about it? As soon as we leave the path and enter the woods, our conversations stop and we are completely focused.
Staring at the ground and dead wood, I forget the rest of the world and search as if in a trance until I find something. Once we have found one, we get to work.
Each with our own mushrooms, sometimes swapping specimens so that we can compare and discuss the results afterwards, a method I certainly recommend if you go out together.
Kneeling on a mat, we can easily spend half an hour or longer on a mushroom. Deciding on the viewpoint, and if necessary clearing distracting leaves and suchlike from the mushroom and its surroundings.
Choosing a large or small depth of field, or both, setting up the tripod and camera, flipping out the camera screen, setting the timer or connecting a remote control, focusing carefully.
Only once all that has been done do the accessories come out of the bag. Where should I hold the reflector, how should I aim the light? The trance continues!
LED light
A simple and inexpensive accessory is an LED light. With mine, I can adjust the brightness of the LEDs. That is useful. But you can also use a simple torch or the light on your phone.
Because I had already set everything up, I have both hands free to experiment with the light. I try out different directions of light. Light from the side, light from below or from above.
Backlighting is also attractive, although of course I need enough room to keep the light outside the camera's field of view. I also vary the brightness and, depending on what I like, try to light the surroundings either more or as little as possible.
Sometimes I hold a translucent leaf in front of the light, which affects the brightness and colour. That way I take several photographs and check the results after about ten photos.
Before I build further on what I like, I check the focus again and the next series is under way. Time flies by like that and before we know it, our half-day of photography is over again.
Results
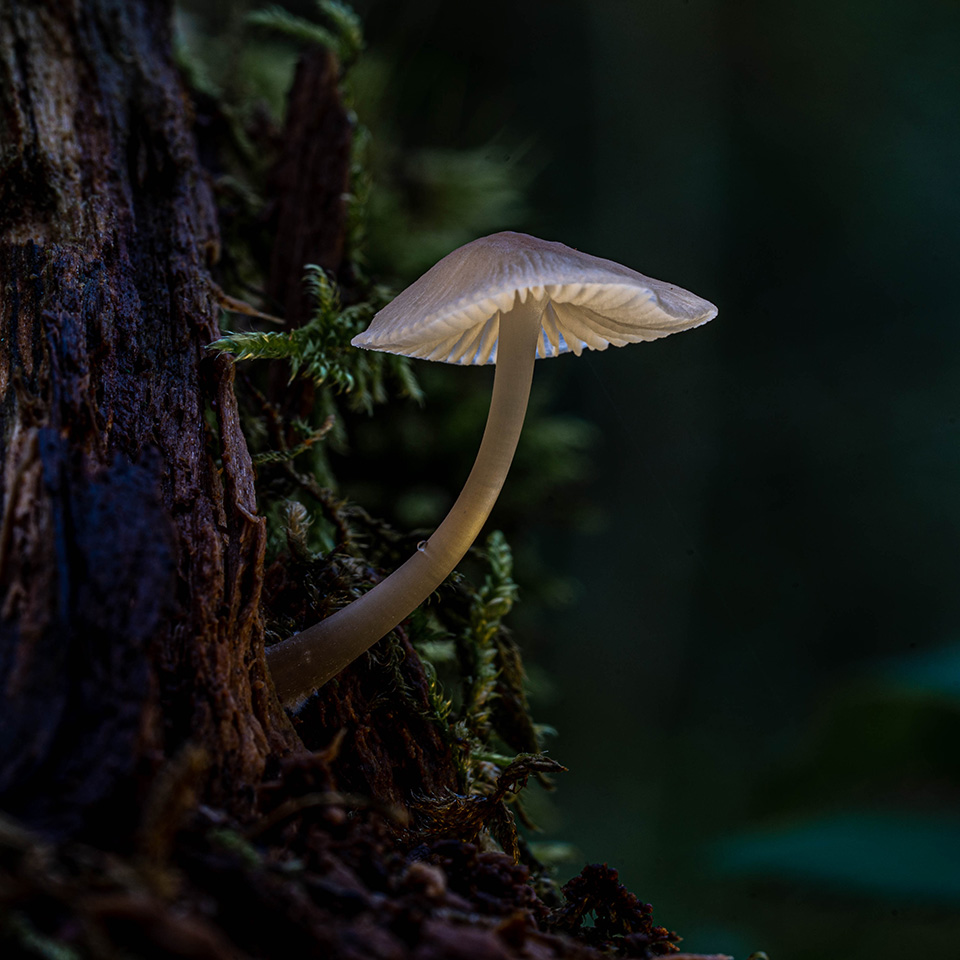
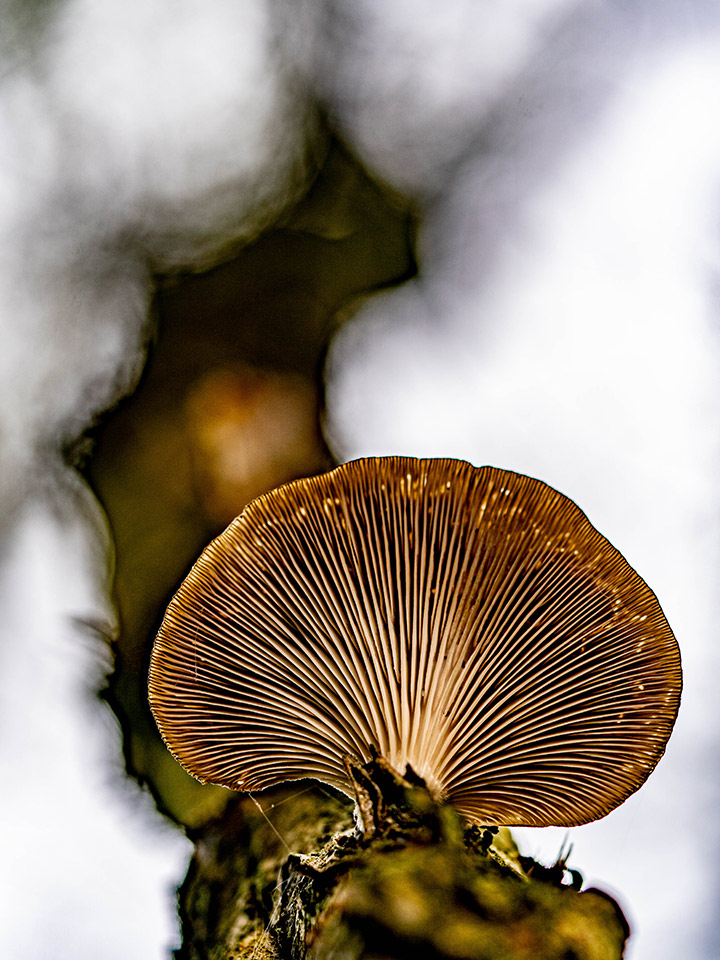
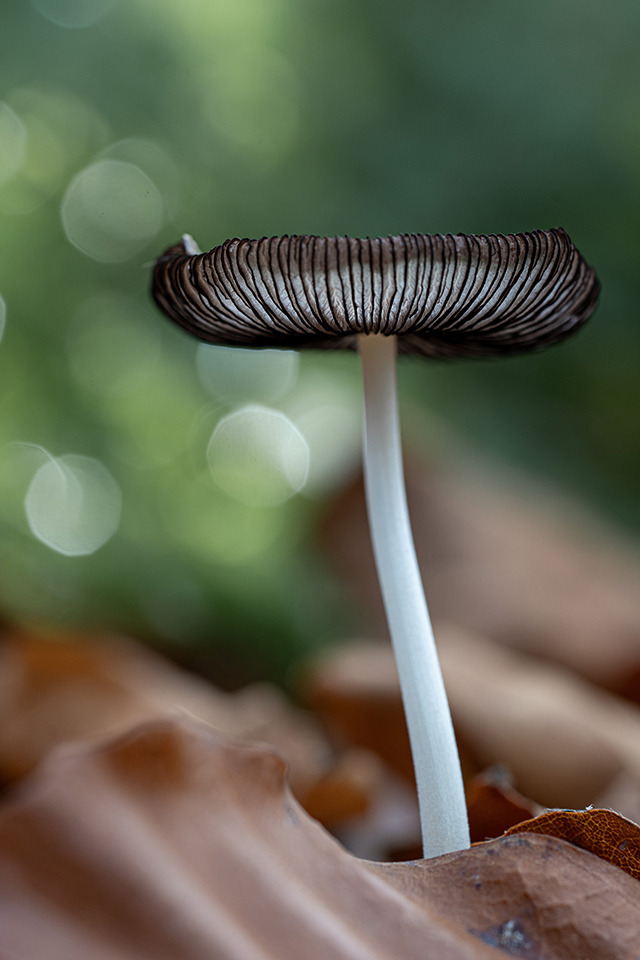
You have seen three results from the past few weeks. An LED light was used in all of them, and the artificial light is visible to a greater or lesser extent in the photograph.
Illuminated mushrooms. You either think they are wow, think they are nothing special, or fall somewhere in between. Either way, try shining your LED light and who knows, you may be just as surprised as I was.
About the author
Steeds weer boeiend en op zoek naar de essentie! Dat is wat fotograferen in de natuur voor mij is. Gefocust op het landschap of het onderwerp in diens omgeving tracht ik meer dan alleen te registreren. Een continue uitdaging waarvan ik elke keer volop geniet. Meer foto's? Volg mij op Instagram en/of kijk op mijn website
You might also like
-
 Illuminated mushrooms (part 2)
by Erik Nevels
-
 Mushrooms with bokeh
by Erik Nevels
-
 Mushrooms without a macro lens, plus a few extra tips
by Nando Harmsen
-
 Portrait photography tip: Light from lamps
by Elja Trum
-
10 tips for photographing mushrooms
by Nando Harmsen
-
 Photographing mushrooms in your own local rain shower
by Nando Harmsen
2 comments
-
 Peter Heins wrote on Friday 11 December 2020 at 14:43 | reply
Nice story, I am also experimenting with little lights from Action. With different colors but also with warm white light. You can turn a boring setting into something spectacular or with more color this way. You find it beautiful or not but it is something different. Above all, you have to do what you yourself like, then it is good and enjoy those little mushrooms. I love that.
Translated from Dutch. -

 Erik wrote on Friday 11 December 2020 at 21:19
| reply
Erik wrote on Friday 11 December 2020 at 21:19
| reply
@Peter. Thanks for your message and opinion about my story. It's great that you experiment yourself too and that you enjoy it. That's what photography is all about.
Translated from Dutch.
Have your say
Please note: Articles older than a week can only be commented on by signed-in visitors.Would you still like to comment? sign in or create a free account.
Become a better photographer every week
A practical photography tip in your inbox every week.
39,079 photography enthusiasts already receive the tips! More about the weekly mail. Or keep up to date via  Facebook.

Elja Trum
Photofacts; everything to do with photography!
Would you like to take better photos and keep up with what is happening in photography? Photofacts publishes articles that teach you something about photography — from a product announcement to a practical shooting tip or a look at a website. Photofacts covers photography every day and is a hobby project of Elja Trum's that got out of hand. The articles are written by a team of volunteer authors. If you would enjoy writing one or more articles for Photofacts, do get in touch.More about PhotofactsPhotofacts is made possible in part by
