

Photographing noctilucent clouds
Friday 23 June 2023, 15:51 by Nando Harmsen | 2,476 views | 0 commentsThis article was translated from Dutch with the help of AI. Read the original.
The time of year has arrived when you may get the chance to see noctilucent clouds. You can only see them after sunset, and you need to be lucky. They are rare. Will you be keeping an eye on the evenings too, with your camera ready for the moment they appear?
Noctilucent clouds are also known by their English name, abbreviated to NLC. These rare clouds can only be seen when the sun has set, and seem to glow with their own light in the increasingly darkening sky. You see them towards the North, spreading out towards the West and East.
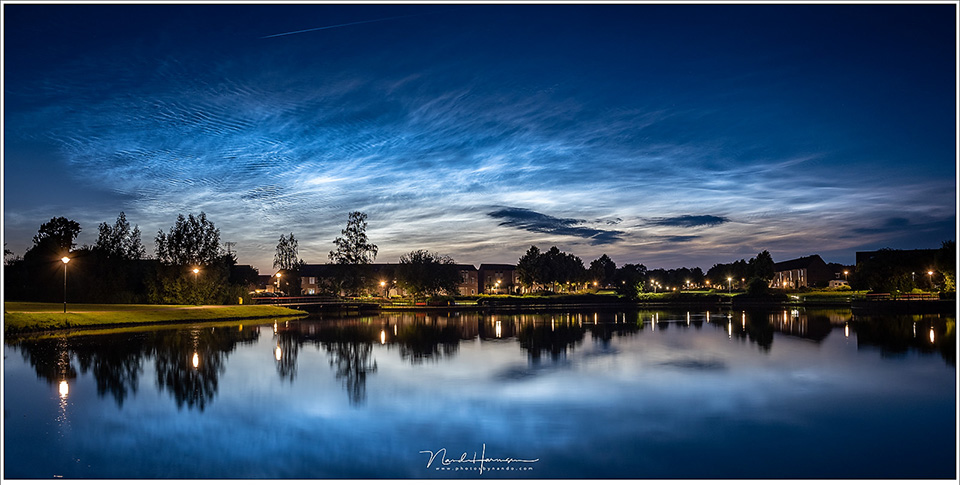
Noctilucent clouds are rare. You need a bit of luck to see them. There must be no other clouds in the sky, because they are extremely high in the atmosphere. In summer, the temperature is extremely low there, which allows them to form.
Although they are rare, they do seem to have become more common in recent years. Air pollution and climate change have been suggested as possible causes. Even the activity of the sun seems to influence the formation of these clouds.
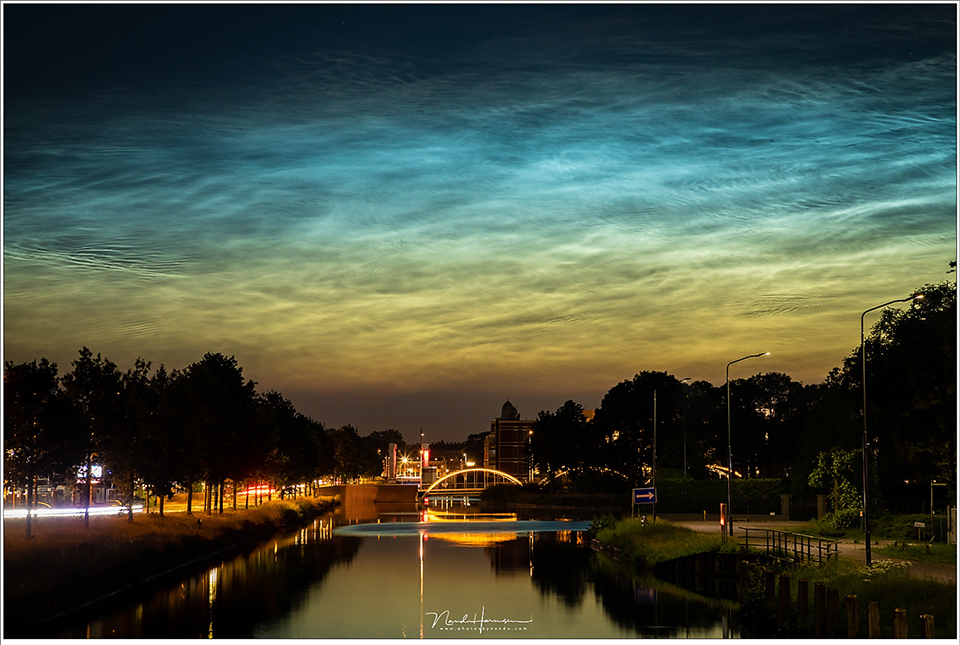
The clouds can hardly be predicted, if at all. Attempts are being made using radar images, but it is uncertain how useful this is. The best thing is to keep an eye on the sky towards the North every evening, an hour after sunset.
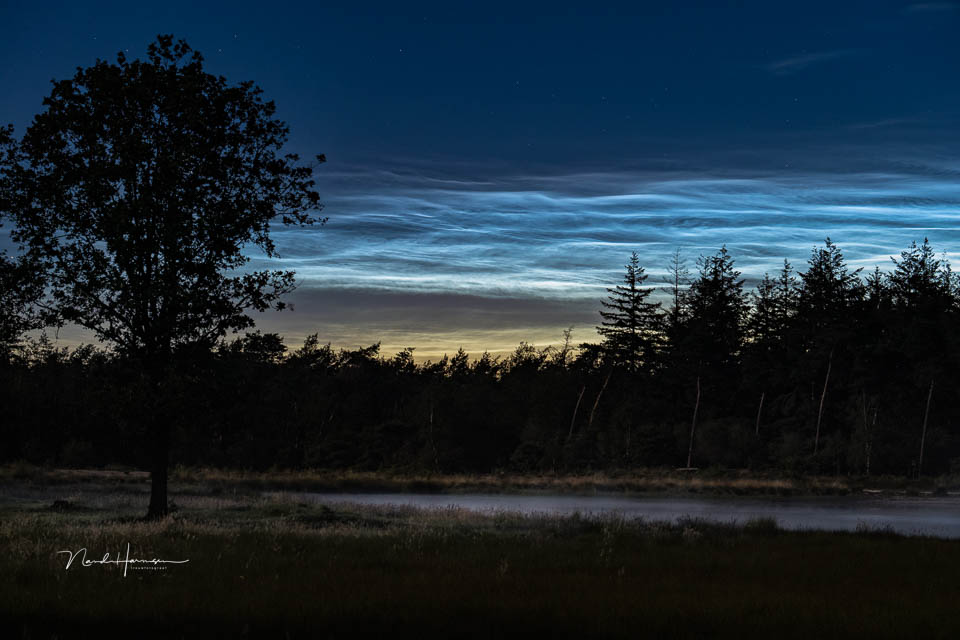
You recognise noctilucent clouds immediately when they are there. They give off light, or seem to do so. They move like waves on water, slowly but irresistibly. You can see ripples, patterns and lines. They usually remain low on the horizon, but sometimes they stretch right above your head.
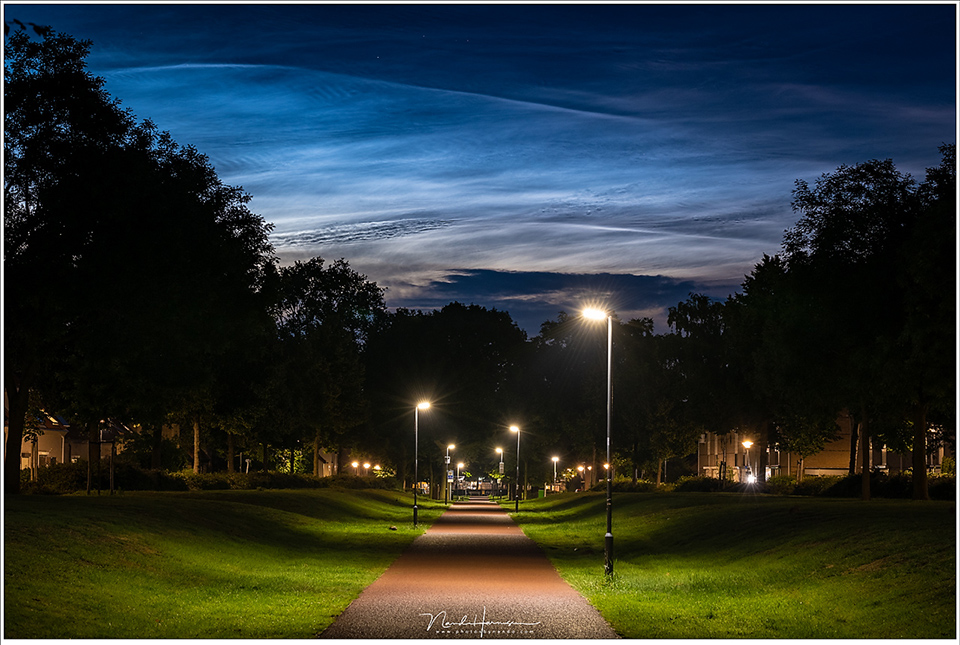
Are the clouds low in the sky? Then you need a location with an unobstructed view from north-east to north-west. A dark spot helps them stand out more. If they are high in the sky, however, you can include an attractive foreground in the photo. It makes your photo more interesting.
You do not have to do anything strange to photograph them. Simply make sure you get a good exposure, as you always do. Do use a tripod, because it is dark. Use a high ISO to keep your shutter speed from becoming too slow. That way, you will see the ripples, lines and patterns in your photo.
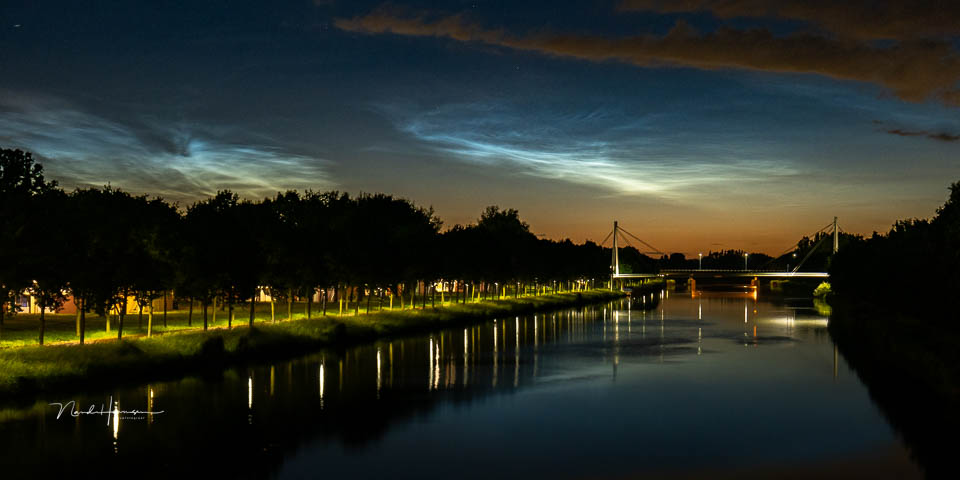
Set your exposure according to your exposure meter and check the result. If it is too dark or too light, apply exposure compensation. Try to expose to the right if you are shooting in raw. If necessary, take a separate photo of the foreground.
My previous article about photographing noctilucent clouds contains more information. I recommend reading that one too.
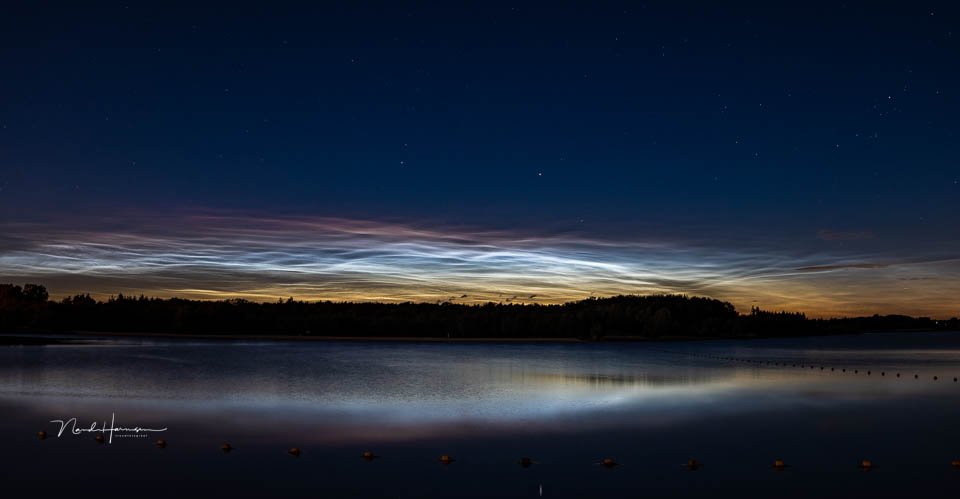
One final tip I can give you is this. If noctilucent clouds appear, they will remain in the sky for quite a while. That gives you time to photograph them from a few different locations. If you stay in one place, all your photos will start to look alike.
About the author
Nando Harmsen has been photographing for more than 40 years. He specialises in wedding photography and landscape photography. Nando also gives talks, workshops, masterclasses and photo trips, and regularly reviews new and interesting equipment.
You might also like
-
 Photographing noctilucent clouds
by Nando Harmsen
-
 The season for noctilucent clouds is here again
by Nando Harmsen
-
.jpg "Night photography on Schiermonnikoog (part 2)") Night photography on Schiermonnikoog (part 2)
Night photography on Schiermonnikoog (part 2)by Erik Nevels
-
 Night photography on Schiermonnikoog, part 1
by Erik Nevels
-
 Make clouds soft and fluffy, not hard and harsh
by Nando Harmsen
-
 Night photography tip: choose the blue hour
by Nando Harmsen
0 comments
Be the first to share what you think!
Have your say
Please note: Articles older than a week can only be commented on by signed-in visitors.Would you still like to comment? sign in or create a free account.
Become a better photographer every week
A practical photography tip in your inbox every week.
39,024 photography enthusiasts already receive the tips! More about the weekly mail. Or keep up to date via  Facebook.

Elja Trum
Photofacts; everything to do with photography!
Would you like to take better photos and keep up with what is happening in photography? Photofacts publishes articles that teach you something about photography — from a product announcement to a practical shooting tip or a look at a website. Photofacts covers photography every day and is a hobby project of Elja Trum's that got out of hand. The articles are written by a team of volunteer authors. If you would enjoy writing one or more articles for Photofacts, do get in touch.More about PhotofactsPhotofacts is made possible in part by
