

3 Autofocus modes, when do you use them?
Monday 28 October 2019, 13:25 by Michelle Peeters | 54,591 views | 13 commentsThis article was translated from Dutch with the help of AI. Read the original.
A digital SLR camera is a highly ingenious device with very advanced optical technology. It can measure light, focus automatically, often has image stabilisation and offers a wealth of other refinements.
In this article, I take a closer look at autofocus technology.
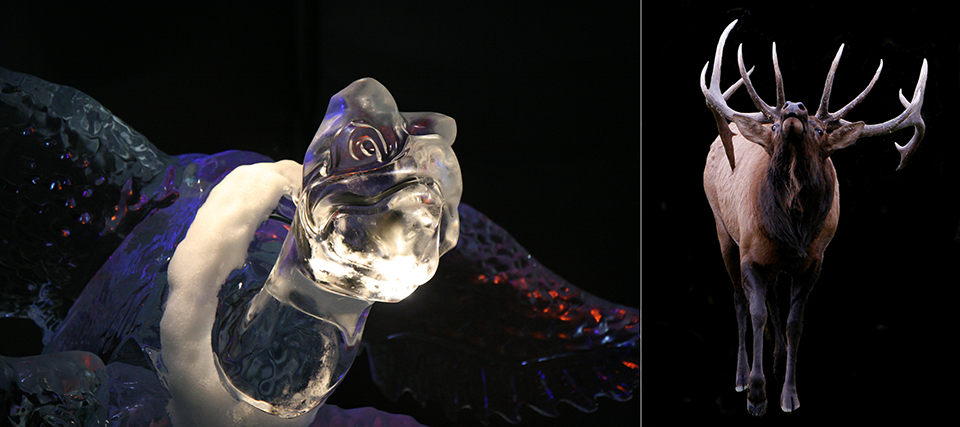
Manual or autofocus?
You can focus on your subject manually. You often do this in macro photography or with still lifes in the studio, but it is almost impossible with moving subjects and situations where you need to react quickly.
Your camera can help you with this too. Many cameras have different autofocus (AF) programmes.
Sharp contrast and focus
Autofocusing is a technique that allows a camera to lock focus on one point to achieve maximum contrast. Note: contrast and focus are definitely related!
As soon as you press the shutter button, your camera does two things:
It tries to adjust the position of some elements in the lens to check whether this produces sharp contrast (1). The camera uses small phase-detection sensors at the back and the small autofocus motors that position the focusing elements (2).
A standard SLR often has three different modes for automatic focusing:
- One-shot or Single-shot autofocus
- Continuous autofocus
- Automatic autofocus
Different names
Of course, the different manufacturers all call them something different. Canon calls them One-shot AF, AI Servo AF and AI Focus AF. Nikon prefers to call them Single-servo AF, Continuous-Servo AF and Auto-Servo AF.
Regardless of which names the manufacturers use, they do more or less the same thing. But when should you use each mode?
1. Single-shot autofocus
This autofocus mode (One-Shot or Single-Servo) is ideal for focusing on subjects that are still. For example, a building, a posing model, an animal that is standing still and looking at you, the moon (although it is moving too, but very slowly...) and so on.

Single-shot autofocus is not suitable for photographing a moving subject. Each time you press the shutter button, it focuses on one point. If you want to focus somewhere else, you have to release the shutter button and aim again.
In the past, I often had this focusing mode activated. Why? Because I often used the focus and recompose technique. With this technique, you first lock focus on the subject you want to photograph by half-pressing the shutter button. You then recompose while keeping the shutter button half-pressed.
However, this method can result in blurred photos because your plane of focus is a flat plane, as you can read in the article No 'back focus' problem but incorrect focusing technique.
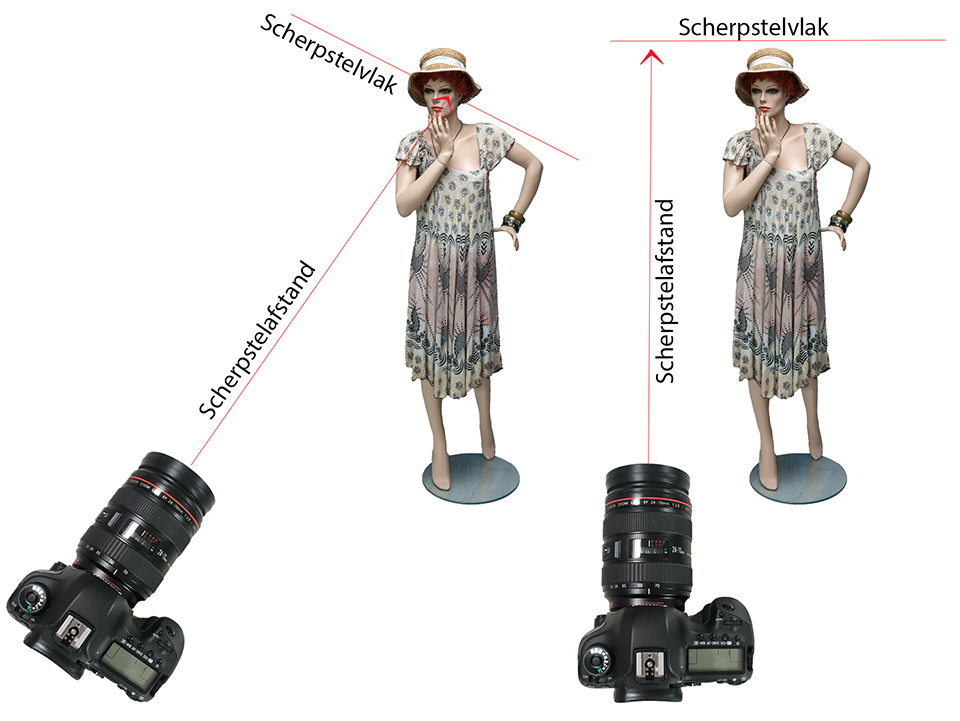
There is still something to be said for using this focus and recompose technique. Of course, it is also perfectly possible to compose first and then select a different AF point in another corner of the frame.
There are two reasons for this. Many older entry-level cameras have only around 9 or 11 AF points. That considerably limits your options.
Secondly, the central AF point is often the most sensitive. This is often a cross-type or dual-cross AF point. Older entry-level SLRs often have no more than one cross-type AF point.
2. Continuous autofocus
Continuous autofocus (AI Servo or Continuous-Servo) continually focuses on a moving subject. It does this by moving the active AF point across the viewfinder as the subject moves.
This AF programme is especially useful with fast-moving subjects, often in sports or wildlife photography.
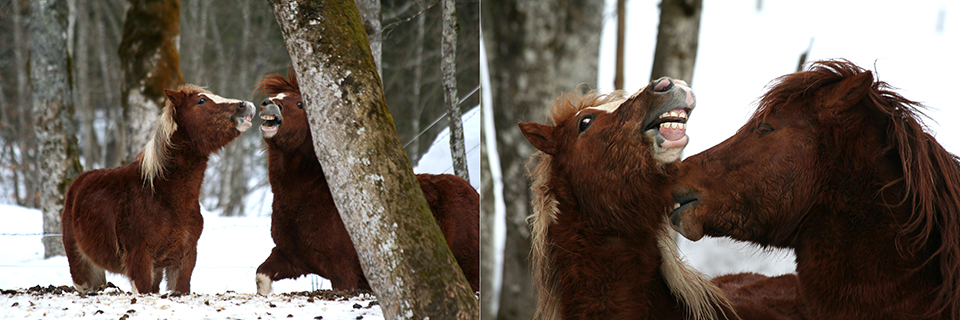
To enable this, set Continuous autofocus and then keep the shutter button half-pressed while following the subject in your viewfinder.
While you half-press the shutter button, you will see the active AF point switch from one point to another in the viewfinder as you follow the moving subject.
3. Automatic autofocus
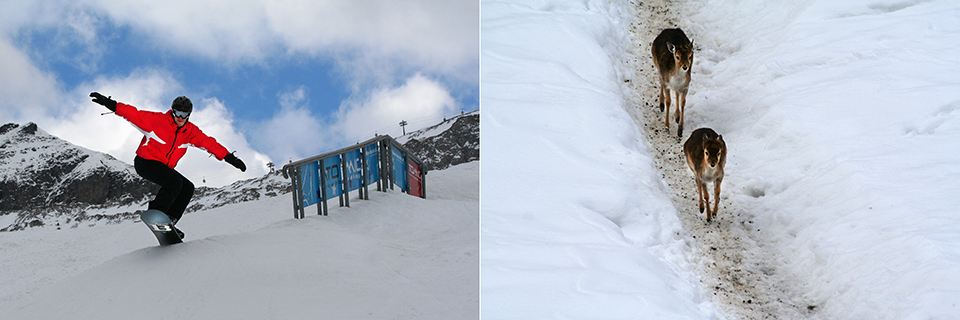
With this automatic AF mode (AI Focus or Auto-Servo), you leave all the focusing decisions to your camera. The camera looks at the scene, determines whether the subject is moving or still at a certain point and then chooses the right focusing mode (single shot or continuous).
Your camera therefore moves the focus point depending on where you aim your lens.
Auto-Servo is most suitable in situations where you cannot determine the right autofocus mode. For example, a flower that normally stands upright can sway back and forth even in a gentle breeze.
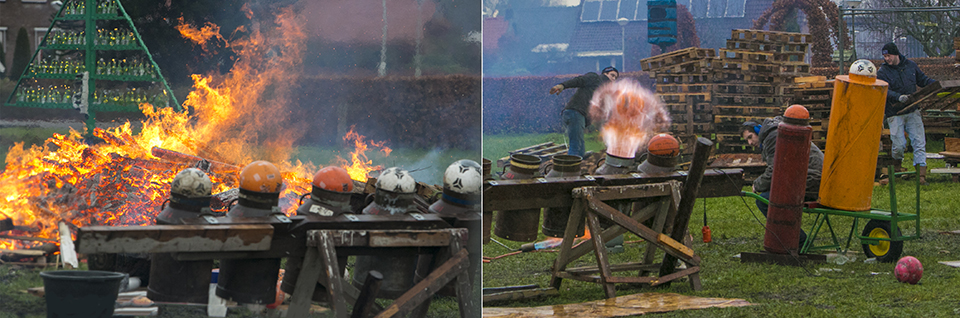
In some situations, switching to Continuous or Single Shot focusing may not be practical. By switching to Auto Servo, the camera can immediately switch to the most suitable autofocus mode, depending on the situation.
In general, I keep my camera in this mode myself (AI Focus on Canon), otherwise I have to release and press the shutter button again every time the subject shifts slightly. Especially when you need to react quickly, this is the easiest option.
Conclusion
It takes plenty of practice and experience to discover which AF setting gives you the sharpest photos in each situation. Everyone has their own preferences and ideas about this.
There are also plenty of people who have more faith in focusing manually than in switching to autofocus. And of course, it also depends on the quality of your camera whether you dare to rely fully on the technology.
Feel free to share your own experiences or ideas about this in the comments!
Want to learn more about the basics of photography?
At Photofacts Academy, our online learning environment for photographers, we have a complete photography basics course. You can follow this course for two weeks with a free trial membership.
About the author
Michelle Peeters is fotografe en oprichter van DeuxBleus Fotografie. Michelle herkent het bijzondere in het gewone en het gewone in het bijzondere. Ze heeft zich nooit willen specialiseren en is daardoor van alle markten thuis.
You might also like
-
 Better autofocus with a wide aperture
by Nando Harmsen
-
 Zone focus: a good friend in 'tough' autofocus situations
by Huub Keulers
-
 Situations where manual mode is (actually) perfect
by Nando Harmsen
-
 Changing autofocus behaviour in a Canon camera
by Nando Harmsen
-
 Eye autofocus is a joy for portrait photographers
by Elja Trum
-
 Aeroplane mode on a camera
by Nando Harmsen
13 comments
-
 A.M.Kraaijenbrink wrote on Tuesday 21 August 2018 at 01:06 | reply
I have been photographing football matches at WCR in Rhoon for years ; and find what Michelle Peeters has written here very clarifying . I have a Canon 7D and it is always set to Tv 1000 ; 1250 and I have taken clear photos with it . white balance on "auto" or "sun" ,necessary with this bright summer light ;I actually set these settings this way because of experience with it; I have not taken a photography course.
Translated from Dutch. -

 Michelle Peeters wrote on Tuesday 21 August 2018 at 11:25
| reply
@A.M. Kraaijenbrink: and which autofocus mode are you using for this? Curious!
Translated from Dutch. -
 peterheins
wrote on Tuesday 21 August 2018 at 11:43
| reply
@michelle_peeters I also did sports photography for years myself, and since the athletes are actually constantly moving, AI focus or Contineu Focus is the best option, with exceptions. With Canon you can also use the back focus button if, for example, you photograph through the goal. It's a matter of practising and taking lots of photos, that's the best way to learn. In sports, also try a very low viewpoint, then the athlete really stands out from the background. That's why at FC Groningen you also see a kind of sitting pit on the side where the photographers sit.
Translated from Dutch. -
 Martin Krijnen wrote on Tuesday 21 August 2018 at 11:49 | reply
The Nikon D700 has an AF-ON button, which you use to focus and not the shutter button, and if you set the button for focus modes to continuous autofocus, then you have two focus modes under 1 button, the AF-ON button. Press it, focus, release it and determine the composition and take the photo with the shutter button. If you keep the AF-ON button pressed, however, the camera will keep focusing and you can always take the photo with the shutter button. Very useful, have been using it for years.
Translated from Dutch. -
A.M.Kraaijenbrink wrote on Tuesday 21 August 2018 at 11:56 | reply
I first had to check this on the camera and it is set to AF mode. assuming that this is what you mean.
Translated from Dutch. -
Michelle Peeters wrote on Tuesday 21 August 2018 at 12:17
| reply
@Martin Krijnen: indeed, that AF-ON button is actually a must, to use it as the focus button instead of the shutter button. I still need to get around to doing that myself...
Translated from Dutch.
@Peterheins: good tips, thanks! I also need to experiment with that Back Focus button sometime!
@A.M. Kraaijenbrink: no, I meant which autofocus (AF) mode you use on your Canon 7D camera. A standard DSLR often has three different modes for automatic focusing (AF): Canon calls them One-shot AF, AI Servo AF and AI Focus AF. -
 ErikvanRosmalen
wrote on Wednesday 22 August 2018 at 07:31
| reply
Michelle, you really should give backbutton AF a try sometime. It takes some getting used to, but once you've got the hang of it, it becomes instinctive and you won't want it any other way. Just read my earlier article about it again...
Translated from Dutch. -
Michelle Peeters wrote on Wednesday 22 August 2018 at 10:01
| reply
@ErikvanRosmalen: good article, thank you! And I’m definitely going to try it soon!
Translated from Dutch. -
 guest wrote on Wednesday 22 August 2018 at 11:47 | reply
Hi Michelle,
Translated from Dutch.
thanks for your article! This is something I have also recently started experimenting with myself. For studio portrait photography, I now always use Continuous AF, with the Sony A7RIII, which has Eye AF. Yet I notice that with my way of photographing (letting the model move nice and freely for as spontaneous a photo as possible and then firing off a lot of shots in quick succession) around 30 to 40% of the photos are still out of focus. I think this is also due to a lack of modelling light in the studio, which means the camera cannot determine the contrast properly or even detect the eyes properly.
Do you have any idea how I can increase this percentage of sharp photos as much as possible in these circumstances?
Thanks in advance! Kind regards Kim -
Michelle Peeters wrote on Wednesday 22 August 2018 at 11:58
| reply
Hi Kim, this could indeed be due to a lack of modeling light. My camera (a Canon EOS 5d Mark III) also often has trouble focusing under those circumstances. Since I started using an Elinchrom ELB 500 TTL set with an Elinchrom EL-Skyport Transmitter PRO I no longer have this problem. Not only because the modeling light is fully adjustable, but also because you can turn on an FL Light (auto focus communication), which makes focusing even easier. My studio photos have been remarkably sharp since I got that set! This could also have to do with the short flash duration. I highly recommend it!
Translated from Dutch. -
 Jan wrote on Thursday 23 August 2018 at 16:25 | reply
By now I have been photographing athletes (especially football and cycling) for a few years and I almost always use AI SERVO with my Canon 7D. This gives me the best results. The difference between AI servo and AI focus is still not really clear to me, so I'll just stick with AI servo!
Translated from Dutch.
-
Michelle Peeters wrote on Thursday 23 August 2018 at 17:16
| reply
@Jan: You use AI Servo for continuously moving subjects, AI Focus for subjects that are stationary, then suddenly move, then become stationary again. Basically the ‘automatic’ focus where you leave the entire focusing process to the camera.
Translated from Dutch. -
 Marij wrote on Thursday 23 August 2018 at 17:58 | reply
Very useful, I'll try it right away. On my Nikon Coolpix610 it works slightly differently, If I have continuous autofocus set, a little square appears on the screen, I point that at my subject and then I can press OKStart, then I see the focus point move. Now there is also a SUBJECT TRACKING option on my camera, do you have to use the two together?
Translated from Dutch.
Have your say
Please note: Articles older than a week can only be commented on by signed-in visitors.Would you still like to comment? sign in or create a free account.
Become a better photographer every week
A practical photography tip in your inbox every week.
38,886 photography enthusiasts already receive the tips! More about the weekly mail. Or keep up to date via  Facebook.

Elja Trum
Photofacts; everything to do with photography!
Would you like to take better photos and keep up with what is happening in photography? Photofacts publishes articles that teach you something about photography — from a product announcement to a practical shooting tip or a look at a website. Photofacts covers photography every day and is a hobby project of Elja Trum's that got out of hand. The articles are written by a team of volunteer authors. If you would enjoy writing one or more articles for Photofacts, do get in touch.More about PhotofactsPhotofacts is made possible in part by
