

9 tips om de sterren te fotograferen
Monday 2 December 2019, 14:28 by Michelle Peeters | 15,327 views | 0 commentsThis article was translated from Dutch with the help of AI. Read the original.
A starry sky is beautiful to see, if you can see it at all! In the Netherlands, that is almost impossible because of all the light pollution. But it is possible in a few dark places, and then it is dazzlingly beautiful.
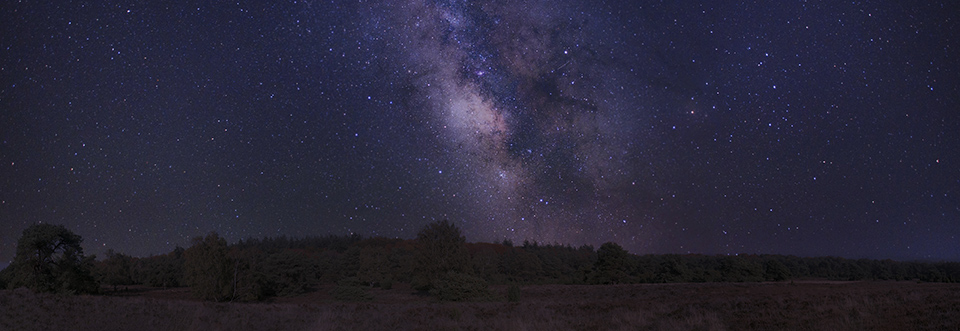
Have you always wanted to know how to capture a starry sky that is at least as breathtaking in an image as it is to the naked eye (but preferably even better)? This article gives you 9 tips to help you find your way through the darkness of night.
1. Astronomical darkness
From August onwards, it gets properly dark again at night. In winter, however, the core of the Milky Way no longer rises above the horizon.
During the darkest phase of the night (from early June to early August), the sun is more than 18 degrees below the horizon in the Netherlands. This is when astronomical darkness begins. If there is no ambient light, it is now completely dark.
This makes all the stars visible, including the very faintest ones. At some photo locations with little or no ambient light, it is theoretically even possible to photograph the Milky Way.
In many places in the Netherlands (except on the islands), there is often too much light pollution. With the Light Pollution Map, you can clearly see where the light pollution is worst or least severe.
2. Photographing star trails
Unlike the Milky Way, you can actually photograph star trails almost anywhere, even in the middle of a city! So you do not necessarily have to travel to the darkest place you can find.
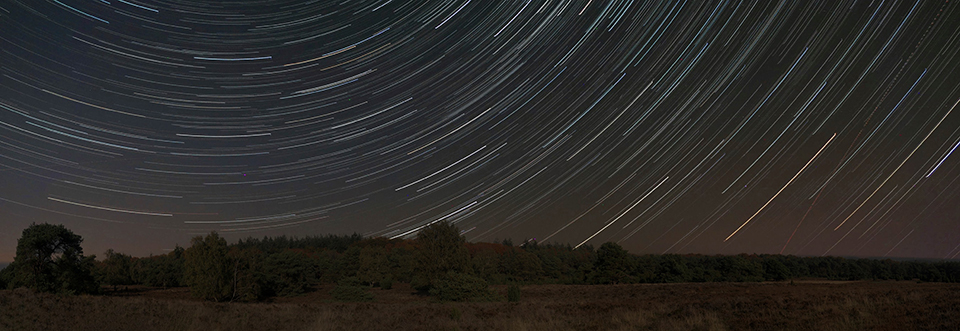
You look for the North Star (always in the north, and these days easy to find using all kinds of apps on your smartphone). The other stars appear to revolve around it, but in reality it is the Earth that is rotating.
See Nando Harmsen's Photographing star trails course at Photofacts Academy for more information about this subject.
3. Weather conditions and location
Choose a cloudless evening or night, otherwise there is no point in going out to take photographs. The sky must be clear to see the stars. Also pay attention to the phase of the moon, the glow of a full moon can seriously obstruct your view of the Milky Way.
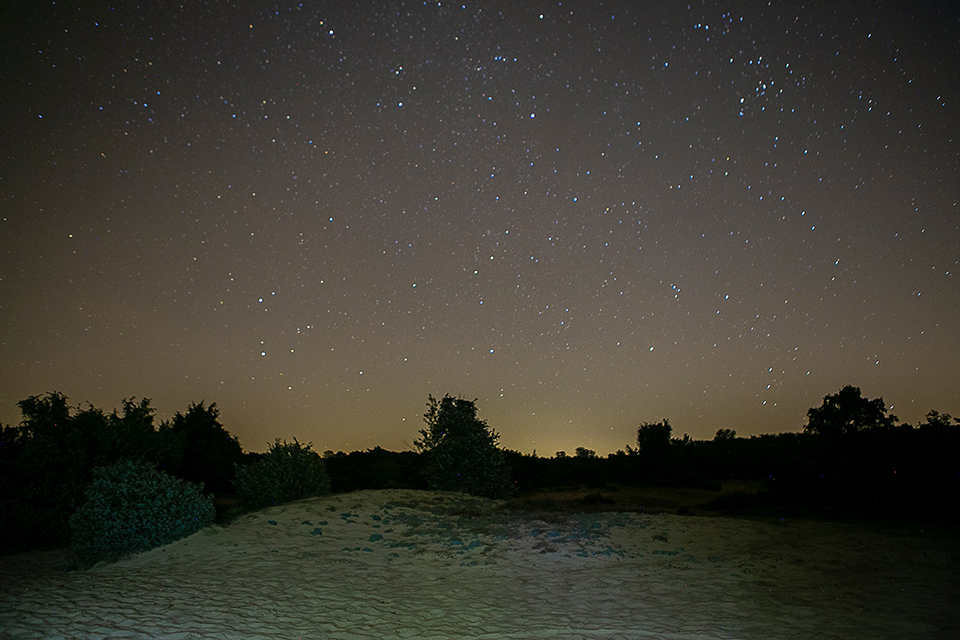
In summer, the centre of the Milky Way is about 15-20% above the southern horizon in the late evening. Of course, this centre is very photogenic and fairly easy to photograph, but an ordinary starry sky can also be very attractive in other parts of the night sky.
4. Camera equipment
Use a wide-angle lens so that you capture as much of the Milky Way as possible (17mm on a full-frame camera and 11mm on a crop camera). With a wide-angle lens, you are also less affected by stars appearing as streaks because of the longer shutter speed. You see this effect much sooner with a zoom lens.
Bear in mind that a wide-angle lens lets in less light at the same aperture setting than a zoom lens. You will therefore have to open your aperture further for the same amount of light.
Because stars give off little light, you have to work with high ISO values. A full-frame camera is therefore no unnecessary luxury, as it suffers less from noise.
Bring a tripod, camera, lenses and also a blanket or chair to sit on. It will take a while. Also bring something to eat and drink.
5. Camera settings
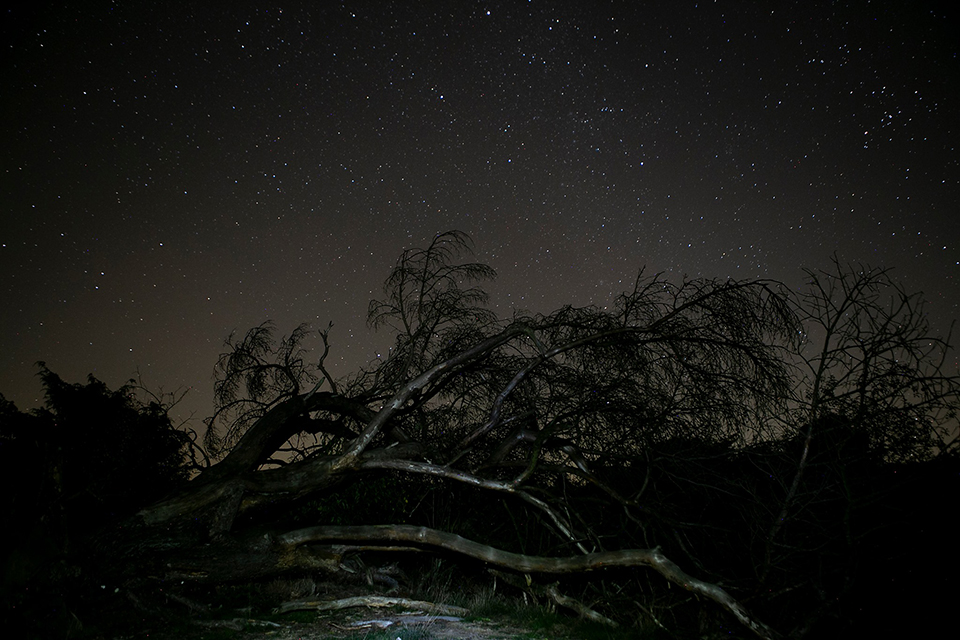
Use the two-second self-timer or a remote control and shoot in RAW. Put the camera on a tripod, as low as possible to minimise movement.
Shoot in M mode and open the aperture as far as possible (the smallest f-number). You need to collect as much light as possible. Set your ISO value high, for example to 3200. You will just have to accept the noise, the Milky Way is so faintly visible that you need to do everything you can to get enough light.
A good starting point might be: ISO 3200, F2.8, 29 seconds. Take a first shot and check your histogram to see whether you can see a peak somewhere around the middle. Since your shutter speed and aperture are already at their maximum, the only thing you can still adjust is the ISO value if you need to change the exposure.
6. Focusing
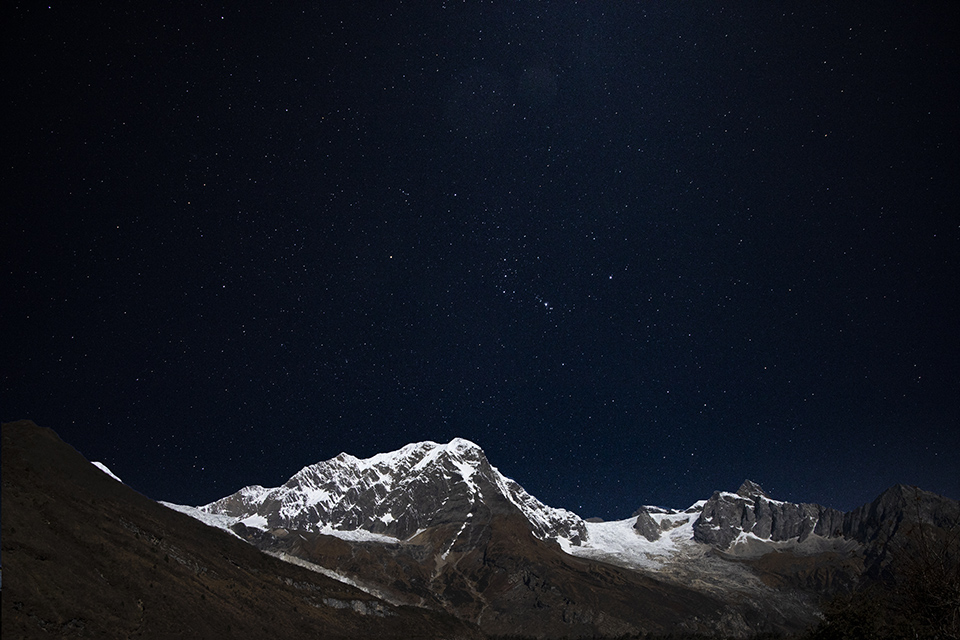
Focusing on stars is difficult, autofocus is not an option for astrophotography. Do not simply turn your lens to infinity, as this does not work well with many lenses. It is best to switch to live view and enlarge the image considerably.
Point the camera at the brightest star you can see. Make sure autofocus is switched off and turn the focus ring until the star is sharp enough. Be aware that, because of atmospheric disturbances, starlight can fluctuate considerably in brightness and sharpness. It will not always become a perfectly sharp point, but make sure it is not a little blob.
If you cannot focus on stars, try a high-contrast object far away in the landscape. If the moon is visible, you can aim at that. Watch your eyes, moonlight can be dazzlingly bright and is a light source to take into account.
The moon does exactly the same as the sun during the day: it makes stars invisible. If you want to photograph a beautiful dark starry sky, preferably go out around the new moon. If you go out around the full moon, the sky will remain blue like it is during the day and you will see considerably fewer stars.
The days around the full moon are ideal if you also want to include the landscape in the image. The moon then provides enough light to capture it at the same time as the starry sky without any additional aids.
7. Focus stacking
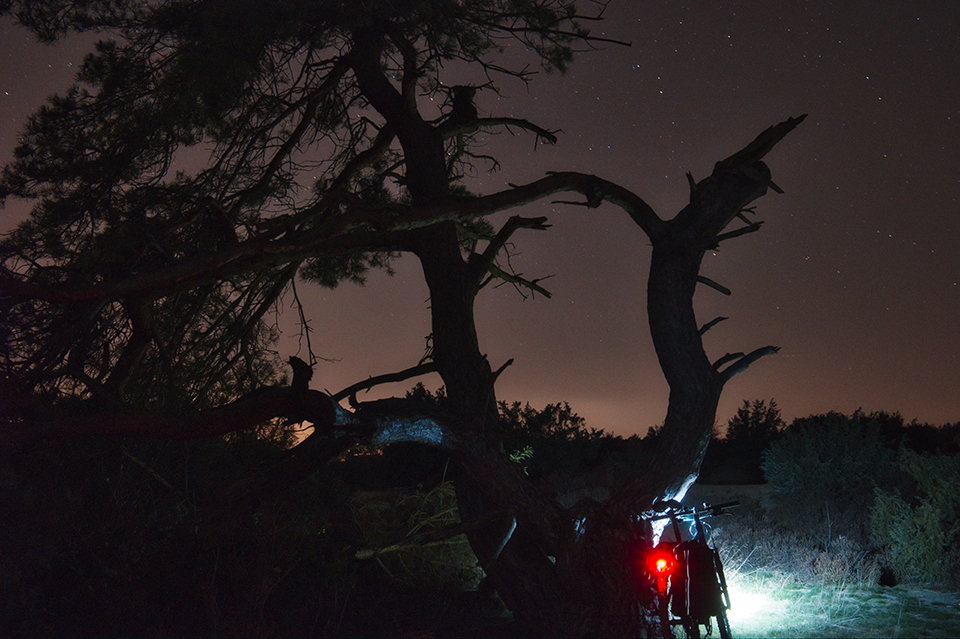
At first glance, this method seems rather unusual: you take a photograph just after sunset, when the sky is still reasonably bright, using a smaller aperture such as f/8 or f/11. Then you wait an hour or two, without moving your tripod, until the stars become visible.
Finally, take a photo focused on the horizon, with the widest possible aperture. In post-processing, you blend these two photos together into a seamless composition.
This method has a number of advantages. Normally, it can be very difficult to get enough detail in your night-time foreground unless the moon is bright. This method solves that problem.
'Blue hour' lighting actually looks quite good and natural beneath a Milky Way. The image quality of this method is very good, because you can capture both the foreground and the night sky using ideal settings.
Although it may seem strange if the foreground has much more noise than the sky, meaning that you might need to use similar ISO values for both shots.
8. Composition
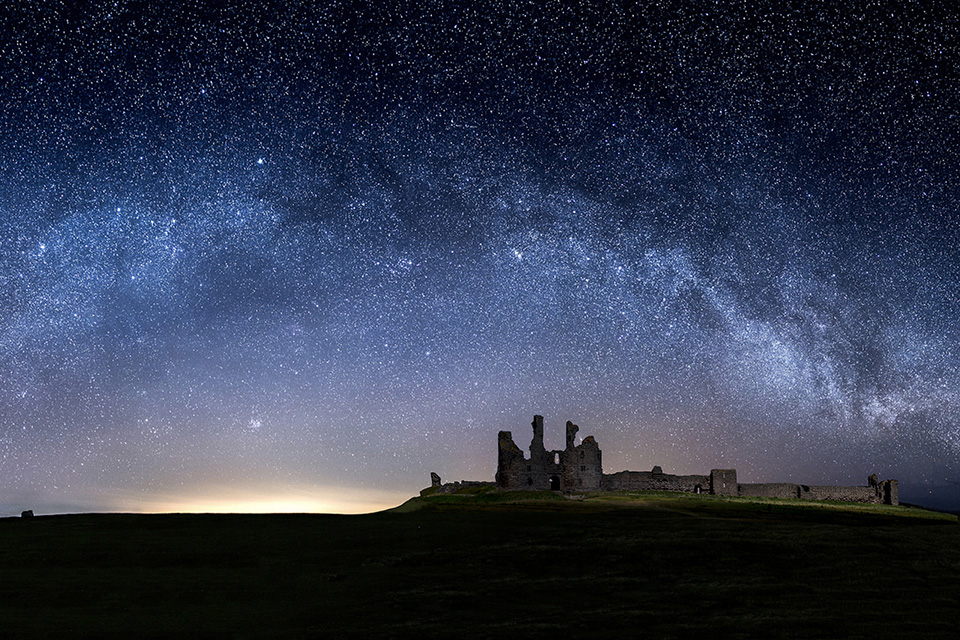
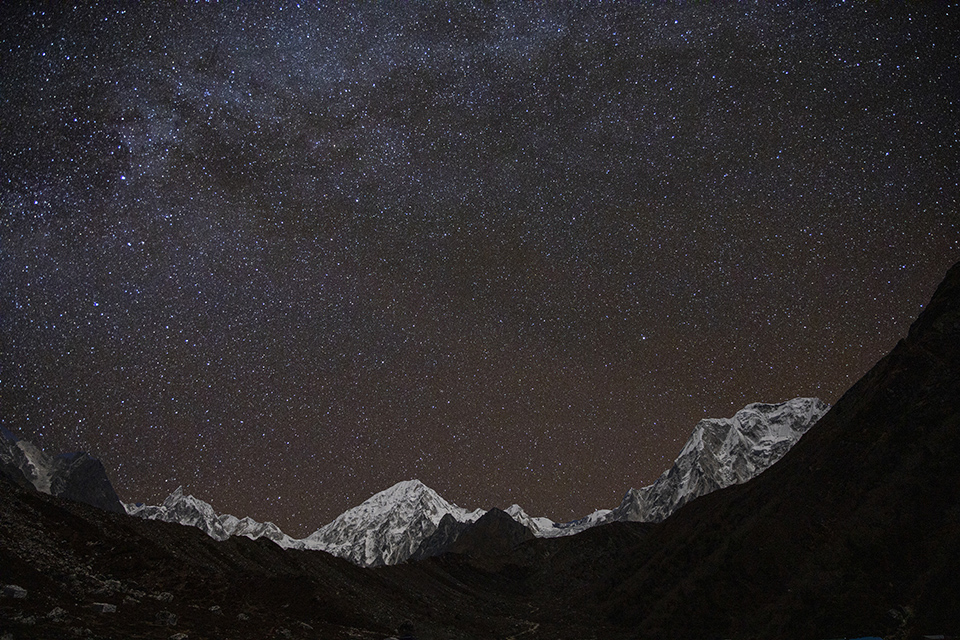
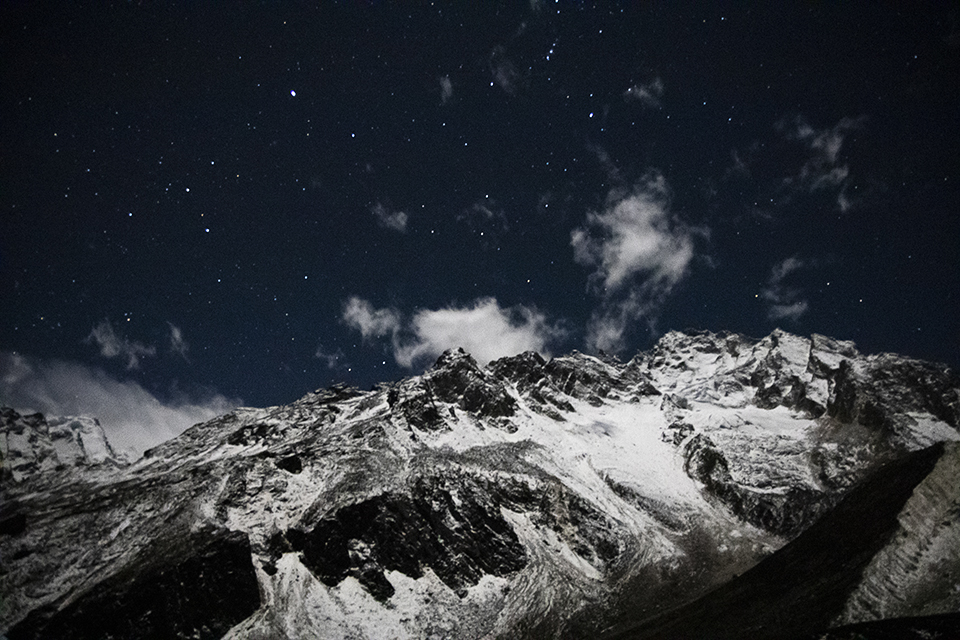
Create a good composition with the Milky Way or an ordinary starry sky as the subject. It works well to include some foreground so that you can get your bearings in the photograph. A distinctive house, barn or castle, in this case Dunstanburgh Castle or the Manaslu mountain range, works perfectly!
9. Post-processing
When you load the photos onto your computer, there is a good chance that the Milky Way will not be immediately visible. You will therefore need to do quite a lot of post-processing. You can mainly change the contrast and mid-tone contrast (clarity).
You can also use the adjustment brushes to give the Milky Way some extra brightness. This does generate a lot of noise, which you can correct with noise reduction. Finally, you could make the white balance a little bluer for a nice effect.
Want to learn more about photographing stars?
At Photofacts Academy, our online learning environment for photographers, we have a complete Introduction course on photographing star trails. You can follow this course for two weeks with a free trial membership.
About the author
Michelle Peeters is fotografe en oprichter van DeuxBleus Fotografie. Michelle herkent het bijzondere in het gewone en het gewone in het bijzondere. Ze heeft zich nooit willen specialiseren en is daardoor van alle markten thuis.
You might also like
-
 Photograph the Milky Way in just 5 minutes!
by Michelle Peeters
-
 Falling stars (Lyrids), photographic contributions
by Michelle Peeters
-
 Use a foreground for star photos
by Nando Harmsen
-
 6 Tips for Creating Star Trails
by Nando Harmsen
-
 The new Olympus is called OM Systems OM-5
by Nando Harmsen
-
 Night photography on Schiermonnikoog (part 2)
by Erik Nevels
0 comments
Be the first to share what you think!
Have your say
Please note: Articles older than a week can only be commented on by signed-in visitors.Would you still like to comment? sign in or create a free account.
Become a better photographer every week
A practical photography tip in your inbox every week.
38,981 photography enthusiasts already receive the tips! More about the weekly mail. Or keep up to date via  Facebook.

Elja Trum
Photofacts; everything to do with photography!
Would you like to take better photos and keep up with what is happening in photography? Photofacts publishes articles that teach you something about photography — from a product announcement to a practical shooting tip or a look at a website. Photofacts covers photography every day and is a hobby project of Elja Trum's that got out of hand. The articles are written by a team of volunteer authors. If you would enjoy writing one or more articles for Photofacts, do get in touch.More about PhotofactsPhotofacts is made possible in part by
