

6 Tips for Creating Star Trails
Monday 26 July 2021, 20:20 by Nando Harmsen | 4,515 views | 0 commentsThis article was translated from Dutch with the help of AI. Read the original.
August is just around the corner, which means the nights are noticeably getting longer. It is a great time to get started with creating star trails again. In this article, I will give you a number of tips for creating a beautiful star trail.
The Earth rotates on its axis. This causes day and night. It completes a full rotation every 24 hours. Because we are standing on the Earth, it looks as though we are standing still while everything around us rotates. During the day, the Sun appears to move across the sky from east to west, and at night the stars do the same.
If we expose for long enough, this movement becomes visible. During the day, this is difficult because the Sun gives off so much light. You would need a very dark ND filter to make this possible. For example, the 20-stop filter from Haida, which I have reviewed.
At night, a long exposure is much easier, because it is dark. The motion blur of the stars that becomes visible during a long exposure is called star trails.
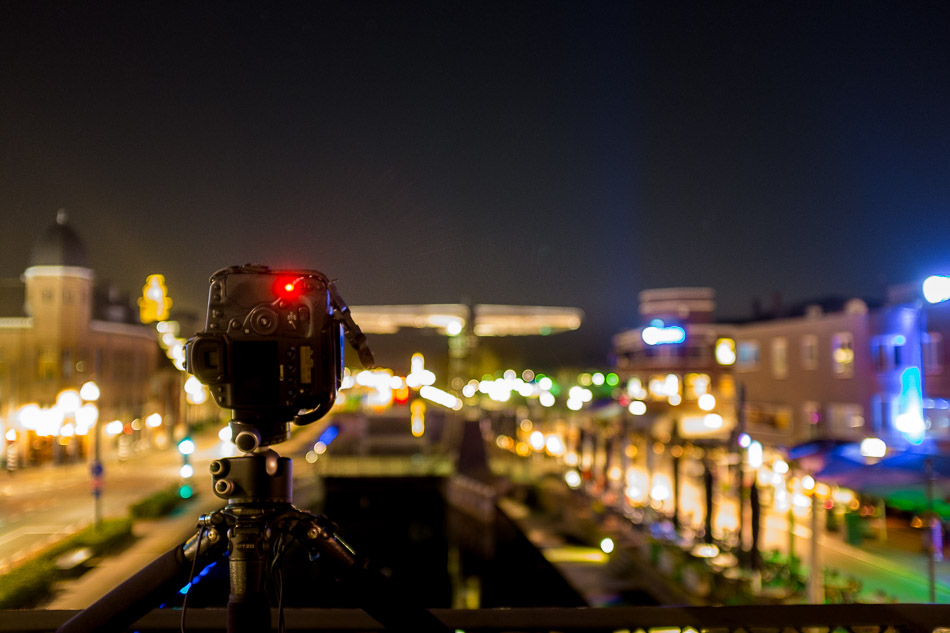
It is not difficult to make star trails appear in your photos. You only need to keep a few things in mind. Let me give you some tips for creating your own beautiful star trail photos. Not about camera settings, but about creating an interesting star trail photo.
1. Build your star trail from lots of photos
You can make one long exposure by using your camera's bulb mode. But in practice, half an hour is about the maximum you can manage without ending up with an overexposed photo. In addition, noise will start to play a major role and can become very distracting.
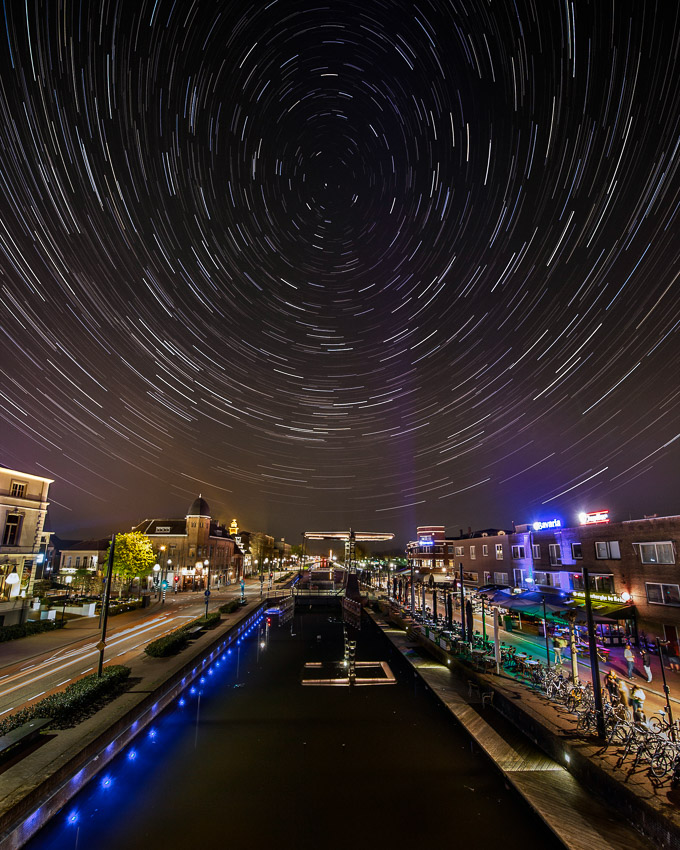
By taking multiple photos with shorter exposures and combining them using software, you have much more flexibility when it comes to the settings you can use, locations, and the length of a star trail.
2. Pay attention to the direction you are photographing in
The direction you photograph in determines the shape of the star trails. Pointing north makes it possible to capture circles in the frame. Pointing south means that the stars will appear in an arc above the horizon.
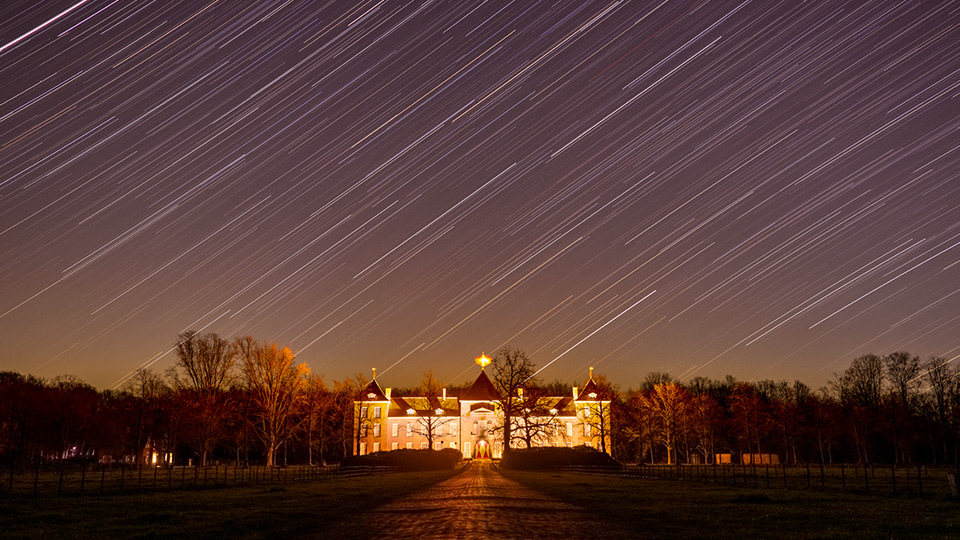
Point your camera east or west, and the stars will move diagonally towards or away from the horizon. Use this knowledge to make the star trails a better part of your composition.
3. Do not only use a wide angle
Using only a wide angle means that a lot of the night sky will be in the frame. It gives you the option of capturing circles of stars, for example. But also try photographing with a longer focal length.
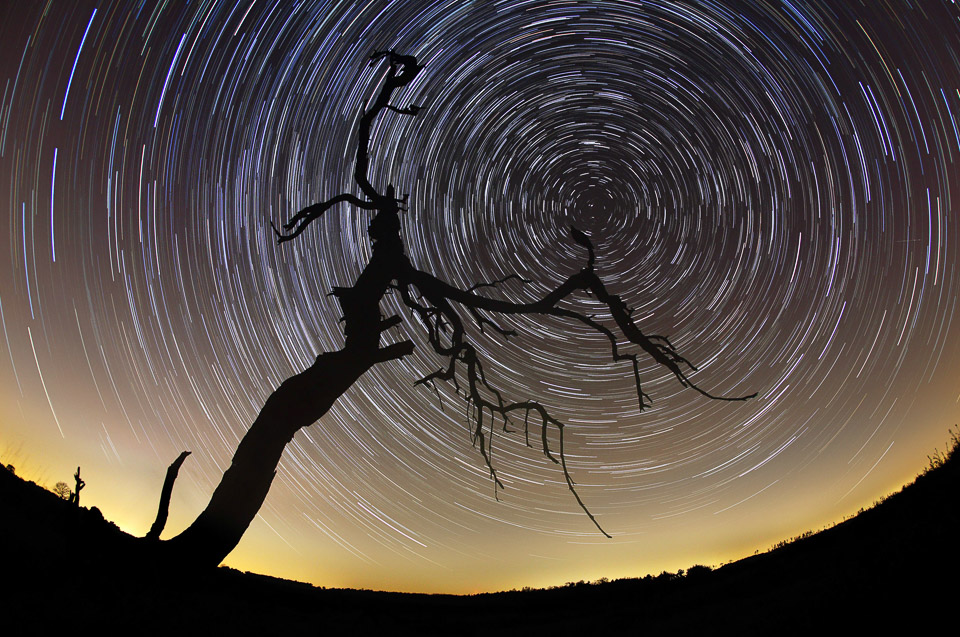
You may not capture as much of the night sky, and there will be no circles, but you can use this to show the star trails and your subject in a completely different way. Just look at the photos in this article.
4. Choose a beautiful foreground
Star trails on their own are boring. That is fun once, perhaps twice, but after that it all starts to look a bit the same. So choose a really beautiful foreground to make your star trail photo much more appealing to look at.
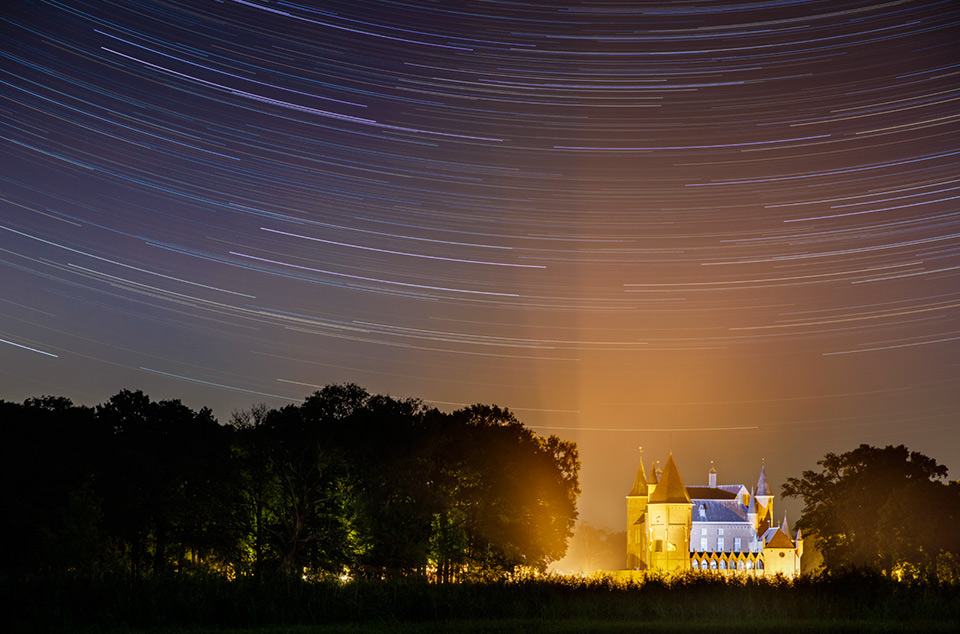
A foreground can be a silhouette, but it does not have to be. You can even create star trails in an environment with lots of lighting. A beautiful foreground makes the photo much more interesting.
5. Add a star trail to your night photo
Do you have a beautifully lit subject that you want to photograph during your night photography? A building or an interesting street scene? Then it may be interesting to add a star trail to it.
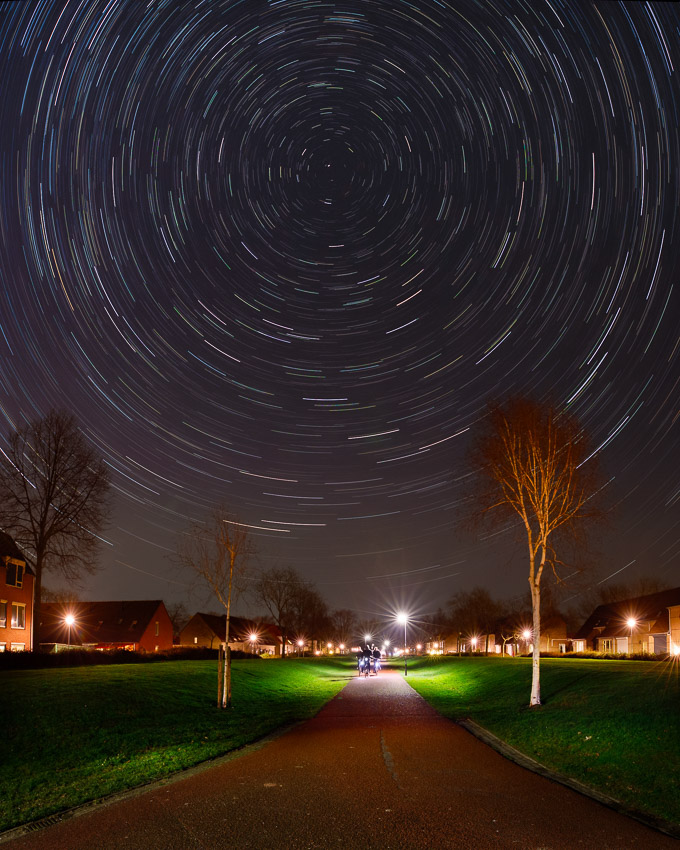
Your star trail can enrich the dark sky and add something extra to your photo. Even in a lit city, it is possible to create star trails, provided you choose the right settings.
6. Combine them with other light trails
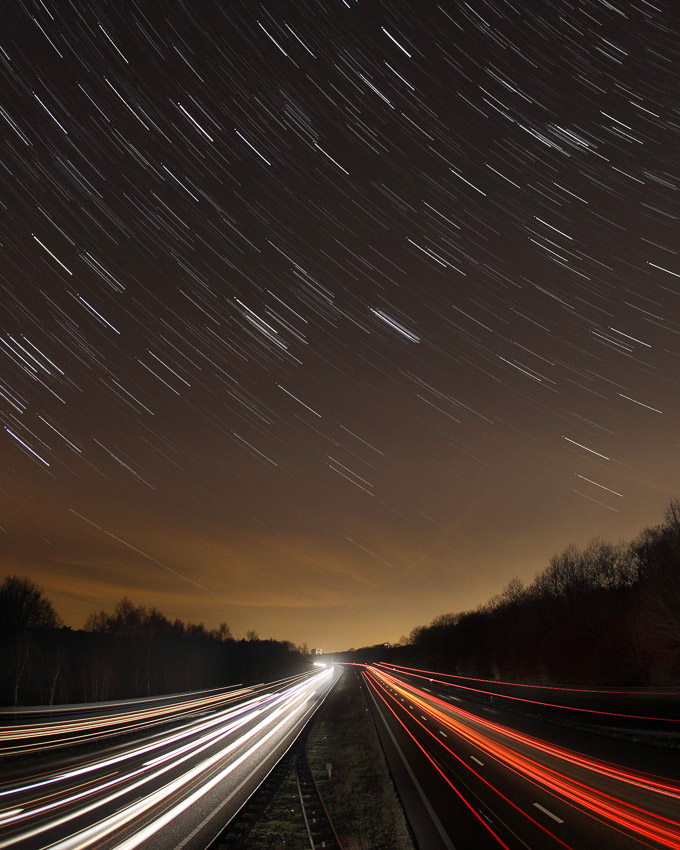
Have you ever thought about including other light trails in your star trail photo? Think of the light trails from car headlights or bicycle lights. Perhaps you can even use other light trails, or draw with light yourself. Be creative.
Bonus tip. Photograph the Milky Way too
I have one extra tip for you if you go out to photograph star trails in August and September. When you are in a really dark location, check straight away whether you can see the Milky Way. If you can see it, you can photograph it.
It is not difficult, and usually one single photo is enough. Just make sure your shutter speed does not become too long, because this is a situation in which you do not want star trails.
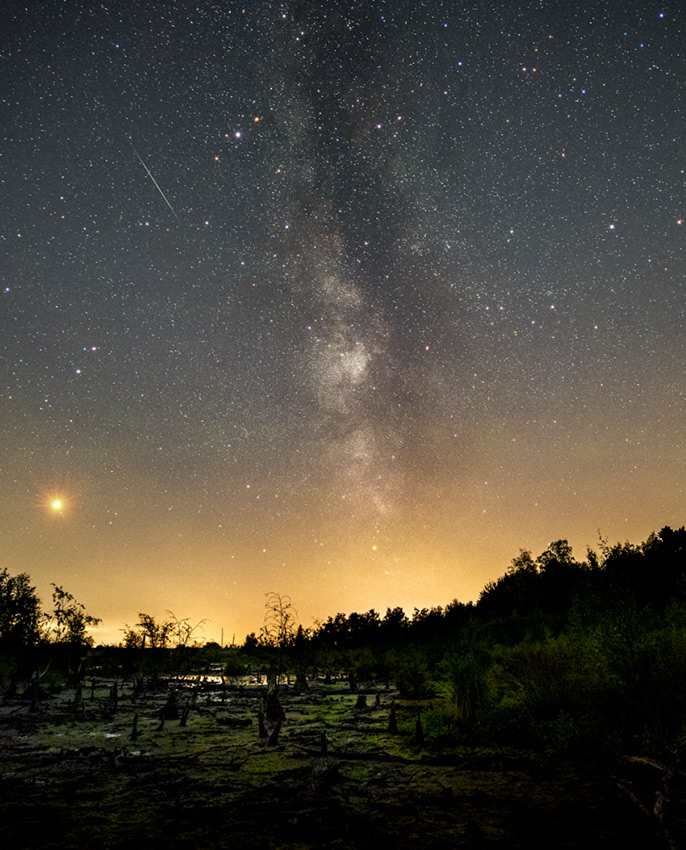
If you want to know why August and September are so interesting for the Milky Way, remember that the core of the Milky Way is the most beautiful part. It is above the horizon during these months.
Also check out my Star Trails course on Photofacts Academy
Would you like to learn much more about photographing star trails? I have recorded a complete course, my very first on Photofacts Academy. I cover everything about equipment, settings, editing, and other tricks and interesting facts.
About the author
Nando Harmsen has been photographing for more than 40 years. He specialises in wedding photography and landscape photography. Nando also gives talks, workshops, masterclasses and photo trips, and regularly reviews new and interesting equipment.
You might also like
-
 Combine star trails in Photoshop with an action
by Nando Harmsen
-
.jpg "Night photography on Schiermonnikoog (part 2)") Night photography on Schiermonnikoog (part 2)
Night photography on Schiermonnikoog (part 2)by Erik Nevels
-
 Night photography tip: turn light sources into stars
by Nando Harmsen
-
 Getting started with a trail camera, what you need to know
by Stijn Madou
-
 Use a foreground for star photos
by Nando Harmsen
-
 Falling stars (Lyrids), photographic contributions
by Michelle Peeters
0 comments
Be the first to share what you think!
Have your say
Please note: Articles older than a week can only be commented on by signed-in visitors.Would you still like to comment? sign in or create a free account.
Become a better photographer every week
A practical photography tip in your inbox every week.
38,981 photography enthusiasts already receive the tips! More about the weekly mail. Or keep up to date via  Facebook.

Elja Trum
Photofacts; everything to do with photography!
Would you like to take better photos and keep up with what is happening in photography? Photofacts publishes articles that teach you something about photography — from a product announcement to a practical shooting tip or a look at a website. Photofacts covers photography every day and is a hobby project of Elja Trum's that got out of hand. The articles are written by a team of volunteer authors. If you would enjoy writing one or more articles for Photofacts, do get in touch.More about PhotofactsPhotofacts is made possible in part by
