

Controlling light from a reportage flash
Wednesday 12 December 2018, 20:34 by Michelle Peeters | 25,620 views | 36 commentsThis article was translated from Dutch with the help of AI. Read the original.
Nothing is as difficult as controlling the light from a reportage flash. That is because it is so elusive. There is nothing tangible about it, such as a setting, so you do not know how the flash will light your subject.
And because the flash duration is so incredibly short, your eye can barely perceive the intensity of the flash from your flashgun. Fortunately, some useful methods have been developed to adjust the amount of flash light precisely to your camera settings.
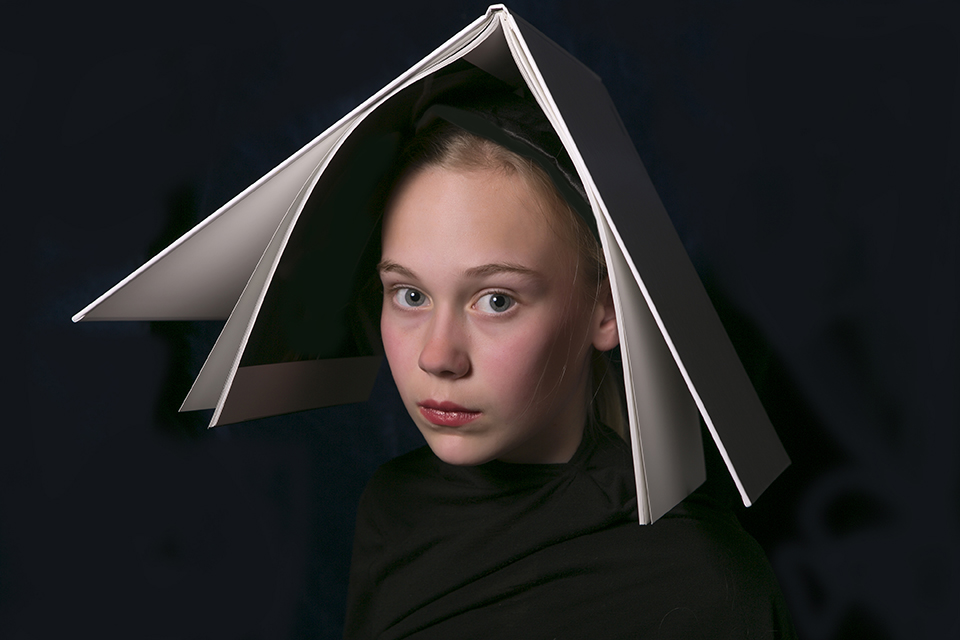
Manual setting
A flashgun has a power rating expressed as a guide number. A high guide number means a lot of flash power. A flashgun with a guide number of 28 can light your subject at a distance of five metres with an aperture of f/5.6 (five metres x aperture f/5.6 = guide number 28).
That is, if you fire the flash at full power (100%). You can set most flashguns manually to full power, a quarter or a sixteenth of the power. A guide number is only a guideline.
When you photograph, and use flash, in a room with lots of white walls and ceilings, much more light falls on your subject than when your flash fires in a high, dark space.
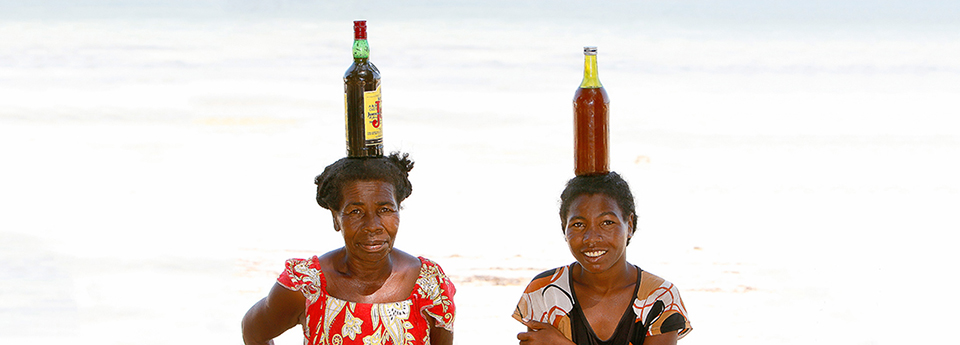
Automatic setting
The somewhat simpler flashguns can also be set automatically. This works using a built-in light meter.
The flash fires a so-called 'pre-flash' just before the actual flash. This measures the amount of light reflected by your subject. You set the ISO value and the desired aperture, and the flashgun then doses the correct flash intensity.
You copy those values to your camera. This works well when your flashgun is mounted on your camera. But even then, the reportage flash cannot smell whether you have a wide-angle or telephoto lens on your camera. And using the flash away from your camera does not work at all.
In the past
In the analogue era, you needed a flash meter. Now everything is much easier, and you can immediately check your exposure on your display and in your histogram.
Even so, it is highly recommended that you buy a flash meter for studio photography. You can use it to measure the existing light, which is very useful if you want to combine longer exposures using existing light with flash light.
With several reportage or studio flashguns, you can also measure and set the light intensity very precisely for each flashgun. Flash meters measure 'incident' light, unlike your camera's built-in light meter, which measures 'reflected' light. This is much more accurate.
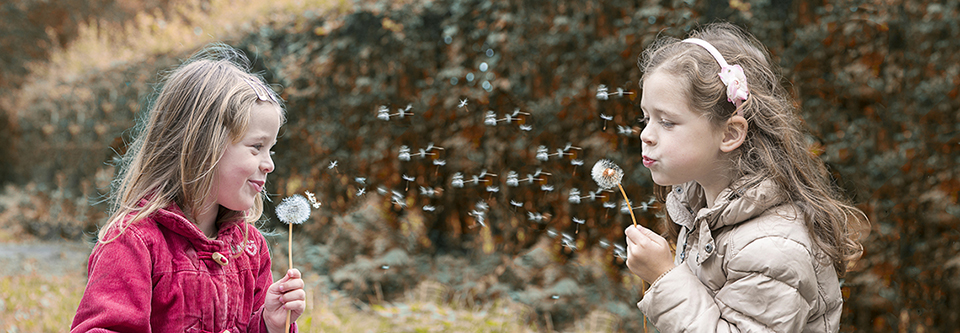
TTL
The most important feature of TTL (Through The Lens) is that the flash light is measured through the lens.
You set your camera to the desired aperture, shutter speed and ISO value, and the linked flashgun produces exactly the right flash intensity.
That makes a TTL flashgun an ideal workhorse for reportage or when you want a soft fill flash. Or if you are not very experienced with it yet.
A major disadvantage of TTL is that when you change your composition, your flashgun also reacts very differently. For example, if you zoom out, the flashgun may suddenly try to compensate for the very dark background. As a result, your model in the foreground suddenly becomes overexposed.
Both your camera and your flashgun have an automatic and a manual mode. There are several possible combinations of flash and camera modes, which I will discuss below.
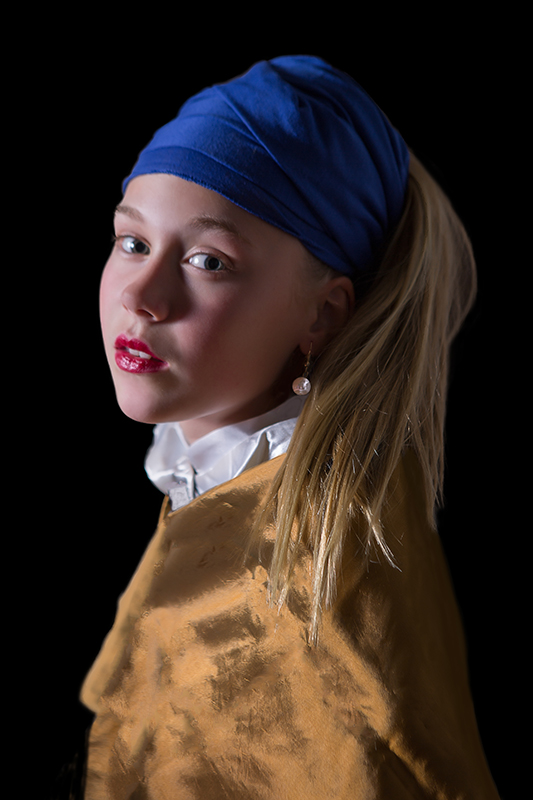
Camera on P mode, flashgun on TTL
With your camera on P mode and your flashgun on TTL, very little can go wrong. Your camera measures the available light, chooses a usable ISO value, aperture and shutter speed, and adds light from your TTL flashgun.
If there is little light, your camera will choose a high ISO value, otherwise the flash light will dominate. This can cause noise. Because you cannot influence the strength of your flash light, this is a safe, but not very creative, setting.
Camera on P mode, flashgun on Manual
This mode gives you a few more creative possibilities. Based on the existing light, your camera will often choose a particular combination of aperture, shutter speed and ISO value.
You can now let the flash contribute just a little by setting it to, for example, 1/16 of its total power. This gives you a nice fill flash. Even so, P mode is not really the ideal setting for a flash photo, even if you set the flashgun to Manual.
Not all flashguns tell your camera that you are going to use flash, so they may not ensure that your shutter speed falls within the flash synchronisation speed, which is usually a maximum shutter speed of 1/250 of a second.
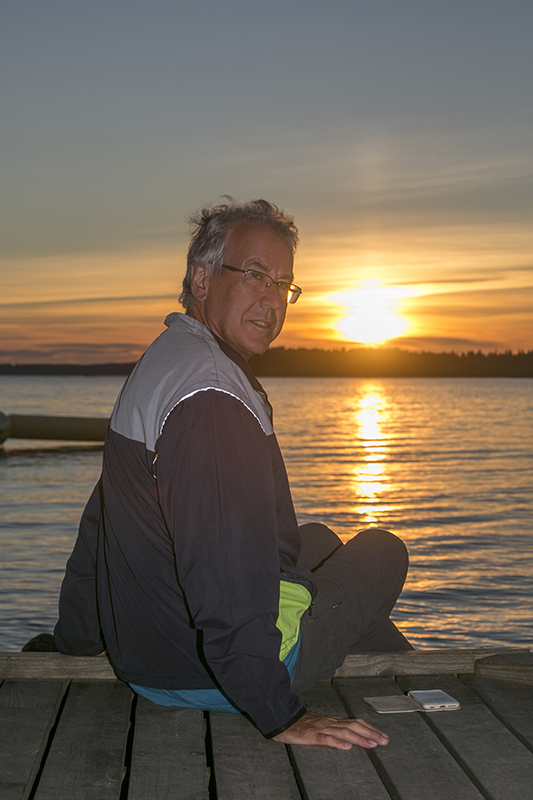
Camera on Av or A, flashgun on TTL
Av or A stands for aperture priority, a semi-automatic mode. This is a good choice if you want to keep control over your depth of field.
For example, in a portrait using existing light. This can sometimes go wrong because not all cameras make it equally easy to control the TTL flash intensity.
You can often adjust the amount of flash light using flash exposure compensation. But if you keep changing your composition, the TTL flash meter will measure a different value each time.
You will then also have to keep adjusting your flash exposure compensation. Not very convenient.
Camera on Av or A, flashgun on Manual
If you want to shoot a series of portraits using existing light, aperture priority and a manually set fill flash are a good choice.
Make sure that the shutter speed calculated automatically by your camera does not exceed your flash synchronisation speed. If necessary, lower your ISO value to get below that maximum shutter speed, often 1/250 of a second.
Alternatively, use high-speed sync if your flashgun and camera support it. First take a number of test shots to see whether you have the right flash intensity, and then shoot your series.
You no longer have to worry about your composition becoming a little wider and then a little tighter, causing your exposure to be disrupted each time.
Camera on Tv or S, flashgun on TTL
Tv or S stands for shutter priority. This option is useful, for example, if you want to combine a very long shutter speed with flash light that freezes your subject.
This lets you combine a row of moving cars and the long trails of light caused by their headlights and rear lights with a model standing by the side of the road in the dark.
Point your flashgun at your model, preferably with the flashgun away from the camera, for example on a tripod. The short flash duration freezes your model, despite the long exposure time, sometimes as long as thirty seconds.
You will need to do some testing with your flash exposure compensation to achieve a good balance between your existing light and flash light.
Camera on Tv or S, flashgun on Manual
If you want to create a setup like the combination above, a manual flash setting is ideal.
Suppose you want to capture the beautiful orange, soft light at sunset, while also lighting a model properly with a flash. The best approach is to put the camera on a tripod and first take a long exposure without flash.
Check the exposure and see whether you are happy with it. Keep adjusting the exposure until your histogram looks perfect. Then place your flashgun on a tripod and point it at your model.
Set the flash intensity manually and keep testing until both your model and the background are beautifully balanced.
Camera on Manual, flashgun on TTL
You often set your camera to manual mode (M) when the existing light is constant, or in a studio environment, where the light naturally does not change either.
You no longer need to rely on your camera's exposure meter. The TTL system does not offer many advantages in this case. The TTL flash system measures through the lens and is therefore very dependent on your composition.
If your model is in front of a dark background, your flashgun will produce a large flash to compensate for the dark background. This will overexpose your model. And if you zoom in on your model, your flashgun will suddenly expose your model correctly.
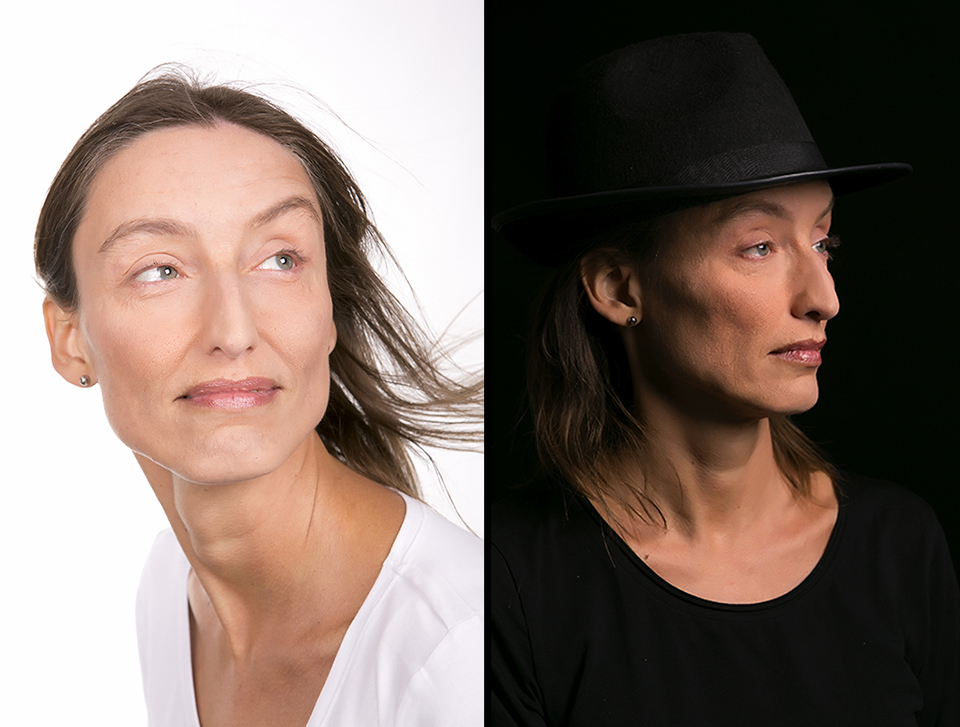
Both camera and flashgun on Manual
TTL works perfectly in difficult lighting situations and for ordinary snapshots. In the studio, however, it does not, because there you do have everything under control. Your model, the existing light, the background and your flashguns.
And then you do not want your flashgun to deliver more or less flash power just because you have changed your composition. If you want to filter out all existing light in your studio, it is best to choose the shortest flash synchronisation time, usually 1/250 of a second.
It is best to use your reportage flash away from the camera, rather than on the camera, and set it manually. Take a few test shots and check your histogram to see whether you have chosen the right aperture.
If you want to measure it very precisely, use a separate flash meter that measures incident rather than reflected light.
Once you have set everything up, you no longer need to worry about your exposure at all and can concentrate fully on your model.
Basic course in using flash on location
Want to learn more about using flash? Then take the Basic Course in Using Flash on Location and discover, with the help of tutor Piet Van den Eynde, how you too can take beautiful photographs using flash light.
Piet is the author of the book Flash! Flitsfotografie op Locatie and an expert in using compact (studio) flashguns.
About the author
Michelle Peeters is fotografe en oprichter van DeuxBleus Fotografie. Michelle herkent het bijzondere in het gewone en het gewone in het bijzondere. Ze heeft zich nooit willen specialiseren en is daardoor van alle markten thuis.
You might also like
-
 Elinchrom launches the ELB 500 TTL
by Michelle Peeters
-
 Review: Elinchrom ELB 500 TTL
by Michelle Peeters
-
 Godox introduces a new radio trigger, the X3 TTL
by Nando Harmsen
-
 Flash photography tip: Set your flash manually
by Elja Trum
-
 The different types of photography
by Henny van Roomen
-
 The Perfect Picture; Corona and Wet Nude Shoot
by Elja Trum
36 comments
-

 Reinoud
wrote on Monday 14 August 2017 at 21:06
| reply
"By 'plussing' the flash a bit, it gives a lot of light. In this case a bit too much; the background becomes heavenly white!"
Translated from Dutch.
The light output of your flash decreases quadratically with distance. So you will never manage to overexpose the background without the foreground getting much more light.
I think this is a photo taken outside with a lot of light and a relatively slow shutter speed. That's why the background is light. Not because of the flash. -
 Michelle Peeters wrote on Monday 14 August 2017 at 21:28
| reply
@Reinoud: yes, you’re right about that! But as far as I can remember the shutter speed was 1/125th of a second and the flash had to compete with the sun (backlighting). I ran into the same kind of problem recently. Very difficult to get that balanced while also having a well-exposed background..
Translated from Dutch. -
 Paul Oosterlaak wrote on Monday 14 August 2017 at 23:50
| reply
@Michelle: couldn't you have used a much shorter shutter speed and taken the photo with HSS. The sunlight is then much less strong (because of the short shutter speed) and you can still expose your subject well. The point is of course that your flash still has enough power to light your subject with HSS.
Translated from Dutch. -
Michelle Peeters wrote on Tuesday 15 August 2017 at 08:32
| reply
@Paul: yes, that shorter shutter speed is indeed the key. However, only 1/250th maximum because of the flash sync speed. And everything on manual. That HSS (high-speed flash, right?) is a good one to experiment with sometime. See if it also works to make a backlit shot into the setting sun when the sun is still a bit higher. You do indeed sacrifice some flash power then, but if you position your subject right in front of the sun, you might just be able to make sure you don't end up with a silhouette picture...
Translated from Dutch. -
 Gery wrote on Tuesday 15 August 2017 at 12:19 | reply
I'm thinking of an ND filter combined with flashes
Translated from Dutch. -
Paul Oosterlaak wrote on Tuesday 15 August 2017 at 13:38
| reply
@Gery: that only helps lower the flash speed/shutter speed, but your flash light is dimmed just as much by that. So the question is whether you'll still have enough flash light left.
Translated from Dutch. -
gery wrote on Tuesday 15 August 2017 at 14:01 | reply
The camera with ND filter... if necessary, have the background exposure measured,
Translated from Dutch.
set the measured values manually;
experiment with flash power
It's just an idea though! -
 Ruud wrote on Tuesday 15 August 2017 at 14:02 | reply
Not every camera and/or flash can handle high speed sync. To avoid overexposing the background, you can then use a gray filter.
Translated from Dutch. -
gery wrote on Tuesday 15 August 2017 at 14:42 | reply
Same as previous but make sure that through intensity nd filter and possibly aperture the camera is synchronized with the flash, then experiment with the flash power.
Translated from Dutch. -
 hans wrote on Tuesday 15 August 2017 at 14:44 | reply
The sea in the second photo (with the ladies) is simply overexposed. That has absolutely nothing to do with the flash.
Translated from Dutch. -
Michelle Peeters wrote on Tuesday 15 August 2017 at 14:45
| reply
@Paul: if you set the flash manually to 'full power', then it seems to me that an ND filter could indeed help!
Translated from Dutch. -
Paul Oosterlaak wrote on Tuesday 15 August 2017 at 15:08
| reply
@Michelle: you may consider yourself lucky if you can even underexpose enough in full sun, with an ND filter that doesn't get any better. It remains about the ratio between flash light and sunlight. You have to balance that. In HSS your flash pulses and thus ensures a correct exposure with a very short shutter speed. If you don't shoot in HSS, the flash only fires once, very briefly and very powerfully, and that's what you have to work with. The rest of the shutter speed the flash does nothing. But a fun thing to test sometime.
Translated from Dutch.
@Ruud: I did indeed assume that your flash has HSS. If you don't have that, you can only use an ND filter and hope that your flash provides enough light. -
gery wrote on Tuesday 15 August 2017 at 15:16 | reply
I think so too, Michelle.
Translated from Dutch.
It's worth a try. -
Ruud wrote on Tuesday 15 August 2017 at 15:22 | reply
@gery: I know, but I had forgotten to refresh the page before posting the comment, so I had only seen the comments up to about 10 o'clock
Translated from Dutch.
@Michelle: and if the flash isn't powerful enough, place it closer (if possible), or (again if possible) bundle multiple flashes together. Or use HSS (if available). -
Ruud wrote on Tuesday 15 August 2017 at 15:24 | reply
@Paul: it also depends on your camera. Entry-level models often don't have HSS (even if you put a top-of-the-line flash that does support HSS on it).
Translated from Dutch. -
Paul Oosterlaak wrote on Tuesday 15 August 2017 at 16:03
| reply
@ruud: I was under the (wrong) impression that all DSLRs had it. After doing some research, it turns out that all Nikon d3xxx and d5xxx cameras don't have it. With Canon, this is present on all DSLRs. Strange choice. But okay. Thanks for the heads-up!
Translated from Dutch. -
Michelle Peeters wrote on Tuesday 15 August 2017 at 16:17
| reply
I think such an ND filter should indeed work (unfortunately I can't test it, because I don't have such a filter yet). If you use the ND filter to ensure that the background is properly exposed, resulting in a shutter speed no faster than 1/250th of a second, and you fire the flash at full power (M at 100%), then in theory it should work.
Translated from Dutch. -
Paul Oosterlaak wrote on Tuesday 15 August 2017 at 16:43
| reply
@Michelle: to get the background to 1/250s (or whatever is needed for synchronization), you take light away. That light is also taken away from the flash light. I have a 9-stop ND filter myself, so that's a bit overkill, but as soon as I have time, I'll test it with a 6-stop filter and full sun.
Translated from Dutch. -
Michelle Peeters wrote on Tuesday 15 August 2017 at 16:48
| reply
@Paul: flash light has no influence on the light in your background, so I think it won't be too bad! With the flash light (and your aperture) you make sure your model is properly exposed and with your shutter speed (which you can speed up with an ND filter) your background. Or am I thinking wrong?
Translated from Dutch. -
Paul Oosterlaak wrote on Tuesday 15 August 2017 at 16:56
| reply
My point was that the ND filter also takes away the flash light on your model, so whether you still have enough light left with just a single flash.
Translated from Dutch.
I have done some research in the meantime and apparently it can be done with a 3-stop ND, although you do need to use fast glass, so that enough light still reaches your sensor (and your viewfinder) for the autofocus. -
 Floris Naber wrote on Tuesday 15 August 2017 at 16:58 | reply
@Michelle: With an ND filter you can actually slow down the shutter speed, it is nothing more than a dark-colored filter ('back in the day' soot-covered pieces of glass were used for that) this is desirable in the event that your shutter speed would exceed the flash s
Translated from Dutch.
ynchronization speed. Furthermore, it has already been explained several times above how you can take a proper photo with or without HSS. Good luck! -
Michelle Peeters wrote on Tuesday 15 August 2017 at 17:07
| reply
@Paul: but if you set your flash to manual, it doesn't look through the lens anymore and just fires at full power, right? So whatever you screw onto your lens, that doesn't matter anymore, right?
Translated from Dutch.
@Floris: slowing down your shutter speed is probably exactly what you want. So that it doesn't go faster than 1/250th of a second. With that much backlight, you'll quickly be below that.. (or above, faster in any case). -
Paul Oosterlaak wrote on Tuesday 15 August 2017 at 17:48
| reply
@Michelle: the flash illuminates your subject and that light comes through the lens onto the sensor. If you put an ND filter in between, the intensity of the light becomes considerably less. The sun doesn't shine any less brightly just because you put an ND filter on your lens, does it?
Translated from Dutch.
The flash simply fires at full power, but whether it's enough to counterbalance the sun was a bit of the discussion. In HSS your flash works differently than at normal sync speed, so I had my doubts about whether it would work. Apparently it can, albeit with limitations (subject close to the (bare) flash, little light for your metering and a dark viewfinder). -
Michelle Peeters wrote on Tuesday 15 August 2017 at 17:51
| reply
@Paul: okay, clear! Nice to test this sometime! I'll do that once I have an ND filter..
Translated from Dutch. -
 Goos Bronkhorst wrote on Tuesday 15 August 2017 at 17:54 | reply
A camera's with an electronic shutter prevents a lot of hassle. This one can flash at a very short time without the power of the flash suffering as a result.
Translated from Dutch. -
Michelle Peeters wrote on Tuesday 15 August 2017 at 17:54
| reply
If this works well it can be very useful for group photos. Suppose you can't find a shady spot and you have to photograph against the sun (better than with the sun behind you; your models are squinting into the sun and you see those ugly blown-out bright spots..).
Translated from Dutch. -
Michelle Peeters wrote on Tuesday 15 August 2017 at 17:58
| reply
@Goos: interesting! What is the flash sync speed with these kinds of shutters then? Faster than 1/250th of a second?
Translated from Dutch. -
Goos Bronkhorst
wrote on Tuesday 15 August 2017 at 18:24
| reply
With my Canon PowerShot S120 I can use flash at shutter speeds as short as 1/2500.
Translated from Dutch.
At an aperture of 1.8 and ISO 80, I then get a range of about 5 meters with the built-in flash :+) -
Paul Oosterlaak wrote on Tuesday 15 August 2017 at 18:27
| reply
With an electronic shutter you can easily use 1/8000 sec (mirrorless cameras), although you do have to watch out for rolling shutter effects.
Translated from Dutch.
A group photo with backlighting and flash... phew, then you'll need even more light, since you'll spread the light from your flash more, leaving you with less per person. Besides, you'll often be standing a bit farther away as well. It's going to be challenging. -
gery wrote on Tuesday 15 August 2017 at 18:48 | reply
Learned a lot (electronic shutter on my mirrorless camera), will definitely try it - on a tripod.
Translated from Dutch. -
Michelle Peeters wrote on Tuesday 15 August 2017 at 19:14
| reply
That sounds almost too good to be true with that electronic shutter, new to me too!
Translated from Dutch. -
 Harrie wrote on Wednesday 16 August 2017 at 16:01 | reply
For that photo with the overexposed background, wouldn't it be better to just use large reflectors instead of the flash ?
Translated from Dutch. -
Michelle Peeters wrote on Wednesday 16 August 2017 at 16:33
| reply
@Harrie: that is absolutely the solution! But you do have to have them with you.. A really good one though, because reflectors reflect the bright sunlight to a much lesser extent, so you will probably get a perfect exposure!
Translated from Dutch. -
Harrie wrote on Wednesday 16 August 2017 at 22:17 | reply
Or simply choose a slightly darker time of day for these kinds of photos.
Translated from Dutch. -
 Luc Vancamp wrote on Thursday 17 August 2017 at 09:58 | reply
Set the camera to underexpose, and overexpose the flash proportionally, so the exposure is correct for the flash. This means the flash is in charge of its (short) range, while the camera exposes the (farther) background according to the setting, so darker.
Translated from Dutch. -
Michelle Peeters wrote on Thursday 17 August 2017 at 10:22
| reply
@Luc: if the backlighting isn't too strong, that is indeed a good option!
Translated from Dutch.
Have your say
Please note: Articles older than a week can only be commented on by signed-in visitors.Would you still like to comment? sign in or create a free account.
Become a better photographer every week
A practical photography tip in your inbox every week.
38,764 photography enthusiasts already receive the tips! More about the weekly mail. Or keep up to date via  Facebook.

Elja Trum
Photofacts; everything to do with photography!
Would you like to take better photos and keep up with what is happening in photography? Photofacts publishes articles that teach you something about photography — from a product announcement to a practical shooting tip or a look at a website. Photofacts covers photography every day and is a hobby project of Elja Trum's that got out of hand. The articles are written by a team of volunteer authors. If you would enjoy writing one or more articles for Photofacts, do get in touch.More about PhotofactsPhotofacts is made possible in part by
