

Create a Photo Album Without Layout Restrictions
Monday 3 February 2025, 15:15 by Nando Harmsen | 4,446 views | 19 commentsThis article was translated from Dutch with the help of AI. Read the original.
Do something with your photos. Turn them into a slideshow, or better still, a photo album. Nothing is more enjoyable than browsing through a photo book filled with your best photos and memories. Don't limit yourself to the photo shop's software. Create your own spreads.
A photo album is wonderful to have. Don't let your photos gather digital dust on your hard drive. A photo album invites you to browse through it. And when you have guests, put it on the table. Give them the chance to look through the album.
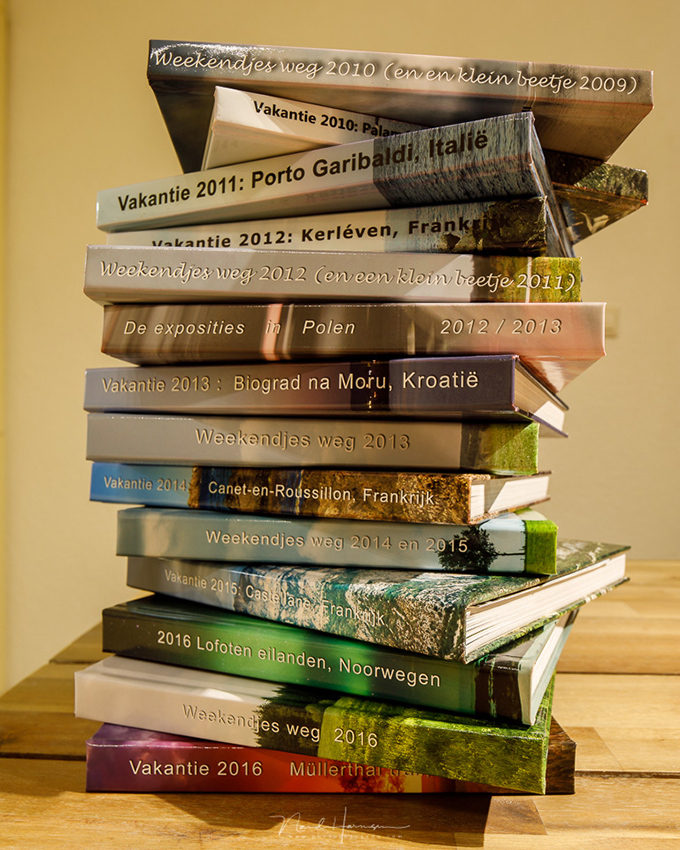
Making a photo album isn't that difficult. Choosing the photos might be, but that's not what this is about. Many album providers have handy software that lets you drag your photos onto the pages. Sometimes the pages can be filled automatically.
Don't limit yourself to that software. It offers little real creativity and can even look old-fashioned because of the effects it provides. It's better to create your own spreads. It's easier than you think. I'll explain it in the video below.
Once you know how big the album will be, you can create pages with the correct dimensions. I always make holiday albums of 20x20cm at Profotonet. I've been doing that since 2009, and they all have the same design. Follow this link for a review of Profotonet albums.
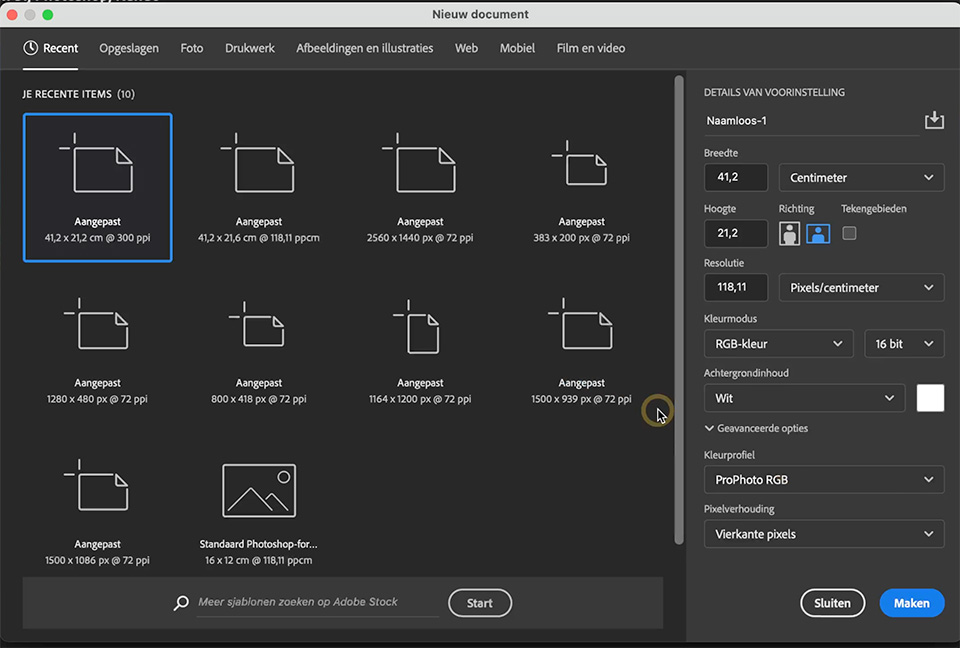
I created the pages in Photoshop, at a size of 20 x 40 cm, with an additional 6mm around the edges. I fill that space, but it allows for the pages to be trimmed by the album producer. I mark it with guidelines, including one for the fold in the middle.
Then I fill the page with photos. This can be from the hard drive, or using Lightroom's 'open as layers in Photoshop' function. I then drag those photos into the spread template. Then I can start arranging them across the page.
I can use a background, adjust the size, adjust the exposure, make edits or create gradients. I can blend photos into each other, add text in any font and shape you can imagine. Lines around the photos are possible, as are shadows and other effects.
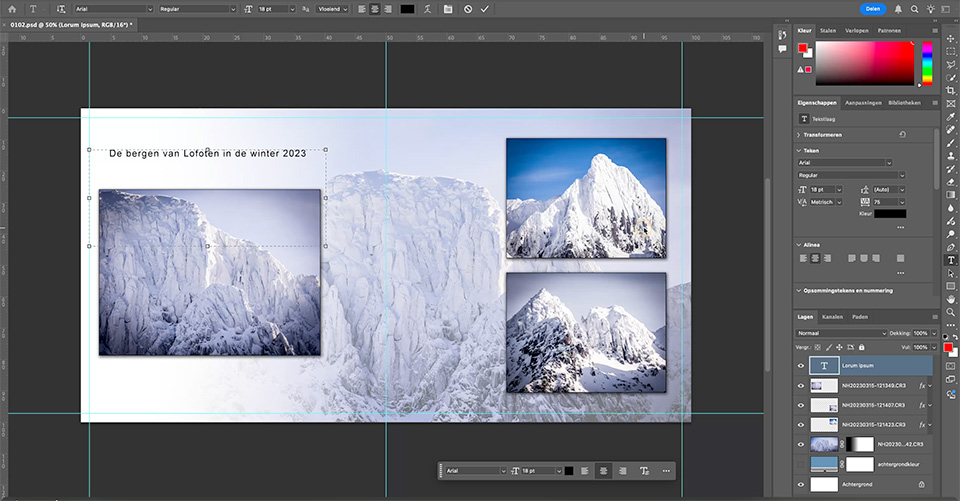
That's how I create several spreads until I've used all the photos I want to include in the album. I export these spreads as JPEGs. Only then do I use them in the album producer's software.
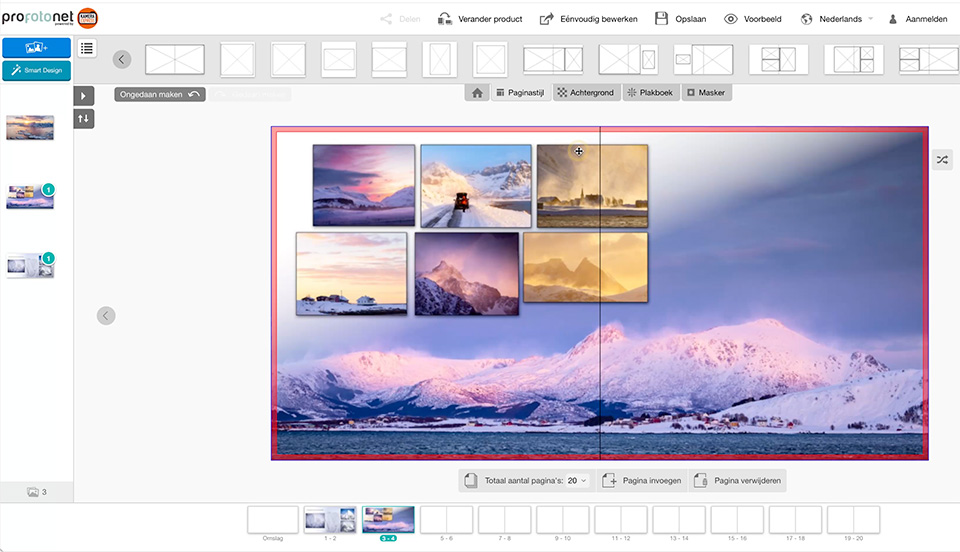
Then it's simply a matter of uploading them and placing each spread across the full width. One spread at a time. It's simple, efficient and quick.
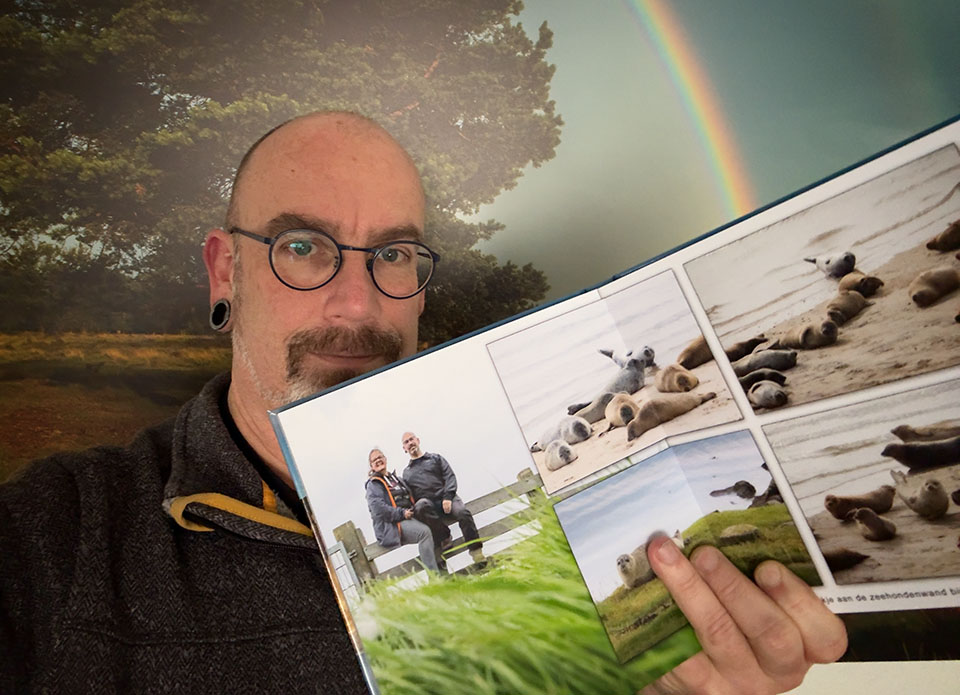
About the author
Nando Harmsen has been photographing for more than 40 years. He specialises in wedding photography and landscape photography. Nando also gives talks, workshops, masterclasses and photo trips, and regularly reviews new and interesting equipment.
You might also like
-
 Review: Blurb photo books via Lightroom Classic
by Nando Harmsen
-
 11 Tips for Creating the Most Beautiful Photo Albums
by Hermine Snellink
-
 20 photography books you should read!
by Michelle Peeters
-
 Review: 'Photoshop Masters' by Rob de Winter
by Huub Keulers
-
 Get cutting and sticking: make a dummy book
by Elvira Smit
-
 Create a slideshow of your photos
by Nando Harmsen
19 comments
-
 Donald Willemsen wrote on Monday 3 February 2025 at 15:55 | reply
Thank you Nando, a great tutorial on making a photo book. You're right that this way you have everything in your own hands and aren't dependent on the software of a photo book supplier.
Translated from Dutch. -
 guest wrote on Tuesday 4 February 2025 at 11:19 | reply
I make spreads in InDesign and later turn them into JPG files.
Translated from Dutch.
I have the book printed at Print.com. -

-

 Liesbeth Verkade wrote on Tuesday 4 February 2025 at 14:05
| reply
Liesbeth Verkade wrote on Tuesday 4 February 2025 at 14:05
| reply
Hi Nando.
Translated from Dutch.
a nice article and certainly a good (better) way to make a photo book, but if you’re not very handy in PS it’s quite complicated.
I’ve been making my photo books at CEWE for many years without presets or anything like that and I feel that I still have quite a lot of freedom to design my book. -
Nando
wrote on Tuesday 4 February 2025 at 14:35
| reply
It doesn't have to be complicated, and it's a matter of just doing it. Layers and masks are essentially all you need. Just get started, and if you don't know something, have a look on PFA to see how it's done. That's how you get to know Photoshop; by doing it.
Translated from Dutch.
Of course you can use the manufacturer's software, but Photoshop offers infinitely more possibilities (which will often. also be less cliché). -
guest wrote on Tuesday 4 February 2025 at 20:26 | reply
Just one more addition following the video. You say that you suddenly have to finish your photo book with a provider. With CEWE, it sometimes takes me months. You can simply save your project and continue working on it the next day or the following week. Even projects that have already been printed can still be adjusted later.
Translated from Dutch. -
-
 Ellen Brouwer wrote on Wednesday 5 February 2025 at 09:46 | reply
I always make my photo books at Albelli and the examples I see in this article are also quite easy to create there.
Translated from Dutch.
I have also made more complicated pages in Albelli. -
Nando
wrote on Wednesday 5 February 2025 at 11:39
| reply
That’s right, the examples I give are pretty basic. But it can be much more extensive if you want, infinitely more extensive than Albelli will ever be able to. The only question is, how much time and energy do you want to put into your design. For the video, that would make it far too long. It’s about the principle and the freedom you have.
Translated from Dutch.
If Albelli’s app has the options you want, then that’s fine too. -
Donald Willemsen wrote on Wednesday 5 February 2025 at 11:53 | reply
Then I had another question, Nando. A sheet always has 2 sides that are printed. If you submit the photos your way, will everything then be printed on the right page in the right way?
Translated from Dutch. -
-
 Philippe Demeyere wrote on Wednesday 5 February 2025 at 14:23 | reply
Yes, absolutely, for the photo album.
Translated from Dutch.
I do this every year for our trips, but also for the most successful family photos.
I used to enjoy making slideshows, but I'm fed up with it, it remains virtual photos anyway, on the big screen of the home theater it looks good, especially the landscapes. Photo albums are easier to share, though, and we even look at them several times a year with just as much pleasure. I recommend -
Donald Willemsen wrote on Wednesday 5 February 2025 at 15:41 | reply
Nando, by submitting photos I of course mean those spreads. I really did watch the video and I also understand that you submit spreads. The spread contains 2 pages that lie opposite each other. But a sheet of paper has 2 sides. It is not clear to me what then goes on the 'back' of the paper. Surely you will have to let the printer know in some way what should go on a reverse side so that when you flip through it, you see everything in the right order. That did not become clear to me from the video.
Translated from Dutch.
We are not all such experienced smart alecks as you.
The making of those spreads is clear to me, but then..... -
-
 mannau wrote on Wednesday 5 February 2025 at 22:13 | reply
Dear Nando, I needed this! thank you for the beautiful explanation! And btw...the Lofoten photos are breathtaking!
Translated from Dutch. -
 DEMEURIE erik wrote on Thursday 6 February 2025 at 19:51 | reply
After following the video on creating a template for a photo book myself, I have a question. In the template for a 20x20 photo book, you create a document of 21.2 x 41.2 and thus place guides at 0.6 cm horizontally at the beginning and end as well as vertically. If you place the photos within those lines, you therefore retain 20x40cm.
Translated from Dutch.
I want to create a tempate for a 30 x 45 cm album. This would therefore mean a file size of 31.2x 91.2 with guides placed at 0.6cm from the beginning and end each time. If I open the template from profotonet, the file size is 30.1 x 88.7 cm. The guides are each at 0.8cm.If I create my own template as described above with a file size of 31.2 x 91.2, won't that cause errors regarding cropping? Maybe it is still safest to use the profotonet template? I would appreciate hearing your opinion or yours. Thanks in advance. -
Nando
wrote on Sunday 9 February 2025 at 11:21
| reply
That's right, the dimensions of the templates at Profotonet are slightly different.
Translated from Dutch.
You can easily test this by creating an album on the Profotonet website and adding the spreads with the dimensions you're using. You'll see right away whether it works. -
Liesbeth Verkade wrote on Friday 7 February 2025 at 10:52
| reply
That's in an app that I installed on the computer. I work with the German version because I live in Germany. Don't know if the Dutch version works the same, but I suspect it does.
Translated from Dutch. -
DEMEURIE erik wrote on Sunday 9 February 2025 at 12:35 | reply
Thanks for the response. I’ll do it that way.
Translated from Dutch.
Have your say
Please note: Articles older than a week can only be commented on by signed-in visitors.Would you still like to comment? sign in or create a free account.
Become a better photographer every week
A practical photography tip in your inbox every week.
39,024 photography enthusiasts already receive the tips! More about the weekly mail. Or keep up to date via  Facebook.

Elja Trum
Photofacts; everything to do with photography!
Would you like to take better photos and keep up with what is happening in photography? Photofacts publishes articles that teach you something about photography — from a product announcement to a practical shooting tip or a look at a website. Photofacts covers photography every day and is a hobby project of Elja Trum's that got out of hand. The articles are written by a team of volunteer authors. If you would enjoy writing one or more articles for Photofacts, do get in touch.More about PhotofactsPhotofacts is made possible in part by
