

3 ideas for discovering your photography niche
Monday 13 May 2019, 20:02 by Michelle Peeters | 21,573 views | 4 commentsThis article was translated from Dutch with the help of AI. Read the original.
Many photographers are jacks of all trades and, when I look at myself, I actually do pretty much anything that comes my way. Yet apparently it is better to choose a niche and fully develop yourself within a particular specialism.
You might even be able to fill a gap in the market. Or perhaps you simply want to try something different, take a new direction and see what is possible. Have a go at experimenting! This article offers three ideas for doing so.
How do you choose your niche?
Actually choosing a niche is easier said than done. To start with, you can ask yourself a few questions that may help you make your choice. What do you enjoy doing, for example? Photographing people or still lifes? Do you love buildings, or nature instead?
And what type of photography are you good at? Do your skills also match the niche you feel passionate about? If you enjoy photographing people, but this is not your strongest point, you can of course try to get better at it. Or you can simply experiment and take a completely different approach to find out what you really excel at.
Below is a list of some enjoyable photography niches. Perhaps there is something that appeals to you!
1. Lomography
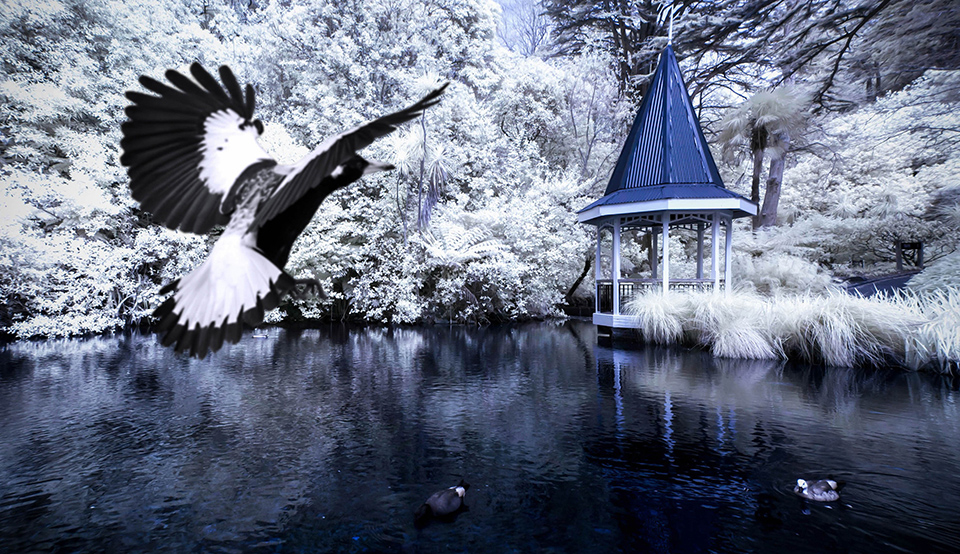
I don't know a single Lomographer myself, but apparently quite a large number of photographers around the world are involved in it. With Lomography, you take photographs in a very casual and uninhibited way with an analogue camera. There is a lot of experimentation, and a lot is left to chance.
Cameras that are far from perfect are used, which means they often leak quite a lot of light. Sometimes films are developed in the wrong liquid or exposed twice.
With this form of photography, you do not have to feel trapped by the framework of the sharpest possible photo, the perfect composition, the greatest dynamic range, the optimal editing and perfect lenses. The imperfect accidents, casual approach and creative experiments of Lomography could well be a breath of fresh air.
On the Lomography website, you can see whether it is something for you. Some golden rules of Lomography are to take your camera everywhere with you and use it day and night, not to worry about the rules, not to think, to be quick, get as close as possible and shoot from the hip.
2. High-speed photography
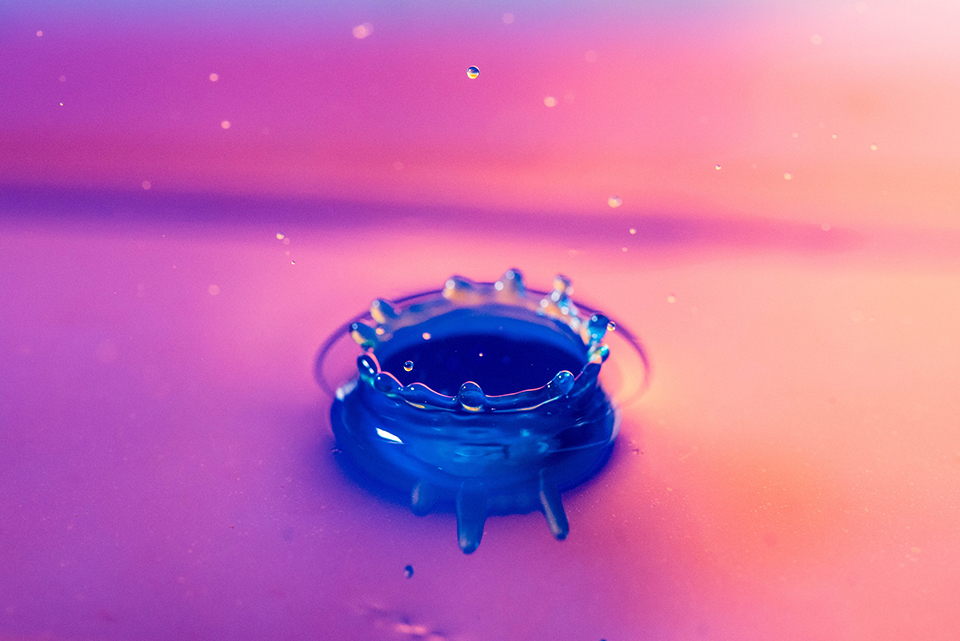
Here, you photograph subjects that move so quickly that you cannot, or can barely, capture them in any other way. Once you have mastered the technique, you can create unique images.
The trick is not to freeze the movement with a very fast shutter speed, but with a flash. Your camera's fastest shutter speed, usually between 1/4000 and 1/8000 of a second, can be even shorter with a flash. Drops are the ideal subject for high-speed photography.
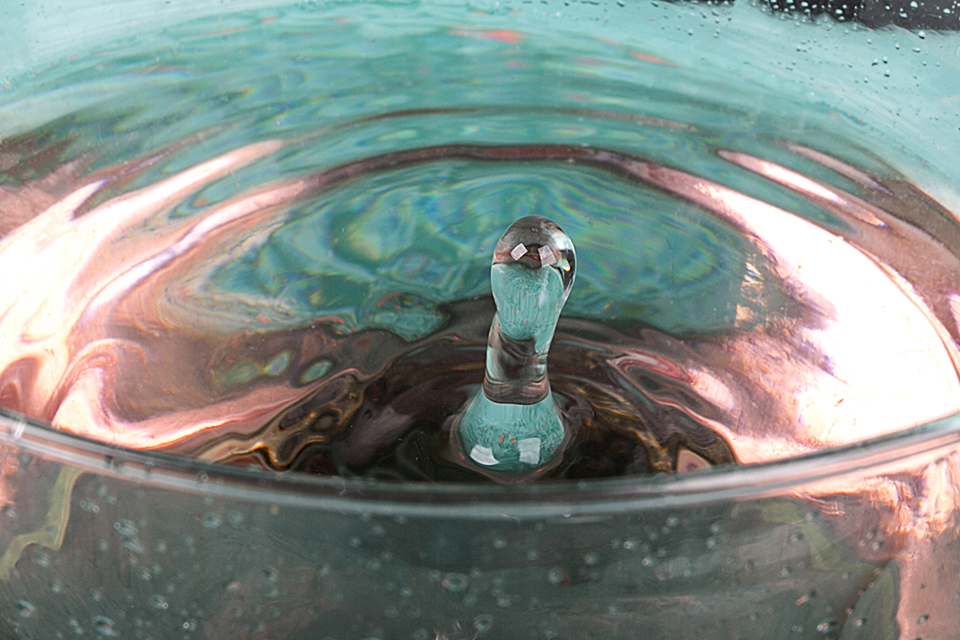
How it works: set your camera so that you still get a dark photo with a half-second shutter speed. So set the lowest ISO value and a small aperture. Fire the flash during that half-second, always on target, and your flash will illuminate the moving subject.
The 'effective shutter speed' is then equal to the duration of the flash. With a fairly powerful flash, this can produce shutter speeds of 1/50,000 of a second.
With a flashgun that you can set manually, you can quickly achieve good results with a bit of practice. Look for a dark environment, preferably indoors, set your camera to Manual with a small aperture and low ISO value. Set the longest possible shutter speed that still gives you a black image.
Then turn on your flash at a low power setting, which means a short flash duration. You could place the flash on the camera, but in practice they are always used off-camera. You will of course need a cable or wireless trigger. The result is that you get less 'flat' images when you use the flash off-camera.
Focusing on your subject, which is not there yet at that moment, is something you need to arrange in advance. Hold the tip of a pencil where the drops will fall and focus on it.
Then switch the camera from autofocus. And of course, work from a tripod! You can use your camera's high-speed mode to take several photos in succession, but unfortunately your flash cannot keep up.
Timing is the thing you need to practise most with this type of photography. How do you make sure you press the shutter at the right moment? You can practise a lot with a dripping tap that releases drops at fairly regular intervals. Unfortunately, you cannot always practise with a repeating movement.
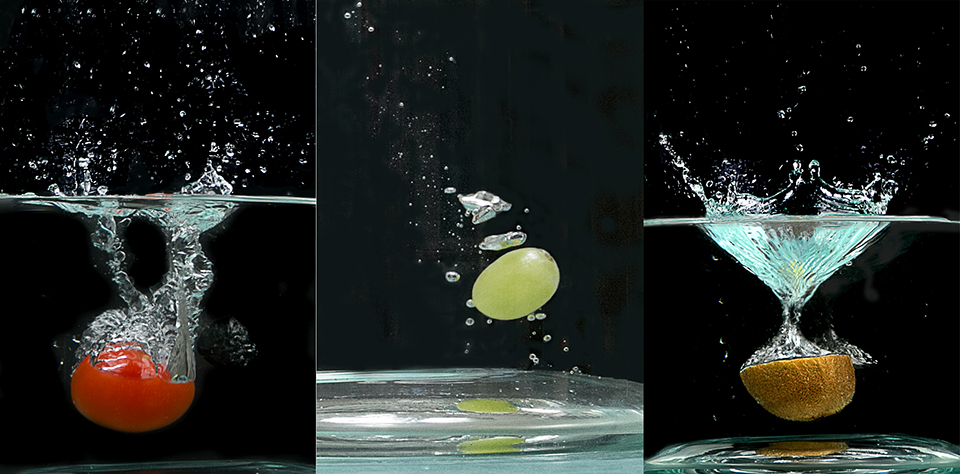
Many photos will fail, but if you take lots of them, there will always be some good ones among them. If you really cannot get the timing challenge under control, you can buy a device that triggers the camera and/or flash based on a moving object, a sound, a vibration or, for example, another light source. Think of the Triggertrap mobile.
3. Infrared photography
With infrared photography, unlike with 'normal photography', you photograph light that is invisible to the human eye. So you photograph something different from what you see yourself, which is quite special. You can capture infrared light in various ways:
- With a special roll of film in an analogue camera;
- With an ordinary digital camera and a filter;
- With a special infrared digital camera.
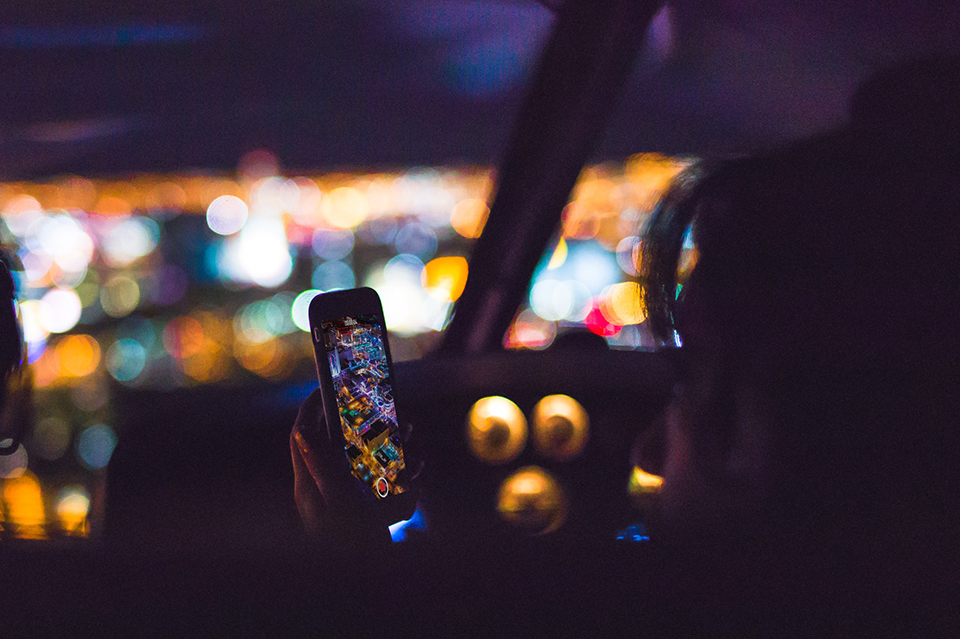
Infrared photos have something special, something magical and sometimes even something surreal. And that is exactly why a number of photographers, though again not very many, pursue it passionately.
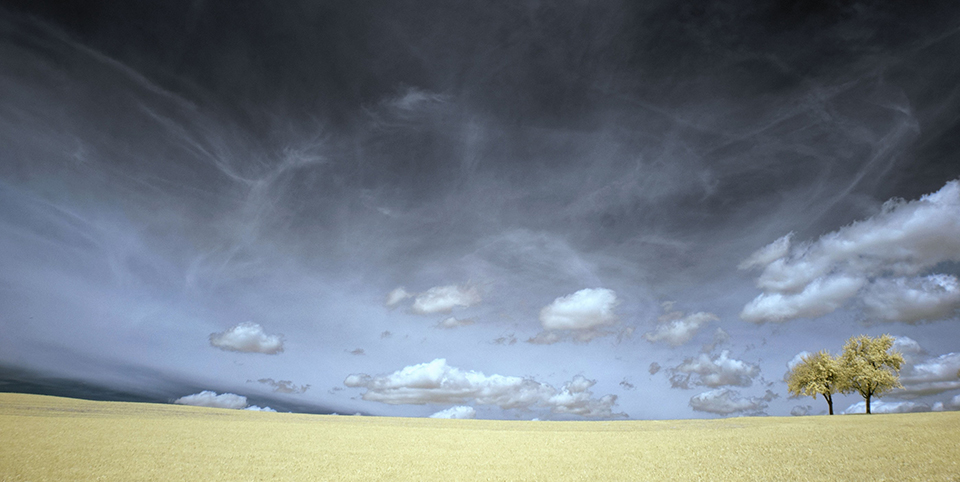
Some materials reflect more infrared light than others. The more light is reflected, the lighter something becomes. Green leaves reflect a lot of infrared light and therefore become lighter, sometimes almost white, while blue skies do not and often become ominously dark.
A little technical information about infrared light: this is light that is invisible to us. The spectrum visible to us, comparable to a rainbow from violet to red, falls within a wavelength of 380 to 780 nanometres.
We cannot see anything outside that range. Beyond 870 nanometres, the infrared range begins, which we know from thermal images.
If you want to take infrared photos yourself, option 2, using an ordinary digital camera with a filter, is the most accessible. This screw-on filter blocks light up to a certain wavelength and only lets longer wavelengths through. The amount of visible light allowed through varies from filter to filter.
The success of a screw-on filter also depends on your camera. Some manufacturers have gone to great lengths to ensure that infrared light, which can be troublesome, does not reach the sensor, allowing only visible light through and blocking as much of the rest as possible. One camera is therefore more sensitive to infrared light than another.
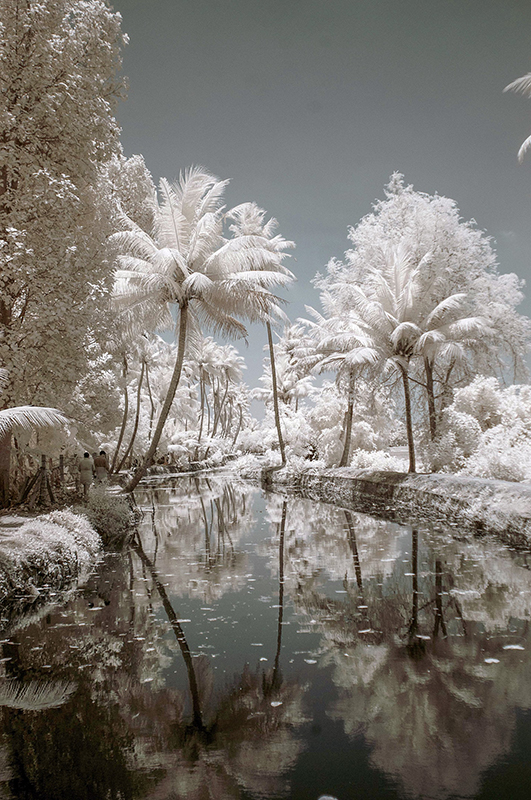
If it does work, you have to use very long exposure times and can no longer see anything through your camera's viewfinder. So you have to set everything up in advance before attaching the filter. Compose your shot and focus manually in the camera's manual mode.
You also need to expose manually, use bulb mode if the shutter speed becomes longer than your camera's maximum exposure time, half a minute. Keep the ISO value low and choose a medium aperture, f/8. The focusing distance for infrared differs from that in ordinary daylight, with the focus point lying further back.
Take several shots with different focus distances or see whether you can focus on the live view screen with the filter in place. You will not be affected by this discrepancy then.
Still haven't found a niche?
Are none of the three tips above appealing to you? Then consider, for example:
- Extremely long exposures in daylight using so-called 'big stopper' neutral density filters;
- Make your own miniature landscapes and photograph them so that they look like a real landscape;
- Try photographing from the air, from an aeroplane, tower or with a drone.
There is no shortage of possibilities and, if you would still rather go for more conventional photography, Photofacts Academy naturally offers a range of options. There is still so much to do... Good luck!
About the author
Michelle Peeters is fotografe en oprichter van DeuxBleus Fotografie. Michelle herkent het bijzondere in het gewone en het gewone in het bijzondere. Ze heeft zich nooit willen specialiseren en is daardoor van alle markten thuis.
You might also like
-
 How do you get started with infrared photography?
by Nando Harmsen
-
 3 other ideas for discovering your photography niche
by Michelle Peeters
-
 DIY: Taking infrared photos using an old floppy disk
by Elja Trum
-
 Photographing without light
by Michelle Peeters
4 comments
-

 Michelle Peeters wrote on Tuesday 14 May 2019 at 14:23
| reply
Michelle,
Translated from Dutch.
I read your article about niches on Photofacts. In it, you explain how to make high-speed photos of drops.
A few years ago, after a high-speed evening photographing in the dark and with flash, I also tried making similar photos once in daylight in the kitchen with a tripod. And that worked quite well with water on a yellowish saucer (Wedgwood). See the photo below of the golden drop.
Aperture 13, shutter speed 1/160.
I focused using a flat-head screw that I placed upside down at the spot where the drops from the tap landed.
Best regards, Wim Hoogveld -
 guest wrote on Saturday 18 May 2019 at 11:31 | reply
Very beautiful photo, I see and read that I still have a lot to experiment, try and learn. I am now looking to see if macro is something for me. Instead of immediately buying an expensive macro lens, I bought a Raynox DCR-250 for 60 euros and see if I can get nice results by putting it in front of my 16-85 and my 70-300 mm. Conclusion so far is that it is difficult, especially to get more in focus than just a very small part of the object. I think I should try F20 sometime to see what the result will be then.
Translated from Dutch. -
Michelle Peeters wrote on Saturday 18 May 2019 at 11:34
| reply
@Guest: you learn the most by experimenting (and falling flat on your face)! Try focus stacking sometime, then you can get an object sharp from front to back, even in a macro photo!
Translated from Dutch. -
 Maaike van Steenis
wrote on Friday 13 September 2019 at 11:08
| reply
A niche is indeed an important way to distinguish yourself from other photographers. The examples you mention, however, focus rather heavily on technique. That makes sense from the photographer's point of view. But not from the client's.
Translated from Dutch.
To actually attract clients with your niche, it's better to think in terms of target groups (i.e. do you photograph children, entrepreneurs, musicians) or in terms of the reason for the shoot (profile photos/wedding photos/event photos). Those are more the terms potential clients search for and recognize themselves in.
Have your say
Please note: Articles older than a week can only be commented on by signed-in visitors.Would you still like to comment? sign in or create a free account.
Become a better photographer every week
A practical photography tip in your inbox every week.
38,937 photography enthusiasts already receive the tips! More about the weekly mail. Or keep up to date via  Facebook.

Elja Trum
Photofacts; everything to do with photography!
Would you like to take better photos and keep up with what is happening in photography? Photofacts publishes articles that teach you something about photography — from a product announcement to a practical shooting tip or a look at a website. Photofacts covers photography every day and is a hobby project of Elja Trum's that got out of hand. The articles are written by a team of volunteer authors. If you would enjoy writing one or more articles for Photofacts, do get in touch.More about PhotofactsPhotofacts is made possible in part by
