

Tip: look at the light first, then find your subject
Monday 17 December 2018, 19:38 by Elvira Smit | 5,597 views | 2 commentsThis article was translated from Dutch with the help of AI. Read the original.
A philosophical question: is a photo a picture of a subject, or is it a picture of the light falling on that subject? The latter, as far as I'm concerned. I adapt my way of working accordingly. A short explanation in three steps.
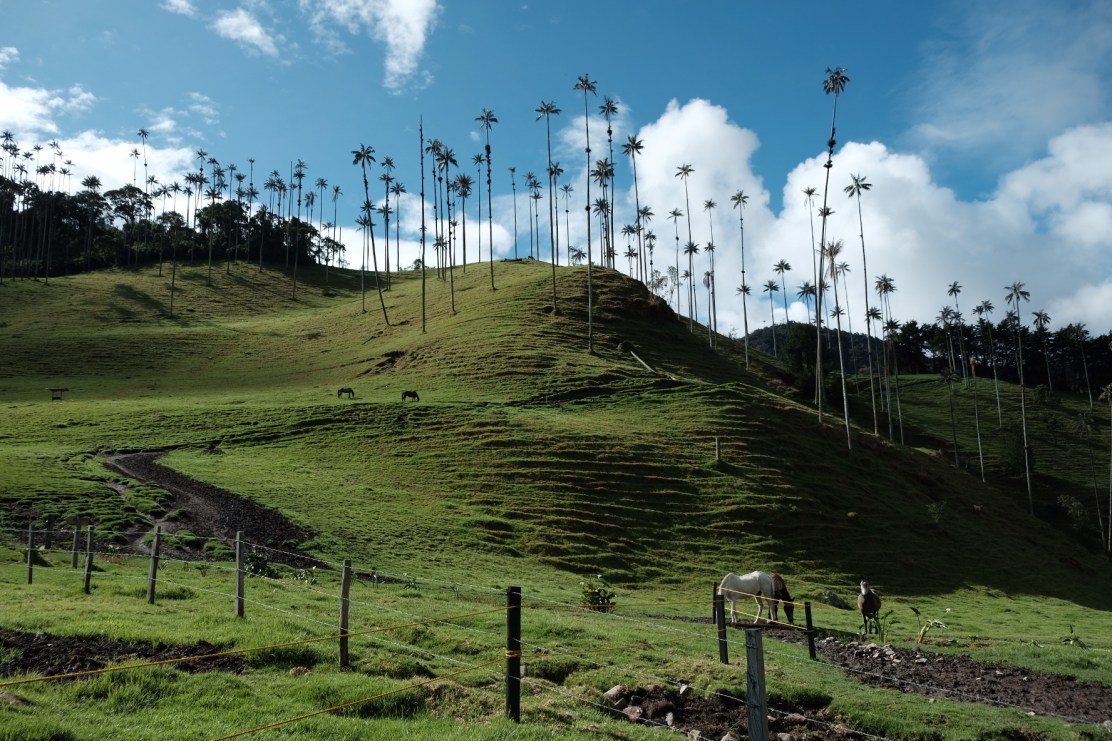
Photographing is writing with light, without light there is no photo. I was recently in Colombia, where the light is a real feast. The colours are hyper-saturated in some areas, as if someone had used the “saturation” slider in Lightroom a little too enthusiastically, see the (unedited) photo below.
Lessons about light
By now, I have taken quite a few photography courses and workshops. I will undoubtedly have learnt a lot from them, but most of it now belongs to my latent knowledge, I can no longer retrieve it.
Except for the lessons about light, because they taught me to look at the world differently. Suddenly, I recognised 'buttery-soft' light (no shadows) and 'hard light' (high-contrast shadows). And everything in between.
Focusing on light taught me that when taking a photo, the how is more important than the what.
Beautiful light
I started looking at the world with different eyes, and I still do. For example, I invariably mutter 'beautiful light' in the hour before sunset. Everything gets a deep golden glow, if you're lucky and the sun isn't behind the clouds, which can also produce beautiful light, of course.
And thanks to an assignment where I had to photograph the sunrise for hours in a nature reserve one morning, I now know that the light really changes significantly every few minutes.
But what did I do with that knowledge during a holiday in Colombia?
Here's a guide in 3 steps:
1. Find beautiful light, then choose your subject
The light in your photo creates the atmosphere, the amount of texture in the objects, the colour and where your attention is drawn. In the first photo in this article (taken in Valle de Cocora), the light makes the many folds in the landscape particularly easy to see. That makes the photo interesting to look at, together with those bizarre palm trees.
2. Determine where the light is coming from
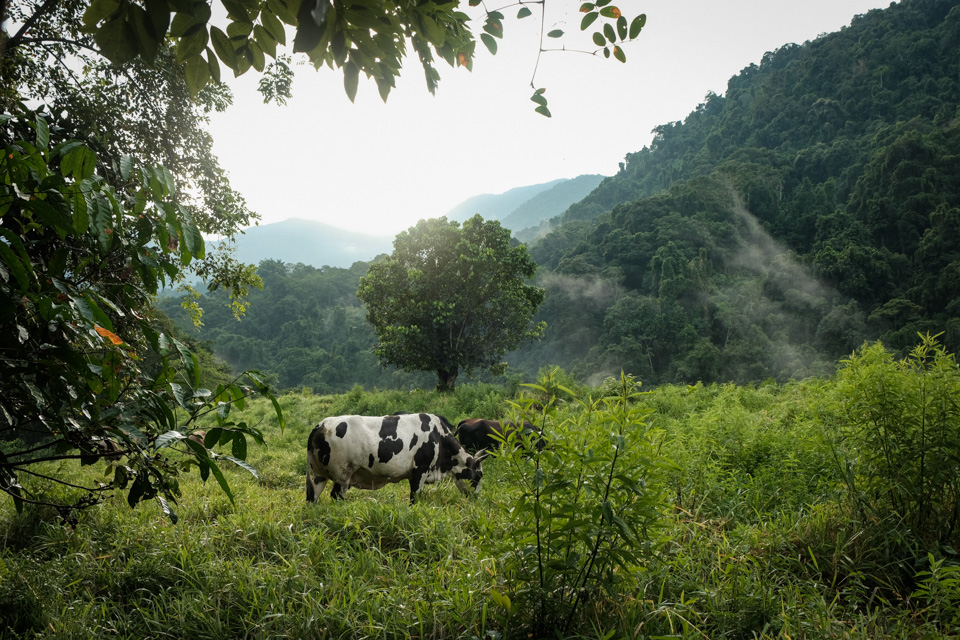
If you want hard shadows, photograph into the sun. If you want warmer light, photograph with the sun behind you. I previously wrote at length about this in an article about how the sun is always in charge.
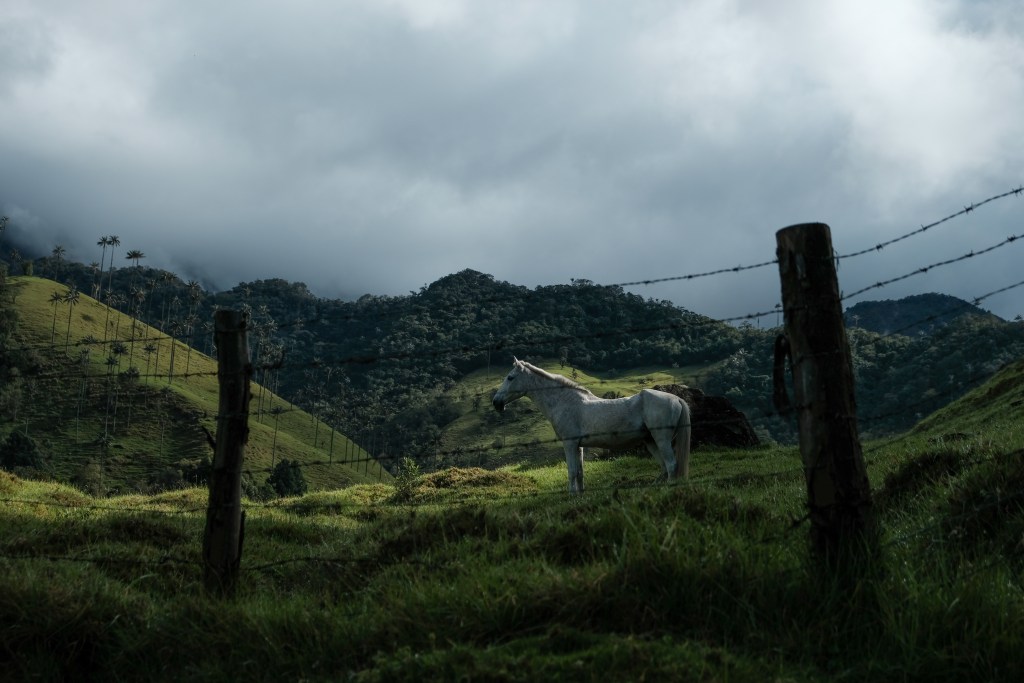
In the photo below, the (meagre) light came from above and fell straight onto a horse's back. I would never have photographed that horse otherwise, but because of the way the light fell, I suddenly thought it was worth doing.
3. Wait for the light to change
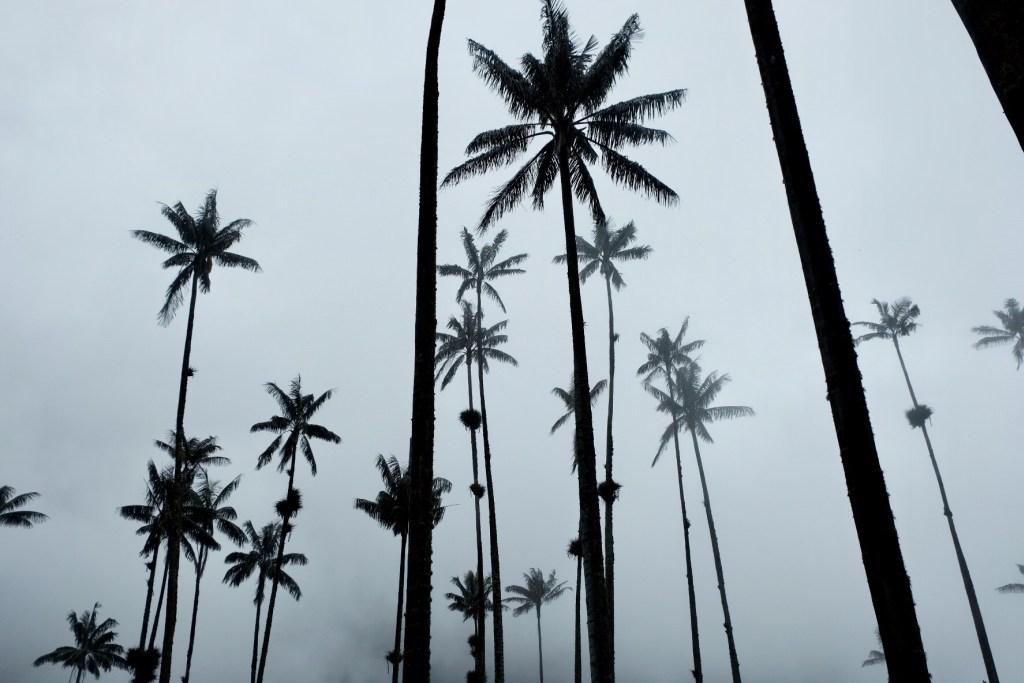
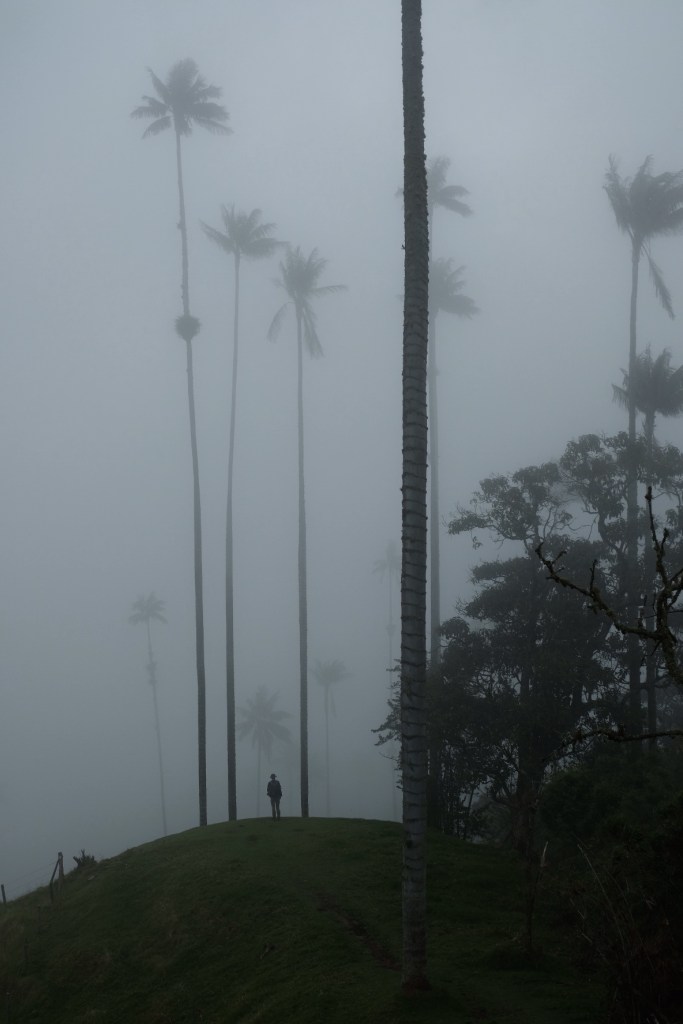
All light is temporary. So it may well get even better. It's worth hanging around for a while to see what happens. I took the photo below 2 hours after the photo at the top of this article.
My friend and I had set out on a hike in which we had to climb 600 metres. And so we suddenly found ourselves in the clouds. There wasn't much to see, apart from the outlines of 60-metre-high palm trees and my friend beside them. Waiting for me to finally carry on walking.
I think the atmosphere in the photo is exactly right. A little eerie and otherworldly.
More practice
That sunrise exercise I wrote about above is highly recommended, by the way. You do have to get out of bed early, but afterwards you'll really understand the impact of light on your photo. Focus solely on the light and don't keep lugging your camera around endlessly in search of the best spot.
Just stay where you are and see what happens. In the meantime, decide which settings you need to achieve the result you want, and be amazed at how often you have to adjust those settings because of changes in the light.
Fancy more tips like this? Every week I write two articles about how you can learn to see.
About the author
Ik heb een eigen fotografieblog, Kronkeling. Daar schrijf ik om de week twee artikelen. Over hoe je je blik kunt scherpen, je creativiteit kunt aanwakkeren, en over fotografen die mij inspireren. Geen technische zaken, wél over hoe je leert kijken. En dat blijkt nog een hele klus. Een mooi startpunt zijn de Kronkeltips, die vind je hier.
You might also like
-
 I'm Going on a Trip and I'm Taking
by Nando Harmsen
-
 Falling stars (Lyrids), photographic contributions
by Michelle Peeters
-
 Choose a good lens adapter, there is a big difference in quality
by Nando Harmsen
-
 A tilt-shift adapter for the Canon RF mount
by Nando Harmsen
-
 'Color Adaptation' gebruiken om Content-Aware Fill te verbeteren
by Michelle Peeters
-
 It's No Longer About the Most Beautiful Picture
by Michiel Heijmans
2 comments
-

 martinphili wrote on Tuesday 18 December 2018 at 13:43
| reply
Yes, it's fun, but when I photograph car races I'll really have to make do with the light at that moment.
Translated from Dutch.
So unfortunately your statement doesn't apply to every form of photography.
I admit it: I often try to work a bit more impressionistically, and then you work more in your way. Free work, then. -
 Elvira Smit
wrote on Tuesday 18 December 2018 at 14:00
| reply
Hi Martinphili, yes that is is a very valid point
Translated from Dutch.
My tip indeed only applies when the thing you want to photograph isn't zooming past at high speed...
Have your say
Please note: Articles older than a week can only be commented on by signed-in visitors.Would you still like to comment? sign in or create a free account.
Become a better photographer every week
A practical photography tip in your inbox every week.
38,885 photography enthusiasts already receive the tips! More about the weekly mail. Or keep up to date via  Facebook.

Elja Trum
Photofacts; everything to do with photography!
Would you like to take better photos and keep up with what is happening in photography? Photofacts publishes articles that teach you something about photography — from a product announcement to a practical shooting tip or a look at a website. Photofacts covers photography every day and is a hobby project of Elja Trum's that got out of hand. The articles are written by a team of volunteer authors. If you would enjoy writing one or more articles for Photofacts, do get in touch.More about PhotofactsPhotofacts is made possible in part by
