

Photographing in semi-automatic mode
Wednesday 12 December 2018, 20:30 by Michelle Peeters | 22,870 views | 17 commentsThis article was translated from Dutch with the help of AI. Read the original.
It is often thought that most photographers, especially professionals, shoot in manual mode, simply because it gives you the best possible control over your photos. Why would you leave important decisions to your camera without being able to influence them yourself?
That is of course true, but however useful the manual setting is, you do not have to use it 100% of the time, even as a professional.
In this article I will explain semi-automatic modes and show you when they offer the quickest option for a good photo, without giving up any control over your settings.
What are semi-automatic camera modes?
Three of the most important settings in photography are shutter speed, aperture and ISO value. These are exactly the three settings that semi-automatic camera settings are concerned with.
In fully automatic mode, you cannot adjust any settings. In manual mode, you have to adjust all three. Everything in between is a semi-automatic mode.
Semi-automatic camera modes give you control over some of these settings, while the camera automatically adjusts the other settings accordingly.
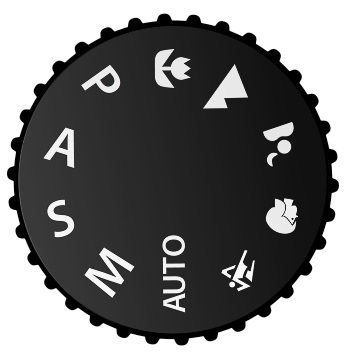
On most cameras, the three semi-automatic modes are shutter priority (Tv or S), aperture priority (Av or A) and programme mode (P).
This is not the same as fully automatic mode, where your camera selects aperture, shutter speed and ISO without giving you any influence over them.
It is also not the same as the "scene modes" found on the program dial of many cameras, because these also give you no control over your settings.
Aperture, shutter speed priority and programme mode
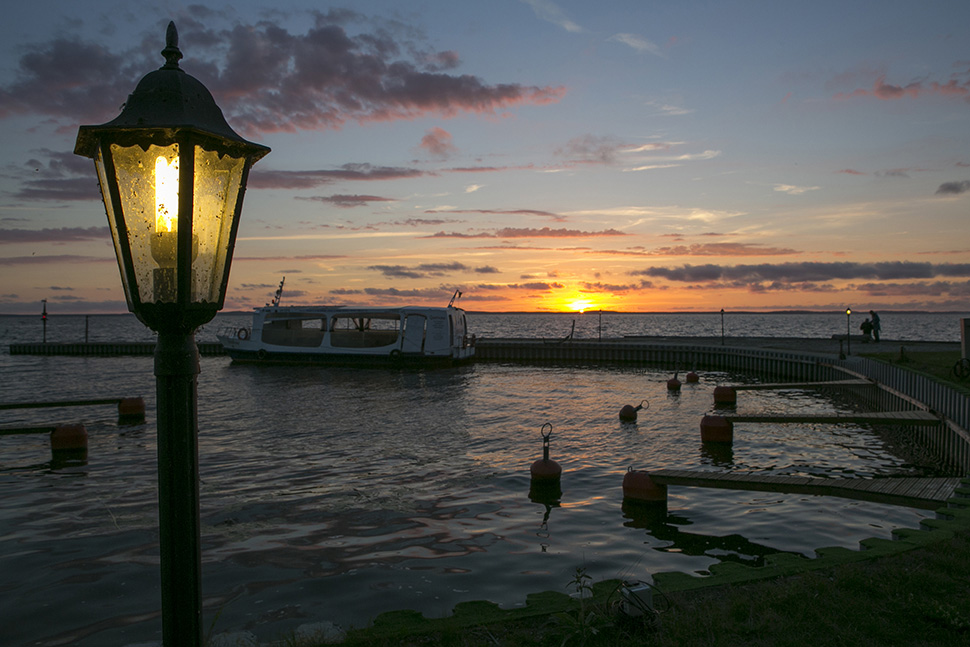
The most popular of the three semi-automatic modes, and the only one I use often myself, is aperture priority mode (Av or A).
This lets you set your aperture as you wish, after which the camera automatically selects a suitable shutter speed that gives you the correct exposure according to your light meter.
On most cameras, you can also choose the range of shutter speeds the camera is allowed to select, if you wish (which can be useful if you need to maintain a fast shutter speed to freeze movement). You do need to enable Auto ISO for this.
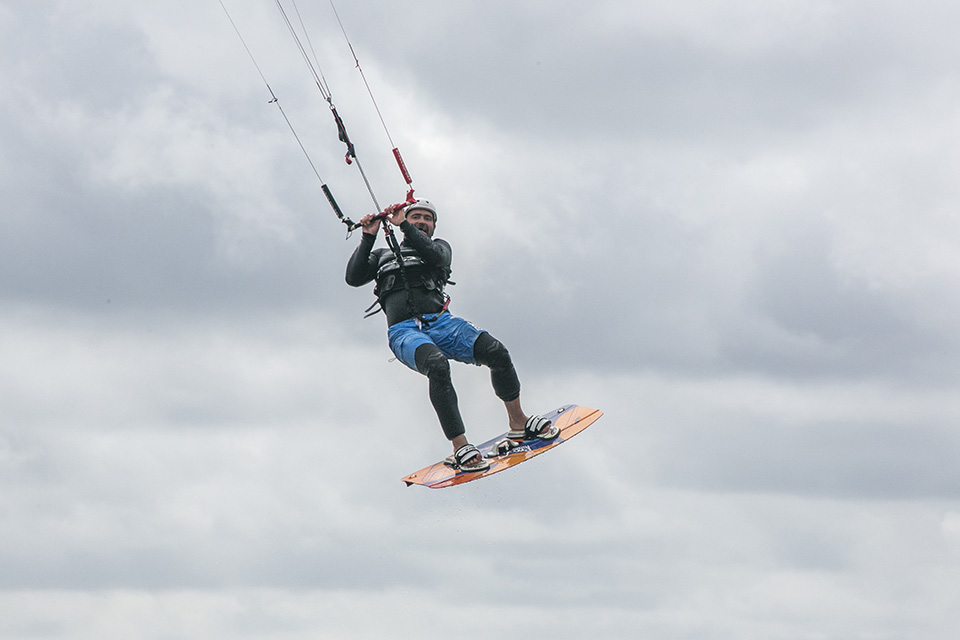
Shutter priority mode (Tv or S) does exactly the same thing, but with shutter speed and aperture reversed. You select the shutter speed you want, and the camera changes your aperture to achieve a correct exposure again.
Shutter priority mode is not as popular as aperture priority mode, because you often want to keep control of your depth of field.
It can become a major problem if your camera suddenly switches from, for example, f/8 to f/4 when the light changes suddenly. Regardless of what you are photographing.
The last one is programme mode (P), which is also often used by professional photographers.
In theory, this mode seems very useful: it automatically selects both aperture and shutter speed, but still lets you switch between different combinations if you disagree with the initial suggestion (which is also the main difference from fully automatic mode).
This is fine, except that the shutter speed and aperture shift when the light changes. So, if you need a particular aperture or shutter speed, you have to keep monitoring them constantly.
For that reason, I would not use programme mode as a professional unless you have a very specific purpose for it.
It is also worth noting that all three of these modes, as well as manual mode, let you choose between using Auto ISO or Manual ISO.
You also have the option of applying exposure compensation if you disagree with your camera's light meter and want a brighter or darker exposure than the one your camera suggests.
When should you use semi-automatic mode?
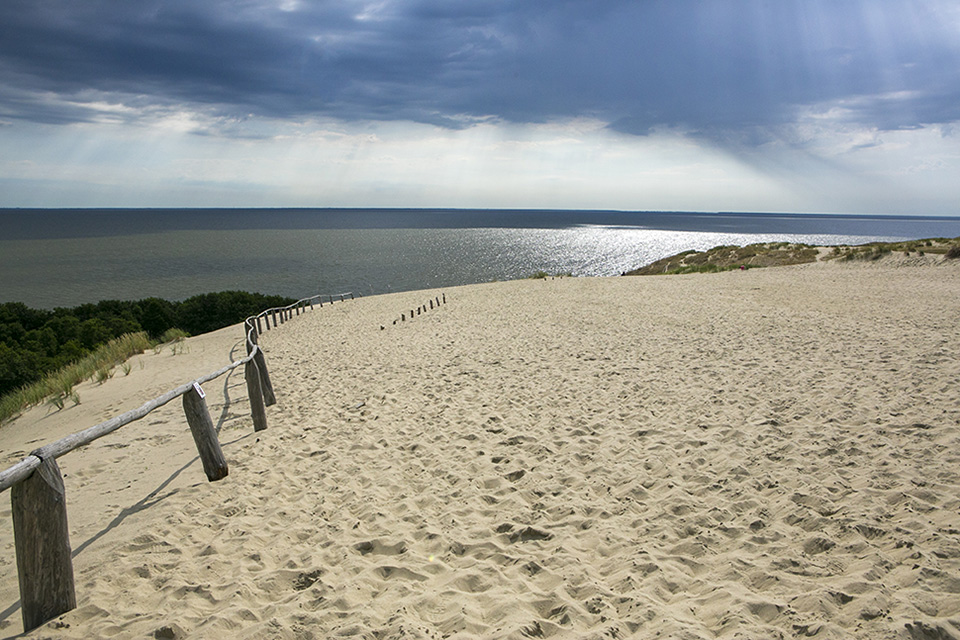
The main situation in which you should choose a semi-automatic mode, such as aperture priority, is when you think your light meter does more good than harm.
Semi-automatic modes are very useful when your light meter shows the exposure accurately and you generally see the same, consistent amount of overexposure or underexposure in your photos.
If you are constantly looking at your light meter in manual mode (M) to check whether your settings are correct and your exposure is nicely in the middle (neutral), it can be very useful to achieve exactly the same result in semi-automatic mode, but much faster!
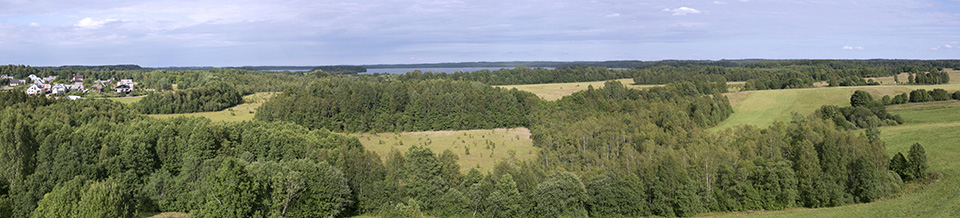
This is exactly why I often use aperture priority mode for landscape photography in the field. When the sun is setting and the light changes quickly, my light meter adjusts the settings rapidly in semi-automatic mode to match the changing conditions.
I keep my aperture at the same value so I do not lose any depth of field. My camera automatically adjusts the shutter speed every few seconds, allowing me to concentrate on other things. This is much faster than having to check my shutter speed constantly.
Or take wildlife photography. I know many photographers who use manual mode with Auto ISO enabled for this. This carries the risk of your photos becoming accidentally overexposed because the camera selects the highest ISO value in dark situations.
In situations where you have to react quickly, there is a good chance you will not have time to adjust the ISO value yourself. As a result, you may just miss the crucial moment.
When should you use manual mode?
Manual mode is a crucial part of any advanced camera, and it is something you absolutely need to learn to use if you want to get the most out of your equipment.
In many cases, manual mode works better than a semi-automatic mode. So when should this be your choice?
Many professionals want full control over their camera at all times and do not want any uncertainty from an automatic mode, for example if the camera's meter becomes completely confused by a rapid change in the light. They are not prepared to accept that risk. And that is a perfectly valid approach.
And even if you have never had problems with semi-automatic modes, there are still plenty of situations where manual mode works better. If you need consistency, manual mode is actually the only option.
If you photograph a bride in constant light and want her face to remain the same brightness, regardless of the constantly changing shades in the background as she moves back and forth, manual mode works very well.
Once you have set the correct exposure, you do not have to worry about your camera changing your settings.
Or if you want to take a panorama in which every photo has the same exposure, making them easier to merge in post-production. Manual mode is also ideal in this situation, while a semi-automatic mode makes very annoying adjustments and applies exposure compensation, which you do not want!
When using flash, manual mode is also indispensable, as each variable, shutter speed, aperture and ISO, often needs to have a very specific value to match the ambient light properly with the light from your flash and achieve the look you want.
The manual setting is particularly useful for portrait photographers, as well as for other types of flash photography. I also always choose manual mode for macro photography when I use a flash.
Which mode should you use?
The best camera mode depends on what you are using it for. I know photographers who always shoot everything manually. Others swear by aperture priority and usually use AE-L instead of switching to manual mode. So you have to decide this entirely for yourself.
However, if you have always avoided semi-automatic modes until now, I would say: give one a try. With most options, you can set exactly the exposure you want, just as in fully manual mode.
For example, if I need my camera to use 1/4 second at f/8 at ISO 100, I can do that quickly in aperture priority mode, unless I need more than five stops of exposure compensation to achieve it. In that case, those settings probably were not a good idea anyway, regardless of the mode.
Everyone has their own preference. But if you already fully understand aperture, shutter speed and ISO, it really comes down to setting them as quickly, easily and accurately as possible.
Which semi-automatic mode lets you choose exactly the settings you want for each photo, with the fewest obstacles? That is the bottom line.
For me, with landscape and travel photography in mind, the ratio is about 75% aperture priority and 25% manual, but that can be different for everyone.
For me, semi-automatic modes are perfectly suitable for advanced photography, and they are certainly worth considering if you are trying to optimise your technique.
Want to learn more about the basics of photography?
At Photofacts Academy, our online learning environment for photographers, we have a complete photography basics course. You can follow this course for two weeks with a free trial membership.
About the author
Michelle Peeters is fotografe en oprichter van DeuxBleus Fotografie. Michelle herkent het bijzondere in het gewone en het gewone in het bijzondere. Ze heeft zich nooit willen specialiseren en is daardoor van alle markten thuis.
You might also like
-
 Het Perfecte Plaatje; the semi-final of season 2
by Elja Trum
-
 Shooting in Manual mode and zoom lenses
by Nando Harmsen
-
 Tip for sports photography in the evening
by Michelle Peeters
-
 Manual photography? Back to A(f)?
by Antonette de Groot
17 comments
-

 kok.f@ziggo.nl wrote on Wednesday 9 August 2017 at 21:18
| reply
Absolutely right. Some see the M mode as a holy grail, but that is relative. If you teach yourself to "see" and can read the scene before you press the shutter, then semi-automatic can be useful and faster. If you can properly estimate in advance which shutter speed or aperture is decisive for a successful shot, then you can set that value. Let the camera do the rest and if necessary you can still compensate with + or -. If, for example, I know that I absolutely want f11, then there is no longer any choice in terms of shutter speed (or you have to adjust your ISO). If I have nothing to choose anyway, then let the camera do the work. The same applies if you consciously want to have a certain shutter speed and aperture. Then let the camera choose your ISO.
Translated from Dutch. -
 Rick wrote on Wednesday 9 August 2017 at 23:04 | reply
I've never quite understood either why every 'professional photographer' always HAS to shoot in manual. Personally, I usually shoot in aperture priority or auto ISO priority. It often saves just that half a second needed to still capture the right moment!
Translated from Dutch. -
MF wrote on Thursday 10 August 2017 at 09:32 | reply
For me, there is basically only one mode: aperture priority. That also seems to me the most logical in normal circumstances and even less normal ones. You do want a certain depth of field in your photos, right? And whether that's with a shutter speed of 1/250 or 1/1000, it doesn't matter.
Translated from Dutch.
Aperture determines the photo. -
Warhead wrote on Thursday 10 August 2017 at 12:36 | reply
Always thought P stood for Professional.
Translated from Dutch.
I just changed the whole lot to M after less is more and now it has to go back to A again. For Amateur? Confusing, huh. -
 Michelle Peeters wrote on Thursday 10 August 2017 at 13:07
| reply
@warhead: I personally use aperture priority (Av) mode most for subjects that are reasonably easy to do. I always do the more difficult subjects where you want to have everything fully under control (for example with a panorama) or can (studio situation) in Manual mode. If the result (you can review it immediately) is disappointing, I switch to Manual.
Translated from Dutch. -
 Vrijetijdinfo.nl wrote on Thursday 10 August 2017 at 13:30 | reply
Interesting article. I myself have just started discovering the various settings of my Sony camera, so I can really use the tips I read here. Thank you!
Translated from Dutch.
Kind regards,
Marieke van Zwieten -
kok.f@ziggo.nl wrote on Thursday 10 August 2017 at 15:13
| reply
@warhead: it's not the P of professional, but the P of panic.
Translated from Dutch. It doesn't matter whether you work with cannot, a couldn't do anything or a not like this.
-
Michelle Peeters wrote on Thursday 10 August 2017 at 15:25
| reply
@kok.f: the P mode is indeed the 'panic mode' but can still be very convenient, especially for people who don't want to shoot fully on automatic, but still want to retain some control over aperture/shutter speed.
Translated from Dutch. -
 Paul Oosterlaak wrote on Friday 11 August 2017 at 00:14
| reply
With available light I almost always use Av. If I have control over the light myself, then M. I usually use Av with auto ISO, so I don't have to pay attention to that either (with limits on shutter speed and maximum ISO). I rarely use Tv, since I photograph little sports/action and even then I often use Av (again with a minimum shutter speed).
Translated from Dutch.
Photographing in M when the exposure changes is actually very inconvenient, since you use the same light meter as the camera does in Av.
Oh yes, I do use M when I make larger panoramas from a tripod. Handheld, I often choose to lock the exposure metering with *. I find using spot metering useful for getting the right exposure. But unfortunately, with Canon it is only linked to the focus point on the 1D series, while on all other Canons it is in the center. That worked fine with my 5D2, since it only had one decent focus point anyway, but with the 5D3/4 that spot metering is a bit more awkward. -
Michelle Peeters wrote on Friday 11 August 2017 at 09:38
| reply
@Paul: thanks for your explanation! I never use that auto-ISO mode myself, too tricky. If the light is constant the M mode is indeed the best option.
Translated from Dutch. -
 Robert wrote on Tuesday 15 August 2017 at 14:17 | reply
Nice to read that everyone has their own 'thing'. Great. ...this way, the chance of a miss is once again a little smaller colleagues....
Translated from Dutch.
With photo-shooting greetings Robert -
 Dick de Roos wrote on Tuesday 15 August 2017 at 14:35 | reply
And for backlit shots on the beach or in the snow, manual mode is often better than (semi-)automatic mode.
Translated from Dutch.
By the way, I like using manual mode when the lighting conditions remain the same. I also have the idea that the camera responds faster then because nothing needs to be calculated, but that’s not based on experience. -
Paul Oosterlaak wrote on Tuesday 15 August 2017 at 15:00
| reply
@Dick de Roos: and how do you set the exposure with backlighting/beach/snow? As far as I'm concerned, still using that same light meter as the camera uses in A(v). In A(v) you can also simply set some compensation, so that it under/overexposes a bit. The same thing you do in M, actually, but 100x slower.
Translated from Dutch.
That light metering is lightning-fast. Faster than you can blink your eyes. But unchanging lighting conditions are indeed the occasion to shoot in M. -
 Donald Willemsen
wrote on Tuesday 15 August 2017 at 22:25
| reply
Except in the studio, I almost always work with Av to keep having influence over the DoF. I am not a fan of Auto-ISO. At high ISO values, the chance of bothersome noise is very high. If I do have to work with auto-ISO after all, given the circumstances, then I limit the auto-ISO to a certain maximum value.
Translated from Dutch. -
kok.f@ziggo.nl wrote on Tuesday 15 August 2017 at 23:09
| reply
In backlighting, exposing in such a way that the parts you want are properly exposed can be done in several ways. You can work with + or - compensation, or bracket. Personally, I like to use spot metering in the smallest-field setting. Then expose for the point you want to be right and voilà. By the way, I agree with donniebelg about auto ISO. Decide for yourself up to which ISO your sensor is still acceptable in terms of noise. Set that as the maximum value for auto ISO. Then there are many situations - especially in low light - where the M mode combined with auto ISO works well. If you still want a minimum shutter speed to counter movement and you want a reasonable DOF, then sometimes you have to "pay the price" with your ISO. You can often estimate that desired S and A well. However, if that combination results in underexposure, then auto ISO can help you to a certain extent.
Translated from Dutch. -
 fiendg wrote on Tuesday 22 August 2017 at 11:37
| reply
Initially, I also preferred photographing with aperture priority, but I noticed that the results were sometimes a bit disappointing because the shutter speeds were often stretched out, I don't normally photograph with a tripod, and the images were therefore blurry or not razor-sharp... Hence the switch to manual mode. Is it better to set a minimum shutter speed then to avoid those blurry images?
Translated from Dutch. -
Donald Willemsen
wrote on Tuesday 22 August 2017 at 13:05
| reply
@fiendg: you're right that the shutter speeds can become too slow in Av mode. You then choose M mode. Certainly not a bad option. But have you ever thought of applying exposure compensation in Av mode. Especially when DoF is very important, you can still use Av with an acceptable shutter speed. If the lens or camera has image stabilization, use that extra room.
Translated from Dutch.
Have your say
Please note: Articles older than a week can only be commented on by signed-in visitors.Would you still like to comment? sign in or create a free account.
Become a better photographer every week
A practical photography tip in your inbox every week.
38,764 photography enthusiasts already receive the tips! More about the weekly mail. Or keep up to date via  Facebook.

Elja Trum
Photofacts; everything to do with photography!
Would you like to take better photos and keep up with what is happening in photography? Photofacts publishes articles that teach you something about photography — from a product announcement to a practical shooting tip or a look at a website. Photofacts covers photography every day and is a hobby project of Elja Trum's that got out of hand. The articles are written by a team of volunteer authors. If you would enjoy writing one or more articles for Photofacts, do get in touch.More about PhotofactsPhotofacts is made possible in part by
