

6 Tips for Better Garden Photos
Monday 25 September 2017, 22:44 by Daan Schoonhoven | 11,493 views | 6 commentsThis article was translated from Dutch with the help of AI. Read the original.
Garden photography sounds deceptively simple, and you don't have to travel far for it. But once you get started, you soon realise how difficult and challenging it can be. In this article, we list a number of tips.
1. Tidy up first
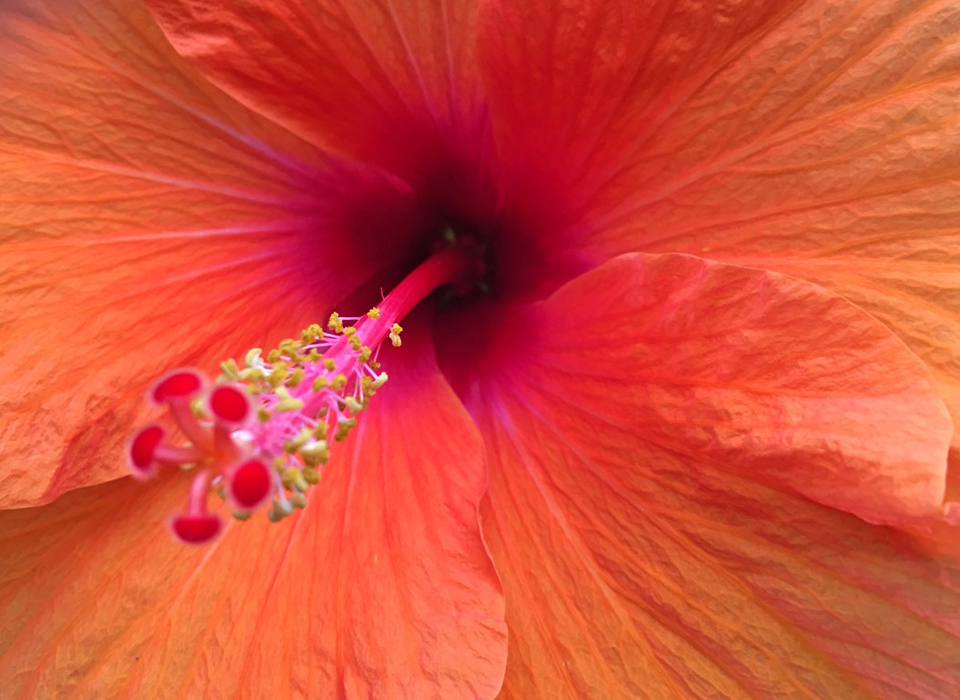
Before you even reach for your camera, it's important to tidy up the garden properly. You don't want to find a stray parasol base or wheelie bin in your beautiful garden photo later on.
The photo goes straight in the bin and, out of frustration, the camera almost goes out of the window too. You can easily prevent this by looking around carefully before you start taking photos.
Is there any rubbish lying around the park benches? Are there too many dead leaves in the yew hedge? And is there too much duckweed floating in the pond? It's a small effort to tidy up beforehand, or ask any residents to check the garden before you arrive.
You can remove many things afterwards on the computer, but of course it saves time if the garden already looks perfect.
2. Use a tripod
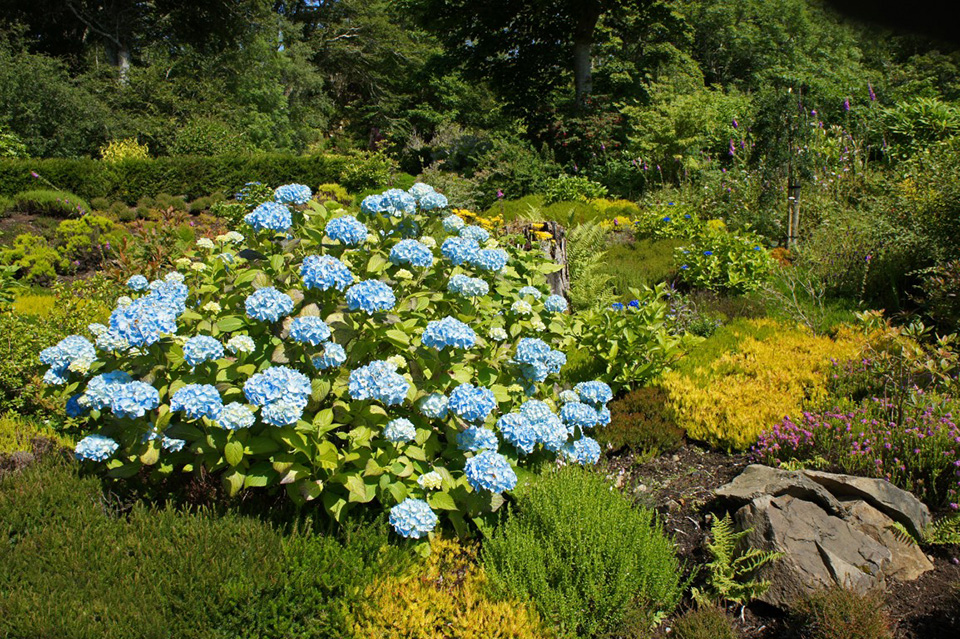
If you photograph in low light or want to take a photo with a large depth of field, your shutter speed becomes slow and you may end up with blurred photos
Of course, you can increase the ISO to make your shutter speed faster. A better method is to use a tripod! With a tripod, you no longer have to worry about camera movement, and you can take your time experimenting with your settings without having to find your composition again each time.
And perhaps the most important reason to use a tripod is that, because you have to position and set up a tripod deliberately, you will take more time to determine the composition. This enforced calm helps you take better photos.
3. Experiment with viewpoints
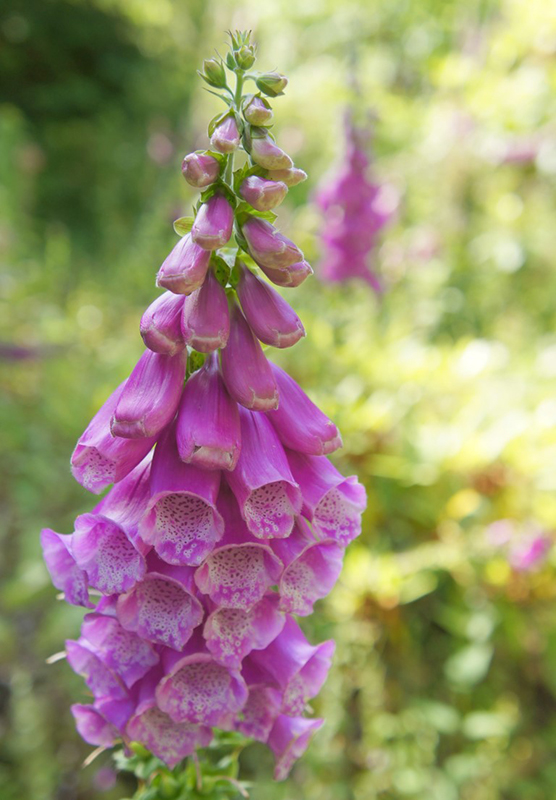
The most predictable position for photographing a flower is straight from above. This is the position from which we often see flowers ourselves in everyday life.
By experimenting with different viewpoints, you can get a very interesting and unexpected photo. At the same height as the flower, at eye level, is a viewpoint that often produces the best photos.
It becomes even more interesting when you photograph a flower from below. A viewpoint that can take quite a bit of effort, but from which you certainly don't often see a flower.
A change in viewpoint can therefore produce a completely different result. By trying out these different viewpoints in combination with different lenses, you create the most appealing photos.
4. Flash or no flash?
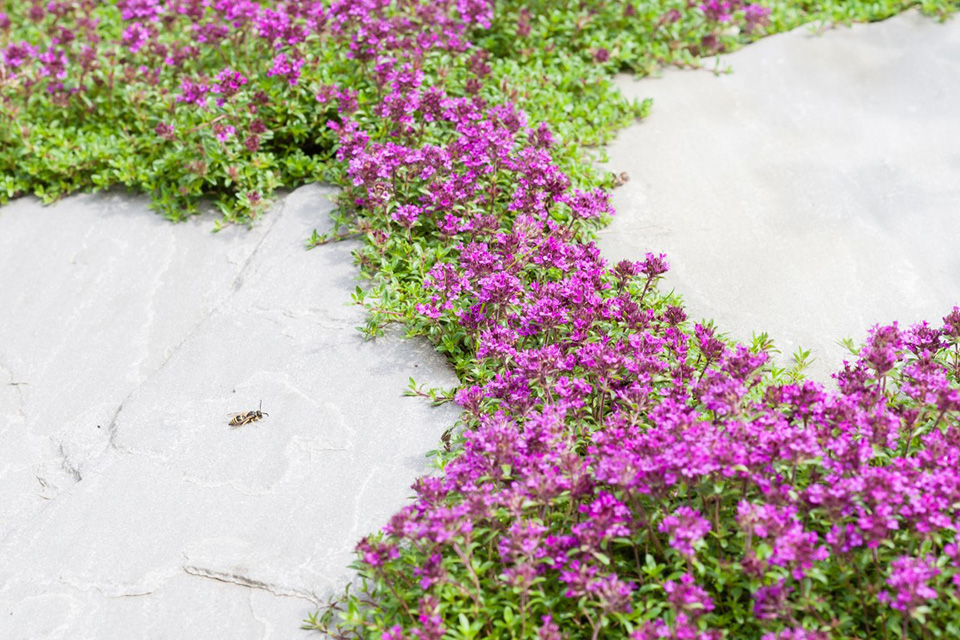
In garden photography, a flash may not seem like the most obvious tool. A flash has a limited range. Sometimes, however, it can be useful to have one at hand to brighten the foreground a little, for example in backlit situations.
It's important that the foreground isn't too far away, otherwise using flash will have no effect. You must also avoid using too much flash, as all the attention will then go to the foreground and the rest of the image will no longer receive any attention.
5. Don't want too much in one photo
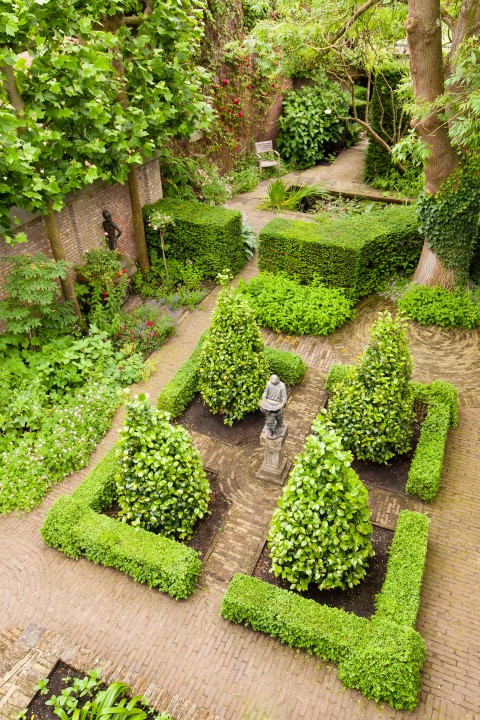
The temptation is great to photograph an entire garden, but you will soon find that this often doesn't produce an appealing image. A view through the garden, for example, is much more attractive to photograph than an attempt to capture the size of the entire garden.
In general, the atmosphere and character of the garden will come across better if you choose a particular section. A photo of an entire border often becomes very diffuse and takes on the appearance of a cauliflower.
Several detail shots of the same border provide a more striking and recognisable image.
6. Influence the light with screens
You can use screens to influence the exposure of your subject. This can greatly improve photos of plants and insects.
There are three types of screen that are popular with garden photographers. A diffusion screen is a fine-meshed, translucent white cloth stretched tight. You can hold it above your subject to diffuse the bright sunlight. The shadows become softer, the colours less harsh, and the contrast is reduced.
A silver screen is a reflective, silver-coloured screen. By directing sunlight at your subject via this screen, you add extra light. This can be useful, for example, if your subject is in the shade or the background is very bright. The light is relatively cool in colour.
A gold screen is a similar screen, but gold-coloured. It gives your subject a warm glow, allowing you to imitate the early morning or late evening light. Screens of all kinds of sizes are available.
The foldable screens are useful, as they are compact and easy to take with you. There are even screens that combine everything in one.
More tips?
>Would you like to read more tips? Then also take a look at the Practical Book of Plant and Garden Photography. Written by the best Dutch garden photographers.
About the author
Daan Schoonhoven initieert al langer dan twaalf jaar allerlei online initiatieven op het gebied van natuurfotografie onder de naam Pixfactory. Kenmerkend in al deze initiatieven is het faciliterende karakter voor natuurfotografen.
You might also like
-
 Create creative stories with your macro lens
by Michelle Peeters
-
 3 macro photography tips in just 2 minutes
by Michelle Peeters
-
 Photographing wildlife in your own back garden
by Elja Trum
-
 Using your garden as a portrait studio
by Elja Trum
-
 7 Tips for Macro Photography
by Mike Muizebelt
-
 Northrup on macro photography
by Michelle Peeters
6 comments
-
 Arie Roos wrote on Tuesday 26 September 2017 at 09:16 | reply
I’ve just photographed my house and will photograph my garden later. I’d also like some more articles on photographing the car, the caravan and the neighbour’s cat! Then my photographic life will really be complete!
Translated from Dutch. -

 Elja Trum
wrote on Tuesday 26 September 2017 at 09:33
| reply
@Arie; You can also find our car photography course here.
Translated from Dutch.
We don't have anything for the caravan yet. Perhaps you'll find this article for your neighbor's cat useful. Or did you mean photographing pets? -
 geerjanssen
wrote on Tuesday 26 September 2017 at 11:34
| reply
Elja selflessly puts fun and educational topics on the site.
Translated from Dutch.
We have to accept that not everything is suitable for the many pros among the members. (give the beginner a chance) -
 Hanneke wrote on Tuesday 26 September 2017 at 16:07 | reply
What a lame response @Arie Roos.
Translated from Dutch.
You are not obliged to read the published articles. Besides, there are photographers who really enjoy garden photography. I am one of them. (I even regularly go to England for the gardens and photography) -
 Jef wrote on Tuesday 26 September 2017 at 16:37 | reply
Photographing a garden is difficult, because every garden has a certain atmosphere, which can only be captured in photographs with subtlety.
Translated from Dutch. -
 René Groenendijk wrote on Thursday 28 September 2017 at 08:48 | reply
A very relatable piece. Last summer I photographed 13 gardens for a landscaper. For his website and for a photo book with which he shows what he can do. An alternation of viewing the garden standing, crouching and sitting turned out to give the best result. For a proper impression of the composition, I climbed onto a small stepladder.
Translated from Dutch.
Have your say
Please note: Articles older than a week can only be commented on by signed-in visitors.Would you still like to comment? sign in or create a free account.
Become a better photographer every week
A practical photography tip in your inbox every week.
38,764 photography enthusiasts already receive the tips! More about the weekly mail. Or keep up to date via  Facebook.

Elja Trum
Photofacts; everything to do with photography!
Would you like to take better photos and keep up with what is happening in photography? Photofacts publishes articles that teach you something about photography — from a product announcement to a practical shooting tip or a look at a website. Photofacts covers photography every day and is a hobby project of Elja Trum's that got out of hand. The articles are written by a team of volunteer authors. If you would enjoy writing one or more articles for Photofacts, do get in touch.More about PhotofactsPhotofacts is made possible in part by
