

7 Tips for Macro Photography
Monday 12 September 2022, 20:10 by Mike Muizebelt | 6,458 views | 3 commentsThis article was translated from Dutch with the help of AI. Read the original.
Macro photography is a form of photography you can practise all year round. From the first spring flowers and awakening bumblebees, followed by the first damselflies emerging, to butterflies in flower meadows, mushrooms in colourful autumn woodland and, finally, ice crystals on your windows.
It is no coincidence that I always have a macro lens in my bag. Macro photography allows you to capture details that often remain invisible until you point your macro lens at them.
As you get closer and closer to your subject, a completely new world often unfolds before you. Macro photography really is an unlimited journey of discovery!
Would you also like to get serious about macro photography, but do not know where to start? With a number of targeted tips, I would be happy to help you on your way, so that you too can become a successful close-up photographer, after some practice and effort.
1. Buy extension tubes or close-up lenses
An extension tube is the simplest and most affordable way to get to know close-up photography. By placing tubes of different lengths between your lens and camera body, you reduce the minimum focusing distance, making subjects appear larger on your sensor.
The effect is often most noticeable when combined with a telephoto lens. You do not lose any quality in the centre of your image because an extension tube contains no lens elements. However, you will notice that the altered refraction of light reduces sharpness in the corners.
If you want to quickly focus on a subject that is further away, you will have to remove the tubes because focusing at infinity is no longer possible.
You screw a close-up lens onto the front of your lens, and this also allows you to reduce your focusing distance. This makes your subject appear larger on your sensor. Since you are working with extra glass in front of your lens, it is important to choose a good-quality close-up lens.
The longer the focal length, the greater the magnification. With my 70-200mm at 200mm, combined with a NiSi close-up lens, I achieve 1:1 magnification.
With a close-up lens, you also lose the ability to focus at infinity, so if you continue with your regular photography, you will have to unscrew it again.
2. Invest in a proper macro lens
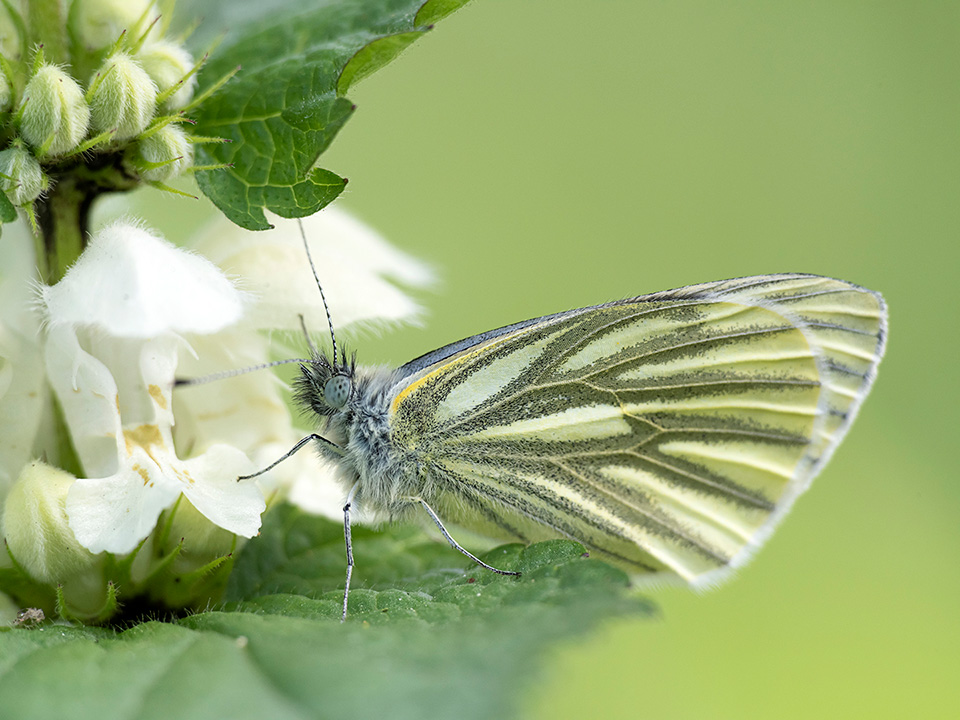
For serious macro work, I recommend buying a proper macro lens with at least 1:1 magnification when the time is right. Your image will be perfectly sharp not just in the centre, but also in the corners, and the magnification is greater than when using extension tubes.
Would you like to go beyond 1:1 magnification? Then you could place the aforementioned extension tubes behind your macro lens for even more magnification.
Do you only photograph details of plants, stamps and other stationary subjects that are easy to approach? Then any macro lens will do, even a 50mm lens.
Would you like to photograph subjects that are prone to flying away, such as butterflies and dragonflies? Then it is worth investing in a macro lens with a minimum focal length of 100mm. The minimum focusing point for maximum magnification is then further away from your lens, allowing you to keep a little more distance.
I work with 200mm macro lenses that have a minimum focusing distance of 51 centimetres. If I worked with, for example, a 50mm macro lens, my minimum focusing distance would be just 19 centimetres.
3. Use a tripod
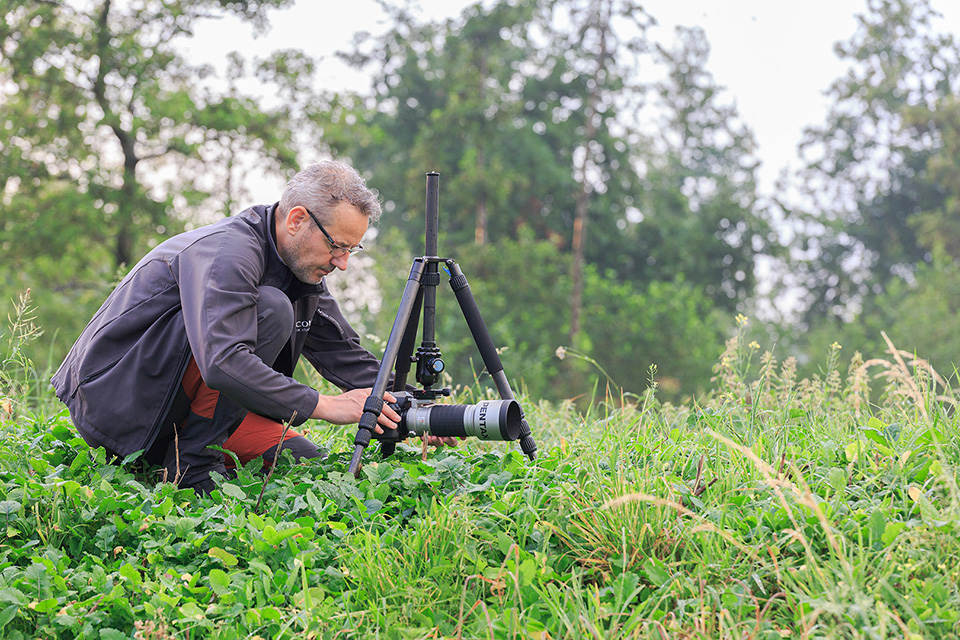
A stable base is, of course, essential for sharp images at the lowest possible ISO. A tripod gives you the peace of mind to take your time finding the best composition and magnification.
I would always choose a tripod with a centre column that can be reversed, so that your camera can 'float' just above the ground for an extremely low viewpoint.
In little wind, you can then work with longer shutter speeds without camera shake caused by unsteady hands. To prevent your tripod from shaking, use a wired or wireless shutter release, or set your camera to a 2-second delay.
4. Focus using live view
Macro photography often takes place close to the ground, in bushes and tall grass. Not an environment where we can easily look through our viewfinder.
I therefore almost always use my camera's live view to properly assess the composition.
Am I happy with it? Then I zoom in to 100% and, in manual focus mode, place the focus exactly where I want it.
5. Position your sensor parallel to the subject
To have enough sharpness on your subject even with a wide aperture, where the depth of field is minimal, make sure that the subject is parallel to your sensor both horizontally and vertically.
In other words, keep all the important elements within the same focus area as much as possible.
6. Focus manually
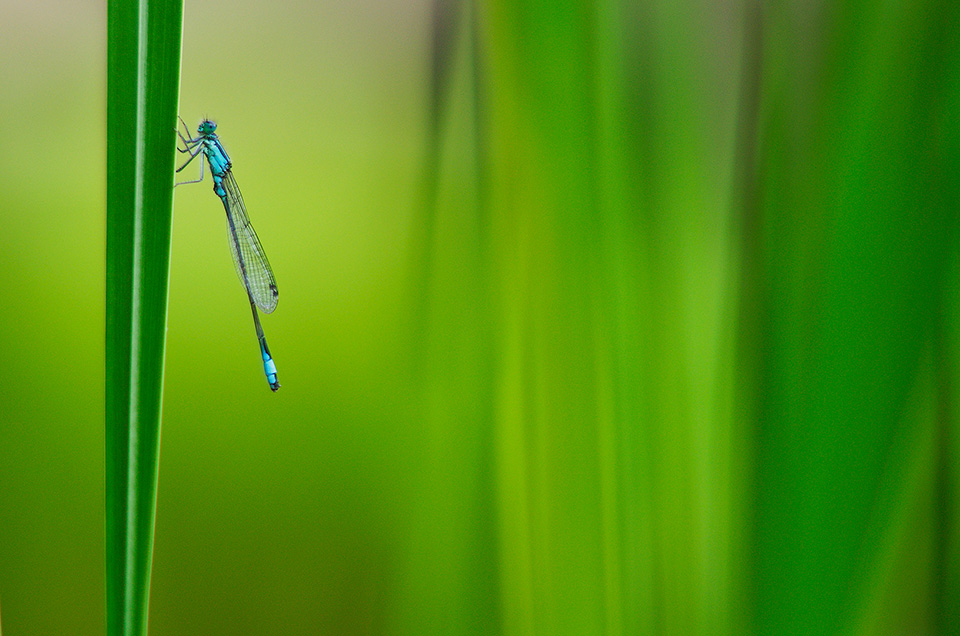
Because it is almost impossible to use autofocus to place the focus precisely on a butterfly's eye, or for example on the edges of flower petals, I often use manual focus.
When I photograph handheld, I almost never focus with the lens. I roughly work out which magnification and composition I want, then slowly move my camera forwards or backwards until I can see my subject becoming sharp.
This way, I minimise movement up and down and from side to side, leaving me with movement only forwards and backwards.
7. Control exposure with aperture, adjust using ISO
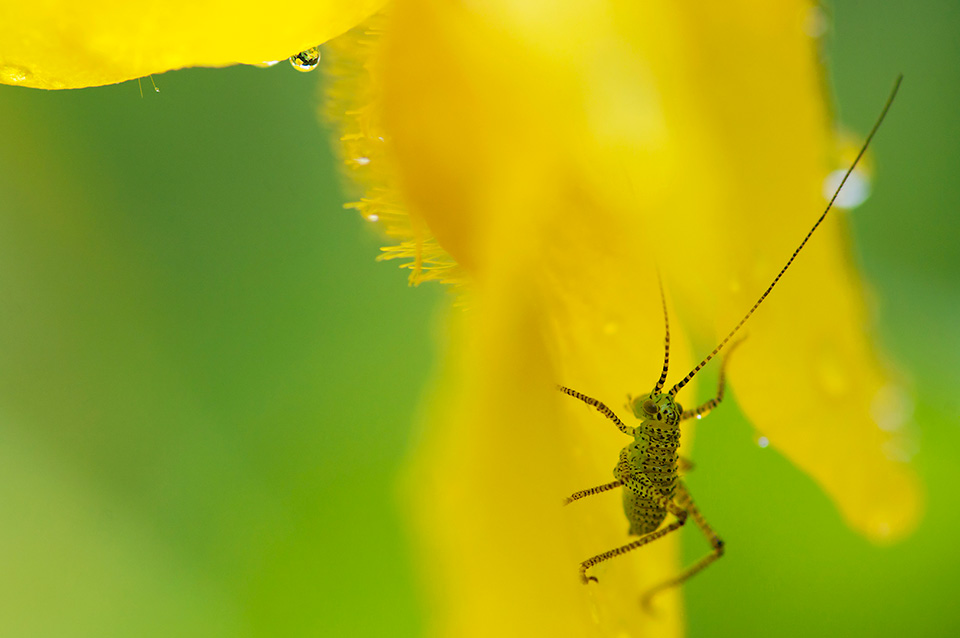
The aperture we choose naturally determines the depth of field in the photo and therefore also the atmosphere and feeling we convey to the viewer. Aperture is therefore often the leading setting for our exposure.
Is it a windless day with a stationary subject, and are we working from a tripod? Then the shutter speed, and therefore our ISO, is not very relevant and we try to work at the lowest ISO.
Are you photographing handheld, do you need to freeze the movement of your subject or prevent camera shake? Then increase the ISO until you reach the right shutter speed.
About the author
Mike Muizebelt is een full time professioneel natuurfotograaf met een uitgesproken passie voor reisfotografie, met name op het Afrikaanse continent. Zijn 30 jaar aan ervaring als fotograaf deelt hij graag tijdens workshops, presentaties & persoonlijk reisadvies.
You might also like
-
 Photographing butterflies with morning dew
by Erik Nevels
-
 The Antique Steinheil München Macro-Quinar 100mm f/2.8
by Nando Harmsen
-
 How Much Macro Should You Choose?
by Nando Harmsen
-
 Review: SmallRig RM-03 Macro Photography LED lights
by Nando Harmsen
-
 Review: The Canon RF 85mm macro lens
by Nando Harmsen
-
 Bringing Spring to Life in Photos
by Nando Harmsen
3 comments
-
 Kees wrote on Tuesday 13 September 2022 at 17:17 | reply
My experience with focusing via live view is poor. The author doesn't do that either, even though it says above focusing via live view. He assesses the composition via live view. I use a right-angle finder that magnifies 2x for focusing close to the ground. Works fine.
Translated from Dutch. -

 Mike Muizebelt
wrote on Wednesday 14 September 2022 at 10:05
| reply
Mike Muizebelt
wrote on Wednesday 14 September 2022 at 10:05
| reply
Hi Kees, I think my explanation wasn't entirely clear then. I indeed use live view first to determine the composition. Then I magnify live view to 100% so I can focus very precisely on the right spot (e.g. an insect's eye).
Translated from Dutch.
In the past I also used a right-angle finder sometimes, but with the arrival of flip-out screens or even external monitors, I think this technique has become outdated. Why would you turn your head at an awkward angle when you have a screen on which you can even zoom in to the maximum? -
 guest wrote on Sunday 18 September 2022 at 14:12 | reply
I used live view to focus but was only moderately satisfied until I got the tip to calibrate my lens. Since then, I feel like I get better results
Translated from Dutch.
Have your say
Please note: Articles older than a week can only be commented on by signed-in visitors.Would you still like to comment? sign in or create a free account.
Become a better photographer every week
A practical photography tip in your inbox every week.
39,078 photography enthusiasts already receive the tips! More about the weekly mail. Or keep up to date via  Facebook.

Elja Trum
Photofacts; everything to do with photography!
Would you like to take better photos and keep up with what is happening in photography? Photofacts publishes articles that teach you something about photography — from a product announcement to a practical shooting tip or a look at a website. Photofacts covers photography every day and is a hobby project of Elja Trum's that got out of hand. The articles are written by a team of volunteer authors. If you would enjoy writing one or more articles for Photofacts, do get in touch.More about PhotofactsPhotofacts is made possible in part by
