

Ten tips for better black-and-white photography
Monday 1 May 2023, 16:08 by Nando Harmsen | 7,513 views | 7 commentsThis article was translated from Dutch with the help of AI. Read the original.
Black-and-white photography is atmospheric and timeless. Black-and-white photography is also a challenge, because poor composition or careless use of contrast is immediately visible. You cannot hide behind impressive colours. I have ten tips for creating a black-and-white photo.
Black-and-white photography consists of two parts. Taking the photo itself, and editing it into a finished result. It is rare for a black-and-white photo to come straight out of the camera looking right.
Do you want your black-and-white photo to look as good as possible? Then you will have to 'develop' it digitally. Just as was done in the darkroom in the past.
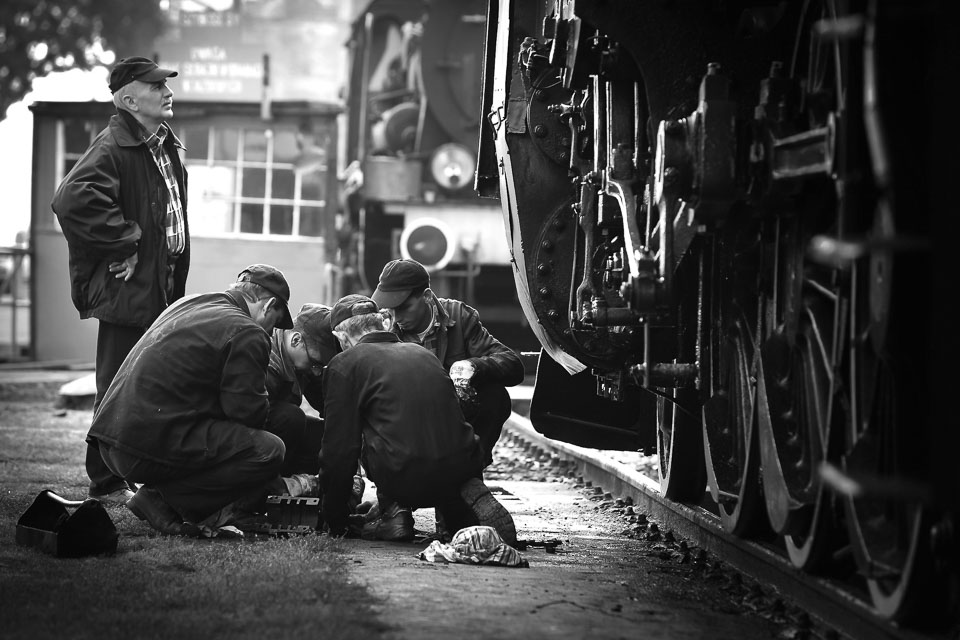
Black-and-white photography is not the same as what was done in the past, though. We can already see the black-and-white image directly on the camera. In a way, this makes black-and-white photography easier. At the same time, it makes it more difficult. With the following ten tips, I can help you get started creating the best black-and-white photos.
1. Shoot in raw
Do you like shooting in jpeg? Then use your camera's black-and-white options. A film simulation setting, or picture profile offered by your camera, gives you some room to adjust the look.
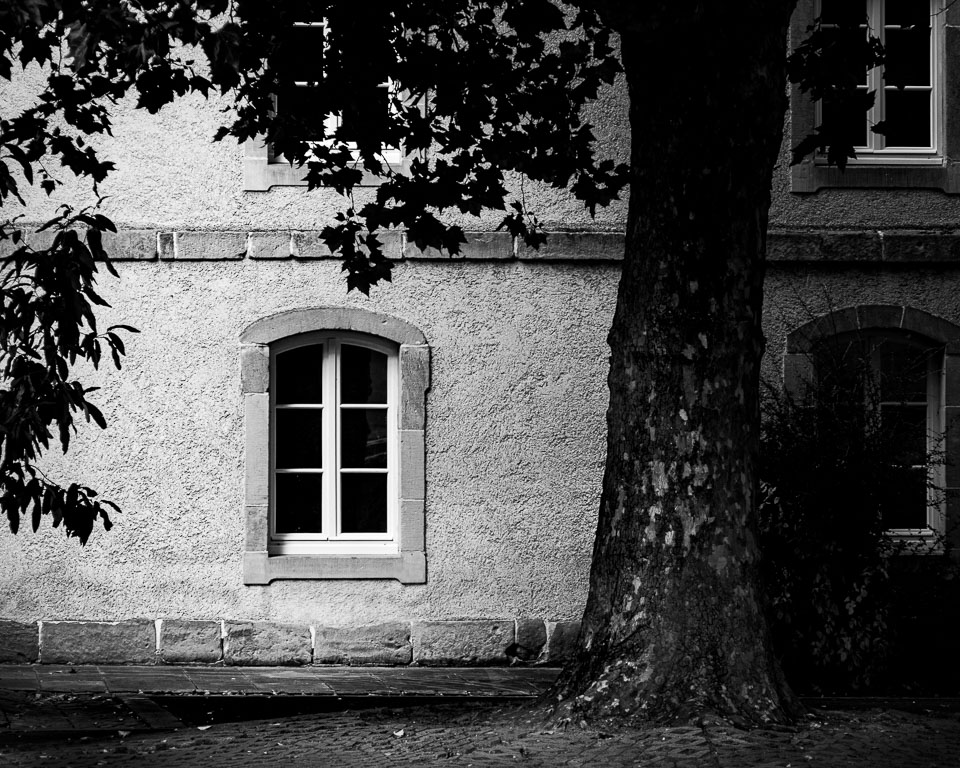
Do you really want complete freedom to make your black-and-white photo look the way you want? Then shoot in raw. You can use colour channels for editing, add contrast, and much more. An added advantage is that colour information is retained in the raw file. If you want colour after all, you still have that option.
2. Black-and-white is not a cure-all
It happens far too often that a 'failed' colour photo is converted to black-and-white to try to make something of it. Unfortunately, that does not work in 99 out of 100 cases. If a photo has failed, black-and-white cannot save it.
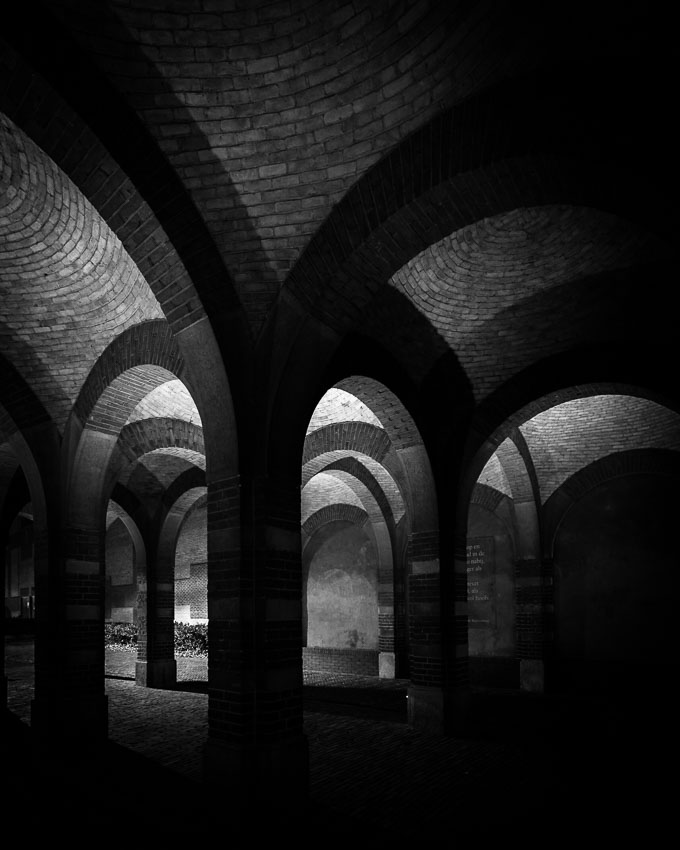
In fact, black-and-white requires more attention to composition and the use of contrast. You could more quickly save a failed black-and-white photo by adding colour than the other way around. Impressive colours can distract attention from poor composition and image structure.
3. Think in black-and-white
Are you heading out for black-and-white photography? Try to ignore the colours. Think in black-and-white, in light and dark, in contrast. For example, a striking red object no longer has to be distracting. Instead, pay more attention to shadows.
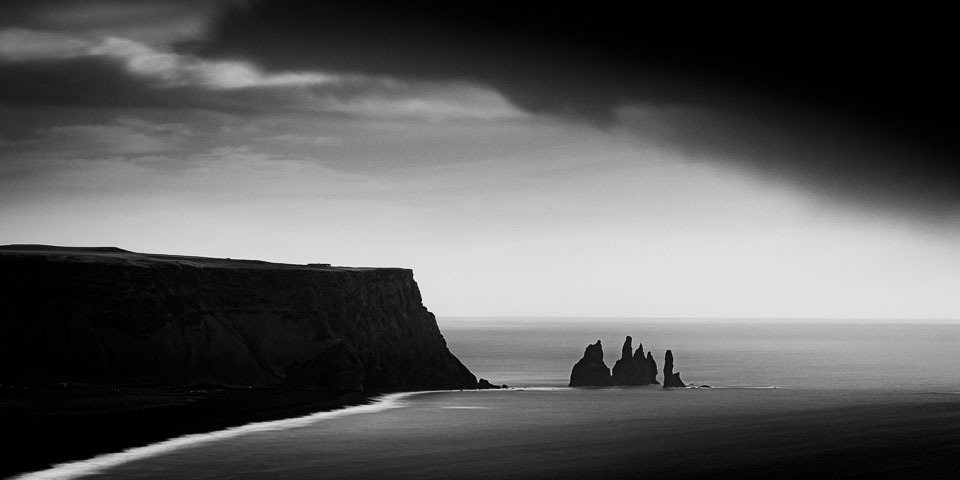
This may take some practice, and you will probably still be influenced by the colours around you. But tip number 4 can help you think in black-and-white.
4. Set your camera to black-and-white
If you shoot in jpeg, you need to set the camera to black-and-white or monochrome to create photos like these. If you shoot in raw, set your camera to black-and-white or monochrome as well. The photos you view on your LCD screen will then also be in black-and-white. You will notice that you start looking differently.
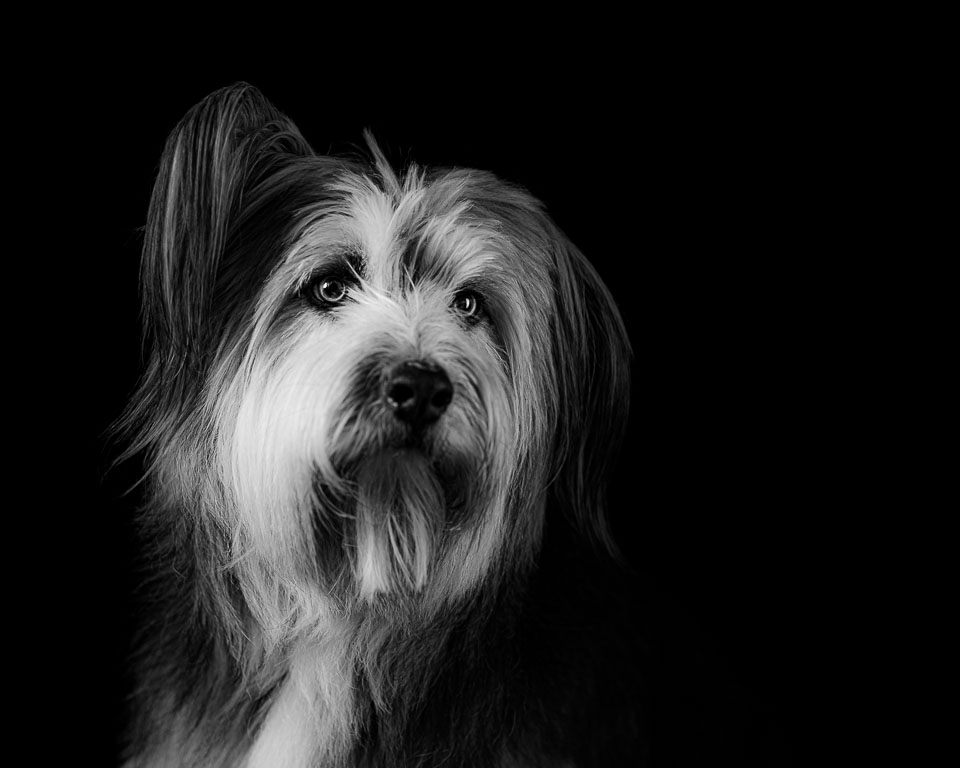
Do you have a mirrorless camera? Then the view through your viewfinder will also be shown in black-and-white. It becomes even easier to ignore colours. At that moment, you see the world as you are going to capture it.
5. Look at shadows
Have you found a subject? Then pay extra attention to the light and dark parts of the image. Discover where there are shadows, and how they appear in your image. Make them part of your composition.'
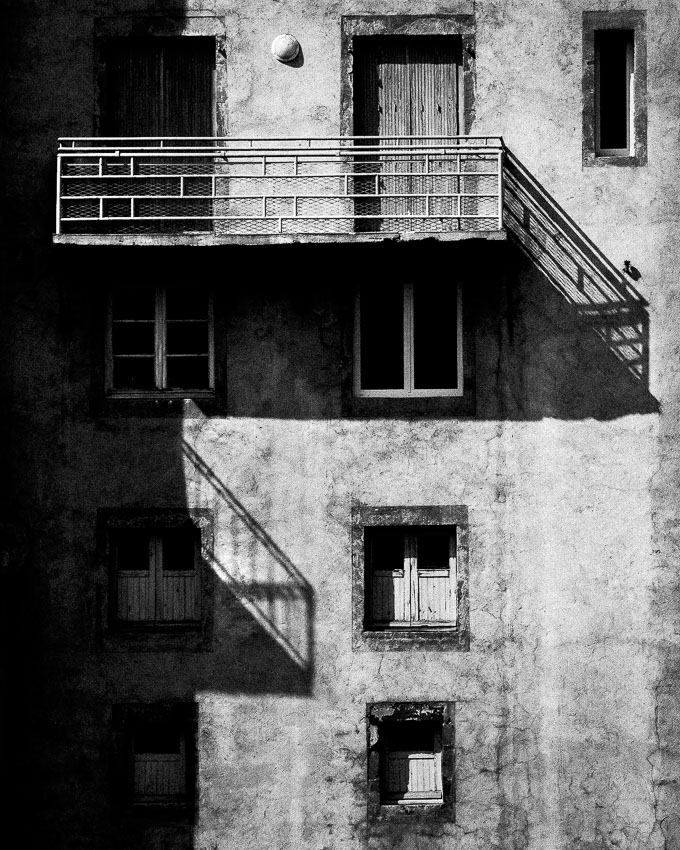
This is also important for colour photography, but it plays an even greater role in black-and-white. After all, there is no colour in your image, only shades of grey. Are there no shadows? Then look for differences in contrast. What you want to avoid is a photo that consists entirely of grey.
6. Avoid a flat grey photo
Your camera's standard monochrome setting often produces a dull image. So try to make the monochrome setting as contrasty as possible in your camera's settings.
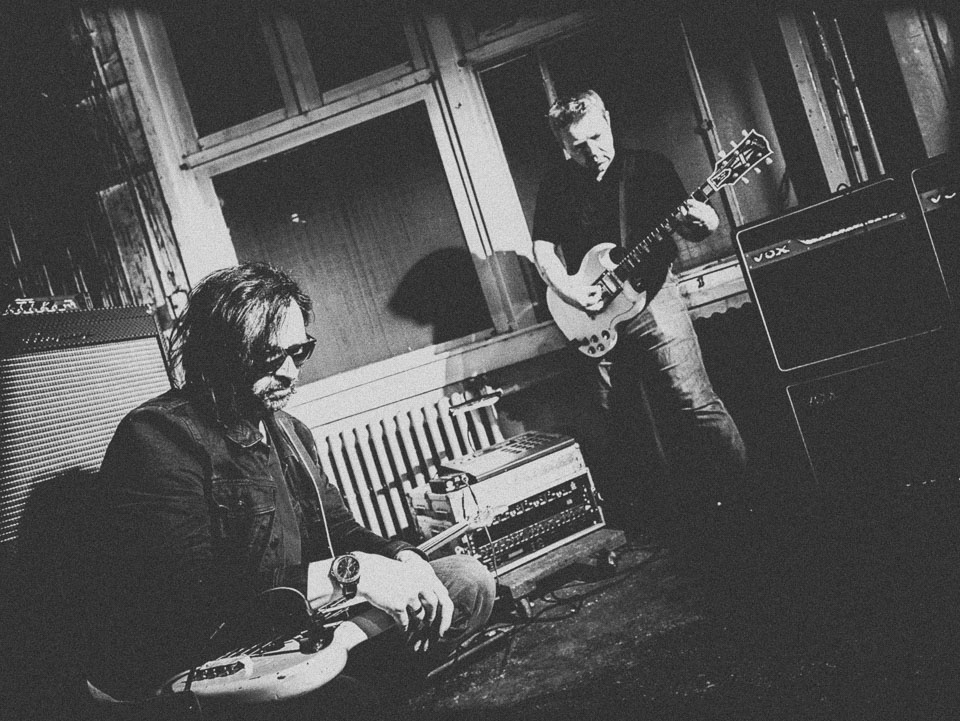
The same applies to photo editing. A simple press of a button does not produce an interesting black-and-white image. In fact, there is a good chance that it contains no black or white at all, only shades of grey.
To make a black-and-white photo striking, you often need to strengthen the contrast. It does not have to be extreme, as long as there is a pleasing level of contrast. But sometimes you can go to extremes with this adjustment. Even blown-out white and blocked-up black are allowed.
7. Do not be afraid of blown-out white or blocked-up black
With colour photography, you often want to avoid having pure white or pure black in your photo. For black-and-white, this is not a problem at all. In fact, in many cases it can give your photo extra atmosphere.
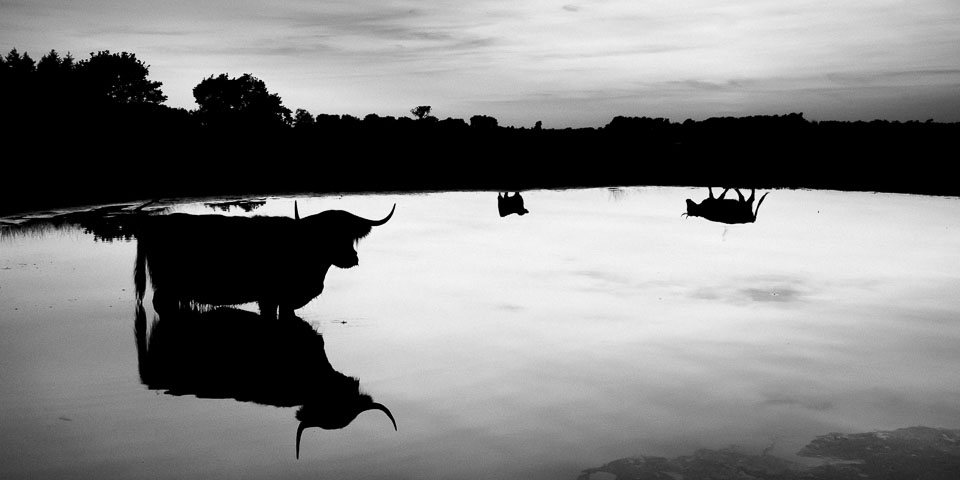
Do not let yourself be guided by the idea that everything must remain 'within the dynamic range'. Certainly not with black-and-white. To be on the safe side, do shoot as much as possible within the dynamic range when shooting in raw. You can then seek out the extremes during post-processing.
8. Software is no guarantee of good black-and-white
I sometimes see very complicated workflows for creating a black-and-white photo. For example, starting in Lightroom, then moving to Photoshop, and afterwards using SilverEfex as well. None of this is necessary.
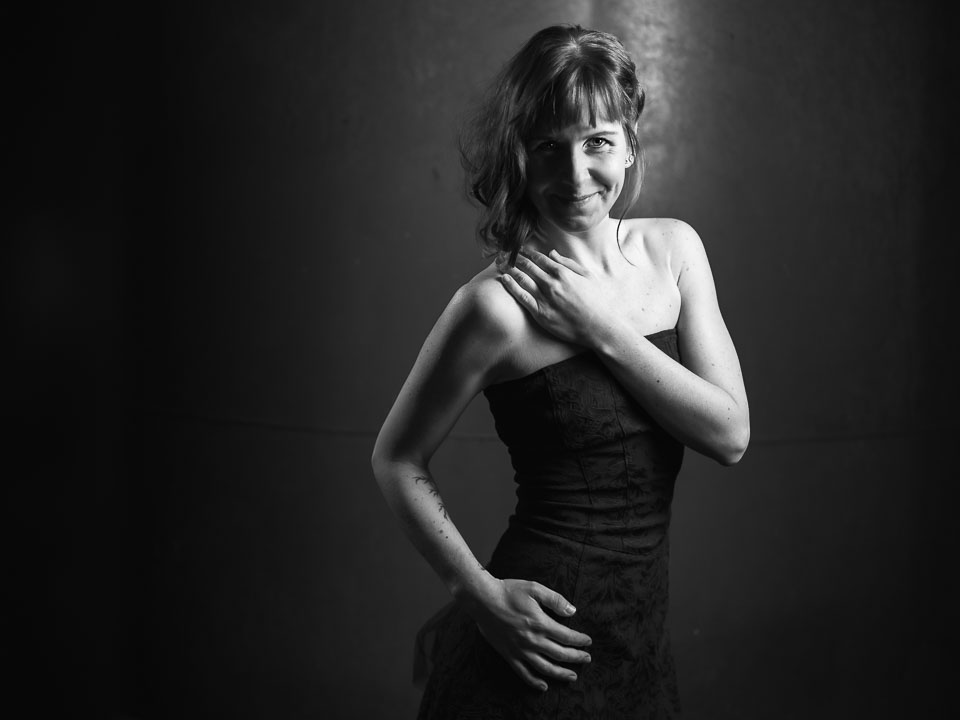
You can create an excellent black-and-white photo in any software. The only difference is the way you work. If you switch from one piece of software to another, you even risk one edit working against another.
Keep it as simple as possible. Preferably edit your photo in one software package. You can switch to a second one if you want to put the finishing touches to it. But preferably do not go any further. Simplicity is often best.
9. Look at the photo again after a week
Are you editing and worried that you have gone too far? Then leave the photo alone for a while. Do something else and shift your attention. Then look at the edit again after a few days or a week.
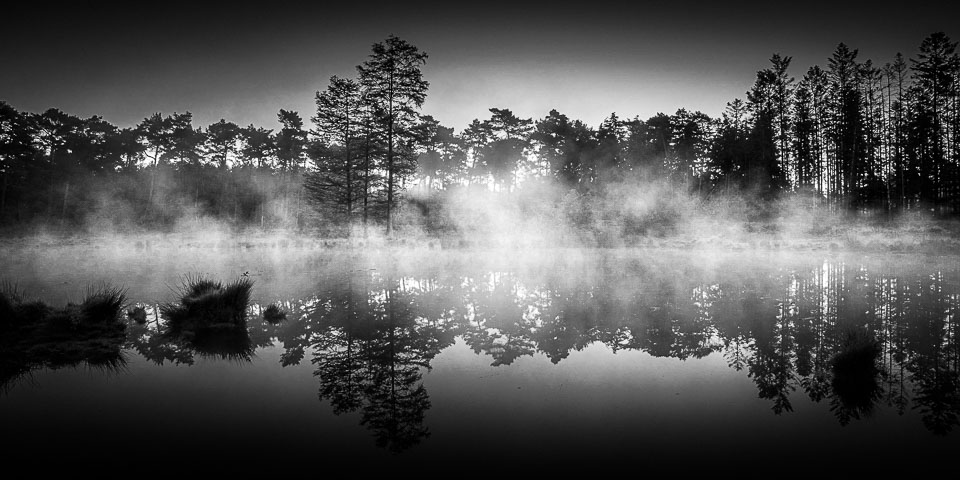
Leaving the photo alone gives you a fresh perspective on it. You look objectively, without being influenced by 'what the photo originally looked like.' You will notice that you can better judge whether the edit works or is too extreme. Who knows, you may even want to go a little further.
10. Be sure about your choice of black-and-white
Look on social media or photography forums, and you often see two photos presented. One in colour and one in black-and-white, often flat and grey, with the question: "which one is best?"
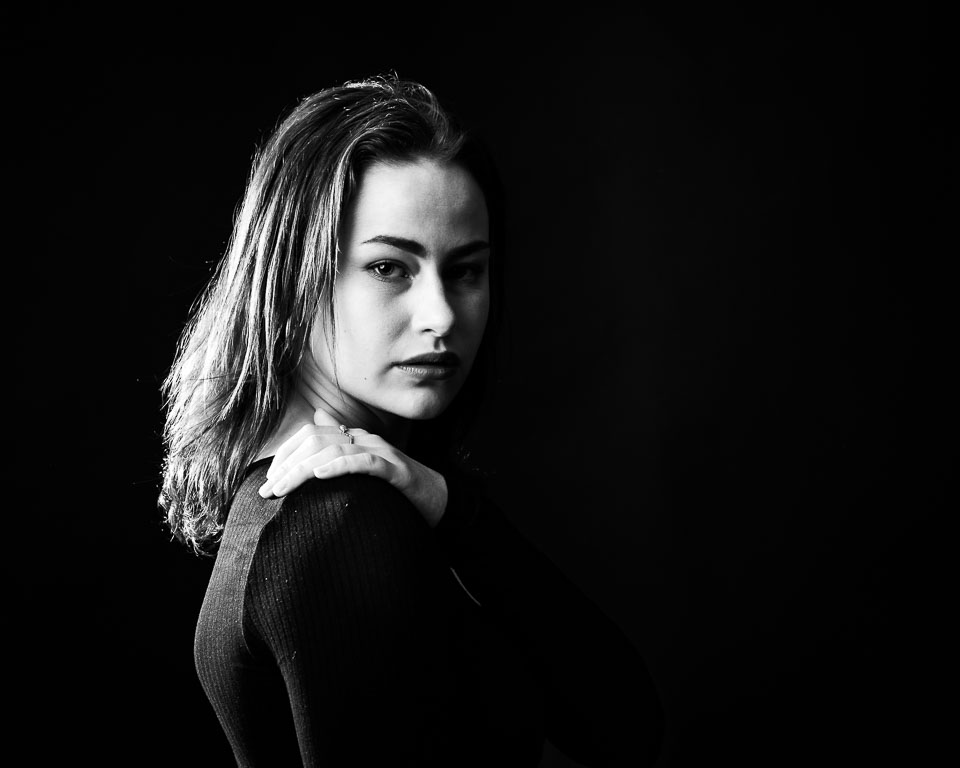
Do not do that. Make your own choice. You are the photographer, or the artist. You decide what a photo should look like. If you are not sure yet, wait a week and look at the photo again. Do not leave the choice to the viewer.
Do you have any tips?
These tips can help you create beautiful black-and-white photos. But I know there are more tips to be found. Perhaps you have some good tips? Share them in a comment below this post.
About the author
Nando Harmsen has been photographing for more than 40 years. He specialises in wedding photography and landscape photography. Nando also gives talks, workshops, masterclasses and photo trips, and regularly reviews new and interesting equipment.
You might also like
-
 10 tips for atmospheric portrait photography
by Laura van der Burgt
-
 Atmospheric images without leaving the house
by Laura van der Burgt
-
 Ten tips for panorama photography
by Nando Harmsen
-
 Video: Creating atmosphere with smoke
by Elja Trum
-
 Prefer High Contrast in Your Nature Photos
by Nando Harmsen
-
 Photograph Through a Foreground for Atmospheric Macro Photos
by Nando Harmsen
7 comments
-
 Mac wrote on Tuesday 2 May 2023 at 08:36 | reply
10. White balance
Translated from Dutch.
Certainly also with black and white, play with white balance. With that you can already achieve a lot when you convert -

-
 Robert wrote on Tuesday 2 May 2023 at 18:19 | reply
Are there still photographers who simply use a light meter? Measure the light,the dark and light parts and then you know what you can handle in terms of the ratios. The same with backlighting. Not difficult and gives confidence and beautiful images.
Translated from Dutch.
Photo-shooting regards Robert -
 Nando
wrote on Wednesday 3 May 2023 at 09:30
| reply
Nando
wrote on Wednesday 3 May 2023 at 09:30
| reply
Everyone uses a light meter. But that is the built-in light meter in the camera. That is a reflected-light meter, and not a direct measurement like with a separate light meter.
Translated from Dutch.
Working with a separate meter is considerably more limited than with a built-in meter. It doesn't necessarily give you better results. -
 Karel wrote on Wednesday 3 May 2023 at 10:39 | reply
Question, what kind of cloth/material do you use to get the background, like with Iris for example, so beautifully black?
Translated from Dutch.
-
Nando
wrote on Wednesday 3 May 2023 at 11:10
| reply
It's simply a black, paper background.
Translated from Dutch.
But in principle you can even use a white background, as long as no light falls on it. In a studio this is easy by pointing your lamp at the model, and keeping it close enough so that no light falls on it.
Take a look at my advanced focusing course on Photofacts Academy, there you can see the space and how it was lit and photographed. -
 madterol wrote on Sunday 21 May 2023 at 12:15
| reply
madterol wrote on Sunday 21 May 2023 at 12:15
| reply
For myself I use B&W Artisan Pro X in Photoshop
Translated from Dutch.
pretty nice plugin to work with.

Have your say
Please note: Articles older than a week can only be commented on by signed-in visitors.Would you still like to comment? sign in or create a free account.
Become a better photographer every week
A practical photography tip in your inbox every week.
38,982 photography enthusiasts already receive the tips! More about the weekly mail. Or keep up to date via  Facebook.

Elja Trum
Photofacts; everything to do with photography!
Would you like to take better photos and keep up with what is happening in photography? Photofacts publishes articles that teach you something about photography — from a product announcement to a practical shooting tip or a look at a website. Photofacts covers photography every day and is a hobby project of Elja Trum's that got out of hand. The articles are written by a team of volunteer authors. If you would enjoy writing one or more articles for Photofacts, do get in touch.More about PhotofactsPhotofacts is made possible in part by
