

Ten tips for panorama photography
Monday 8 May 2023, 20:20 by Nando Harmsen | 5,277 views | 2 commentsThis article was translated from Dutch with the help of AI. Read the original.
Panorama photography allows you to capture a great deal in one photo. Or rather, in a series of photos, as you often combine several photos into a single panoramic image.
Sometimes this is easy, but more often it is difficult to get good results. I have ten tips to give you a better chance of success.
A panorama allows you to get a great deal into the frame. More than you can capture with your widest wide-angle lens. You can even photograph all the way around, 360 degrees. If you also capture 180 degrees in the vertical direction, everything around you will be visible in the photo.
If you create a panorama from a series of overlapping photos, you get an enormous resolution that allows you to make extremely large prints.
More often, a panorama is intended to give your photo a wide view. It is then not about resolution, but about the feeling of a photo.
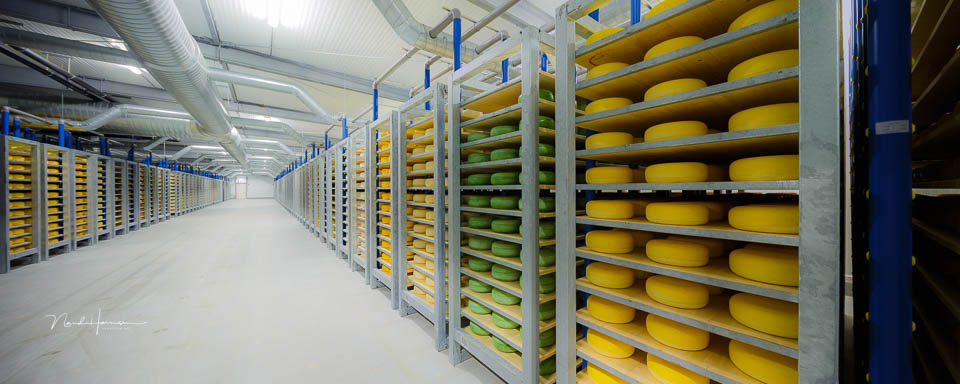
However you create a panorama, and whatever your purpose, a good result requires time and energy. I have collected ten tips that can help you achieve the results you want.
1. Forget the built-in panorama function
Many smartphones have a built-in panorama function. Some cameras have one too. It seems like a simple way to create a panorama, but the results are often far from perfect.
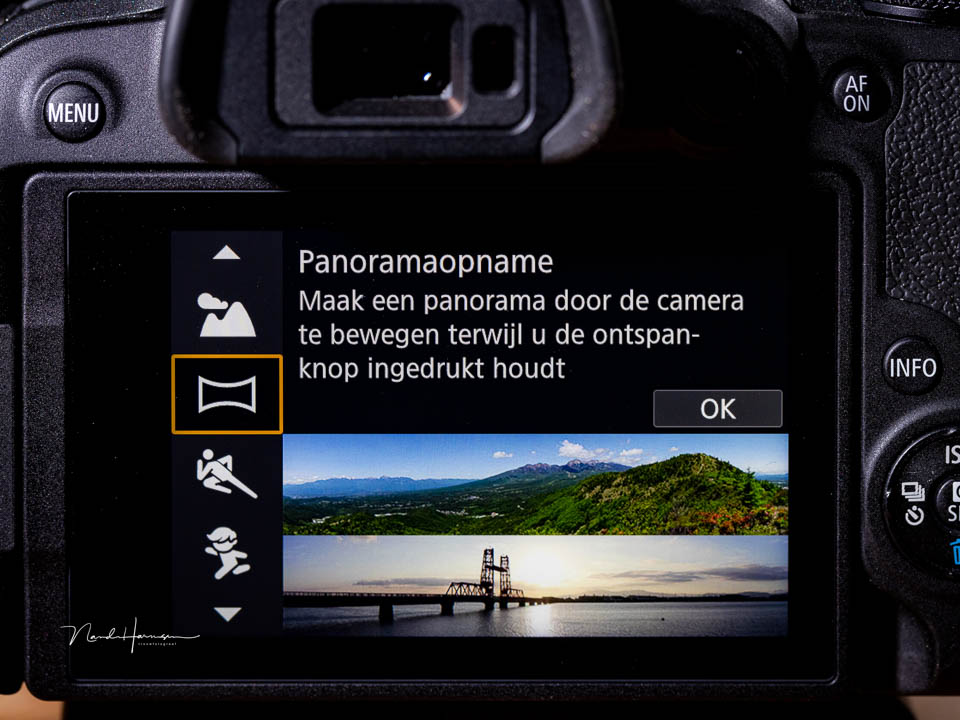
Although the result of the function may look good, you can immediately see the so-called stitching errors when you look closely. If you want a good-quality panorama, forget this function and take a series of photos that you will combine yourself.
2. Photograph in portrait orientation
By holding your camera horizontally, you can create a very wide panorama with just a few photos. This may seem attractive, but it does result in a very narrow panorama. It is better to hold your camera vertically.
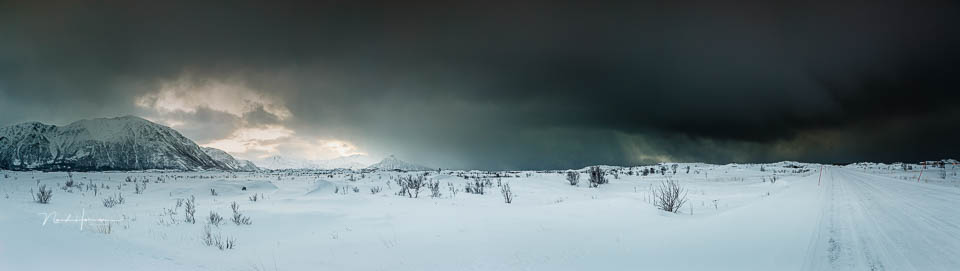
In vertical orientation, you need to take more photos to get the same angle of view. But your panorama will not be so terribly narrow. It also gives you room to change the position of your horizon, something I will return to in point 8.
3. Use a nodal slide
A nodal slide prevents parallax. This is the problem where a foreground element is not in exactly the same position in relation to the background in every photo. So it prevents problems when combining the photos.
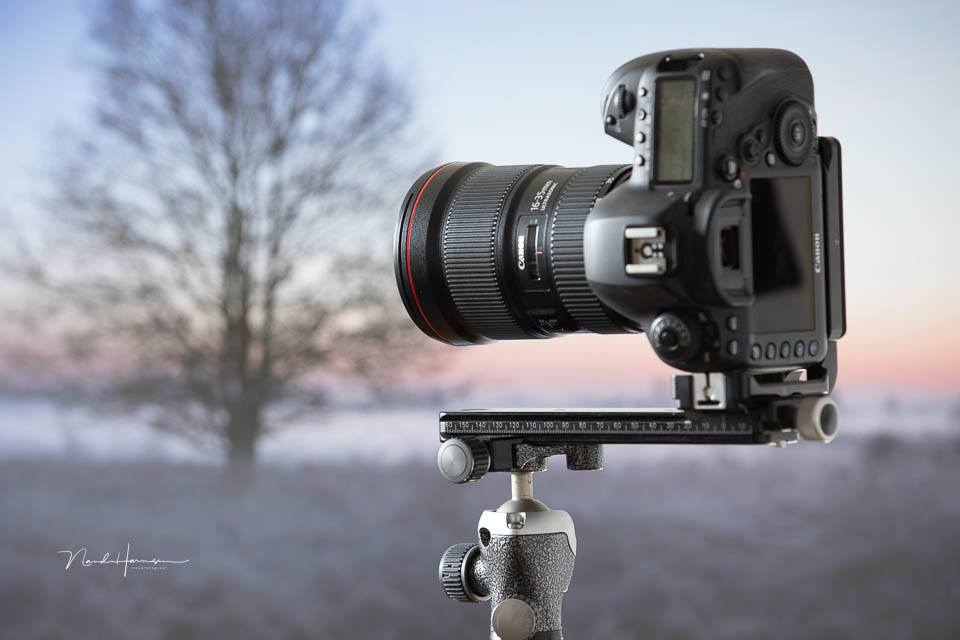
Using a nodal slide does take a little more time when photographing. But you save that time many times over later when combining your panorama. You do not need to make complicated edits to remove errors.
4. Make sure you correct the lens
Many lenses have optical flaws such as vignetting. Wide-angle and ultra-wide-angle lenses in particular can suffer from this. Lens correction removes vignetting from your photo. Apply that correction before creating a panorama.
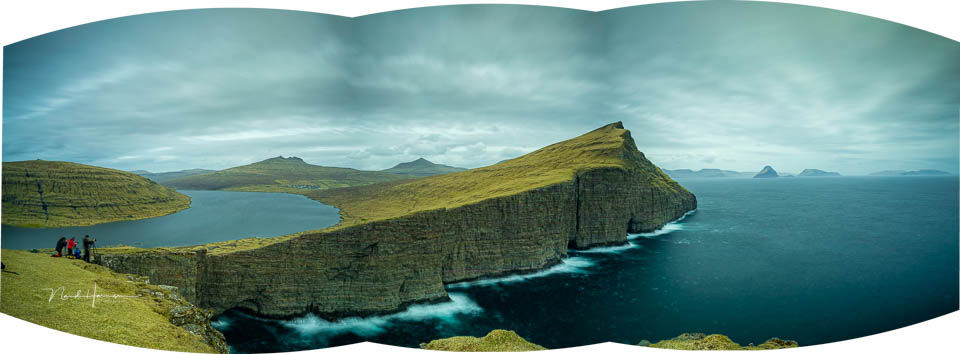
If you do not remove the vignetting, there is a good chance you will see dark transitions in your panorama. This is especially distracting when there is a lot of sky in your photo. Correcting it afterwards is incredibly difficult, so do it beforehand.
5. Make sure there is enough overlap
If the individual photos for your panorama do not overlap enough, you will get empty gaps in your panorama. It is best to use 30 per cent overlap. You could choose more overlap, but do not go above 50 per cent. There is no need for that.
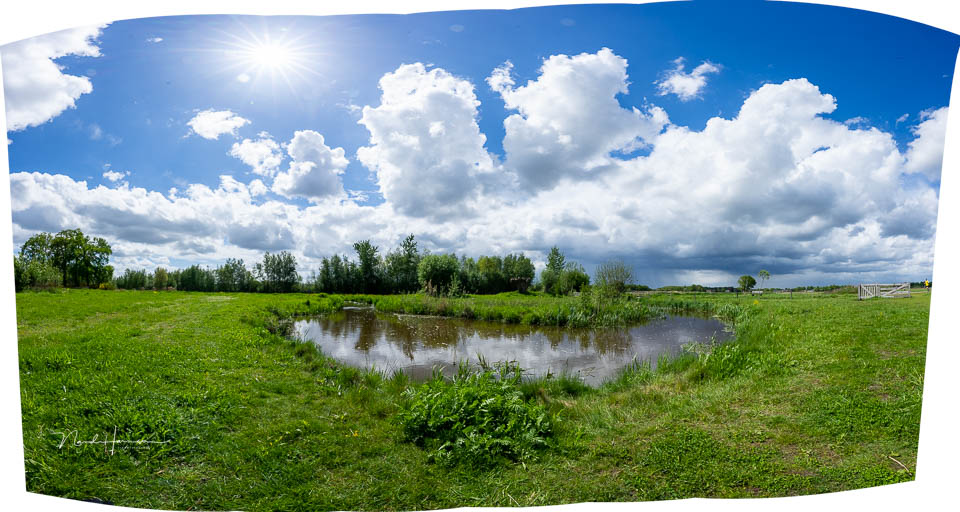
6. No tripod? Then photograph handheld
It is best to photograph a panorama from a tripod. With a nodal slide, of course. But sometimes you do not have a tripod with you, or there is no time to set everything up perfectly.
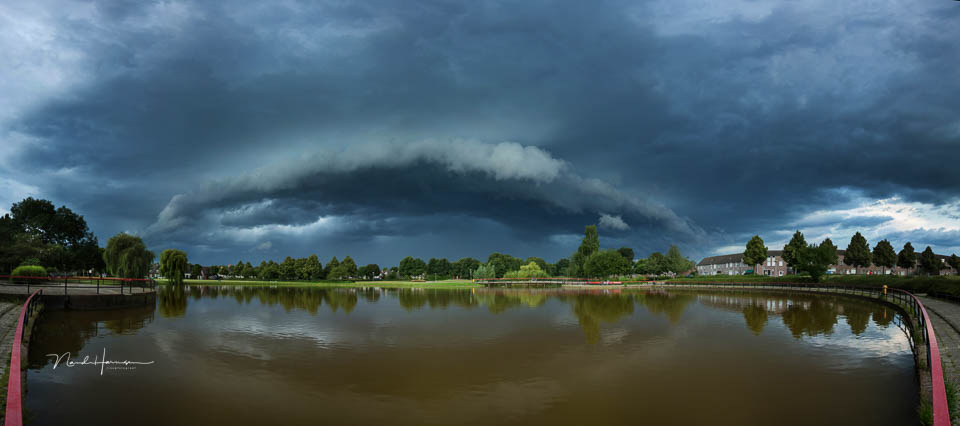
Then create a panorama handheld. It may not be perfectly aligned, or you may have some parallax errors, but at least you have your photo.
Try to rotate the camera from an imaginary point beneath your lens, and do not rotate with your body as the pivot point. Avoid a foreground to prevent parallax errors, and your photo will turn out well.
7. Photograph against the movement
Is the subject you want to photograph moving? You can still create a panorama. Make sure you rotate in the opposite direction to the movement of your subject. This way, your subject only appears in the frame once.
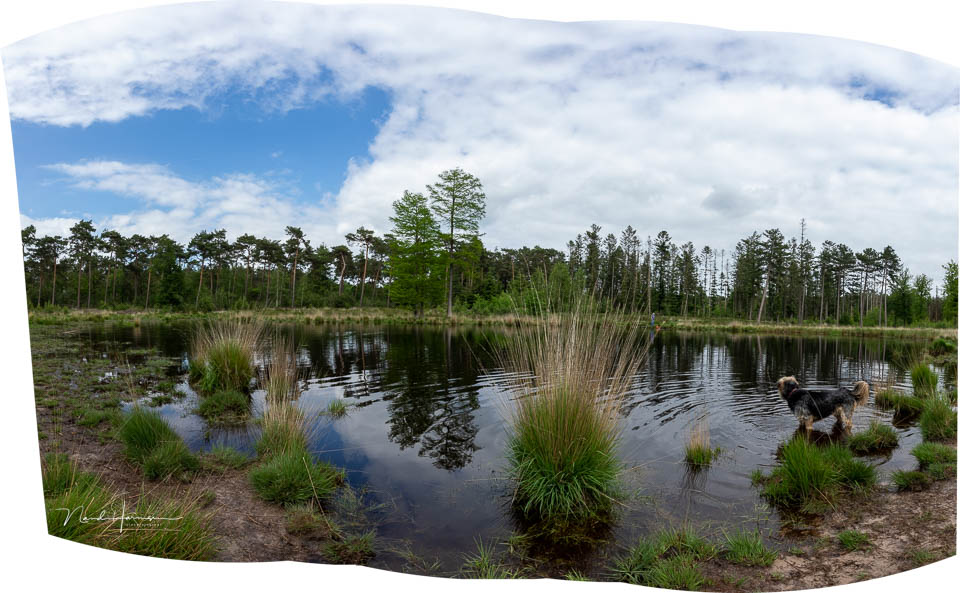
If you move in the same direction as the movement, your subject will appear in several photos and in different places in the frame. You can of course do this deliberately too. But if you do not want that, rotate against the direction of movement.
8. Avoid a horizon in the centre
A well-aligned panorama photo will always have a horizon in the centre. That is not always desirable. Often you want the horizon in a different position in the frame.
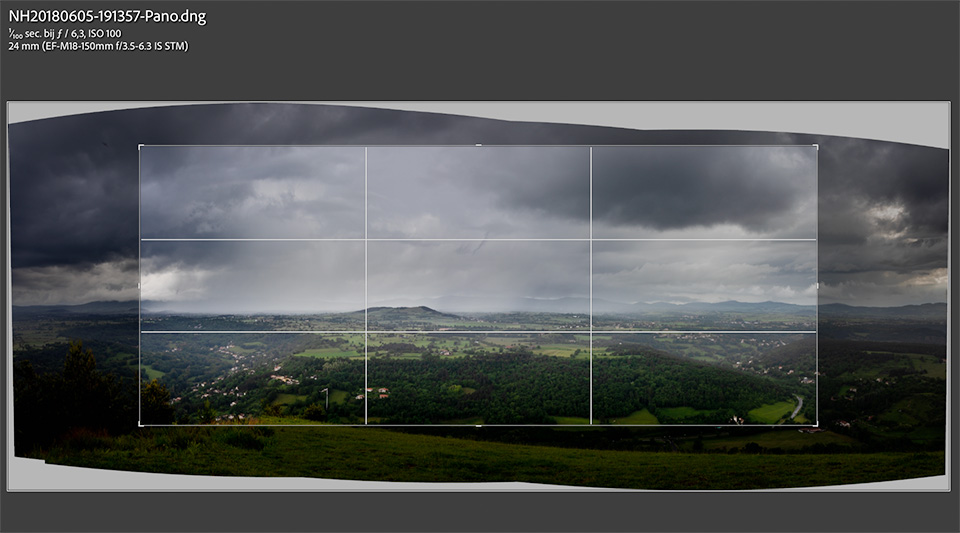
You can achieve this easily by photographing with plenty of room. Use your camera in a vertical position so that you capture a lot of height in the frame. You can then crop the panorama in post-processing so that the horizon is in the desired position in the frame.
9. Take a black photo before and after the panorama series
You may need to take a great many photos for a panorama. You may even have a panorama with an exposure bracket for every photo. Where does your panorama start, and where does it end? That can be difficult to see in your photo editing programme.
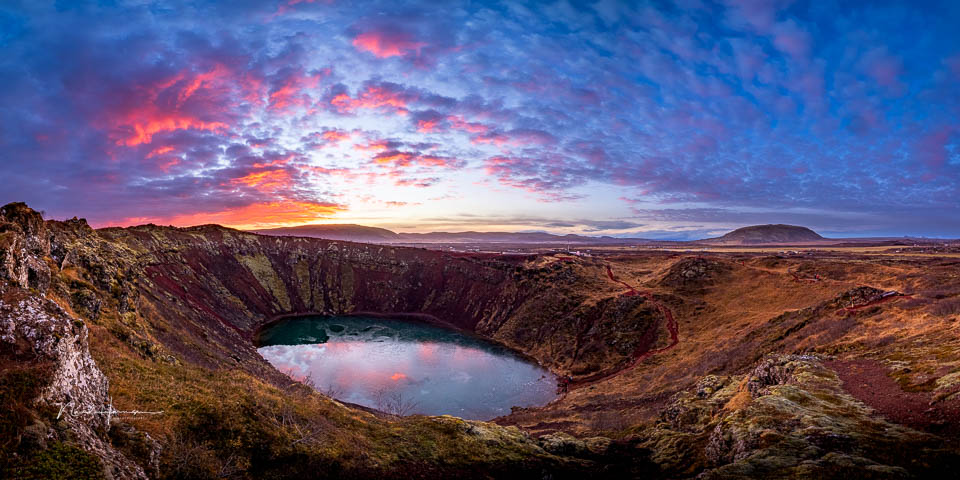
First take a photo with your hand in front of the lens. This shows that a series is beginning. Once you have taken all the photos, take another photo with your hand in front of the lens. Then you know where the series ends.
10. Do not need a high resolution? Then crop a panorama
A panorama made up of several photos always has an enormous resolution. Sometimes this can reach hundreds of megapixels. Unless you have a specific purpose, this resolution is rarely needed. Consider taking a wide-angle photo and cropping it instead.
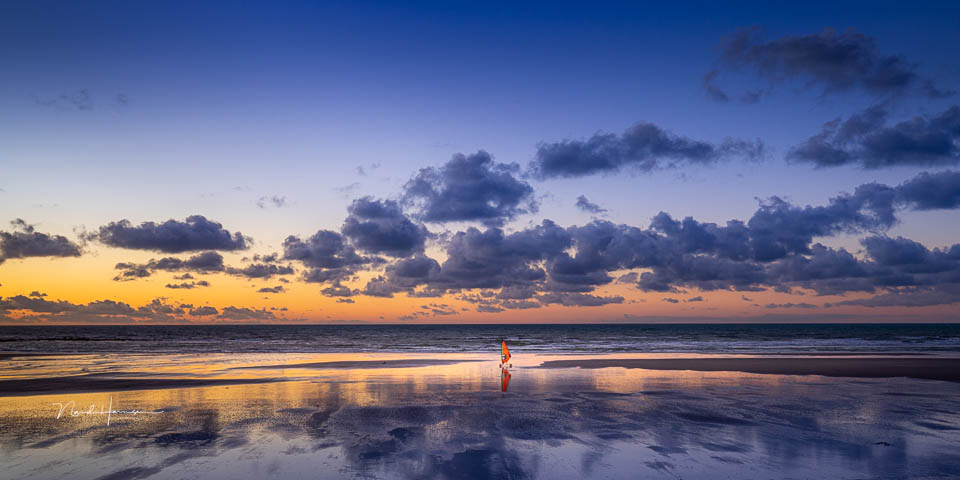
A panorama is about capturing a wide angle of view. The height is not important. If you have too much unnecessary image area above and below in the frame, cut it off. You will be left with a panorama.
Do you have any more tips?
I know I could find many more tips. Perhaps you know some too. If so, I invite you to share them in a comment below this post.
About the author
Nando Harmsen has been photographing for more than 40 years. He specialises in wedding photography and landscape photography. Nando also gives talks, workshops, masterclasses and photo trips, and regularly reviews new and interesting equipment.
You might also like
-
 A panorama or a panorama crop?
by Nando Harmsen
-
 When to use which type of panorama?
by Nando Harmsen
-
 Photographing or cropping a panorama
by Nando Harmsen
-
The Biggest Disadvantage of a Panorama
by Nando Harmsen
-
The opposite of cropping
by Nando Harmsen
-
 10 Tips for a Handheld Panorama
by Nando Harmsen
2 comments
-
 Donald Willemsen wrote on Tuesday 9 May 2023 at 12:20 | reply
@Nando, thanks for these useful tips. But now my question. You write about a nodal slide. I have a Macroslide. Can I use that as a nodal slide too?
Translated from Dutch. -


Have your say
Please note: Articles older than a week can only be commented on by signed-in visitors.Would you still like to comment? sign in or create a free account.
Become a better photographer every week
A practical photography tip in your inbox every week.
38,982 photography enthusiasts already receive the tips! More about the weekly mail. Or keep up to date via  Facebook.

Elja Trum
Photofacts; everything to do with photography!
Would you like to take better photos and keep up with what is happening in photography? Photofacts publishes articles that teach you something about photography — from a product announcement to a practical shooting tip or a look at a website. Photofacts covers photography every day and is a hobby project of Elja Trum's that got out of hand. The articles are written by a team of volunteer authors. If you would enjoy writing one or more articles for Photofacts, do get in touch.More about PhotofactsPhotofacts is made possible in part by
