

Tips for a photo trip. Part 2: the tripod
Wednesday 9 November 2022, 10:01 by Nando Harmsen | 5,697 views | 3 commentsThis article was translated from Dutch with the help of AI. Read the original.
To go on a photo trip without any worries, I have a number of tips to help you photograph with a group without any concerns. I draw on the many situations I have experienced as a photography tour leader.
The first part was about the camera bag and how to deal with it during your trip. This is the second part in a series of tips for going on a photo trip. This part covers the tripod, a tool that can bring a lot of enjoyment and even more possibilities, but also headaches and worries. And, of course, misery.
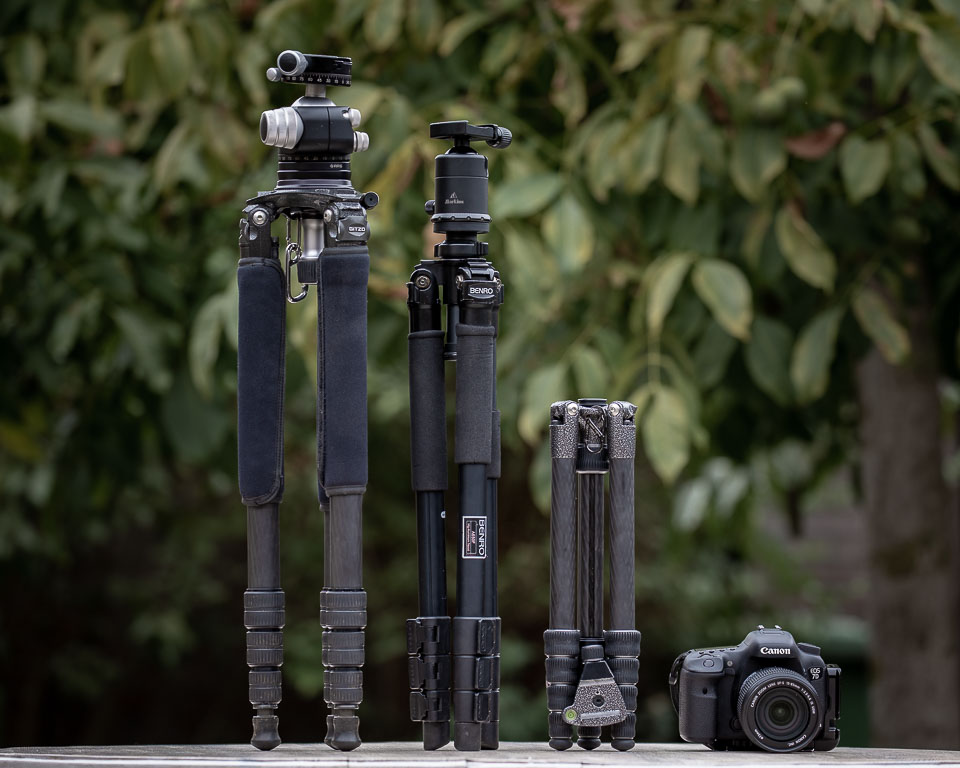
The tripod, what do you need?
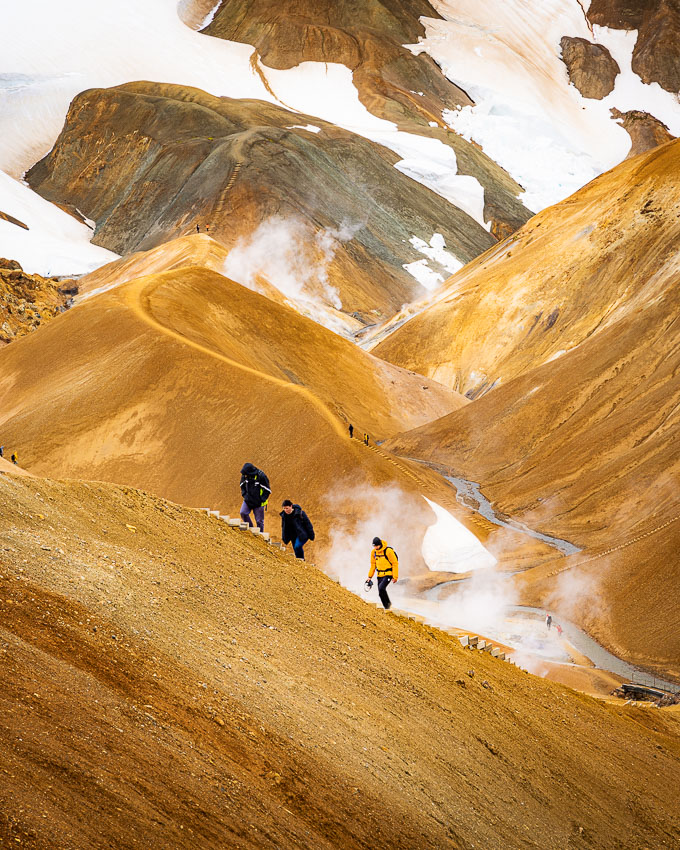
When travelling, it is useful to know what lies ahead. Will you be doing a lot of hiking? Will you spend a lot of time in one location? Will you be by the sea where it can be very windy, or is the weather usually calm? All these things determine what you need.
To keep it very simple, there are roughly two types of tripod. The large, heavy but stable tripods, and the smaller travel tripods that are compact, light and easy to carry. Your trip basically determines which one is best to take with you.
However, do not assume that any tripod will do. It is a tool that will carry your camera, which you entrust with expensive equipment. The last thing you want is a tripod that tips over, especially not during your photo trip. So make sure you have a tripod that you know can safely carry your equipment.
Know how your tripod works
I sometimes see photographers taking a new tripod on a trip. Sometimes it has not even been taken out of the bag at home, and it is used for the first time during the trip. This is a very unwise decision. You are travelling to take photographs, not to learn how your tripod works.
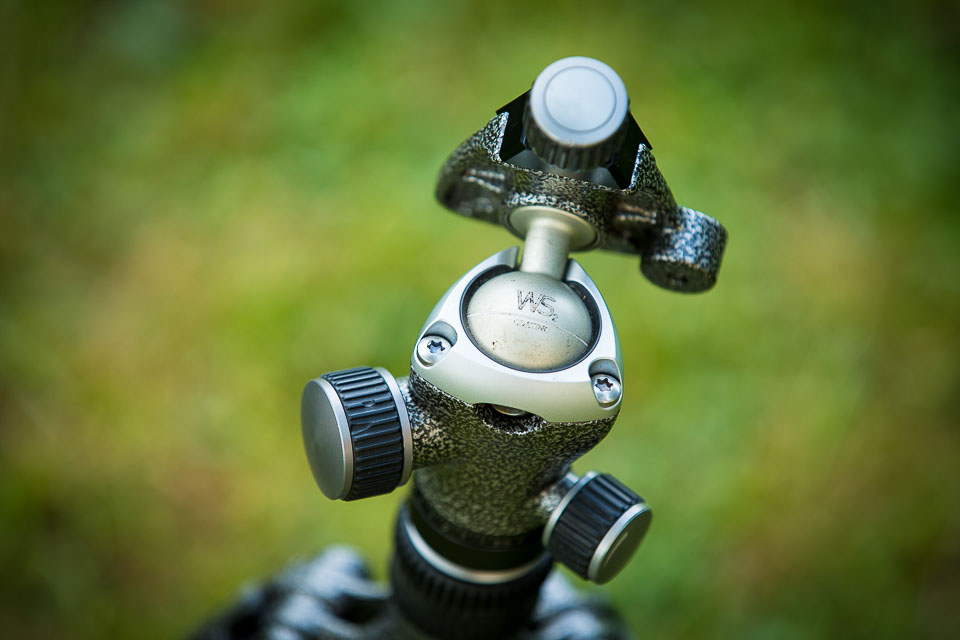
Have you bought a new tripod, or do you have your eye on one? Make sure you know how it works. Take it out of the box and the bag at home, and use it a few times. Learn which buttons do what, and how to set up the tripod. Do you not know something, or is it unclear? Then you have time to find out.
The tripod head and the tripod plate
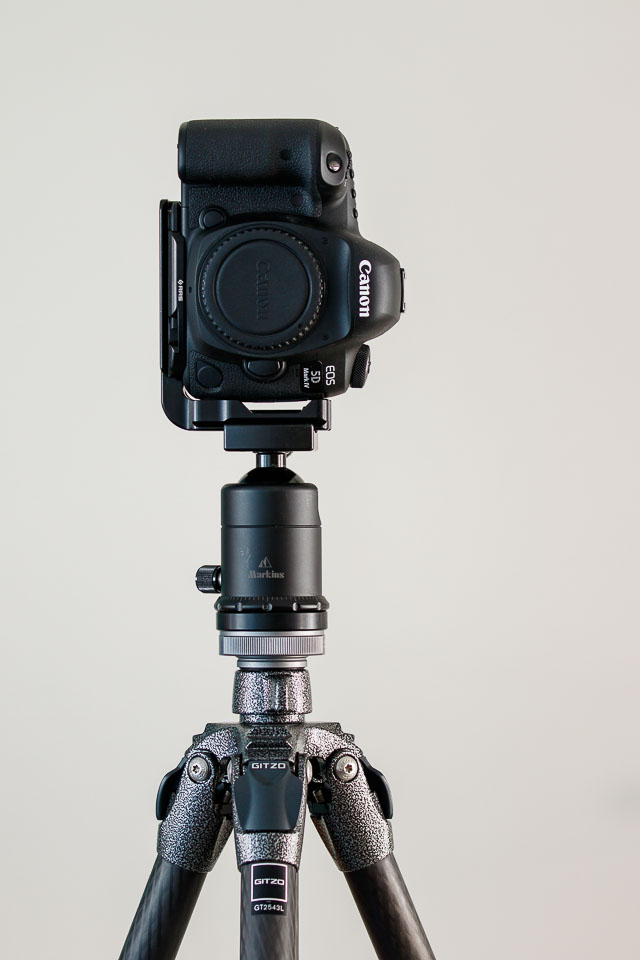
Make sure the tripod head is firmly attached to the tripod and does not come loose during use. Keep checking this every time. This is simple 'good practice.' The same applies to the tripod plate attached to your camera or lens.
Most tripod plates cannot be tightened very securely. In other words, your camera comes loose while it is on the tripod. Also, do not make the mistake of trying to rotate the camera while the tripod head is locked. If the tripod plate starts to come loose, tighten it again.
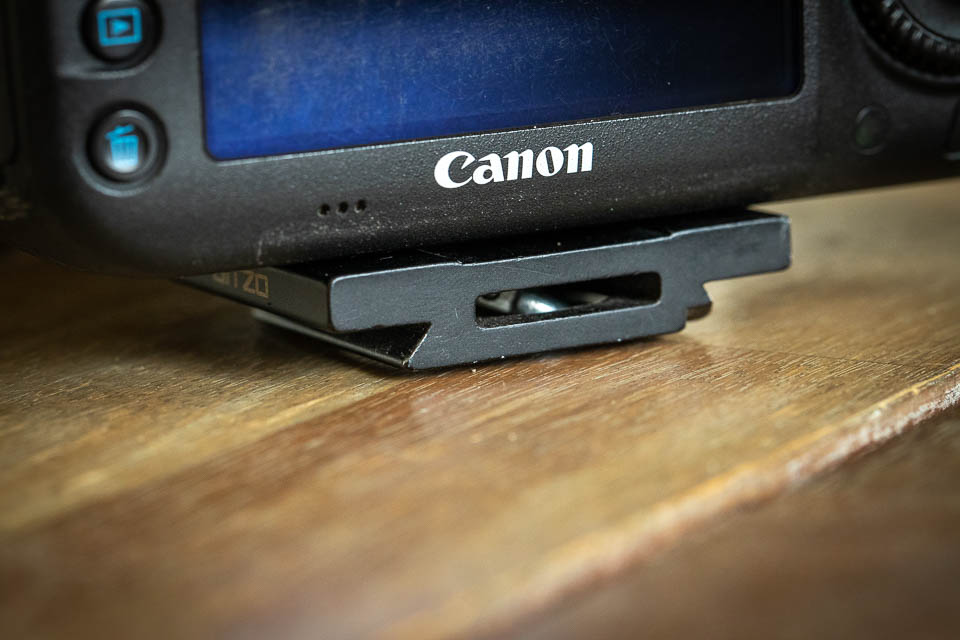
Do you have a tripod with a tripod collar? Consider buying an extra tripod plate to attach underneath it. This prevents you from constantly having to move the plate from the camera to the tripod collar.
You could also consider buying a tripod plate that cannot rotate. These are easy to find, especially if you have an Arca-Swiss connection. An L-bracket may be best, but only if you are going to use your tripod often.
The tripod, using it sensibly
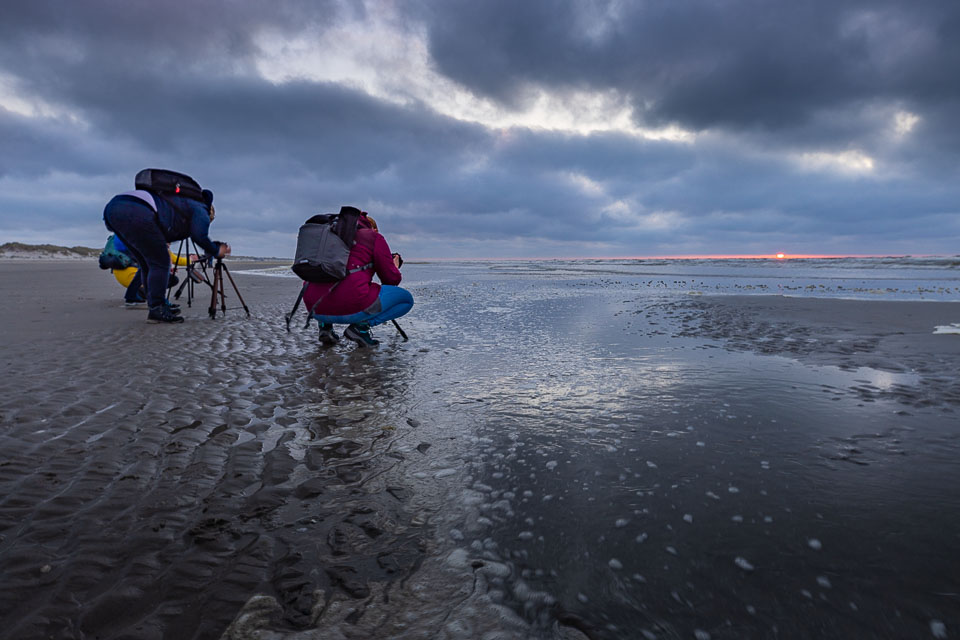
Make sure the tripod is as level as possible at the location. Check this every time. A tripod that is not level can easily fall over. This can be caused by a gust of wind or by a wave if you are standing by or in the sea. I do not need to tell you what the result will be.
Do not leave the tripod with the camera on it unattended. Stay nearby so you can intervene if things threaten to go wrong. Do not underestimate the power of wind and waves, even the heaviest tripod can fall over, although a lighter tripod is naturally much more sensitive to this.
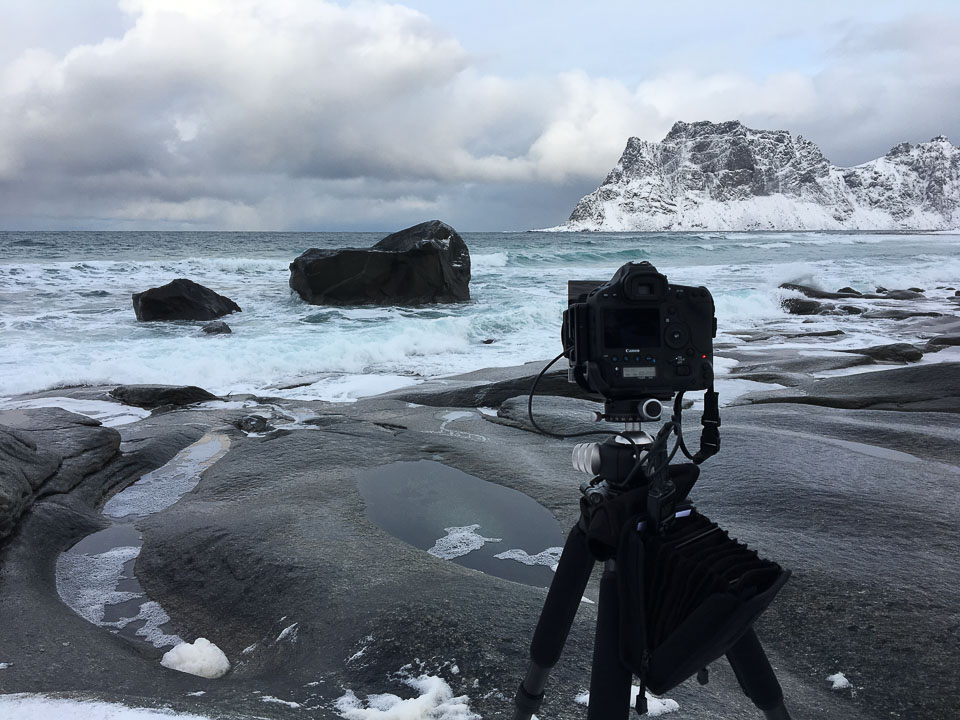
I have seen tripods with the camera on them fall over. Often this was caused by a combination of setting it up at an angle, inattention, and wind or water. Take your time when setting it up, and you will find that photographing with a tripod can be enjoyable.
I previously wrote an article with tips for using a tripod sensibly. It can always be worthwhile to take another look at it.
Do not turn your photo trip into a nightmare
A photo trip is fantastic. Going out together with like-minded people is also educational, because you get to see how others take photographs. It is inspiring, and you get to the most beautiful places easily.
By knowing your tripod well and using it properly, you prevent anything happening to your equipment and the trip turning into a nightmare. However, do not let yourself be frightened by thinking about everything that could go wrong with your equipment.
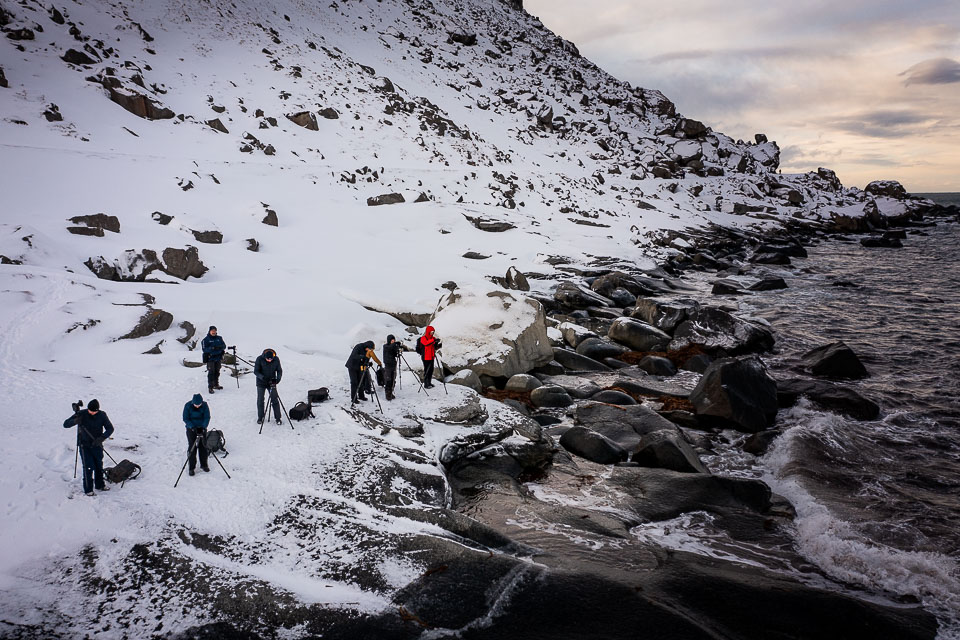
Use your tripod sensibly. The tips in this article are not difficult, and are simply 'good practice.' Remember that they are in fact not just for a photo trip, but apply all the time. Even when you are 10 kilometres from home. The only difference is that on a photo trip you cannot simply go home to repair your tripod.
Dit artikel is voor het laatst bijgewerkt op 9 november 2022.
De eerste publicatiedatum is maandag 25 juli 2022, 20:20.
About the author
Nando Harmsen has been photographing for more than 40 years. He specialises in wedding photography and landscape photography. Nando also gives talks, workshops, masterclasses and photo trips, and regularly reviews new and interesting equipment.
You might also like
-
 Tips for a photography trip. Part 3: know your camera
by Nando Harmsen
-
 Tips for a photography trip. Part 1: The camera bag
by Nando Harmsen
-
 I'm Going on a Trip and I'm Taking
by Nando Harmsen
-
 An inspiring trip to Lofoten, Norway
by Nando Harmsen
-
 5 tips to turn your holiday photos into great travel photos
by Nando Harmsen
-
 Tips for a photo trip. Part 4: storing photos safely
by Nando Harmsen
3 comments
-
 Peter wrote on Tuesday 26 July 2022 at 17:06 | reply
I worked with such a ball head for a long time but I still found it difficult to handle.
Translated from Dutch.
Then bought a “geared head three-way tripod head” (for example from BenRo) quick and precise to adjust and very useful for landscape and portrait photography -
 Peter wrote on Tuesday 26 July 2022 at 18:48 | reply
I worked with a ball head for quite a long time, but I found it a bit awkward when you wanted to create a good composition. In the landscape (wet and cold), in my opinion less suitable. Until the geared head three-way tripod head came onto the market. Great! Wouldn't want anything else now.
Translated from Dutch. -

 Nando
wrote on Wednesday 27 July 2022 at 10:01
| reply
Nando
wrote on Wednesday 27 July 2022 at 10:01
| reply
@Peter:
Translated from Dutch.
It doesn't matter what you have on your tripod, that's not what this article is about. You need to make sure you know how your tripod and tripod head work, that everything is properly secured in all cases, and that the quick-release plate on your camera doesn't come loose.
Have your say
Please note: Articles older than a week can only be commented on by signed-in visitors.Would you still like to comment? sign in or create a free account.
Become a better photographer every week
A practical photography tip in your inbox every week.
39,079 photography enthusiasts already receive the tips! More about the weekly mail. Or keep up to date via  Facebook.

Elja Trum
Photofacts; everything to do with photography!
Would you like to take better photos and keep up with what is happening in photography? Photofacts publishes articles that teach you something about photography — from a product announcement to a practical shooting tip or a look at a website. Photofacts covers photography every day and is a hobby project of Elja Trum's that got out of hand. The articles are written by a team of volunteer authors. If you would enjoy writing one or more articles for Photofacts, do get in touch.More about PhotofactsPhotofacts is made possible in part by
