

6 tips to fight dull-looking photos!
Monday 5 August 2019, 20:20 by Michelle Peeters | 17,741 views | 1 commentThis article was translated from Dutch with the help of AI. Read the original.
The quality of your photo is determined not only by the composition or subject, but also by how you use light. The difference between an exciting photo and a dull or boring one you immediately forget is mainly down to the use of contrast.
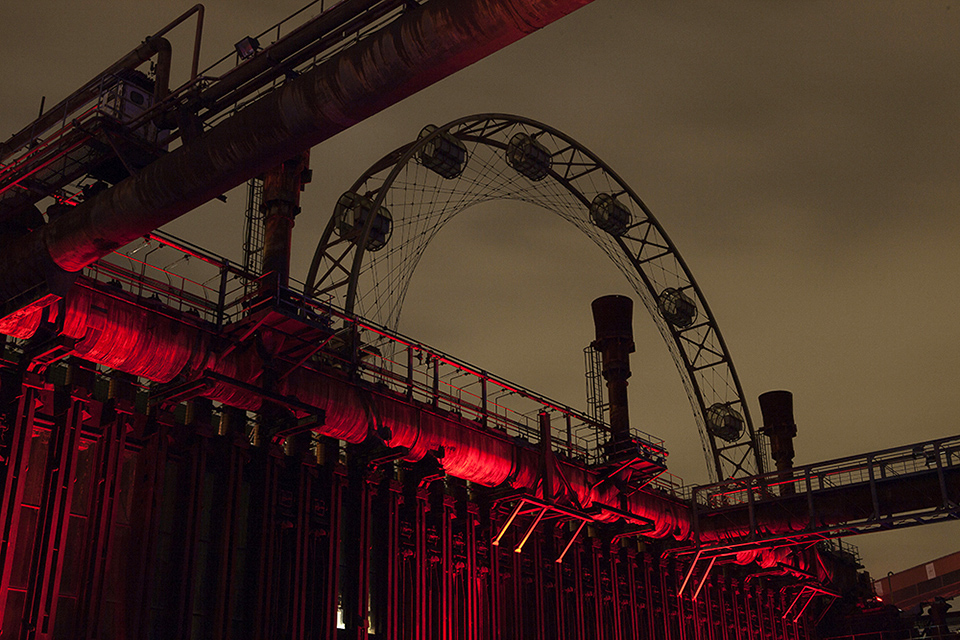
Contrast is the interplay between dark and light (or black and white). One stands out against the other. You can give contrast a supporting or leading role in your photo (or series).
You can also create contrast with two opposing colours in a photo, for example in a thematic sense. Think of a photo of a huge dog with a tiny lapdog next to it (in stark contrast). In this article, 6 tips for creating high-contrast images with the help of light.
1. Shooting direction
It is important to know where the light is coming from, so you can find and use contrast. If you photograph with the light, you often get evenly and neutrally exposed shots that are usually less exciting. Photographing against the light, on the other hand, often produces the most interesting and high-contrast photos.
The light creates shadows that stand out strongly against the lighter parts of your shot. When it is sunny, the contrasts are much stronger than when the weather is cloudy (with diffuse light).
2. Silhouette
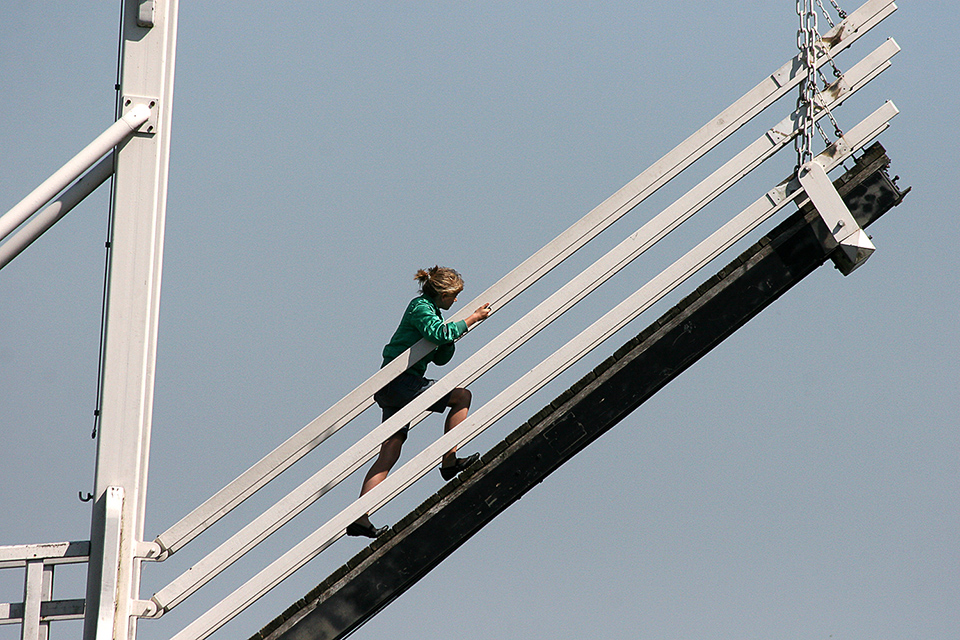
If you photograph against the sun, you can create a beautiful silhouette of any subject with the right settings. You get the best effect with subjects that have a recognisable outline or shape, such as a tree, an animal or a face.
It works best when the sun is low (at sunrise or sunset), as you can position your subject nicely just in front of the sun. Do not try this in automatic mode, because your camera will try to expose the scene as well as possible and you will not get a silhouette...
So use manual mode and focus on your main subject, underexposing the photo. Experiment to see how far you need to underexpose to get a good result. Sometimes you want to include some of the surroundings in your shot, and sometimes you do not.
3. Shadows
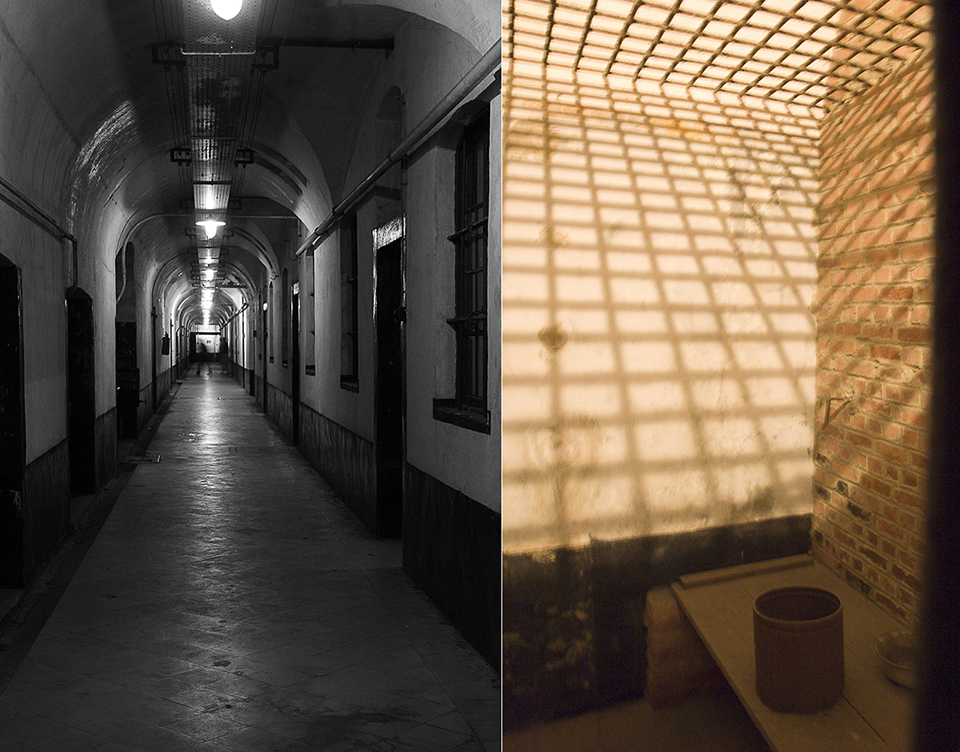
On sunny days, you can get beautiful contrasts through shadows. The light surroundings and sharp, dark shadows create tension, direction, depth and a duet of light in your shot.
When you think the light is too bright and flat for photography, go outside. It is precisely in full sun that you get the darkest and strongest shadows, with the interesting contrasts that naturally come with them.
Sometimes the shadow is even more interesting than the actual subject. Emphasise it, then increase the dark areas in post-processing for an even stronger effect
4. HDR for excessive contrast differences
Large contrasts in a photo make it more difficult to get a good exposure. If contrast is the main focus of your photo, exposing correctly is not that important, but in some cases you still want to get as close as possible to an ideal exposure.
In any case, keep a close eye on your histogram so you can see how the dark and light parts of your photo relate to each other. If your histogram 'clips' against the right-hand side, there are too many light areas in your photo. And if it is stuck completely against the left-hand side, you know that your shot contains too many dark, blocked-up areas.
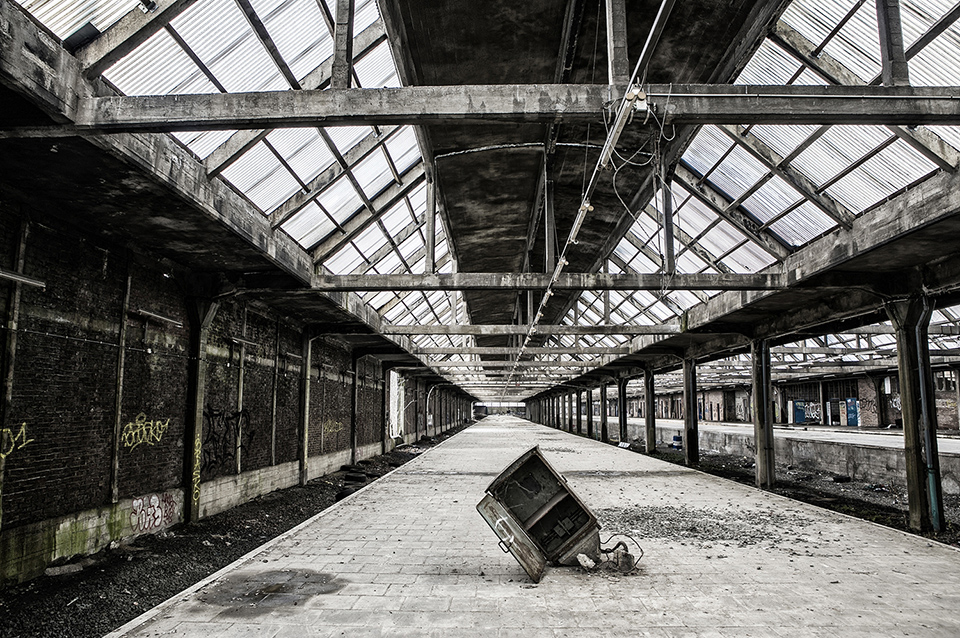
If this cannot be fixed by adjusting the aperture, shutter speed or ISO value, there is another option: HDR! You take the same photo several times, each time with a different exposure. Afterwards, you combine these differently exposed photos into one well-exposed image with a huge dynamic range.
5. Black and white
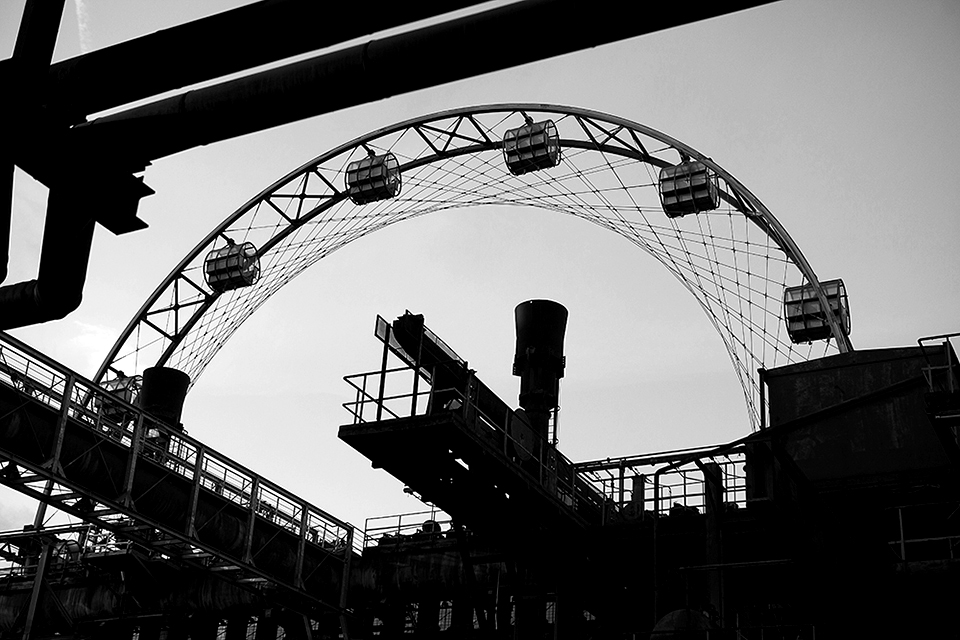
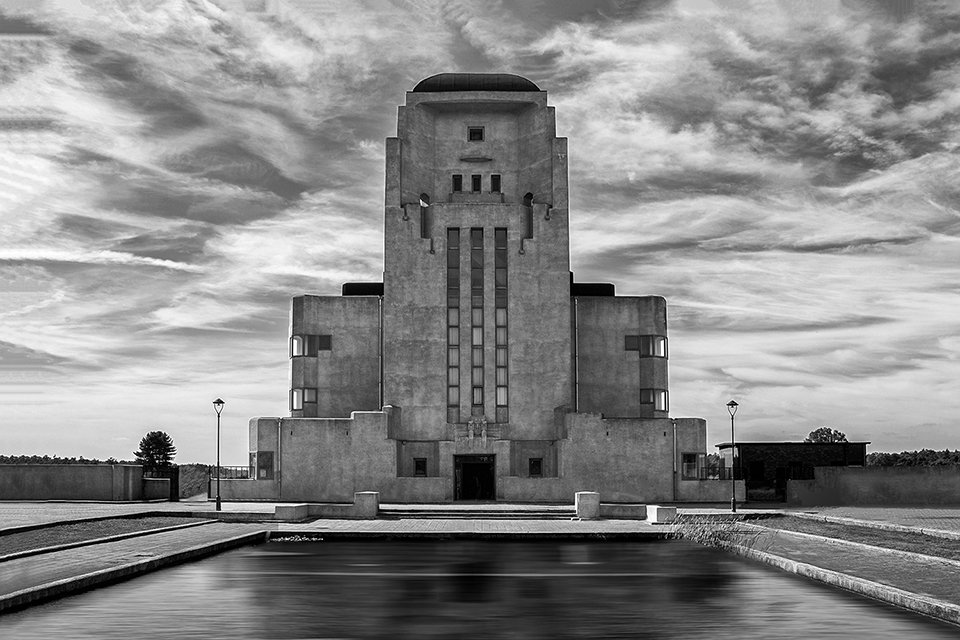
Contrasts often stand out even better in black-and-white photos because all unnecessary colour information has been removed. All that remains are lines, shapes and contrasts, making the latter much more interesting.
It is better not to set your camera to black and white. You can convert the colour image later in post-processing instead. This way, you still have all the colour information available and can see what works best for your photo. Make sure your colour photo contains enough 'real' black and white, so you get a powerful image.
If your photo mainly consists of shades of grey, you get a dull and flat image. It can also look good to add 'grain' to the photo, for example with a street photo. Think of Anton Corbijn's photos.
6. Post-processing
If the contrasts are really too high, even for your camera's dynamic range, you can still recover a lot of information from the dark and light areas of your photo in post-processing. Especially if you shoot in RAW.
And sometimes it does not matter if the photo consists mainly of black and white tones. If the shape and lines of your subject are strong enough, this can actually enhance the effect!
Want to know more about black-and-white photography?
At Photofacts Academy, we have several courses available that can help you convert colour photos to black and white properly. For example, the Lightroom Classic Tips & Tricks course. You can also learn a lot about creating a powerful black-and-white conversion in the Travel portrait in black and white course.
Finally, in the video The importance of contrast, you will learn about the different types of contrast.
You can follow these courses for two weeks with a free trial membership.
About the author
Michelle Peeters is fotografe en oprichter van DeuxBleus Fotografie. Michelle herkent het bijzondere in het gewone en het gewone in het bijzondere. Ze heeft zich nooit willen specialiseren en is daardoor van alle markten thuis.
You might also like
-
 Play with silhouettes
by Nando Harmsen
-
 Landscape photography tip: add contrast to your photo
by Nando Harmsen
-
 Prefer High Contrast in Your Nature Photos
by Nando Harmsen
-
 Silhouettes in nature photography
by Nando Harmsen
-
 Playing with black and white contrast in Lightroom Classic
by Nando Harmsen
-
 Tips for flat-lay food photography
by Elja Trum
1 comment
-
 Jos wrote on Thursday 8 August 2019 at 12:26 | reply
Great tips .
Translated from Dutch.
Something else to try out.
Have your say
Please note: Articles older than a week can only be commented on by signed-in visitors.Would you still like to comment? sign in or create a free account.
Become a better photographer every week
A practical photography tip in your inbox every week.
38,982 photography enthusiasts already receive the tips! More about the weekly mail. Or keep up to date via  Facebook.

Elja Trum
Photofacts; everything to do with photography!
Would you like to take better photos and keep up with what is happening in photography? Photofacts publishes articles that teach you something about photography — from a product announcement to a practical shooting tip or a look at a website. Photofacts covers photography every day and is a hobby project of Elja Trum's that got out of hand. The articles are written by a team of volunteer authors. If you would enjoy writing one or more articles for Photofacts, do get in touch.More about PhotofactsPhotofacts is made possible in part by
