

Landscape photography tip: add contrast to your photo
Thursday 7 January 2021, 20:02 by Nando Harmsen | 6,360 views | 4 commentsThis article was translated from Dutch with the help of AI. Read the original.
You take a photo of that beautiful sunset and what do you find? The entire foreground is very dark. But you have a good camera, and in Lightroom or Luminar, or any other photo editing programme, it is very easy to brighten that dark foreground.
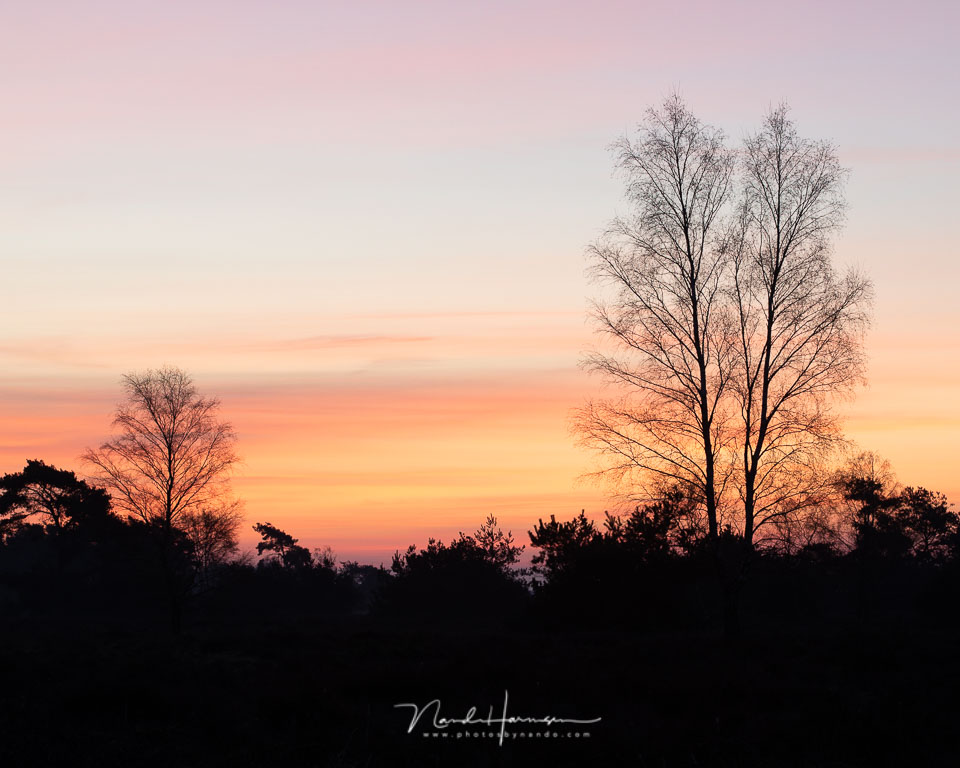
The result of brightening those dark areas is a very flat photo, without any contrast. There is no black left, and no white. Or very little of either. Your entire image is filled with midtones. Does this look familiar? Then your photo could use some contrast.
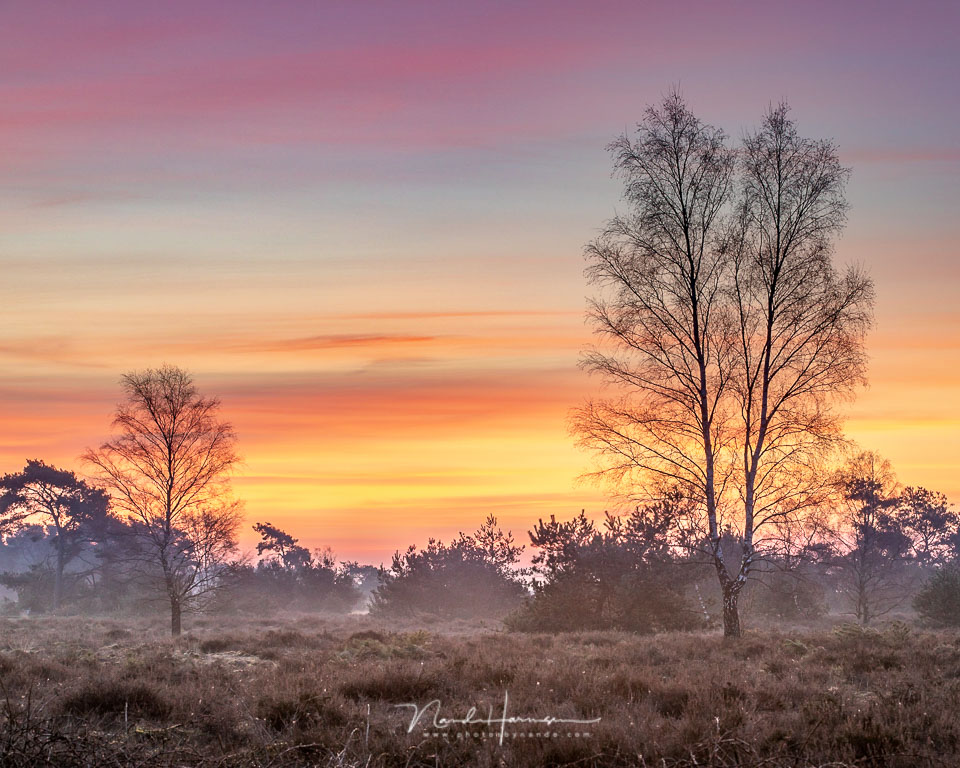
Contrast makes a photo more exciting and vibrant. It gives the photo depth and adds extra context. Don't be afraid to have dark areas in your photo, or light areas for that matter. It brings your photo to life.
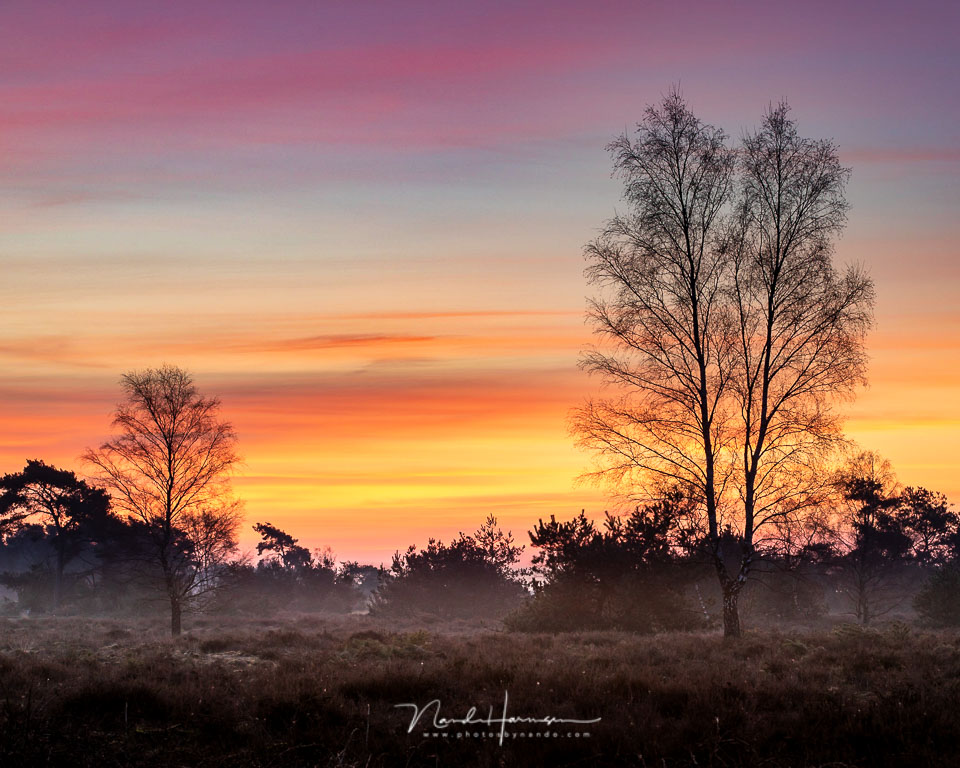
There is nothing wrong with brightening dark areas when you think it is necessary, but do it carefully. When you leave certain areas dark, they can draw attention in your photo and bring calm when there are lots of elements in the frame. It can also add a sense of mystery, making the viewer curious.
So be cautious about brightening all the shadows and reducing all the highlights. Avoid that flat photo without contrast and your photo will come more to life. Give it a try.
The Landscape Bible, with 101 tips for beautiful landscape photos
This tip is part of the book The Landscape Bible, in which I share 101 tips for beautiful landscape photos. The book, filled with stunning photos, gives you all the information you need to start taking fantastic landscape photos of your own.
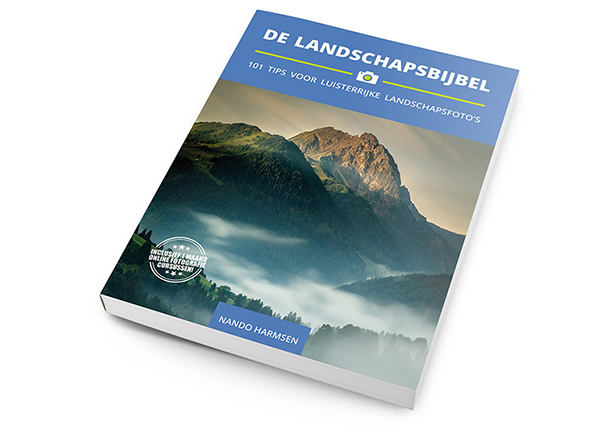
Don't have The Landscape Bible yet? Order it via the order page and buy the book separately, or at an attractive discount together with a Photofacts Academy membership.
About the author
Nando Harmsen has been photographing for more than 40 years. He specialises in wedding photography and landscape photography. Nando also gives talks, workshops, masterclasses and photo trips, and regularly reviews new and interesting equipment.
You might also like
-
 Prefer High Contrast in Your Nature Photos
by Nando Harmsen
-
 Playing with black and white contrast in Lightroom Classic
by Nando Harmsen
-
 5 Things You Should Never Do in Post-Processing
by Nando Harmsen
-
 Play with silhouettes
by Nando Harmsen
-
 Landscape photography tip: exposure to the right
by Nando Harmsen
4 comments
-

 Donald Willemsen
wrote on Tuesday 12 January 2021 at 10:43
| reply
Donald Willemsen
wrote on Tuesday 12 January 2021 at 10:43
| reply
@Nando, great article. Isn't it also a matter of taste or the fashion of the era?
Translated from Dutch.
You show the same photo 3 times. Once as it comes out of the camera, the 2nd time with the dark areas lightened and the 3rd as you prefer it. I have every understanding for that, but what strikes me is that photo 2 shows more atmosphere because the low-lying mist is clearly visible and thereby determines the atmosphere in the photo. In photo 3, that atmosphere is lost, I think. Moreover, it makes sense that mist results in a much less contrasty image. I would like to hear your opinion on my contribution. -

-
 Edvhoto wrote on Tuesday 12 January 2021 at 12:22
| reply
Edvhoto wrote on Tuesday 12 January 2021 at 12:22
| reply
@Nando, agree with Donald: another interesting article to read and to take into account when editing. As for your 'bible': definitely worth it and read, looked at and read again with pleasure
Translated from Dutch. .
. -
Donald Willemsen
wrote on Tuesday 12 January 2021 at 12:23
| reply
@Nando, thanks for the explanation. When I look at the 2nd photo, I really got the impression of low-hanging fog. So I was wrong.
Translated from Dutch.
Have your say
Please note: Articles older than a week can only be commented on by signed-in visitors.Would you still like to comment? sign in or create a free account.
Become a better photographer every week
A practical photography tip in your inbox every week.
39,077 photography enthusiasts already receive the tips! More about the weekly mail. Or keep up to date via  Facebook.

Elja Trum
Photofacts; everything to do with photography!
Would you like to take better photos and keep up with what is happening in photography? Photofacts publishes articles that teach you something about photography — from a product announcement to a practical shooting tip or a look at a website. Photofacts covers photography every day and is a hobby project of Elja Trum's that got out of hand. The articles are written by a team of volunteer authors. If you would enjoy writing one or more articles for Photofacts, do get in touch.More about PhotofactsPhotofacts is made possible in part by
