

Creating an HDR photo with movement in the frame
Sunday 12 June 2022, 13:31 by Nando Harmsen | 5,641 views | 0 commentsThis article was translated from Dutch with the help of AI. Read the original.
Creating an HDR photo from an exposure bracket can be very easy. A few presses of the button and you have an HDR image. But movement in the frame does not always produce the result you want. In this article, I show how I edit a photo of the Opal Coast into an HDR image.
It can be that easy. Put the camera on a tripod, set automatic bracketing, turn on the self-timer, and the exposure bracket is done. Merging the images is just as easy with Lightroom Classic, Photoshop, Photomatix, Aurora or Nik HDR Efex. Until there is movement in the photo.
Movement makes it difficult or even impossible to align everything in the photo perfectly. You soon get ghosting, or ghost images. In most cases, this is unwanted. Except when it involves water, because that can look good.
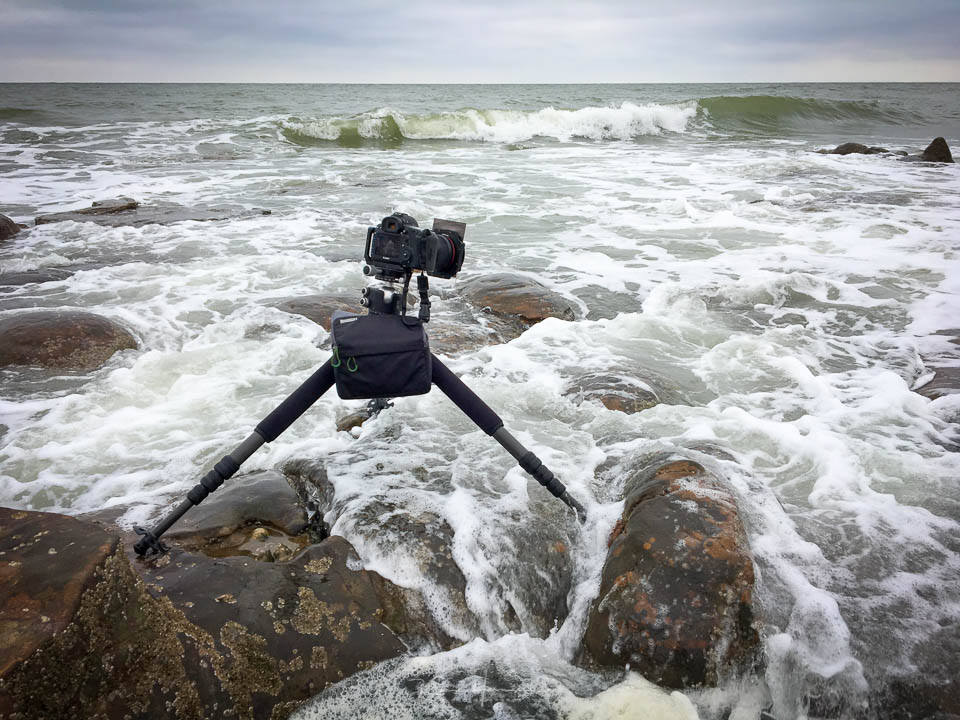
With moving water, the movement is averaged out between the photos, making it look as if you used a longer shutter speed. Even so, there are situations where this produces unwanted effects.
The photo I took during one of my long-exposure masterclasses on the Opal Coast is a good example.
The situation
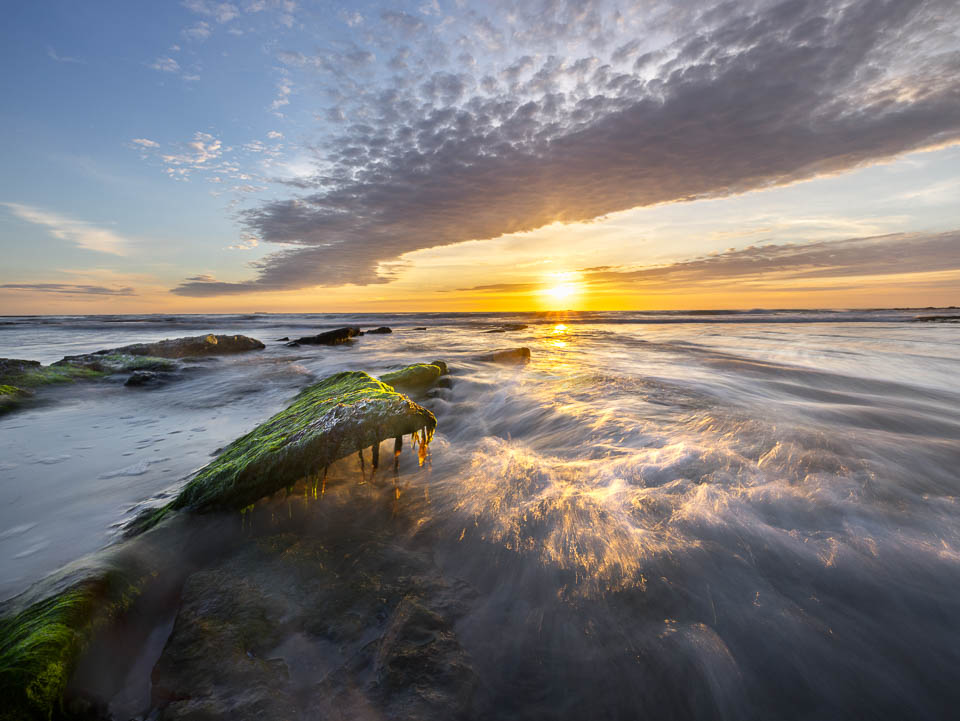
The photo was taken during sunset, with the tide going out, which is quite important because the difference in height between low and high tide can be as much as 9 metres. The difference in brightness between the sky and foreground is so large that the camera cannot capture it.
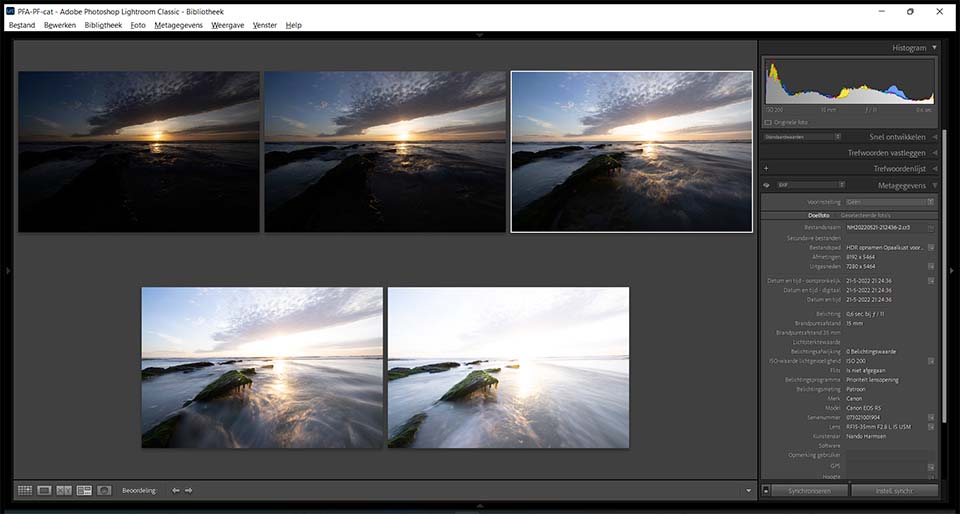
You can capture this dynamic range in multiple photos with an exposure bracket. That is what I did, using shutter speeds ranging from 1/10 of a second to 4 seconds. The aperture and ISO were kept the same.
Merging in Lightroom Classic
I merged the five photos in Lightroom Classic into an HDR image. Of course, you can also use the software packages mentioned earlier for this.
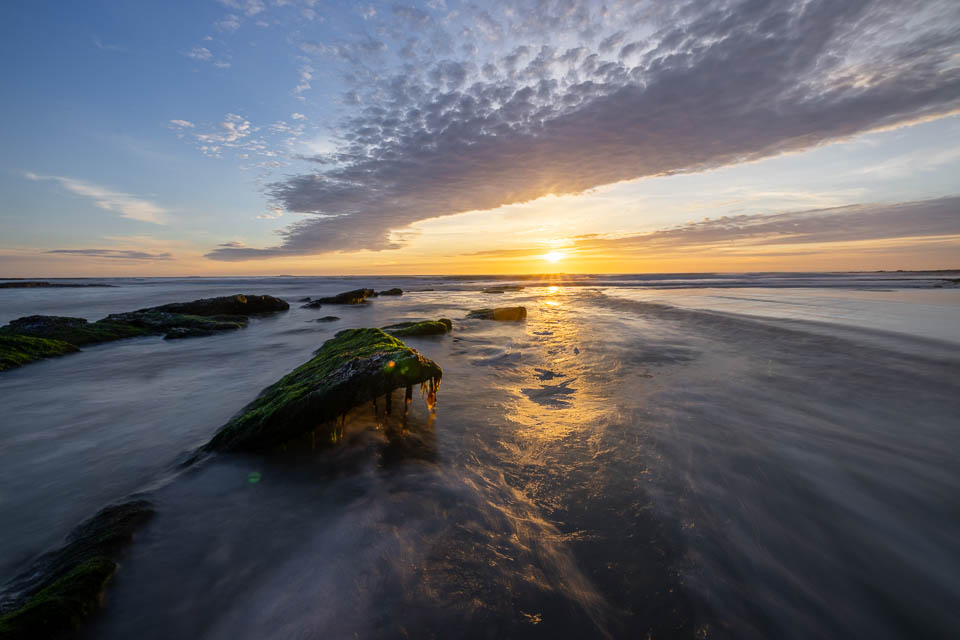
If you do not take the movement into account, you can see how the movement of the water is averaged out. There are two problems, though. First, the water does not look the way I want it to, and second, an ugly spot has appeared in the reflections of the light.
If I choose to enable ghost removal, I have to wait and see which photo Lightroom Classic uses to remove the ghosts. There is no control over this. In this case, Lightroom Classic chooses a dark photo and lifts the shadows. The result is a lot of noise in that part of the image.
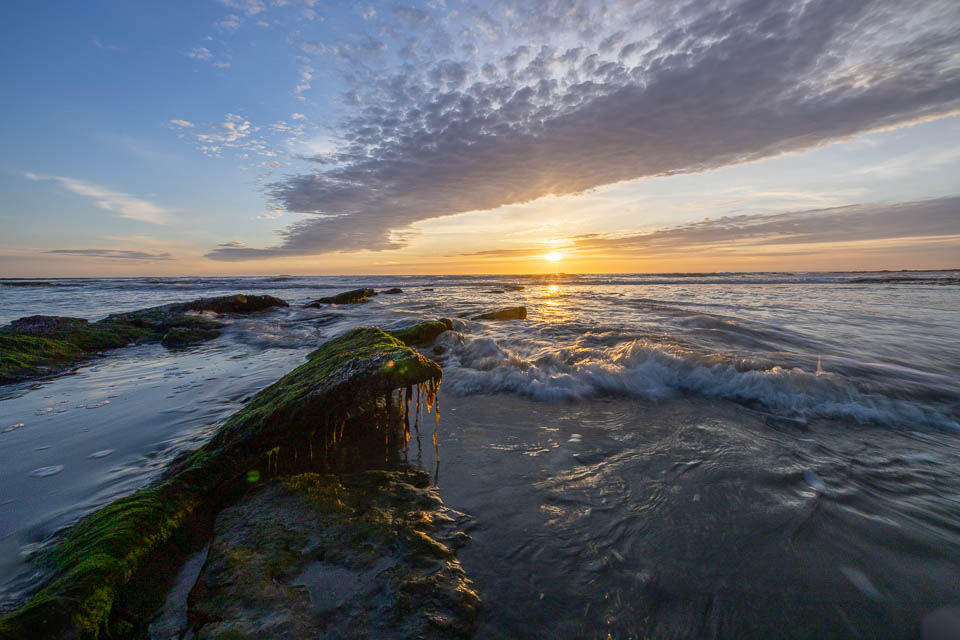
Unfortunately, this is not the look I want for the water either. I do not like the shape of the wave. But there is one photo in the exposure bracket with a fantastic section of water, and that is what I want to see again.
So the HDR function does not work in this case. The solution is to use layers and masks in Photoshop.
Merging in Photoshop
For this method, I first edit the photos into a preliminary result in Lightroom Classic. I then send all the photos to Photoshop. They are automatically placed in layers if I choose that option. This option is available in Lightroom Classic.
With layers and masks, I can now show the parts of the photo that I want to show. The water from one photo, the rocks from another, and the sky from yet another photo. This lets me decide for myself what the photo will look like, rather than leaving it up to the software.
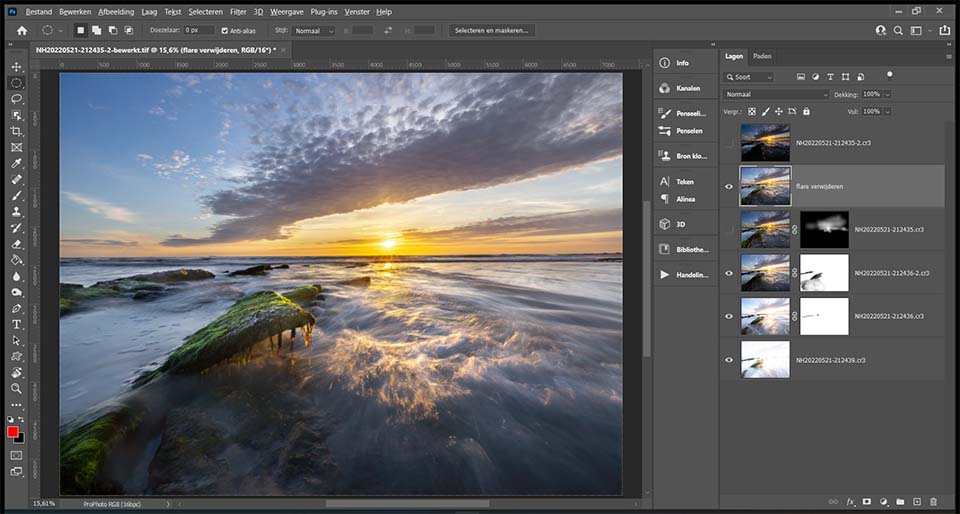
The photo the way I want it
By working with layers and masks, you have complete control over merging the photos. You can work with a brush in a mask yourself, or use luminosity masks, but the principle is almost the same.
This way of merging an exposure bracket is of course not always necessary. When there is little or no movement in your photo, the need is much lower and a normal HDR merge can work perfectly.
But when there is movement, this method gives you much more control over the final result.
About the author
Nando Harmsen has been photographing for more than 40 years. He specialises in wedding photography and landscape photography. Nando also gives talks, workshops, masterclasses and photo trips, and regularly reviews new and interesting equipment.
You might also like
-
 Long Exposures on the Opal Coast
by Nando Harmsen
-
 An HDR photo is just a photo
by Nando Harmsen
-
 Stormy weather is the best ingredient for landscape photography
by Nando Harmsen
-
 Review: HDR and Dynamic Range Course
by Martin van Rooij
-
 Programme your camera for HDR
by Nando Harmsen
-
 Edit an HDR like a normal photo
by Nando Harmsen
0 comments
Be the first to share what you think!
Have your say
Please note: Articles older than a week can only be commented on by signed-in visitors.Would you still like to comment? sign in or create a free account.
Become a better photographer every week
A practical photography tip in your inbox every week.
39,079 photography enthusiasts already receive the tips! More about the weekly mail. Or keep up to date via  Facebook.

Elja Trum
Photofacts; everything to do with photography!
Would you like to take better photos and keep up with what is happening in photography? Photofacts publishes articles that teach you something about photography — from a product announcement to a practical shooting tip or a look at a website. Photofacts covers photography every day and is a hobby project of Elja Trum's that got out of hand. The articles are written by a team of volunteer authors. If you would enjoy writing one or more articles for Photofacts, do get in touch.More about PhotofactsPhotofacts is made possible in part by
