

Programme your camera for HDR
Monday 4 July 2022, 16:32 by Nando Harmsen | 5,764 views | 2 commentsThis article was translated from Dutch with the help of AI. Read the original.
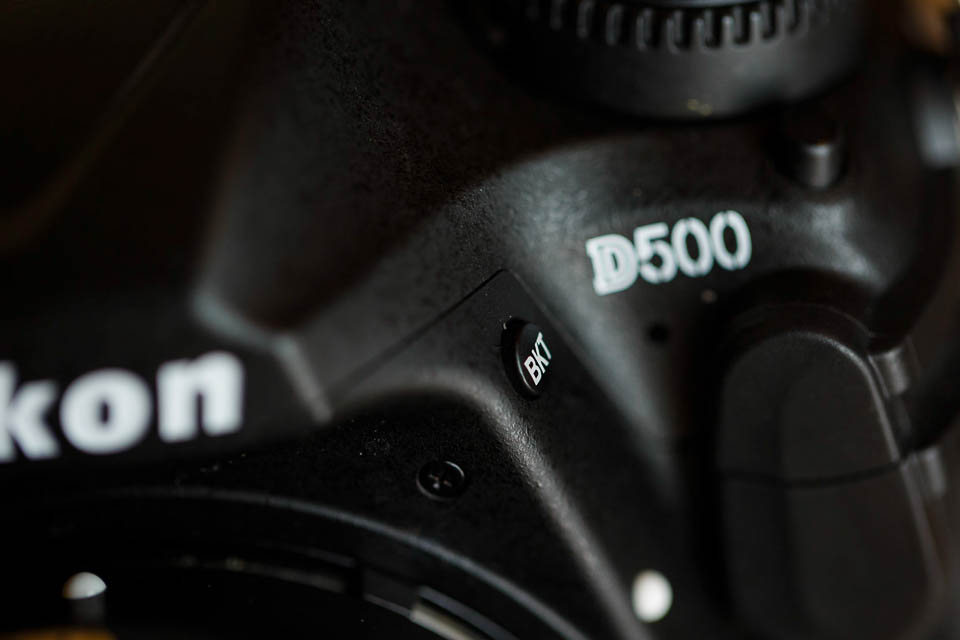
To create an HDR image, you need to make an exposure bracket. This is abbreviated to BKT, and is sometimes shown as AEB, or Automatic Exposure Bracketing.
This can require quite a few changes to your settings. Why not programme your camera for when you want to take an HDR photo?
If the dynamic range of a scene is greater than the camera sensor can record, you end up with blown-out highlights or blocked-up shadows in your photo. Or both, because that can happen too. Although you can often still recover some very dark areas, you can no longer do that with pure white areas in your photo.
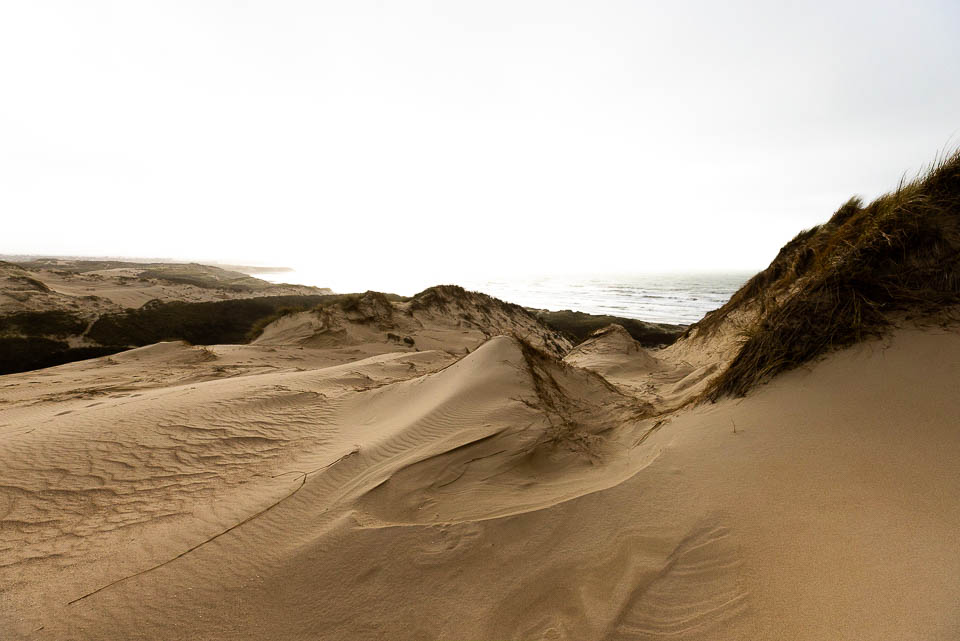
The solution is an HDR photo, a composite image made up of several photos, each with a different exposure. Put simply, one photo for the highlights, one photo for the shadows, and one photo in between. This is called an exposure bracket, or exposure bracketing.
Settings for AEB or BKT
What should you preferably pay attention to in your camera settings when making an exposure bracket? Obviously, you need to activate your camera's BKT or AEB function.
Sometimes this is easy, while at other times it can be hidden deep in the menu. It depends entirely on which make and model of camera you use.
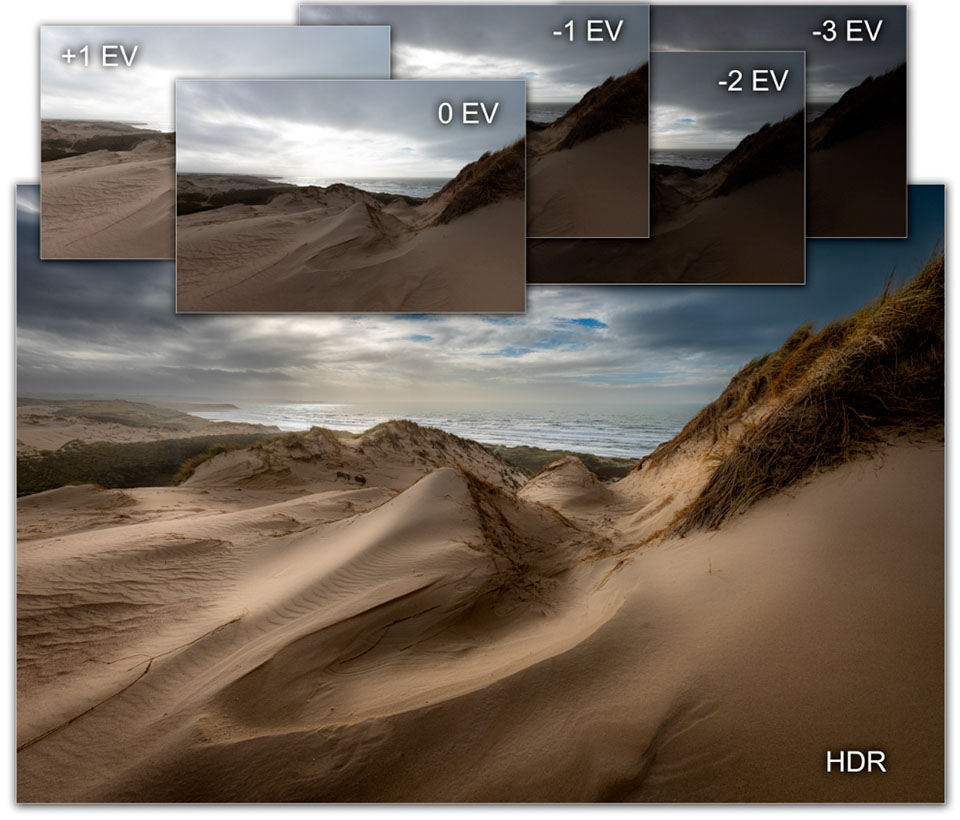
But that's not all. You probably want average metering over the entire image as a starting point. Then set steps of 1 or 2 stops.
You preferably want a fixed white balance, continuous shooting, a self-timer, and perhaps even the autofocus set to a particular value. Aperture priority is desirable, with a low ISO and a small aperture.
If you have to set all this, it can take quite some time, and you might overlook something while setting up your camera. Why not use one of your camera's programme modes? Then everything is set in a single action.
Create a custom setting for your bracketing
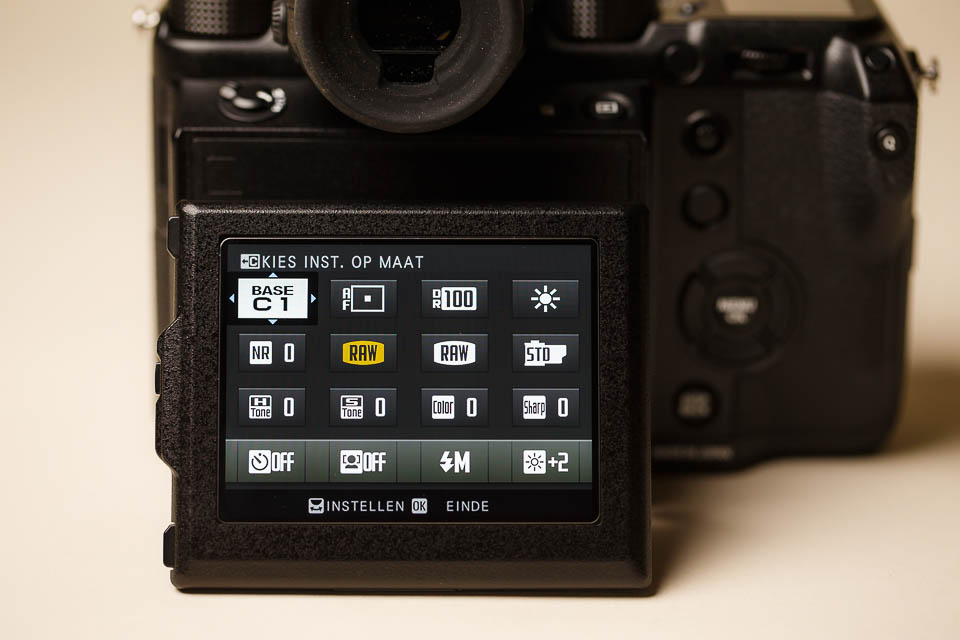
On Canon cameras, you will find these programme modes as C1, C2 and C3 (Custom 1, 2, 3). Nikon calls them U1, U2 and U3 (User 1, 2, 3). Sony uses the numbers 1, 2 and 3. Fujifilm has nine available in the Q menu. Programme one of these modes for your bracketing photography.
When you are on location, all you have to do is put the camera on a tripod and use the programmed mode. For example, C1, U1, or number 1 on Sony. If you still want to change a setting, that is often possible.
Find out how it works on your camera, and which settings you can programme in this way. This can vary between camera makes and models. Often, it is simply a matter of setting everything correctly and saving it to the button. It can be that simple.
It doesn't have to be perfect straight away
If you are not sure which settings you want to programme under that button, you can of course always change them later. You don't have to get it right the first time.
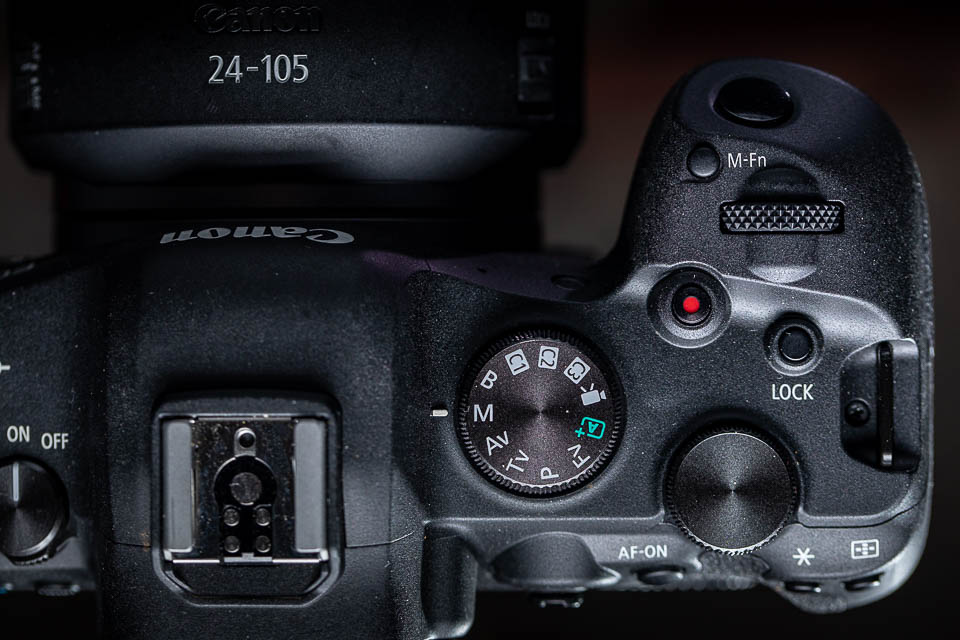
After setting this up, you will still have one or two extra programmable buttons left. You can programme those for a particular type of photography too. This lets you completely adapt your camera in a single action. Handy, isn't it?
About the author
Nando Harmsen has been photographing for more than 40 years. He specialises in wedding photography and landscape photography. Nando also gives talks, workshops, masterclasses and photo trips, and regularly reviews new and interesting equipment.
You might also like
-
 Exposure bracketing without a tripod
by Nando Harmsen
-
 Exposure bracketing instead of brightening dark areas
by Nando Harmsen
-
 Review: HDR and Dynamic Range Course
by Martin van Rooij
-
 HDR: What do you mean?
by Rob IJsselstein
-
 Got flare in your HDR photo? Remove it with your finger
by Nando Harmsen
-
 How many shots do you need for an HDR?
by Nando Harmsen
2 comments
-
 Mac wrote on Tuesday 5 July 2022 at 10:54 | reply
It really is nice and easy with Pentax.
Translated from Dutch.
You set what you want (HDR basically always Av).
Then you indicate how many photos you want (max 5) and which exposure step, all under the button the button shooting mode.
I never understood why some manufacturers hide bracketing so deep in the menu. In the analogue era most cameras had a button for it as standard. -
 Doede Douma wrote on Tuesday 5 July 2022 at 14:40 | reply
A very nice solution ! I use C1 and C2 on my Canon camera for bird photography, but HDR is increasingly coming into play. You can use 3 exposures, -1,0,+1, but sometimes you need more. Is it with 5 exposures: +1,0,-1,-2,-3 ?
Translated from Dutch.
Have your say
Please note: Articles older than a week can only be commented on by signed-in visitors.Would you still like to comment? sign in or create a free account.
Become a better photographer every week
A practical photography tip in your inbox every week.
39,079 photography enthusiasts already receive the tips! More about the weekly mail. Or keep up to date via  Facebook.

Elja Trum
Photofacts; everything to do with photography!
Would you like to take better photos and keep up with what is happening in photography? Photofacts publishes articles that teach you something about photography — from a product announcement to a practical shooting tip or a look at a website. Photofacts covers photography every day and is a hobby project of Elja Trum's that got out of hand. The articles are written by a team of volunteer authors. If you would enjoy writing one or more articles for Photofacts, do get in touch.More about PhotofactsPhotofacts is made possible in part by
