

Exposure with aperture, shutter speed and ISO
Tuesday 17 August 2021, 20:20 by Marco de Groot | 4,932 views | 2 commentsThis article was translated from Dutch with the help of AI. Read the original.
Photography literally means 'writing with light'. Three factors that affect exposure are aperture, shutter speed and ISO. Yet exposure does not determine the choice of these three elements. It is a creative choice.

The sensor
The light reflected by the subject enters the camera body through the lens. There it is projected onto the sensor. This consists of millions of photosites, or pixels (12 megapixels means 12 million pixels).
You can think of a photosite as a bucket that fills with light. An empty bucket is translated into black and a full bucket into white.
When a bucket is full, it will overflow into the neighbouring photosites. Several full photosites create a bleached-out white area, meaning the photo is overexposed.
When the amount of light in several photosites does not reach a certain threshold, this creates a solid black area, meaning the photo is underexposed. The amount of light let through must therefore not be too much, but not too little either.
3 factors that determine the amount of light let through
• Aperture
The lens contains an aperture made up of blades. These blades can be used to make the aperture opening larger or smaller. A large opening lets in a lot of light, which is a low f-number. A small opening lets in little light, which is a high f-number.
• Shutter speed
The sensor is covered by a shutter curtain. When the photo is taken, the first curtain opens, after which the second curtain closes.
Shutter speed is the length of time the shutter remains open and determines the amount of light let through. If the shutter remains open for a long time, a lot of light is let through. If the shutter remains open for a short time, little light is let through.
Shutter speed is shown as fractions of a second. 1/60 of a second lets in less light than 1/30 of a second.
• ISO
ISO indicates the light sensitivity of the sensor. At a higher ISO setting, the current is increased, meaning the sensor needs less light. Increasing the ISO setting causes noise. Noise looks like stray image points and is rarely attractive.
The creative effect of these 3 factors
It should be clear that aperture, shutter speed and ISO determine the amount of light let through. Yet this is only a side effect.
These three have a much more important function, which shapes the creative effect of the photo. Let's look at all three again.
• Aperture
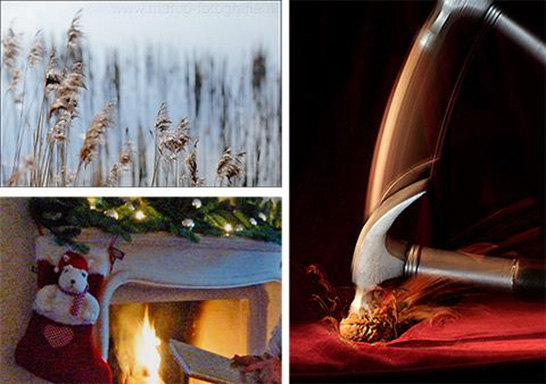
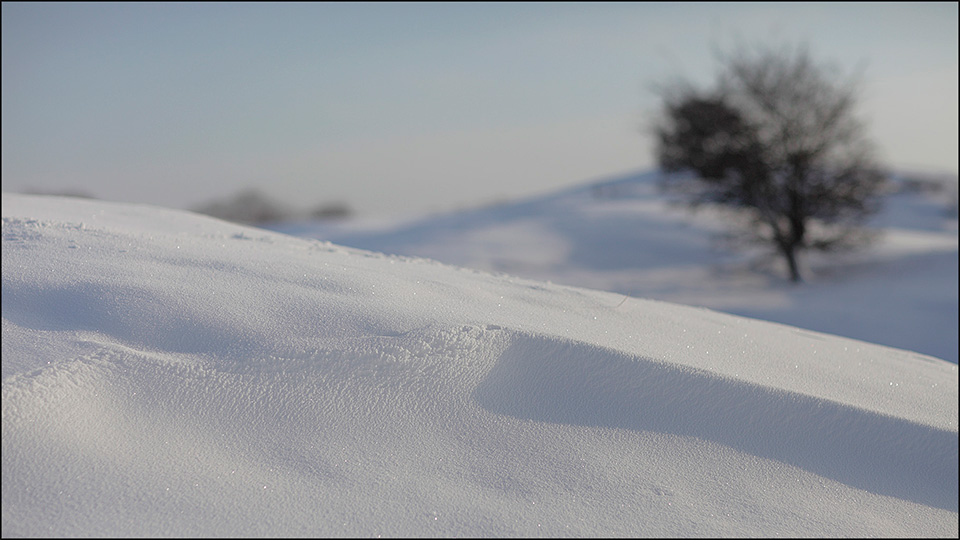
A large aperture opening, which means a low number, gives a shallow depth of field. The focused subject is sharp, while the foreground and background are blurred.
A small aperture opening, which means a high number, gives a large depth of field. The foreground, subject and background are sharp.
A useful way to remember this is 'low is blurry'.
• Shutter speed
The photographer holding the camera is shaking. When this movement is too great in relation to the shutter speed, motion blur occurs.
A rule of thumb is 1/60 when shooting handheld. At a shutter speed slower than 1/60 of a second, the camera should be placed somewhere stable, such as on a tripod.
If you deliberately choose a slow shutter speed with the camera on a tripod, stationary objects will be sharp, while the moving subject will be shown as a streak. This adds dynamism to the photo.
If you want to photograph a fast-moving subject such as a car without motion blur, freezing it, choose a fast shutter speed such as 1/1,000 of a second.
• ISO
A high ISO setting causes noise, and noise is always ugly. Start with the lowest possible ISO setting for the least noise.
Important: Exposure is a side issue
The combination of aperture, shutter speed and ISO is determined by the photographer's creative choice, not by the amount of light. So what is the order of operations:
• Set the lowest possible ISO setting for the least noise.
• The photographer decides whether priority lies with depth of field or motion blur.
• When depth of field is the priority, the photographer starts by setting the correct aperture. The amount of light let through is compensated for with the shutter speed to achieve the correct exposure.
• When motion blur is the priority, the photographer starts by setting the correct shutter speed and the amount of light let through is corrected with the aperture.
• In A-(V), T-(V) or S mode, the camera looks for the correct combination itself. In M mode, the photographer sets the combination based on the light reading.
• Only if the desired combination of shutter speed and aperture is not possible can the photographer choose a higher ISO setting. The increased noise is accepted.
• Focus, compose correctly and press the shutter.
Don't forget that aperture, shutter speed and ISO determine the sharpness in the photo. Exposure is a side issue.
Manual exposure
I believe the photographer should be in charge of the camera. In a semi-automatic mode, there is a risk that the camera becomes in charge of the photographer, meaning they no longer understand what is happening.
So set the camera to M mode. Take ISO off automatic and start with the lowest ISO setting. The camera is now fully manual and will no longer set anything itself. The photographer is in charge.
For a precise light reading, set the light meter to spot metering. The light meter now measures the light reflected by the subject in the centre of the viewfinder.
Note: The camera is being operated manually. The light meter itself does not set a combination of shutter speed, aperture and ISO. But the combination of aperture, shutter speed and ISO set by the photographer affects the position of the light meter.
The biggest misconception
'When the light meter is at 0, it produces a correctly exposed photo'. This is a false assumption and is not necessarily true.
When the light meter is at 0, this means that the subject visible in the centre of the viewfinder will have average brightness in the photo.
It will not be black or white, but will have a brightness exactly in between. A face has average brightness by itself and is a good object on which to base the light reading.
When the camera makes a different composition and a black object is visible in the centre of the viewfinder, the light meter moves towards the - sign.
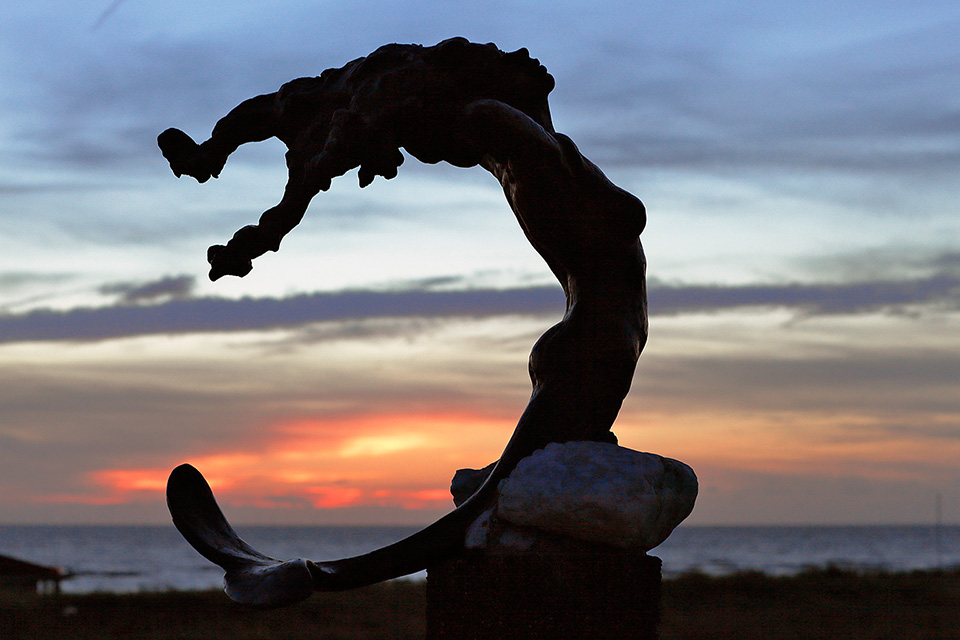
The set combination of aperture, shutter speed and ISO does not change, as the camera is manual. The light meter only indicates that the black subject, which is now visible in the centre of the viewfinder, will be darker than average brightness at the set exposure.
Well, that's exactly right, because it should be black. Everyone tends to correct the combination of aperture, shutter speed and ISO until the light meter is back in the middle. Don't do that!!! Otherwise, you will make the same mistake that the camera would make in semi-automatic mode.
When a white subject is in the centre of the viewfinder, the light meter is actually supposed to move towards the + sign.
A white object should be shown as lighter than average brightness, namely as white in the photo. Don't forget that the light meter does not make a setting in manual mode. It only measures the amount of light reflected by a particular subject.
If a different subject is measured, the measured value changes too. The light meter sets nothing, but the setting affects the light meter.
The histogram replaces the light meter
Most cameras show a live histogram on the LCD screen while taking photos. The histogram is a graphic representation of the pixel brightness in the photo.
The horizontal axis shows brightness. The dark areas are on the left and the light areas on the right.
The middle section is not very interesting. It can take any shape and is always fine. The vertical axis shows the relative number of pixels representing a particular brightness.
Because the photographer does not want bleached-out whites or solid blacks, the base of an ideal histogram ends precisely in the bottom corners on both the left and right.
When the histogram touches the right edge, the highlights are blown out. When the histogram touches the left edge, the shadows are blocked up.
When the subject contrast is too great, the histogram does not fit within the graph. Expose so that the histogram ends in the bottom-right corner.
It can touch the edge on the left, because blocked-up dark areas can still be reasonably recovered in photo-editing software. Blown-out light areas cannot be saved.
Just like the light meter, the histogram does not set anything. It responds to the combination of ISO, aperture and shutter speed set by the photographer. The histogram replaces the light meter but provides much more information.
This is how you use technique to add creative value to the photo. Good luck with it.
About the author
Marco de Groot brengt zijn passie voor fotografie graag over op anderen. Hij is al docent fotografie sinds 1989 voor zijn eigen bedrijf Oog in het Zeil. Hij houdt een oogje in het zeil tijdens het leerproces van zijn cursisten.
You might also like
-
 Why the crop factor also affects depth of field
by Nando Harmsen
-
 Converting focal length to full-frame is pointless
by Nando Harmsen
-
 Would you consider a camera with an M43 sensor?
by Nando Harmsen
-
 Ricoh announces the GR IV Monochrome camera
by Nando Harmsen
-
 Why yellow likes blue (and vice versa)
by Martin van Rooij
-
 What does a photoshoot by ChatGPT look like?
by Elja Trum
2 comments
-

 Donald Willemsen
wrote on Thursday 19 August 2021 at 01:10
| reply
Donald Willemsen
wrote on Thursday 19 August 2021 at 01:10
| reply
A clear story and explained very understandably. A beginner can certainly learn a lot from this. Of course, you do need to have a camera on which something can be adjusted.
Translated from Dutch. -
 Marco de Groot wrote on Monday 23 August 2021 at 10:56 | reply
Hi Donald,
Translated from Dutch.
Thanks for the compliments. Obviously, you need a camera with which you can set the aperture, ISO and shutter speed. Nowadays people take photos with a smartphone, (then this story is of little use to you), or you take photos with a camera. You can make these settings on virtually every modern camera.
Have your say
Please note: Articles older than a week can only be commented on by signed-in visitors.Would you still like to comment? sign in or create a free account.
Become a better photographer every week
A practical photography tip in your inbox every week.
39,079 photography enthusiasts already receive the tips! More about the weekly mail. Or keep up to date via  Facebook.

Elja Trum
Photofacts; everything to do with photography!
Would you like to take better photos and keep up with what is happening in photography? Photofacts publishes articles that teach you something about photography — from a product announcement to a practical shooting tip or a look at a website. Photofacts covers photography every day and is a hobby project of Elja Trum's that got out of hand. The articles are written by a team of volunteer authors. If you would enjoy writing one or more articles for Photofacts, do get in touch.More about PhotofactsPhotofacts is made possible in part by
