

Have you photographed comet NEOWISE yet? Be quick before it's too late
Tuesday 14 July 2020, 20:02 by Nando Harmsen | 5,574 views | 0 commentsThis article was translated from Dutch with the help of AI. Read the original.
It can hardly have escaped your notice, because alongside the fairly small articles on news websites, social media has been flooded with photos of comet NEOWISE. That is hardly surprising, because it has been a very long time since we last had a comet visible to the naked eye.
In 2007, the great comet c/2006 p1 McNaught was a sensational sight in the sky. In the Southern Hemisphere, that is. Sadly, we missed it. But now we have NEOWISE, which may not be as spectacular as McNaught, but is certainly worth seeing.
NEOWISE is a comet that is now returning to the distant, cold regions of the solar system. It has already completed its orbit around the sun, and will not return for another 7,000 years. As NEOWISE moves further away from the sun, it will also fade fairly quickly, eventually becoming invisible to the naked eye. But it has not gone that far yet.
The comet will remain in the sky throughout July. In August too, but its brightness will probably have faded so much that we will not see anything without a telescope.
The video below by Paulo Girotti, which appeared on APOD (Astronomy Picture of the Day), shows the comet together with noctilucent clouds.
Where can you find comet NEOWISE?
It is therefore important to photograph the comet in the coming weeks, if you have not already done so. All you need is a camera, a standard or telephoto lens, and a tripod.
About an hour after sunset, NEOWISE appears in the sky. Look towards the north and find a faint spot low in the sky. Use a map, such as the one on the hemel.waarnemen.com website, to find the comet more easily.
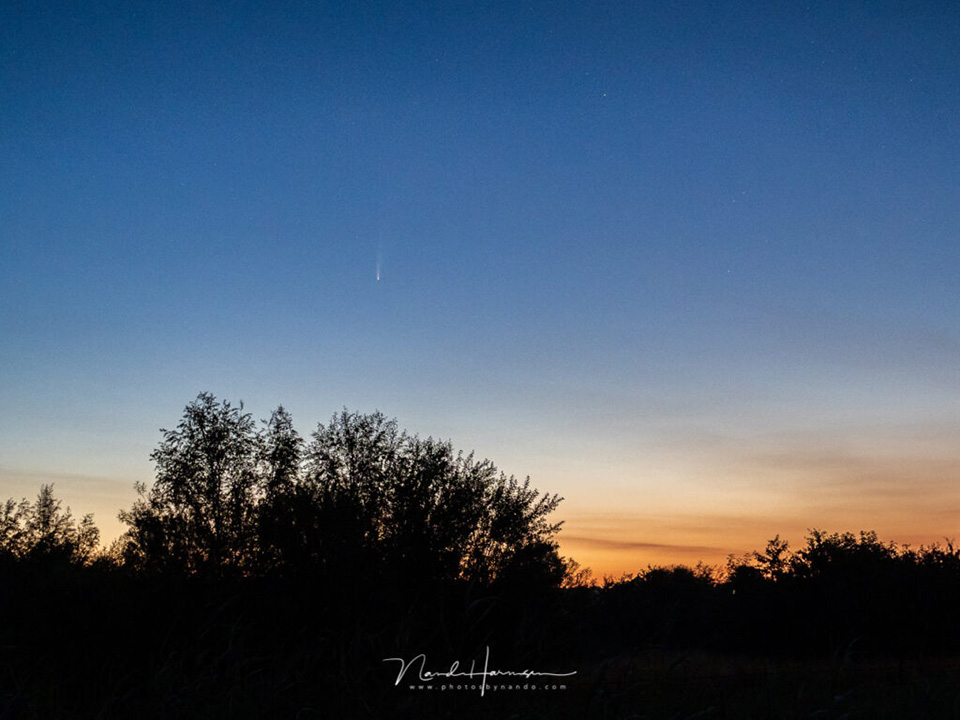
A dark location is recommended, although the comet can also be seen from a city if you know where to look. Binoculars help you see the comet's tail, but a camera and a small telephoto lens work even better. Of course, you need a clear view of the horizon.
What about exposure?
When you start photographing, setting the exposure depends on your focal length. At least, if you do not want the comet to move in the photo. So do not make your exposure time too long.
- Open the aperture as far as possible
- Try to calculate the exposure time using the rule of 600
- Set the exposure using the ISO value
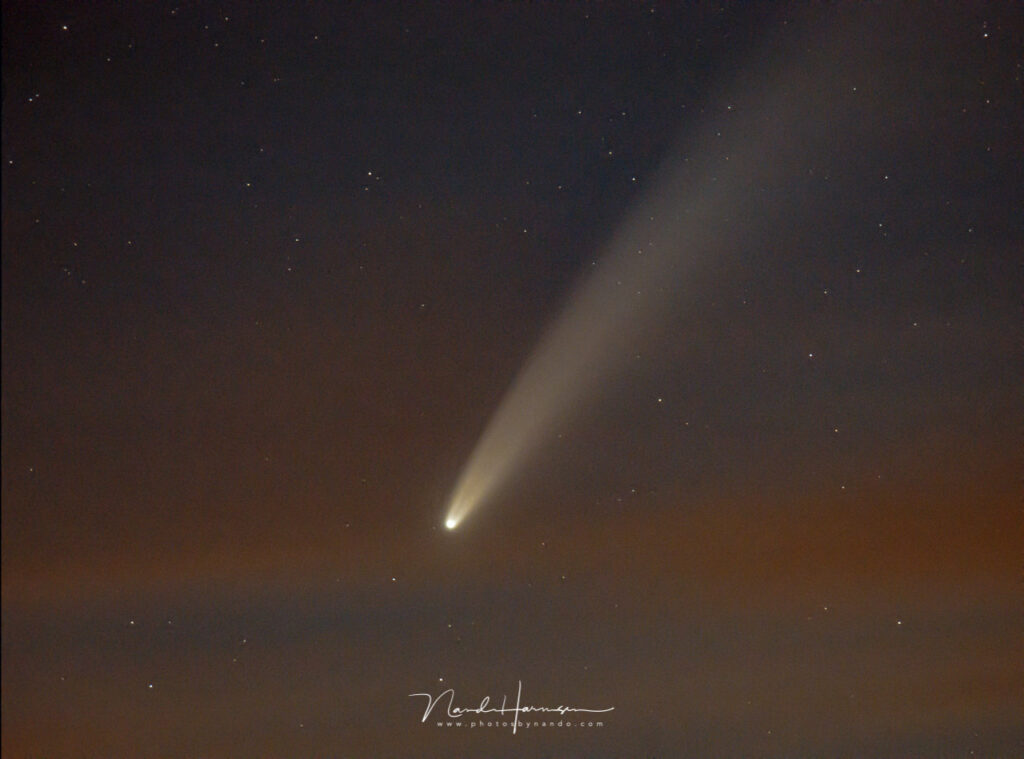
The rule of 600 says that you will get stars in the photo instead of trails when you divide 600 by the focal length multiplied by the crop factor. If you expose for longer than that shutter speed, in seconds, the comet will also become a short trail.
So try to control your exposure using the ISO value, as long as it does not become too high. You do not want an excessive amount of noise either. If you have experience with stacking photos, you can filter out some of the noise by stacking multiple exposures.
Head out too
Keep an eye on the weather forecast over the coming weeks and look towards the northern sky after sunset. If it is clear and there are no clouds, take your chance and try to photograph NEOWISE.
Make sure you have already found a beautiful location, or perhaps even several, and head out when the opportunity arises. If you provide a really beautiful foreground that is not too busy, I am sure the photos will be wonderful.
My results
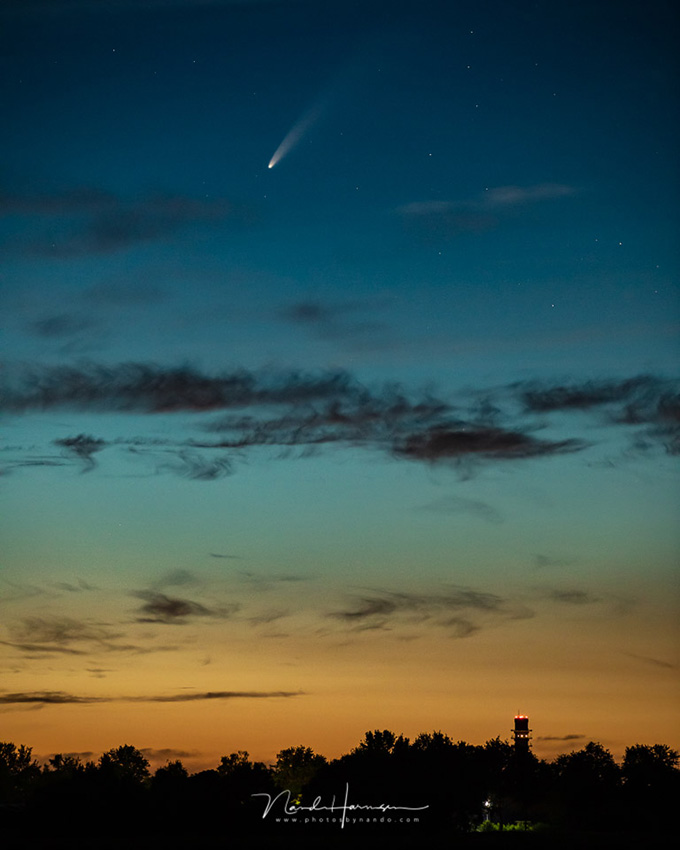
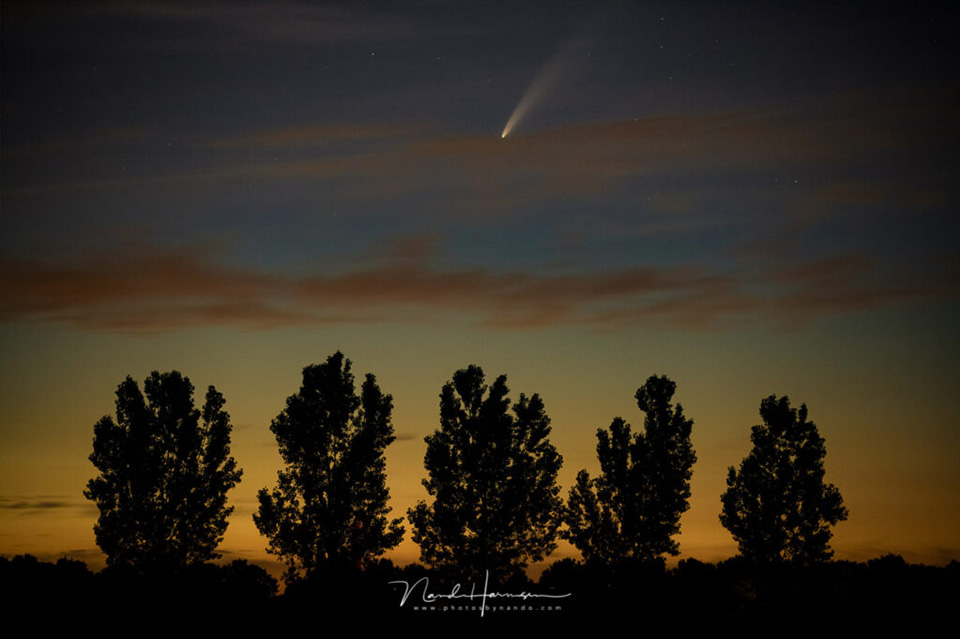
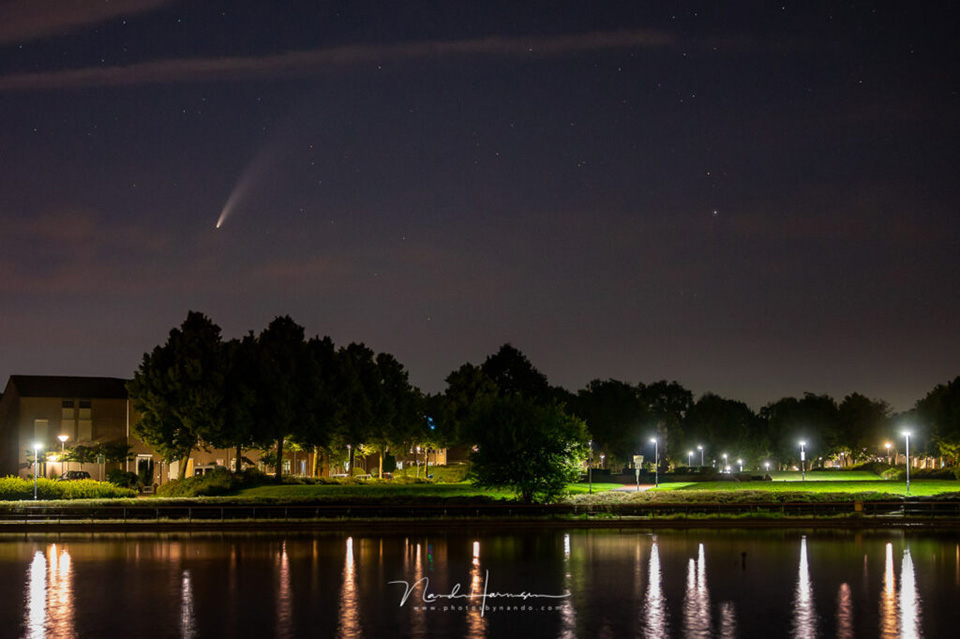
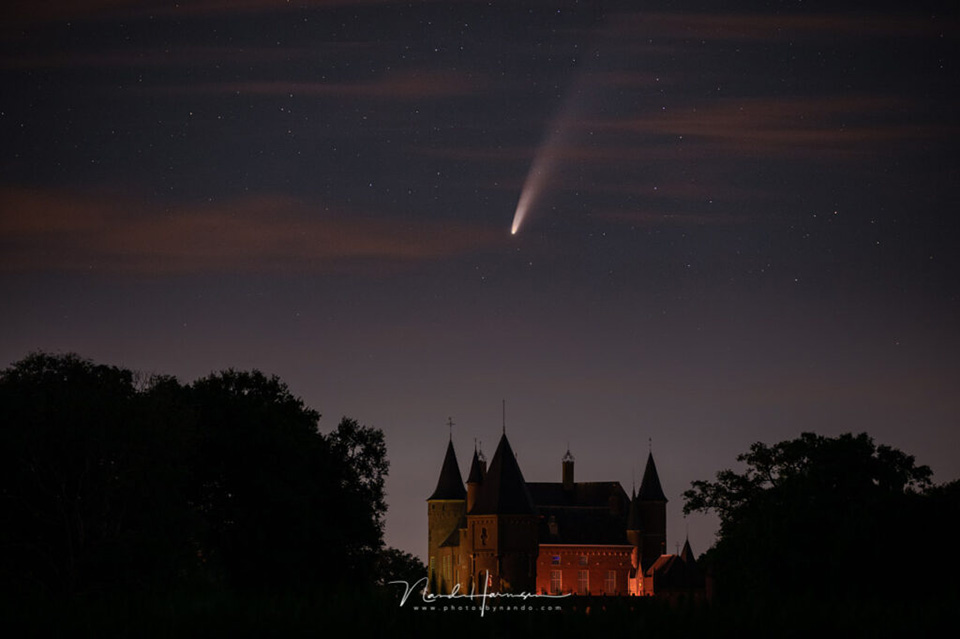
Besides the photos above, I have a few more photos that I took over the weekend of 11 July, which may serve as inspiration for getting started yourself. With the EXIF data included, you have a good idea of where to start with your own settings.
About the author
Nando Harmsen has been photographing for more than 40 years. He specialises in wedding photography and landscape photography. Nando also gives talks, workshops, masterclasses and photo trips, and regularly reviews new and interesting equipment.
You might also like
-
 6 Tips for Creating Star Trails
by Nando Harmsen
-
 Falling stars (Lyrids), photographic contributions
by Michelle Peeters
-
 Use a foreground for star photos
by Nando Harmsen
-
 Night photography on Schiermonnikoog, part 1
by Erik Nevels
-
 Night photography on Schiermonnikoog (part 2)
by Erik Nevels
-
 Night photography tip: turn light sources into stars
by Nando Harmsen
0 comments
Be the first to share what you think!
Have your say
Please note: Articles older than a week can only be commented on by signed-in visitors.Would you still like to comment? sign in or create a free account.
Become a better photographer every week
A practical photography tip in your inbox every week.
38,938 photography enthusiasts already receive the tips! More about the weekly mail. Or keep up to date via  Facebook.

Elja Trum
Photofacts; everything to do with photography!
Would you like to take better photos and keep up with what is happening in photography? Photofacts publishes articles that teach you something about photography — from a product announcement to a practical shooting tip or a look at a website. Photofacts covers photography every day and is a hobby project of Elja Trum's that got out of hand. The articles are written by a team of volunteer authors. If you would enjoy writing one or more articles for Photofacts, do get in touch.More about PhotofactsPhotofacts is made possible in part by
