

10 tips for photographing star trails
Tuesday 14 August 2018, 09:05 by Nando Harmsen | 27,723 views | 16 commentsThis article was translated from Dutch with the help of AI. Read the original.
Photographing star trails is becoming increasingly popular. That is hardly surprising. The lines and circles formed by the stars in the sky through extremely long shutter speeds can be very artistic and add something extra to a photo.
Of course, the stars themselves do not rotate. It is the Earth that rotates, completing one full turn in about 24 hours. Because we are standing on that rotating globe, the stars appear to move. The longer the shutter speed, the longer the star trail.
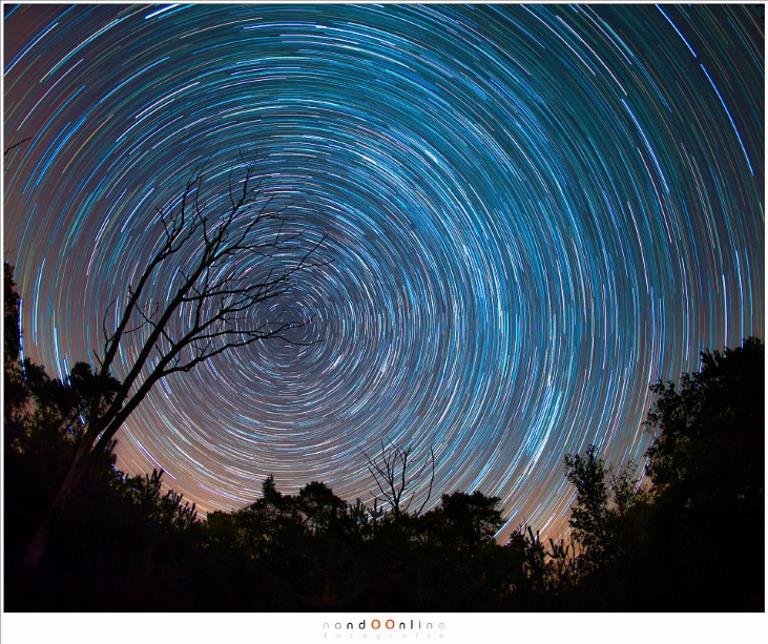
(15mm fisheye; ISO3200; f/2,8; 176x 20sec)
Long exposures or combining photos
It is possible to photograph star trails using a long exposure. In a dark environment, you can in principle expose for up to half an hour and still get a usable photo.
But exposing for that long can cause a lot of problems. The risk of overexposure is one of them, but there can also be a huge increase in noise. And we would rather avoid the latter in particular.
The solution to this problem is combining photos with shorter exposures. You can do this digitally in a very simple way, and there are many free programmes available that will combine the photos for you at the press of a button.
In addition, this way of photographing makes it possible to photograph star trails even in brightly lit locations.
Think of the centre of a brightly lit city. Your own creativity is then the only limiting factor. The only thing you still need to pay attention to is avoiding overexposure by choosing the best combination of ISO value, aperture and shutter speed.
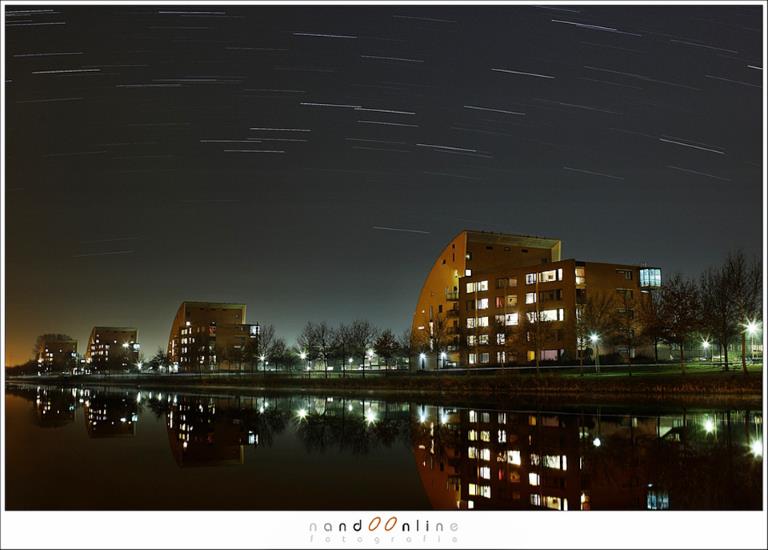
(35mm (x 1,3crop); ISO1000; f/5,6; 57x 15sec)
+ separate foreground exposure
Camera settings
There are a number of things to keep in mind when photographing a starry sky. Autofocus often does not work, and measuring the correct exposure is not always possible.
You need to learn to rely on the histogram of a test photo and not be afraid to set the ISO value a little higher than you would initially. The higher the ISO value and the wider the aperture, the more stars you will capture in the photo.
The ISO and aperture you choose ultimately determine the shutter speed you can use. It is important to realise that in practice, the shutter speed has hardly any influence on the number of stars you will see in the photo.
The shutter speed only affects the exposure of the surroundings, or rather, the foreground.
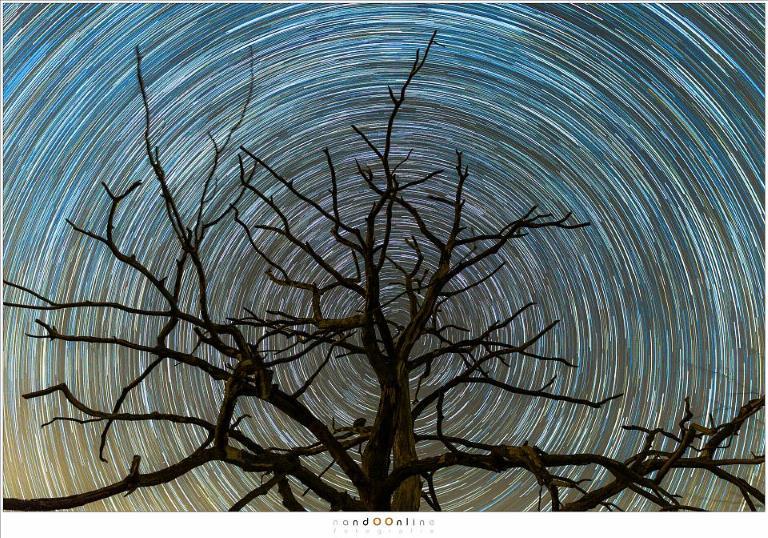
(24mm; ISO3200; f/2,8; 166x 30sec)
To get started with star trails, you need nothing more than a camera, a simple shutter release cable that you can lock, a sturdy tripod and, above all, plenty of patience.
Some cameras have a handy timelapse function that you can use, which removes the need for a shutter release cable. With the following tips, you should be able to make your own beautiful star trail photo.
1. Set the white balance between 3400K and 4000K
By setting the white balance roughly in the right direction, it is easier to assess the test photo on your camera's screen. For anyone photographing in Jpeg, the correct white balance is certainly important.
If you photograph in RAW, which is certainly recommended for this type of photography but not essential, you can always correct or fine-tune it later in your workflow.
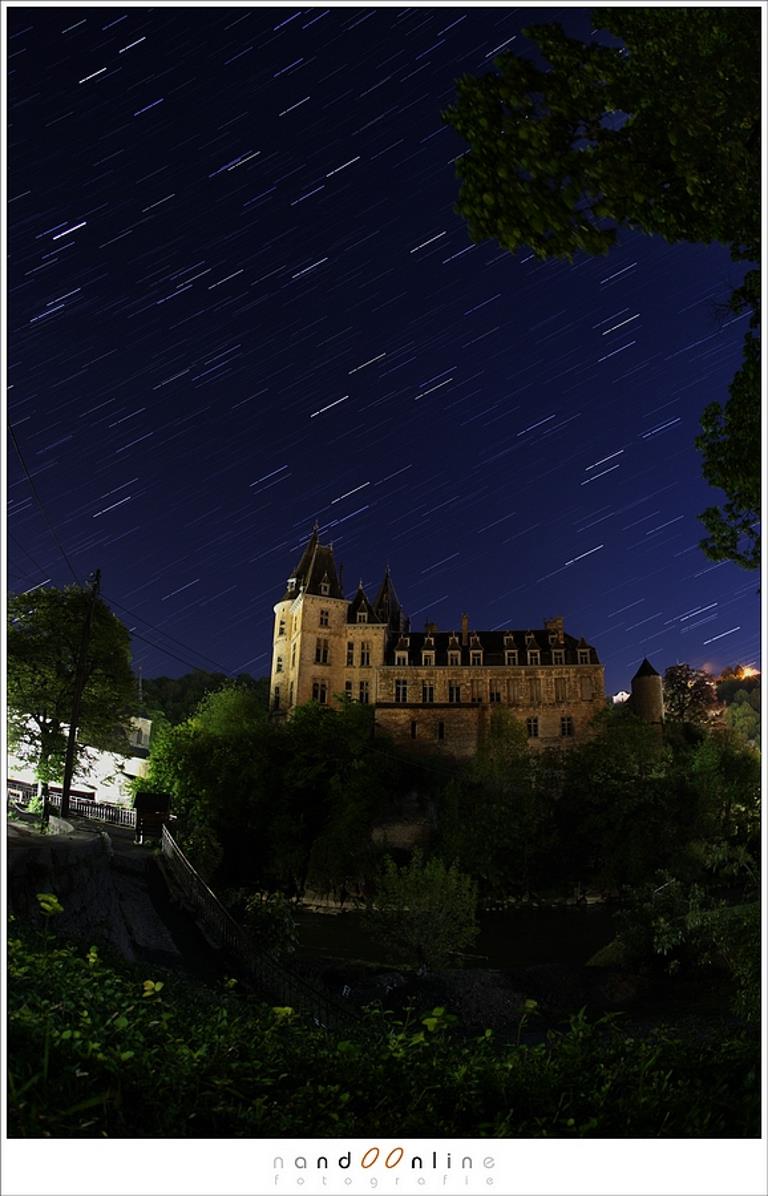
Also note the interruption in the star trail, caused by leaving one photo out of the series because of overexposure from a car's headlights (15mm fisheye (x 1,3crop); ISO 1600; f/5; x number of photos of 30sec + separate foreground exposure).
2. Focus manually on infinity
Switch off autofocus, focus manually on infinity and use the camera's continuous shooting mode.
Autofocus does not work in many cases, as there is too little contrast. In addition, you do not want the camera to try to refocus for every photo. So switch off autofocus, focus manually and leave it like this for the entire series of photos.
Since stars are, from our perspective, virtually infinitely far away, the lens should also be set to infinity. But be careful not to turn past infinity.
It is better to focus using live view on a bright star or a light on the horizon. Magnify the live view image as much as possible and focus. Be careful not to turn the focusing ring afterwards.
Set the camera to the series shooting mode, or continuous shooting mode, and then use a shutter release cable to make the camera take photos continuously. By locking the shutter release cable, the camera will continue taking photo after photo until you have enough. Or use a timelapse function if the camera has one.
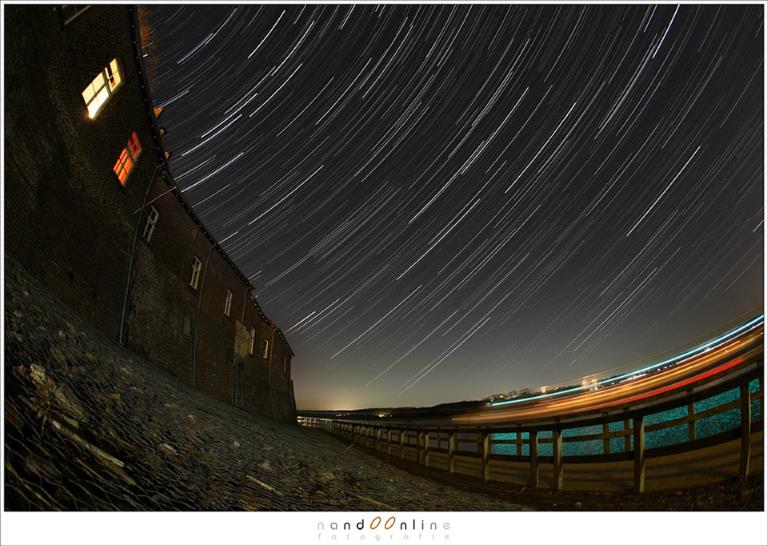
So simply switch off autofocus.
With continuous shooting and a shutter release cable, you can keep photographing for as long as you like.
(15mm fisheye; ISO1600; f/5,6; 297x 15sec)
+ separate foreground exposure
3. Switch off image stabilisation and 'long exposure noise reduction'
Although modern image stabilisation can be intelligent and detect the use of a tripod, it is better to play it safe. After all, you are working from a tripod, so image stabilisation is not needed.
Switch it off to prevent problems. It would be annoying to discover at home, after an hour of photographing, that some of the photos were blurred because of nervous image stabilisation.
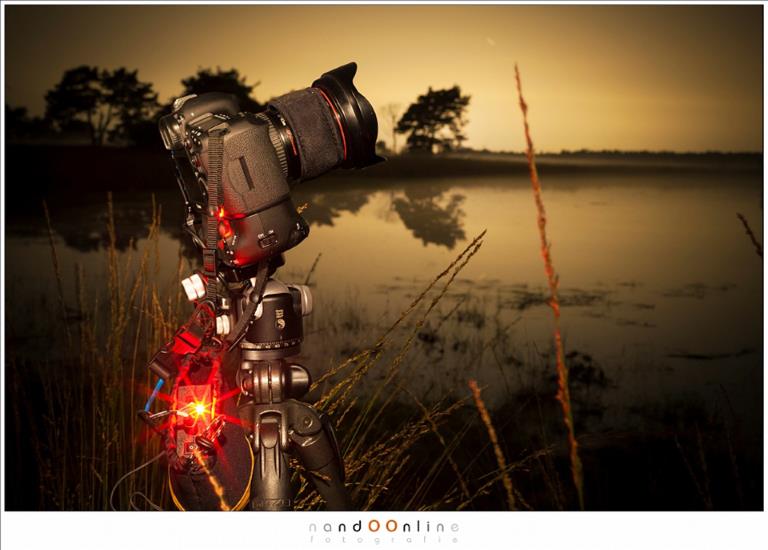
Many cameras have an option for long exposure noise reduction. When this option is switched on, the camera automatically takes another 'photo' after taking a photo, without opening the shutter.
This is called a dark frame. If you have this option switched on, there will always be a delay between taking photos. Between each photo, the camera will make a dark frame, after all. The result is a dotted line in your star trail. So always switch off the 'long exposure noise reduction' option.
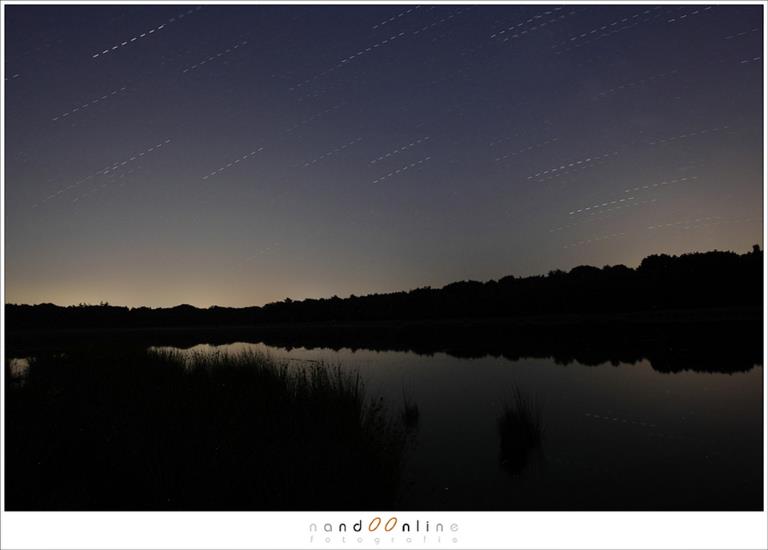
This creates a dotted line.
(17mm (x 1,3crop); ISO800; f/8; t=8x 118sec
+ 8x 118sec noise reduction)
4. Choose a tactical exposure
It is best to open the aperture as wide as possible. Try to stay between f/2,8 and f/5,6. The wider your aperture, the more light can reach the sensor.
Combine this with a high ISO value so that as many stars as possible are visible. A value of 1600 is a good starting point. Want more stars? Go to ISO 3200 or even ISO 6400. Want fewer stars? Choose ISO 800 or lower.
The shutter speed depends on the aperture and ISO value you have chosen. Start with a 15-second test photo and check the exposure using your histogram. Use a shorter exposure if the photo is overexposed, or a longer exposure if the photo is too dark.
Do not rely too much on the image on your screen, as the brightness of your screen will affect your judgement. In this case, the histogram is the best way to assess the exposure
Try to maintain Exposure-to-the-Right. You do not need to go all the way to the maximum, but make sure the right-hand side of your histogram is not completely empty. The amount of stray light can affect the length of your maximum exposure time.
Experiment with your exposure time, aperture and ISO value until you achieve the desired exposure, but keep in mind that only the aperture and ISO value determine how many stars are visible.
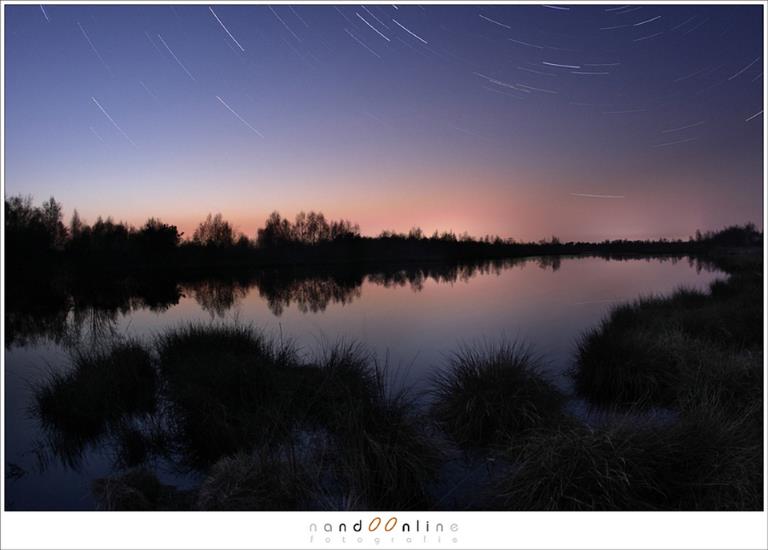
(15mm (x 1,3crop); ISO800; f/6,3; 78x 30sec
+ separate foreground exposure)
5. Keep your camera warm
It can cool down considerably in the evening. When your camera and lens cool down too much, condensation can form, especially when the humidity is high. It is the same as what can form on car windows after a cold night.
Preventing condensation can be done by warming the lens with a heating band or hand warmers. As not everyone has access to these, you could prevent the lens from cooling down as much as possible by wrapping a shawl or scarf around it.
This does not stop condensation from forming, but it does slow it down. Be careful that your scarf or shawl does not hang in front of the lens or blow into it.
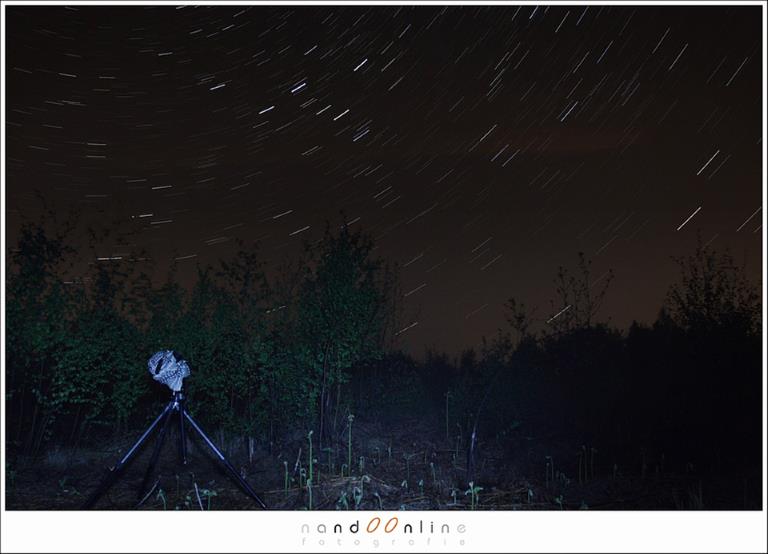
6. North, East, South or West
How the stars move in your composition depends on the direction in which you photograph. Choose the direction of North to make the stars rotate around the North Star. If you photograph towards the south, the stars will move in an arc across the horizon.
If you want to know where North or the North Star is, use an app on a smartphone or learn to recognise the constellations. The constellation Ursa Major, also known as the Plough, always points towards the North Star.
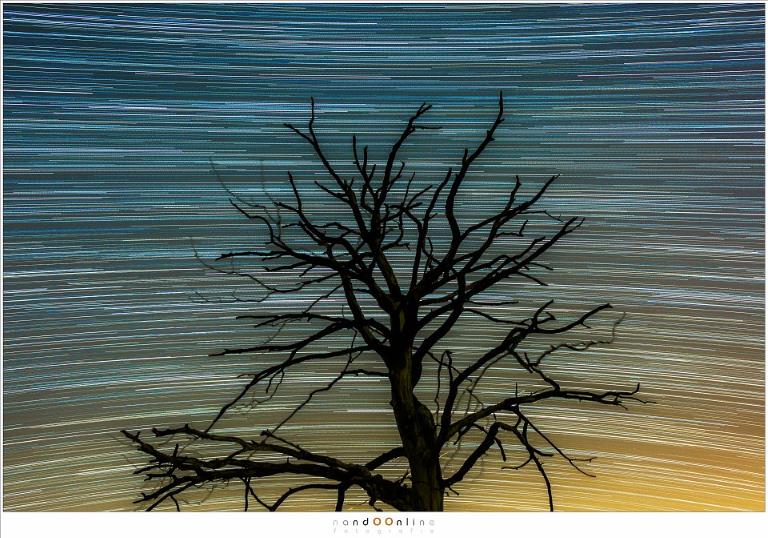
(35mm; ISO 6400; f/5,6; x number of photos of 30 seconds)
7. Take photos for at least 30 minutes
From our perspective, stars rotate around the point where the North Star is located. The rotation is like a wheel. The further away from the axis, the greater the distance travelled per unit of time.
This means that the stars close to the North Star move only a small distance, while the stars towards the south move a great deal in the same amount of time. In general, half an hour is enough to get beautiful star trails. More is always possible. Less is not recommended.
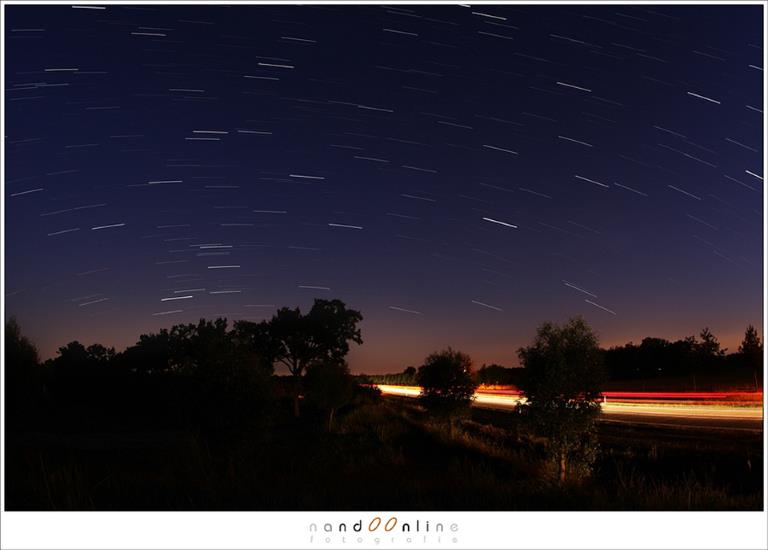
Less than half an hour only produces short streaks.
(15mm fisheye (x 1,3crop); ISO 800; f/5,6; 40x 15sec)
8. Find an interesting location
Pointing the camera at the stars and photographing a star trail is easy. You can even do it from your garden, especially if you want to practise. But it is much more fun to combine it with an interesting foreground, an exciting location or a beautiful subject.
Bare trees and gnarled branches are often used to include something more in the photo than just star trails. It can be even more exciting to photograph a castle or something else as well. Be creative.
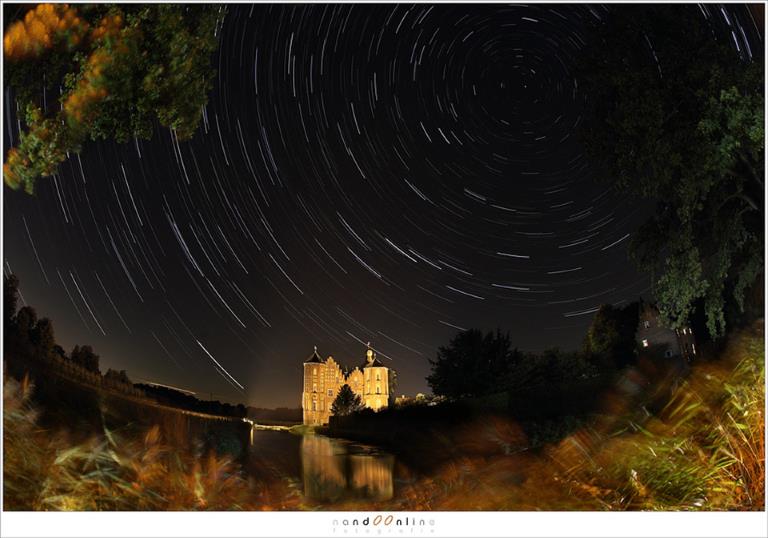
+ separate foreground exposure)
9. Look after yourself
It can cool down considerably in the evening and at night. Make sure you have enough warm clothing, gloves and a hat. Make sure you are warmer than you think you need to be. Also bring something nice to eat or drink. Hot coffee or hot chocolate, perhaps a biscuit. Or company. This makes the waiting more pleasant, as does a camping chair.
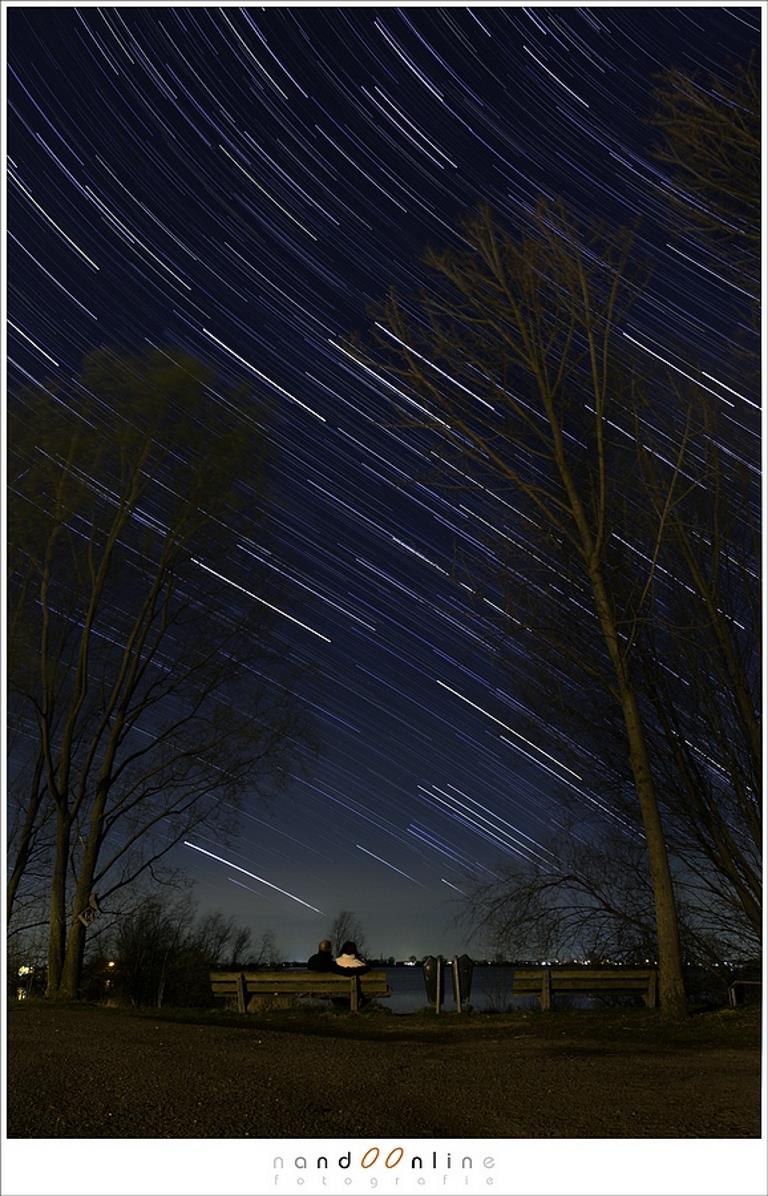
(15mm fisheye; :ISO1600; f/5,6; 172x 20sec)
10. Combining the photos
Eventually, all the photos will need to be combined into a single image. Edit the first photo in the series so that the white balance and exposure are exactly as you want them, and copy the edit to all the other photos. Lightroom is very suitable for this.
Once everything has been converted to Jpeg images, you can start combining them. You can do this manually or with a script in Photoshop, but it is easier to use programmes such as startrails.de or StarStaX.
But of course there are more. You can always edit the result generated by these programmes further to your taste in any photo editing programme.
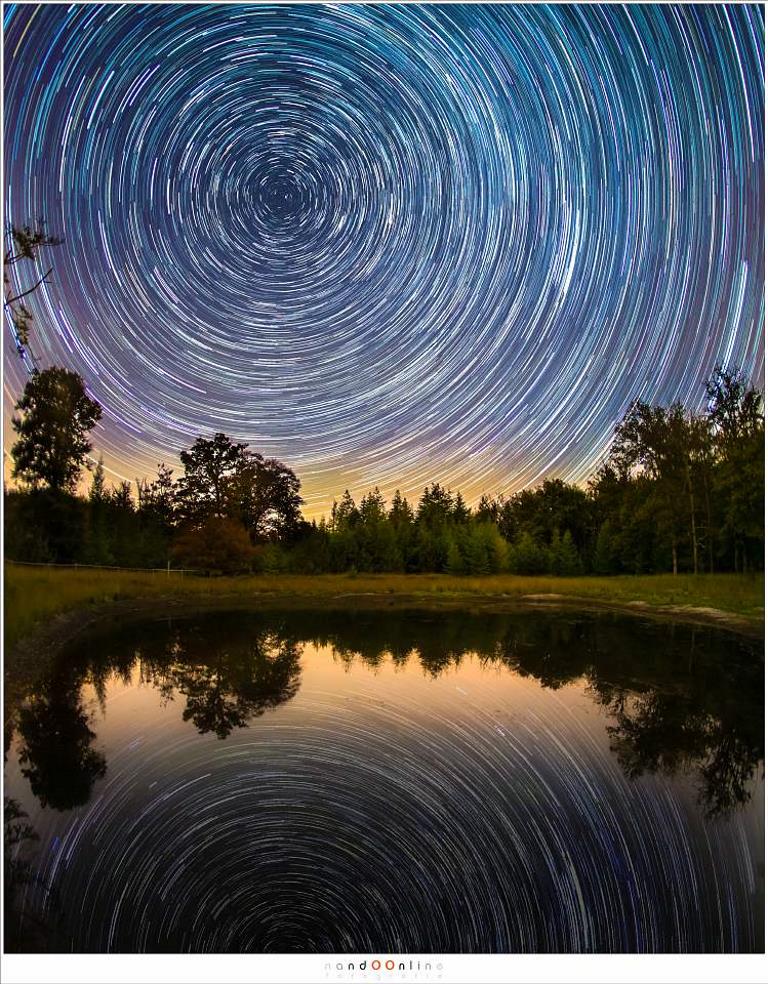
The star trail has been digitally projected into the water.
(15mm fisheye, vertical panorama of 3 photos;
ISO1600; f/2,8; 112x 30sec
+ separate foreground exposure)
More information
These are of course only a handful of tips to get you started. It is important to practise before you head out. That way, you will at least know how to work on location, so that you eventually come home with the photos for a beautiful 'star trail' photo.
Would you like much more information about photographing star trails? I have made an online video course about it. In it, I explain step by step how to make beautiful star trail photos and also show you in practice how I work. Highly recommended if you also want to make beautiful star photos yourself.
» View the Photographing Star Trails course
About the author
Nando Harmsen has been photographing for more than 40 years. He specialises in wedding photography and landscape photography. Nando also gives talks, workshops, masterclasses and photo trips, and regularly reviews new and interesting equipment.
You might also like
-
 Which is better? Stacking or noise reduction?
by Nando Harmsen
-
 6 Tips for Creating Star Trails
by Nando Harmsen
-
 Removing noise? Use it in moderation
by Nando Harmsen
-
 Tips for editing photos of shooting stars
by Nando Harmsen
-
 White balance and exposure in snow
by Nando Harmsen
-
 Combine star trails in Photoshop with an action
by Nando Harmsen
16 comments
-
 Jan wrote on Monday 16 January 2017 at 20:37 | reply
Another great article, Nando. Lots of technical info; really only one small part is missing: your explanation of 'separate foreground lighting.
Translated from Dutch. -
 Nando Harmsen wrote on Tuesday 17 January 2017 at 08:14 | reply
Thank you for the response, Jan.
Translated from Dutch.
I indeed did not talk about a separate exposure for a foreground. You have to choose when you want to limit yourself to 10 tips. That is also why I included the link to the tutorial, where this topic is covered. -
 fotoutrecht.nl wrote on Tuesday 17 January 2017 at 11:04 | reply
nice and extensive article, well then.
Translated from Dutch. -
 Daniel123 wrote on Tuesday 17 January 2017 at 14:00 | reply
Good story, it might be an idea to post the photos that were taken after reading this explanation somewhere on the forum?
Translated from Dutch. -
 marwil wrote on Tuesday 17 January 2017 at 16:47 | reply
Wonderfully put, Nandoo, I really should bite the bullet and try to start making some usable pictures too! With this description it should work, right?
Translated from Dutch. -
-
 Philippe wrote on Wednesday 18 January 2017 at 06:16 | reply
Can you give some more explanation about that heating tape that you use? Regards, Philippe.
Translated from Dutch. -
 Jeroen wrote on Wednesday 18 January 2017 at 08:01 | reply
Great article! Tried it right away. In the city of Utrecht, however, I have so much light that I have the aperture around 6 and ISO 100 to get the sky dark. Shutter speed is 15 seconds. I do get star trails, but not many. Tips? And 2) my D5100 stops after 20 photos. Turns out it has to do with the memory card speed. Is taking photos at an interval of 8 seconds an option?
Translated from Dutch. -
Nando Harmsen wrote on Wednesday 18 January 2017 at 08:11 | reply
Dear Philippe, I can best refer you to an article I have about this on my website http://www.nandoonline.com/strijd-tegen-condens-bij-sterrenfotos/
Translated from Dutch.
Jeroen, there is indeed a lot of light in the city. I would still advise you to use as high an ISO as possible, with an aperture between f/5.6 and f/8, and choose your shutter speed so that you don't get overexposure. And then as many photos as possible. The fact that the camera stops after 20 shots is not due to the speed of your memory card but to a setting in your camera. It may be that a limit has been set. I advise you to look it up in the manual. Good luck. -
 marc van Oosterhout wrote on Thursday 19 January 2017 at 19:45 | reply
I have a timer on my remote control but when I set a shutter speed of e.g. 20 sec. the camera also needs approx. 20 sec. to "process". Do you know if I can set that too? Otherwise won't I also get dotted lines instead of continuous trails? I have a Sony slt a58
Translated from Dutch. -
marc van Oosterhout wrote on Thursday 19 January 2017 at 20:06 | reply
Sorry, didn't read the tips properly. Is of course VW. Long exposure noise reduction. Another question: how can I prevent kun remote control from turning off after x seconds?
Translated from Dutch. -

-
Nando Harmsen wrote on Friday 20 January 2017 at 08:48 | reply
Hello Marc, it is indeed noise reduction that you were confronted with. Do I understand correctly that your remote control is wireless? I have no experience with that and therefore unfortunately cannot tell you what causes that either. My remote control is really a cable release: with a little cable to the camera. I advise you to consult the user manual. Perhaps the solution can be found there.
Translated from Dutch. -
 Van den broeck Godelieve wrote on Friday 20 January 2017 at 22:21 | reply
They are indeed separate images that you get then thanks in advance for the tips
Translated from Dutch. -

 amsterdamdiary
wrote on Tuesday 14 August 2018 at 00:42
| reply
Nice article, do you perhaps also have tips for taking similar photos with a smartphone camera? Are there apps you can use to do this too?
Translated from Dutch. -

Have your say
Please note: Articles older than a week can only be commented on by signed-in visitors.Would you still like to comment? sign in or create a free account.
Become a better photographer every week
A practical photography tip in your inbox every week.
38,768 photography enthusiasts already receive the tips! More about the weekly mail. Or keep up to date via  Facebook.

Elja Trum
Photofacts; everything to do with photography!
Would you like to take better photos and keep up with what is happening in photography? Photofacts publishes articles that teach you something about photography — from a product announcement to a practical shooting tip or a look at a website. Photofacts covers photography every day and is a hobby project of Elja Trum's that got out of hand. The articles are written by a team of volunteer authors. If you would enjoy writing one or more articles for Photofacts, do get in touch.More about PhotofactsPhotofacts is made possible in part by
