

Which is better? DIY or ready-made?
Sunday 8 August 2021, 22:44 by Nando Harmsen | 5,091 views | 5 commentsThis article was translated from Dutch with the help of AI. Read the original.
When a product is labelled as being for photography, the price often reflects that. It is as if a product for this audience is simply allowed or expected to be expensive. You can also choose the cheaper option. That is called DIY, Do It Yourself. But which is better?
A manufacturer knows how to set its prices. If something is intended for photography, the price often seems higher than necessary. As if the manufacturer knows that most photographers will spend the money anyway, or will not look further to see if there is an alternative.
This is not just the case with photography products, by the way. So do not feel aggrieved when this happens to you because you are a photographer. You are not the only one. A wedding is exactly the same. Hire a venue for the party and you will be given a price. Tell them it is for a wedding reception, and the cost suddenly becomes much higher. You see this with other hobbies too.
Regardless of whether you can see this as ridiculous, or a form of abuse, or whatever, that is simply how it is. We should not complain about it too much. If you think it is unfair, there is usually a DIY solution you can come up with. At least in many cases
DIY
The term DIY stands for Do It Yourself. In other words, find an alternative, or simply make the product yourself. You will probably need some practical skills, the right tools, and probably enough time. But in terms of materials, you will probably spend only a fraction of what the manufacturer would charge for a ready-made product.
What you are essentially doing is this. Using alternative materials, you make a product yourself. You buy the materials, take the production hours on yourself, often in your spare time, and avoid paying a profit margin or for a brand name.
Let me give you a few examples of DIY solutions I have used for my photography, and what they cost approximately.
The Better Bounce Card
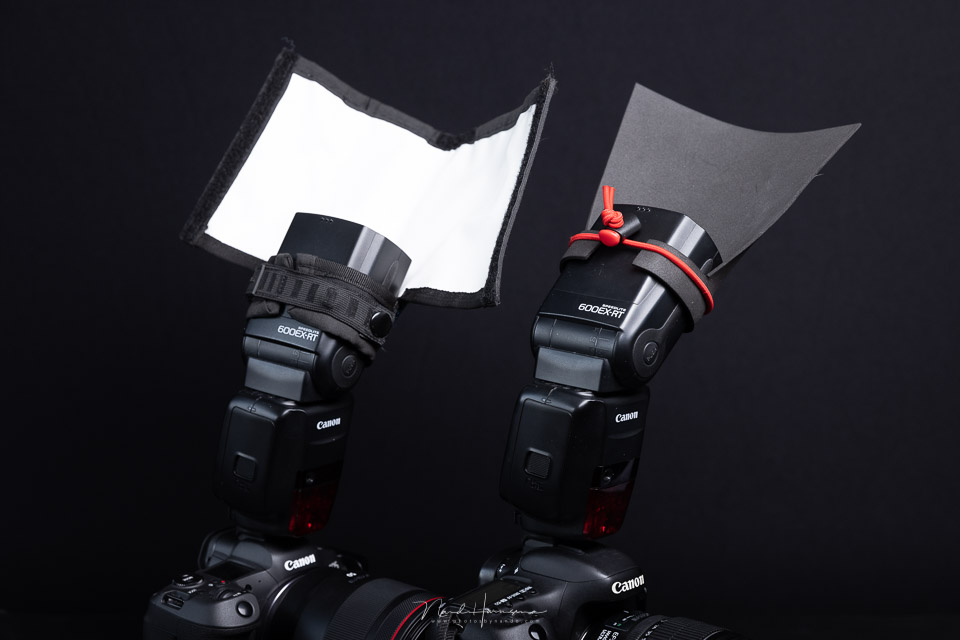
When using an on-camera flash, it is a good idea to bounce the light. Or to block direct light with a so-called flag. I made this one myself, and the name of this little item is Better Bounce Card.
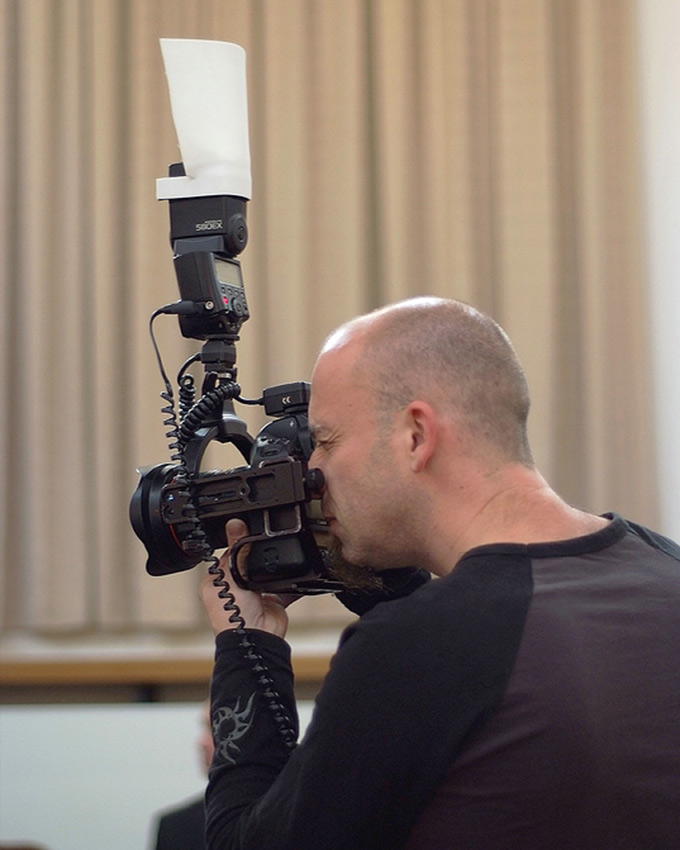
It is a piece of foam from the craft shop and a piece of Velcro from the haberdashery. With a pair of scissors, I made a beautiful white card that I could use as a reflector card, and a black one that served as a flag. The total cost was 15 euros, and I could make about five cards with it. You can also use an elastic band instead of Velcro.
Background system
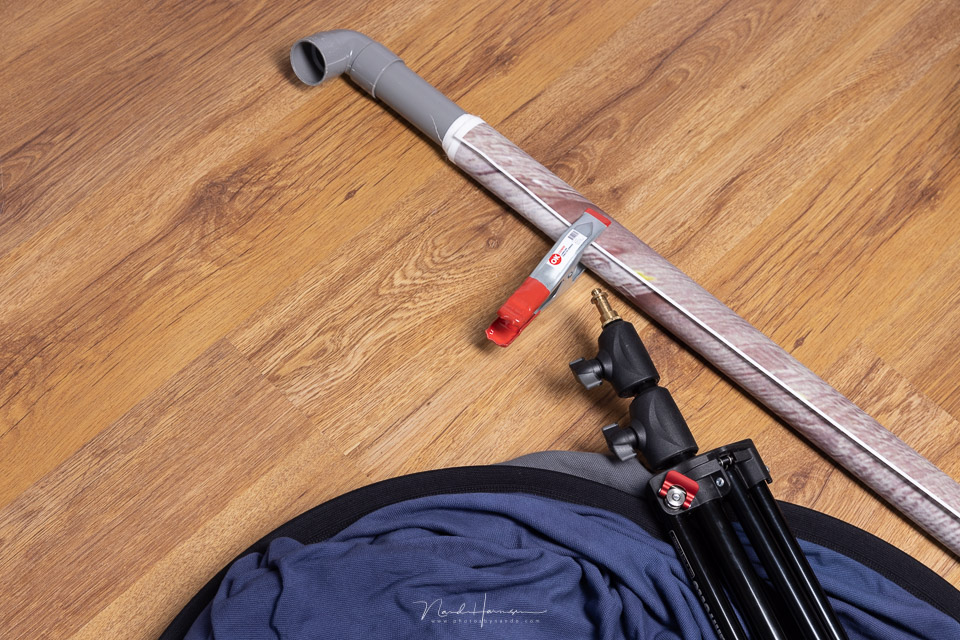
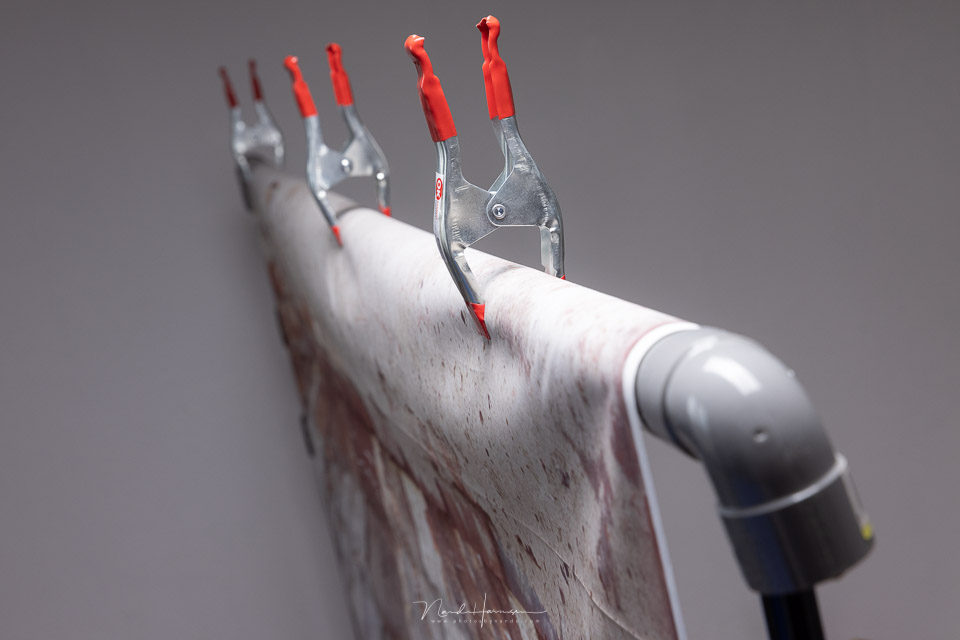
A background for portrait photography can sometimes be very useful. I managed to find a few cheap patterned cloths on Marktplaats. I then bought a two-metre-long drainpipe from the DIY shop, together with a couple of 45° bends. And a set of clamps that you may know from market stalls.
I clamped the bends onto the drainpipe. I rolled the background onto it and used the clamps to hold it in place. The bends allowed me to hang the whole thing from two light stands. The total cost was about 30 euros, excluding the light stands.
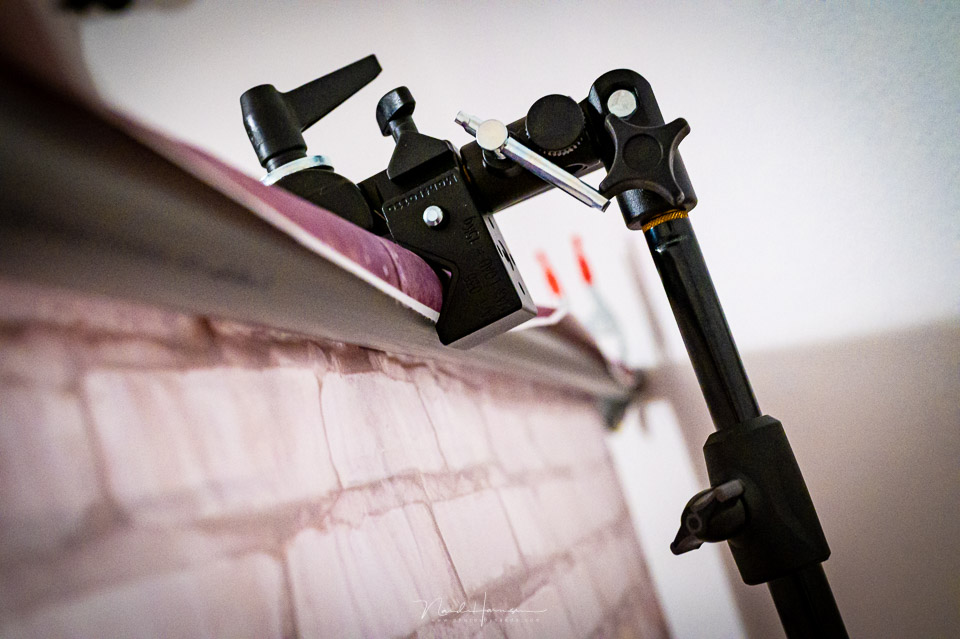
An alternative was a Manfrotto super clamp to clamp the drainpipe in place. This meant I could set everything up with one stand. This cost me an extra 30 euros, but saved me a light stand.
Heat packs for warmth
With all those damp nights, condensation can be a real nuisance when photographing star trails. Keeping a lens warm prevents this condensation. You can easily buy a few heat gel packs from the chemist or camping shop. They are normally used to keep your hands warm in cold climates.
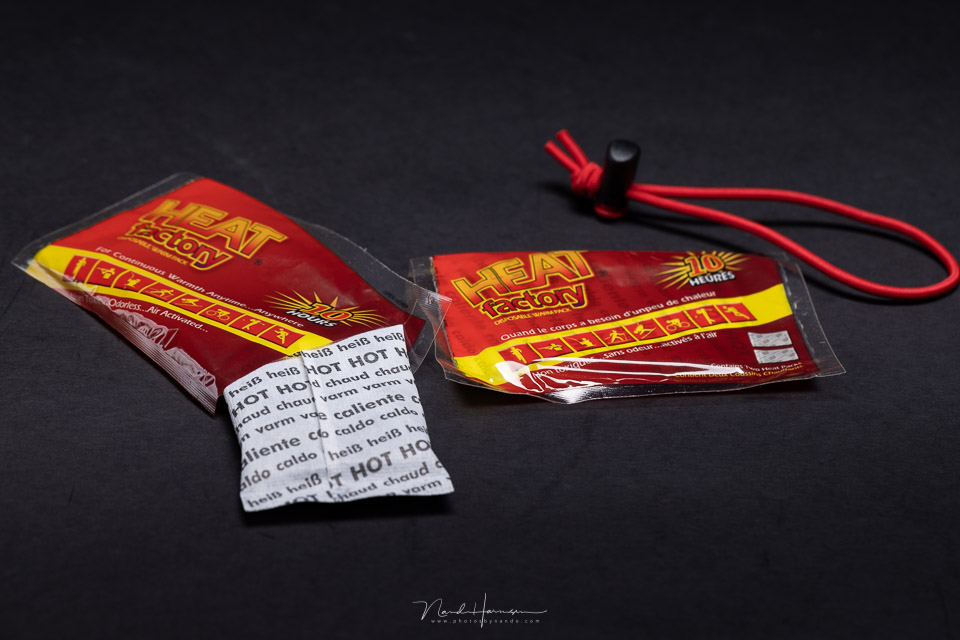
Take one or two good elastic bands, and you can attach one or two heat gel packs around your lens. This keeps the lens warm and prevents condensation. The cost is only a few euros, plus a box of elastic bands.
Bear in mind that many of these gel packs are for single use. The cost adds up if you often use this type of gel pack. You also end up with quite a lot of waste altogether.
The disadvantages of DIY
Although every DIY solution is different, there are a few general disadvantages that apply in many or most cases. First of all, it is a makeshift solution. A collection of materials that can sometimes be difficult to assemble on location.
There is a chance that it will not look very charming. Sometimes that leads to amusing reactions, as with the Better Bounce Card. But it can also produce some frowning looks, making it clear that ‘they’ think you are cheap.
I do not think the latter is very important. Who cares what other people think? Still, a makeshift solution can be undesirable. If you present yourself as a professional photographer, a DIY solution may not make you look professional.
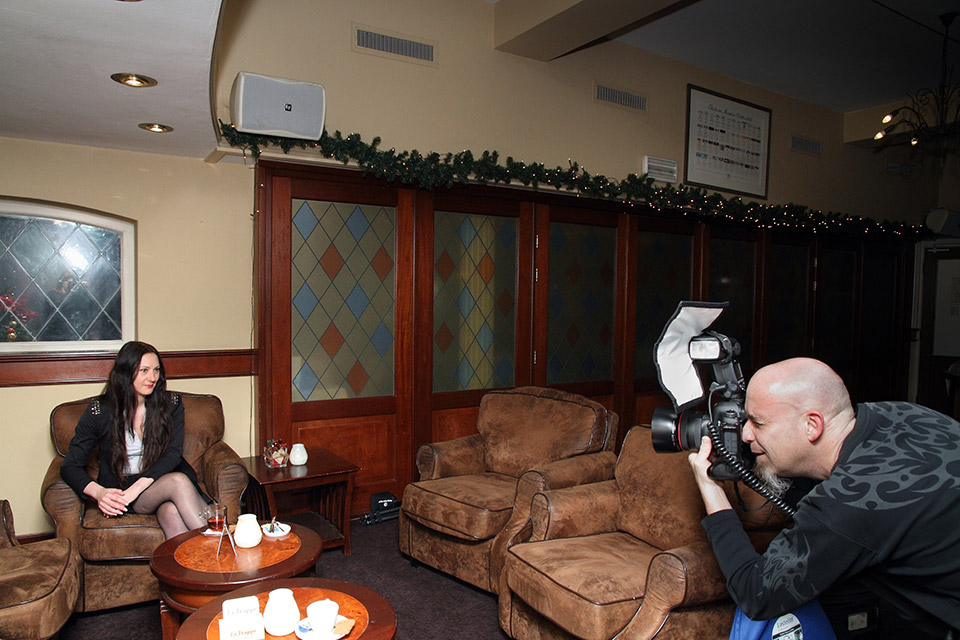
A final, and perhaps most important, disadvantage may be the unreliability of your DIY solution. The Velcro on your Better Bounce Card comes loose, or the foam tears. The drainpipe holding your background roll starts to bend, or your background is full of folds that become visible in the photograph. Or the elastic band holding your heat gel pack snaps.
The advantages of ready-made products
For a Better Bounce Card, you can choose a Rogue Flashbender. For a background, you can buy a collapsible background. Instead of heat gel packs, you can invest in a heated strip.
These products are usually well thought out and made from fantastic, durable materials. They are convenient to use, reliable, and look professional. Perfect if your appearance matters to your clients.
You do not have a handful of separate parts that you have to assemble on location. In some cases, you will ultimately spend more than if you bought a ready-made product straight away.
The Rogue Flashbender cost 40 euros at the time, but I am still using it after eight years. It also offers extra possibilities that were impossible with the DIY solution.
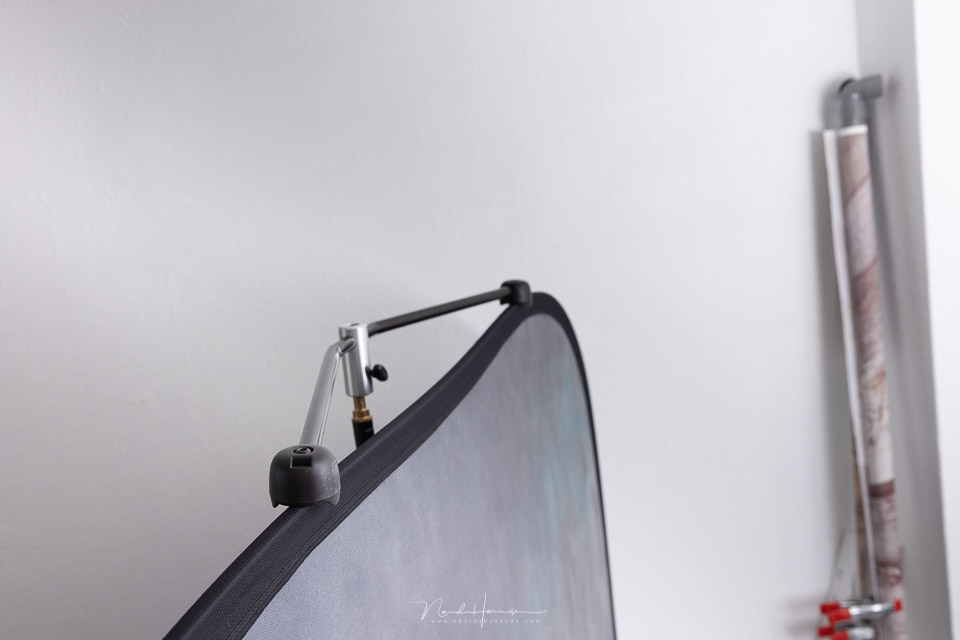
You can get a collapsible background from a few tens of euros, and it is easy to attach with a clamp. You can fold it in and out in no time, and in many cases you will have little trouble with creases. It is much more convenient than taking a two-metre-long drainpipe with loose clamps and separate cloths.
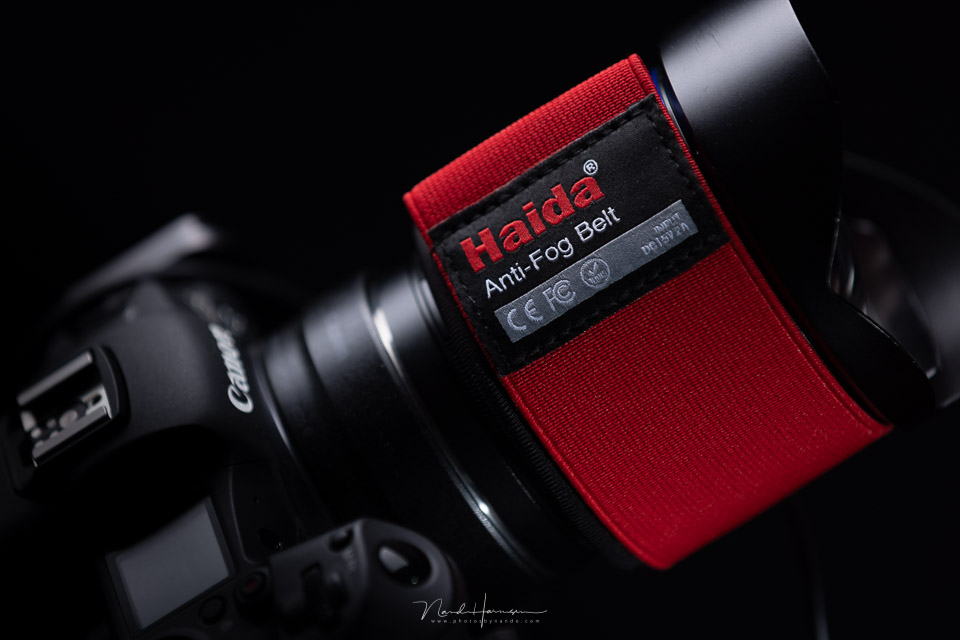
The Haida heated strip probably costs somewhere between 40 and 60 euros. You only need to buy a power bank as well. It fits perfectly, so you do not have to fiddle around with elastic bands or gel packs that lose their effectiveness. In fact, many gel packs are disposable, so ultimately you will spend that money anyway, and it is better for the environment too. Unfortunately, the Haida anti-fog belt is still difficult to get hold of.
What do you think of DIY?
Of course, these are only a few examples. There are many more DIY solutions for things I have not mentioned here. Some are fantastic and well worth it, while others simply make you look like a cheap hobbyist.
What do you think of DIY solutions? Do you think they are the best way to avoid buying apparently or genuinely overpriced ready-made products, or do you simply see it as a hobby to make things yourself?
Do you have a really good DIY solution that is well worth trying? Or would you rather buy a ready-made product because you want certainty and quality?
Share your opinion below this post, and explain it too. You can also share your DIY solution for an expensive ready-made product. I am curious to hear your response.
About the author
Nando Harmsen has been photographing for more than 40 years. He specialises in wedding photography and landscape photography. Nando also gives talks, workshops, masterclasses and photo trips, and regularly reviews new and interesting equipment.
You might also like
-
 Taking Product Photos in the Living Room
by Rob Zwart
-
 DIY: Making a charging station for your equipment
by Elja Trum
-
 DIY: Making a rangefinder for your camera
by Elja Trum
-
 Pinhole, or Slow Photography
by Laura van der Burgt
-
 How to make a clock from your flashgun
by Elja Trum
5 comments
-
 Hans van Sterkenburg wrote on Tuesday 10 August 2021 at 11:33 | reply
Hi Nando,
Translated from Dutch.
I have been using a guyline from my tent as a 'mobile' tripod for years. In the loop I have attached an eyelet that I screw into the camera. Where the tripod attaches to the tent I have tied a piece of plywood measuring 0.3-3-9 cm. Here I put my foot on it when in action. When at rest I wind the cord around it. I adjust the height with the slider.
[A roller blind attached to a slat -with possibly your own fabric on it- works excellently as a background and looks e professional.]
Regards,
Hans. -
 Eric Dankbaar wrote on Tuesday 10 August 2021 at 13:45 | reply
How often do people buy expensive stuff that then lies almost unused in the cupboard for years? If you take it on as a DIY project, in my opinion you can try everything out first and you run into things that you can pay attention to later when buying (semi-)professional equipment. Moreover, making things like light reflectors yourself also helps you get a better grasp of the laws of nature regarding light. But I have also gradually switched from PVC pipes to professional equipment, although the polystyrene foam board from the hardware store is still used frequently as a large reflector.
Translated from Dutch. -
 Ignas van de Berg wrote on Tuesday 10 August 2021 at 14:11 | reply
For a small product photography project, I made 2 rim lights from wine gift boxes. I cut an opening in the front and covered it with parchment paper. I lined the inside with aluminium foil and put an LED strip in each box. Both LED strips can be dimmed together with a dimmer. A nice result for an amateur…😜, and quite a bit cheaper.
Translated from Dutch.
Unfortunately, I can't post a photo. Grtz. Ignas -

 kok.f@ziggo.nl wrote on Thursday 12 August 2021 at 11:32
| reply
kok.f@ziggo.nl wrote on Thursday 12 August 2021 at 11:32
| reply
Very recognizable, and it differs again for each DIY solution. In each case, the tipping point between DIY or the “real” thing is different. I’ve been enjoying some DIY solutions for years, sometimes it’s not optimal but I still balk at the price difference. With frequent and intensive use, I notice that the “real” solution often does have its advantages.
Translated from Dutch. -
 Jos wrote on Saturday 14 August 2021 at 15:32 | reply
How long your DIY lasts depends on how well it is made. The same applies to ready-made products (including those that are much more expensive).
Translated from Dutch.
If you make something for frequent use, you should also spend more time on the design. If you end up costing more than the commercial products, you may have gone about it the wrong way.
Also bear in mind that, for example, products that are shipped free of charge from Asia at a bargain price are also a heavy burden on the environment. Not to mention how they can be so cheap without harming the workers.
Have your say
Please note: Articles older than a week can only be commented on by signed-in visitors.Would you still like to comment? sign in or create a free account.
Become a better photographer every week
A practical photography tip in your inbox every week.
38,982 photography enthusiasts already receive the tips! More about the weekly mail. Or keep up to date via  Facebook.

Elja Trum
Photofacts; everything to do with photography!
Would you like to take better photos and keep up with what is happening in photography? Photofacts publishes articles that teach you something about photography — from a product announcement to a practical shooting tip or a look at a website. Photofacts covers photography every day and is a hobby project of Elja Trum's that got out of hand. The articles are written by a team of volunteer authors. If you would enjoy writing one or more articles for Photofacts, do get in touch.More about PhotofactsPhotofacts is made possible in part by
