

4 tips for optimal depth of field at night
Thursday 14 September 2017, 13:51 by Michelle Peeters | 14,330 views | 6 commentsThis article was translated from Dutch with the help of AI. Read the original.
One of the biggest challenges of evening or night photography is getting enough depth of field.
If you focus on the horizon with the aperture wide open, how can the foreground possibly still be sharp?
And yet, you see countless photographers managing to take perfectly sharp landscape photos under a night sky. What techniques do they use? In this article, I will give you some useful tips for taking sharp night-time landscape photos.
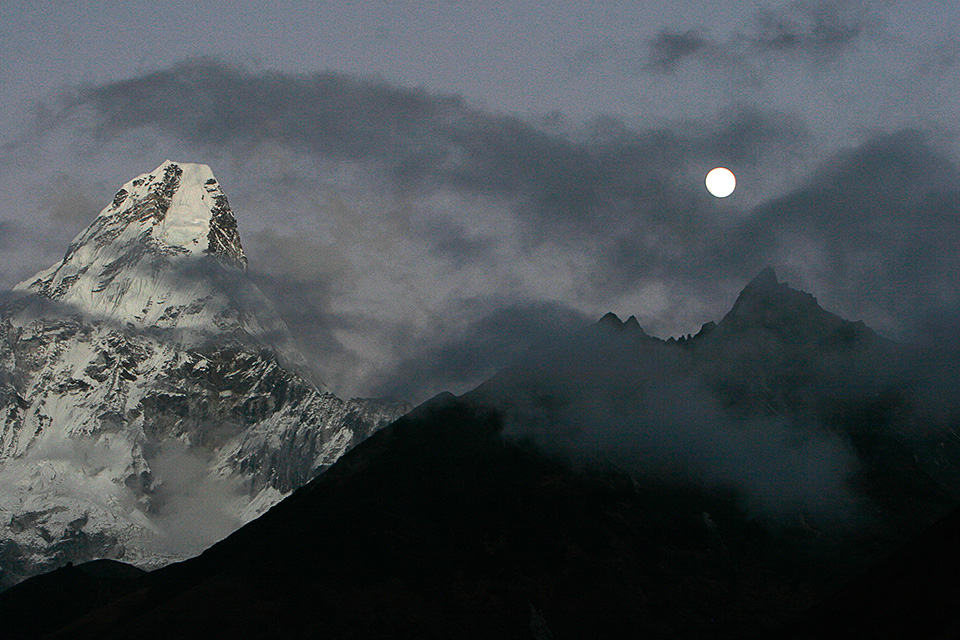
1. Use as much wide angle as possible
Wide-angle lenses have considerably more depth of field than telephoto lenses. Ultra-wide-angle lenses can even produce an extremely large depth-of-field range.
You might almost think that, for example, a 24mm lens and a 12mm lens fall into the same wide-angle category. After all, both lenses have a fairly large depth-of-field range. In reality, however, the differences are enormous.
When you halve your focal length, you can use an aperture opening two full stops wider to achieve the same depth-of-field range. That is the difference between f/4 and f/8, or f/5.6 and f/11, so it is considerable!
So, the shorter the focal length, the better for night photography! With a 14mm lens set to f/2.8, you can still keep a reasonably large part of your image in focus. Roughly from five metres away from your camera to the horizon, depending on how much sharpness you want to capture in your stars and foreground.
Ultimately, the most important "secret" to taking razor-sharp photos at night is not a secret at all. If you use wide-angle lenses, you can still achieve enough depth of field with wide apertures. And at night, when you have to fight for every photon, that is a major advantage.
But sometimes this is not enough. The following techniques are intended for situations where even ultra-wide lenses still do not give you the depth of field you need, and you are forced to use more extreme methods.
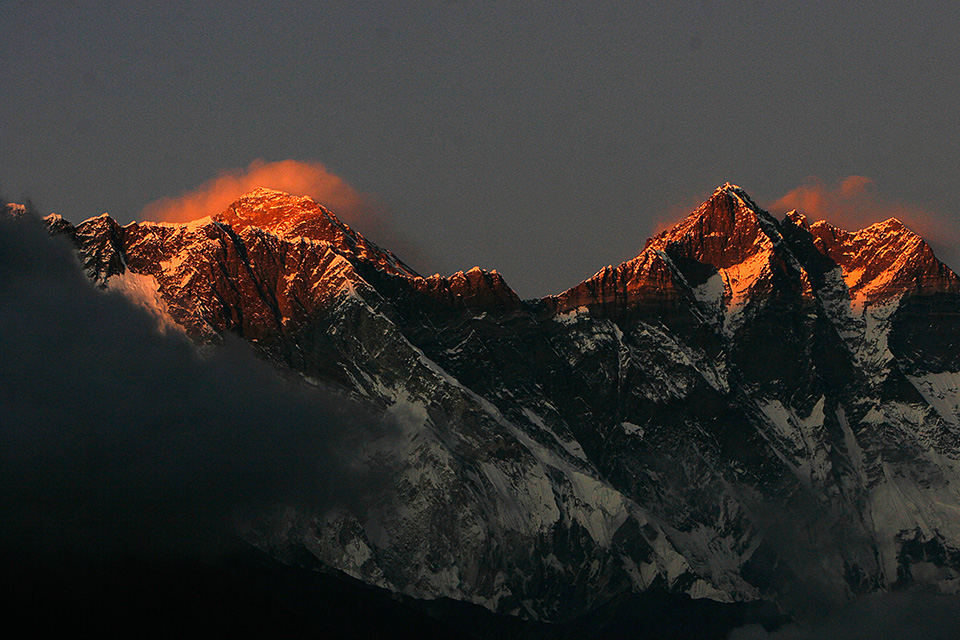
2. Use a smaller aperture
If you want to photograph a landscape with as much depth of field as possible, you could consider using a smaller aperture.
But since one of the most difficult parts of night photography is capturing enough light, this seems like a very contradictory method. Why would you use a smaller aperture when you need more light, especially when you have just paid so much for a fast f/2.8 lens across the entire zoom range?
Still, a small aperture can remain your best option for night landscapes with great depth of field.
Take the Nikon 24mm f/1.4 lens, for example. If you point it at the stars at night, the depth of field is very limited at an aperture of f/1.4. This is a situation where stopping down to f/2 or f/2.8 may be preferable, purely for the required depth of field.
Although you will have to adjust your ISO accordingly, or brighten the photo after processing, this is a necessary evil.
Another advantage of a smaller aperture is that it improves your image quality, especially when it comes to stars in the corners of your photo. Even the best ultra-wide-angle lenses tend to perform poorly at their widest apertures.
If you stop down your aperture a little, even if only slightly, you can reduce aberrations in your photos and produce a sharper shot.
3. Consider focus stacking
Finally, an important tip for taking sharp photos at night is to use focus stacking. Do you need more depth of field than is technically possible? Then use focus stacking. Take several shots, moving the focus point slightly each time, and combine them into one image later.
You combine the photos for focus stacking during post-processing. You can do this in Photoshop, but there are also special programmes for it, such as CombineZP (free) and Helicon Focus (paid). The resulting photo will be sharp from the foreground all the way to the horizon.
Focus stacking is a very useful technique. If you have to choose between a sharp foreground and a sharp night sky, simply choose both! Take one photo with the foreground in focus, and one with the stars in focus, and combine them during post-processing.
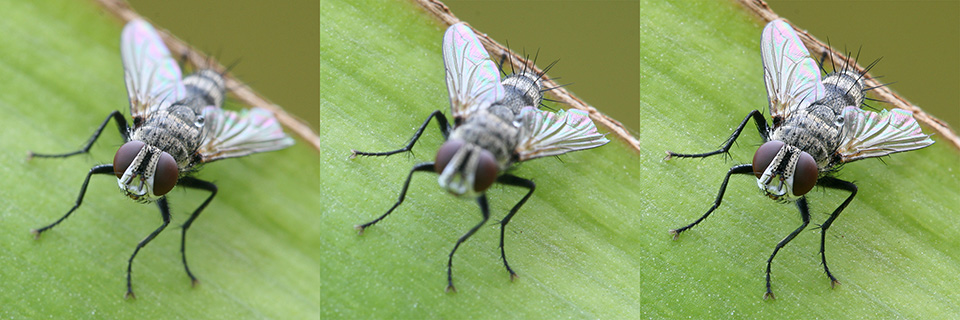
Unfortunately, this technique is not particularly easy. Focus stacking during the night can be very difficult, although it is not impossible. There are two different types of focus stacking that photographers use for situations like this. Below is a description of both techniques.
3.1 Focus stacking, method one
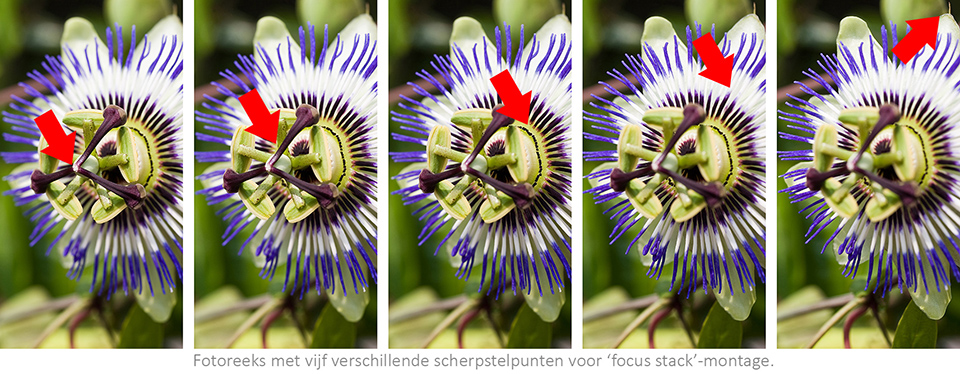
The most obvious way to focus stack during the night is simple: you take a whole series of photos with different focus points, from the stars to the foreground, or from the foreground to the stars, all with a very wide aperture.
You then combine this series of photos into one completely sharp photo during post-processing.
However, this method can be challenging. You need to take a huge series of photos to achieve a successful result that is sharp from front to back. Especially if you use a very wide aperture, where the depth of field is therefore very limited.
In addition, you must make sure that you do not change your focus point too much from one photo to the next. Otherwise, you may skip part of your landscape, leaving part of the final image irreparably blurry.
Night photos are also difficult to blend during post-processing. If everything is very dark and there is not much detail, it can be difficult to blend the photos successfully. This problem is even worse if something in your photo is moving, such as branches or leaves in the wind.
Nevertheless, this is still a common way to stack night photos, and it certainly works for some scenes. There is, however, another way of stacking that can sometimes work better.
3.2 Focus stacking, method two
At first glance, this method seems rather unusual: you take a photo just after sunset, while the sky is still reasonably bright, using a smaller aperture such as f/8 or f/11. You then wait an hour or two, without moving your tripod, until the stars become visible.
Finally, you take a photo focused on the horizon, with the widest possible aperture. During post-processing, you blend these two photos together into a seamless composition.
Personally, I do not think this is a particularly 'tidy' method. It also takes a great deal of time, and you only get around to taking a single photo per night.
And if you plan to enter such a photo in a competition, it may not be accepted because it is not realistic enough. These kinds of composite photos can look very unnatural, you can see that something is not right.
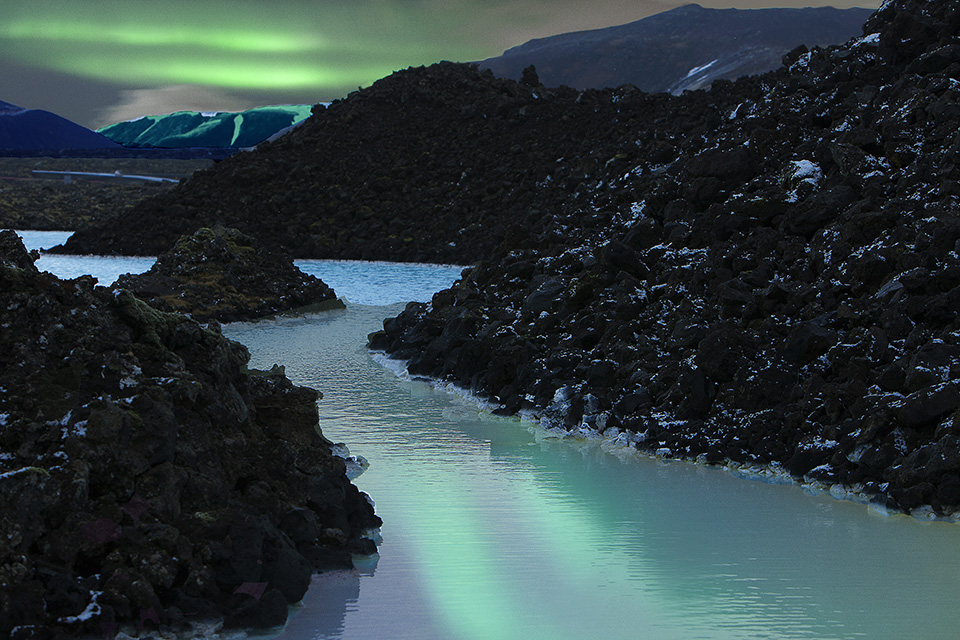
There are also some advantages to this method, though. Normally, it can be very difficult to capture enough detail in your night-time foreground unless the moon is bright. This method solves that problem.
'Blue hour' lighting actually looks quite good and natural beneath a Milky Way. It is simply difficult to do it well. And it takes a lot of practice.
Finally, the image quality of this method is very good, because you can capture both the foreground and the night sky using ideal settings. Although it may look strange if the foreground has much more noise than the sky, so you may want to use similar ISO values for both shots.
It is certainly a useful technique, but you need to be careful when using it in the field.
4. Conclusion
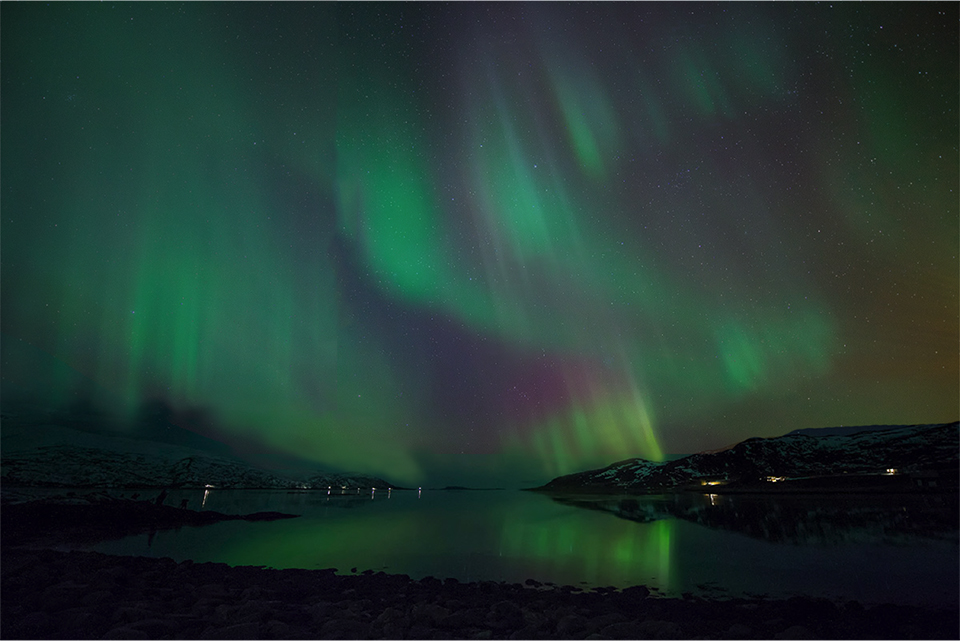
There is no truly easy way to capture enough depth of field at night, but there are some techniques that can help.
The easiest way is to use at least a (ultra-)wide-angle lens. To achieve the greatest depth of field, anything with a focal length of less than 20mm is ideal.
However, if you need even more depth of field in certain landscapes, there are not many easy options left.
On the one hand, you could use a smaller aperture, which would obviously help. At the same time, that small aperture limits the already minimal amount of light reaching your camera sensor. This makes noise more visible in your photos, reducing the image quality.
So, if you have no other option, you may need to combine the different focus points from several photos to create something that works. There are two types of focus stacking at night, and both can work well:
- Capture several consecutive images with different focus points from front to back in the image, using wide apertures
- Or take a photo during the 'blue hour' for the sharp foreground, and take a single Milky Way photo in the evening or at night, then combine the two into one image.
This may all seem like a lot of work for a result that is perhaps somewhat less impressive. But sufficient depth of field in your night photos is crucial to the quality of your photo.
And it is great fun and very educational to experiment with these techniques. If you want to take more razor-sharp night photos, the knowledge and experience you gain will pay off straight away!
Dit artikel is voor het laatst bijgewerkt op 14 september 2017.
De eerste publicatiedatum is donderdag 11 mei 2017, 20:02.
About the author
Michelle Peeters is fotografe en oprichter van DeuxBleus Fotografie. Michelle herkent het bijzondere in het gewone en het gewone in het bijzondere. Ze heeft zich nooit willen specialiseren en is daardoor van alle markten thuis.
You might also like
-
 Night photography on Schiermonnikoog, part 1
by Erik Nevels
-
 Night photography tip: photograph the moon at twilight
by Nando Harmsen
-
 Photograph your muse during the day and turn it into a night photo
by Nando Harmsen
-
 Night photography tip: the eye is drawn to the brightest point
by Nando Harmsen
-
 Night photography tip: keep bright lights bright
by Nando Harmsen
-
 Night photography tip: try black and white too
by Nando Harmsen
6 comments
-
 Renze dijkema wrote on Sunday 14 May 2017 at 16:03 | reply
Another possibility: hyperfocal focusing! Depending on the focal length and aperture, you don't focus on the horizon, but on a point closer by. On manual focus lenses, you can usually read the depth of field.
Translated from Dutch. -

 Michelle Peeters wrote on Sunday 14 May 2017 at 22:01
| reply
@Renze: that's always good! But whether you can still get everything from front to back optimally sharp with a wide aperture (you have to if you have very little light)?..
Translated from Dutch. -
 Kees wrote on Tuesday 16 May 2017 at 14:26 | reply
Is there a reason why longer shutter speeds aren't mentioned as an option?
Translated from Dutch. -
Michelle Peeters wrote on Tuesday 16 May 2017 at 16:16
| reply
@Kees: with longer shutter speeds you don't get greater depth of field! You do with a smaller aperture.
Translated from Dutch. -
Kees wrote on Wednesday 17 May 2017 at 10:45 | reply
@Michelle: Yes, that's clear. But if you use a longer shutter speed you can use a smaller aperture which increases your depth of field.
Translated from Dutch. -
Michelle Peeters wrote on Wednesday 17 May 2017 at 13:21
| reply
@Kees: that's true, still a good addition!
Translated from Dutch.
Have your say
Please note: Articles older than a week can only be commented on by signed-in visitors.Would you still like to comment? sign in or create a free account.
Become a better photographer every week
A practical photography tip in your inbox every week.
38,763 photography enthusiasts already receive the tips! More about the weekly mail. Or keep up to date via  Facebook.

Elja Trum
Photofacts; everything to do with photography!
Would you like to take better photos and keep up with what is happening in photography? Photofacts publishes articles that teach you something about photography — from a product announcement to a practical shooting tip or a look at a website. Photofacts covers photography every day and is a hobby project of Elja Trum's that got out of hand. The articles are written by a team of volunteer authors. If you would enjoy writing one or more articles for Photofacts, do get in touch.More about PhotofactsPhotofacts is made possible in part by
