

Review: Tether Tools Air Direct for wireless tethered photography
Friday 15 July 2022, 14:50 by Nando Harmsen | 5,942 views | 6 commentsThis article was translated from Dutch with the help of AI. Read the original.
Tethered photography allows you to transfer your images directly to your computer. This means you can see the result immediately on a large screen instead of the small screen on your camera.
This allows you to show the model the result straight away and adjust their pose accordingly. Tethered photography can also be useful for product photography.
Being able to assess your photo on a large screen offers many advantages. And there are probably more benefits you can think of.
The major disadvantage of this way of photographing is the cable connecting your camera to the computer. If you want enough freedom of movement, the cable needs to be long enough. However long the cable is, it is something you have to keep in mind constantly.

The weight of the cable will require extra support for the connection, so that the port on your camera is not damaged. You must not trip over the cable, and of course it must not hang or lie in the way.
Wireless tethered photography with the Air Direct
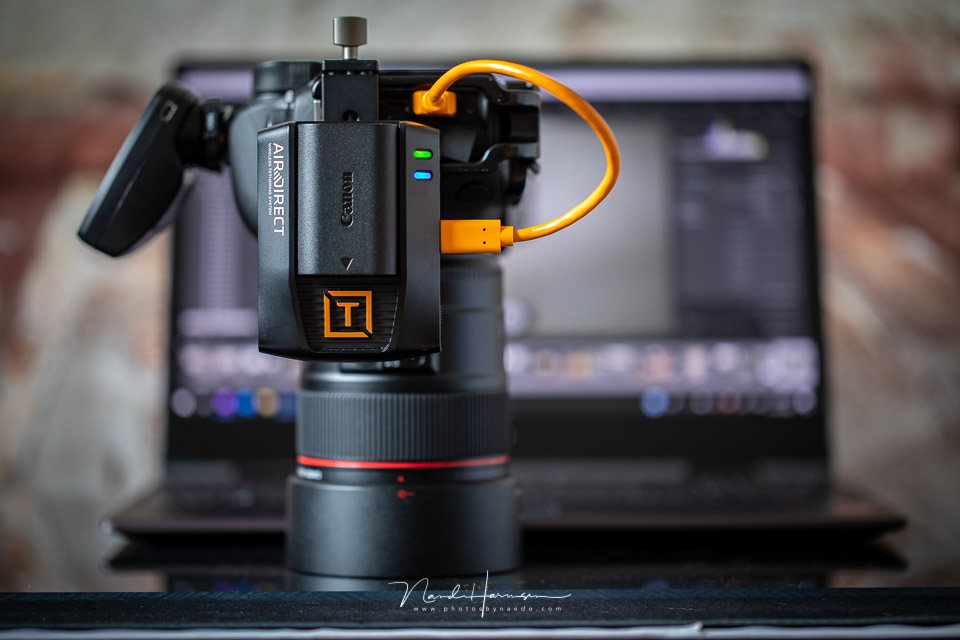
Tether Tools has a great solution with the Air Direct. This Wi-Fi module provides a wireless connection to your computer. This means you no longer have to deal with long cables and all the disadvantages that come with them. The Air Direct gives you complete freedom to move around.
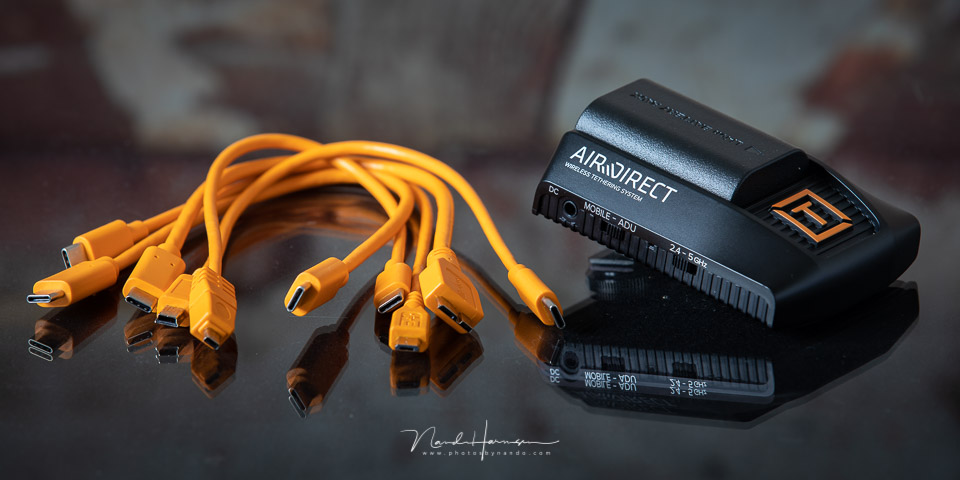
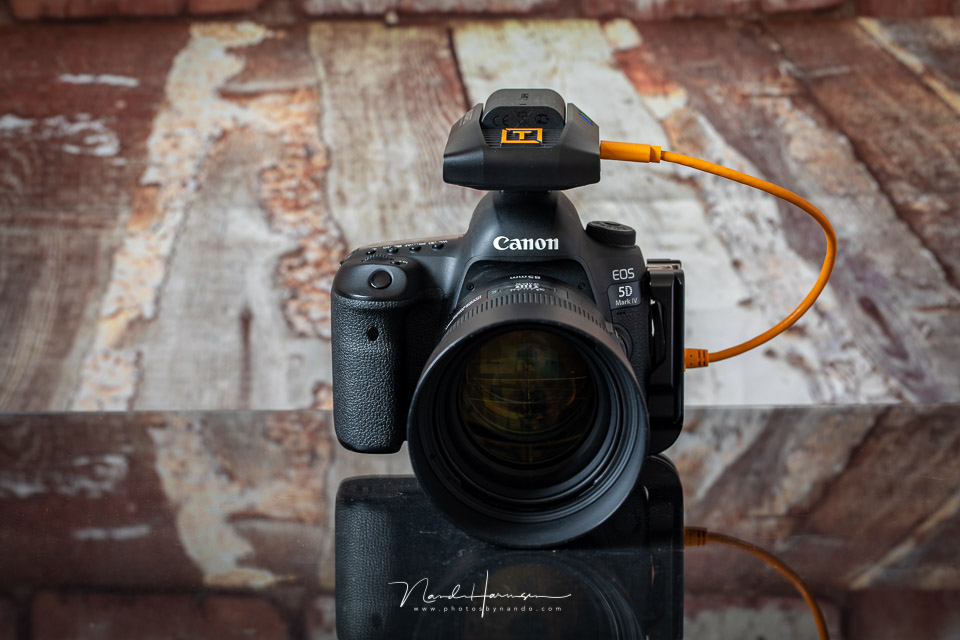
The unit is attached to your camera's hot shoe. A short cable connects the Air Direct to your camera. You then simply connect it to your computer, and you can start photographing.
The Air Direct uses the LP-E6/N battery, which is also used by Canon full-frame DSLRs and mirrorless cameras. This is ideal for Canon users who already own these batteries. Of course, the Air Direct comes with a battery and charger.
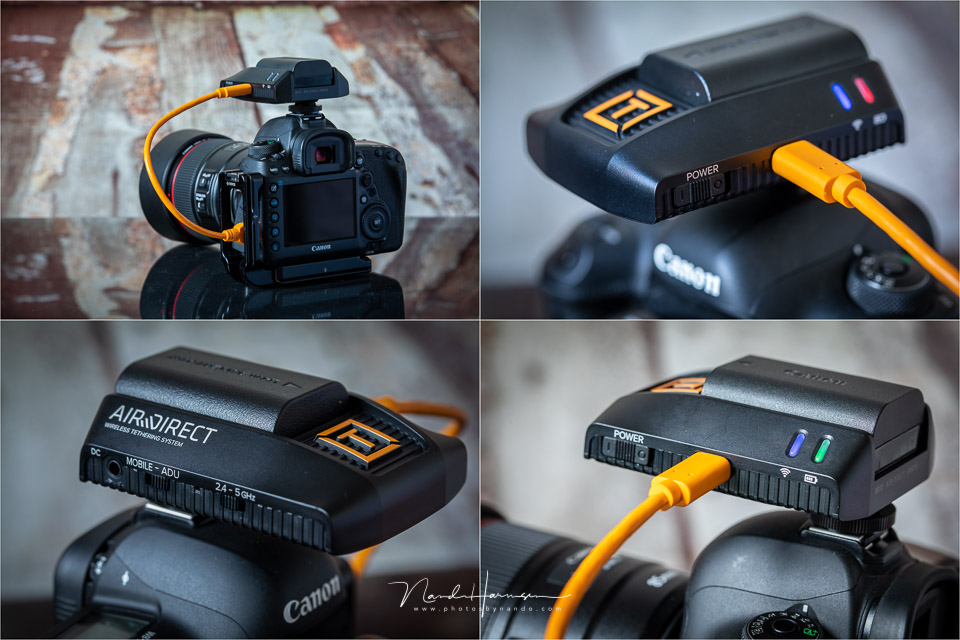
It is also possible to power the Air Direct via USB, using an external battery pack, for example. This does mean having something extra to carry or attach to the camera. It is better to use the LP-E6 battery, as this is wireless photography after all.
Starting up and connecting
A few steps are required the first time you use the Air Direct. You need an app or a special piece of software. You can choose on the unit which one you want to use: the ADU software or the mobile app.
I used the ADU software to connect the Air Direct to the laptop. You can choose between a 2.4 GHz or 5 GHz connection. Since the Air Direct uses a Wi-Fi signal, you need to connect your laptop to the Air Direct network.
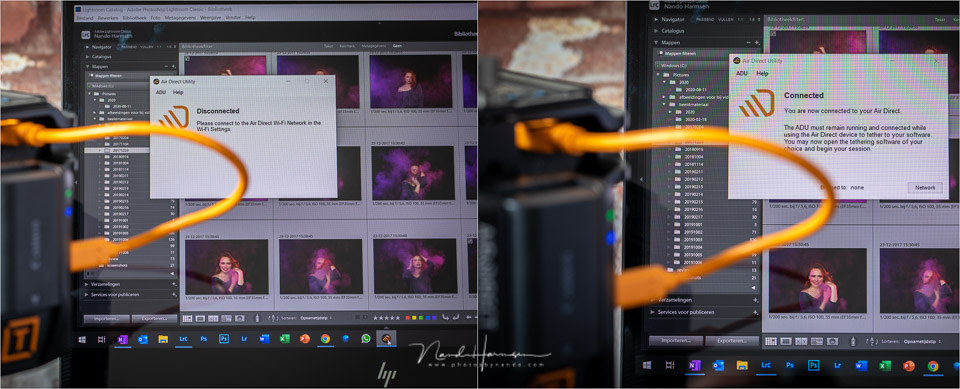
The consequence is that you are no longer connected to the internet. I do not see this as a major problem, because you are busy with photography rather than the internet. If you want to share your tethered photography online straight away, this is not possible.
Installing the ADU software is easy. You follow the instructions and everything goes almost flawlessly. The ADU software must remain open for the Air Direct to work with your favourite tethered software. I used Lightroom Classic, and the camera was found without any problems.
The speed of the Air Direct
Modern cameras have very large files. A raw file from my Canon EOS 5D mark IV is quickly 25 megabytes in size. Files from cameras with 50 megapixels or more are even larger. This means that a lot of data has to be sent via the Wi-Fi signal.
The Air Direct uses 802.11AC Wi-Fi, which can theoretically transmit data at up to 443 Mbps. But every connection is only as fast as its slowest link. If your computer has a slower connection, that will determine the speed.
In a test where the distance between the Air Direct and the computer was no more than three to four metres, it took up to 20 seconds to transfer a raw file from my camera.
In some cases it was faster and took less than 10 seconds. However, I also had situations where it took almost 35 seconds.
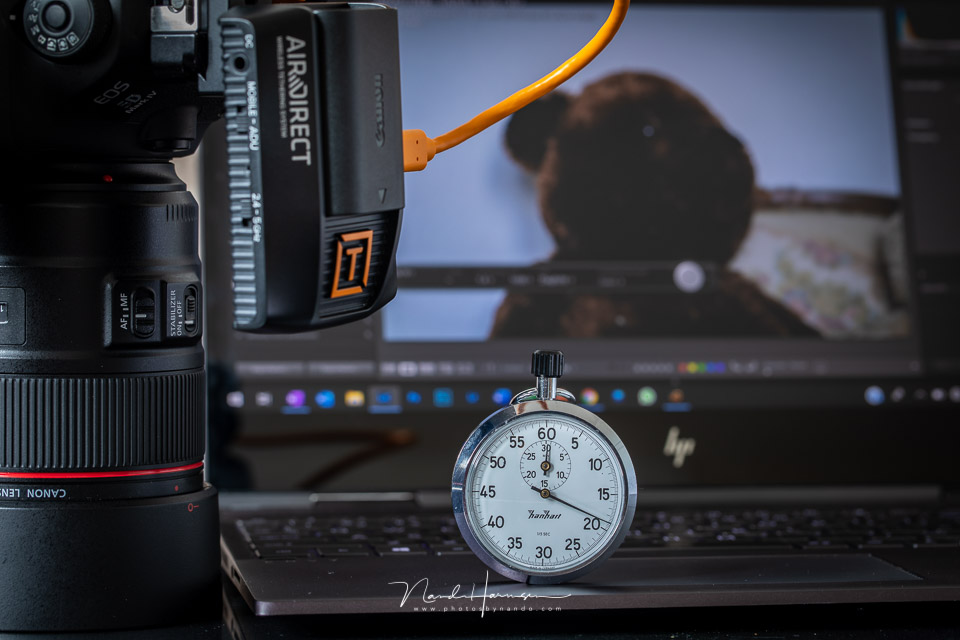
The transfer speed seems to depend heavily on the circumstances, interfering equipment in the surroundings, walls and doors. In short, the quality of your connection has a major influence on the transfer speed.
By comparison, a transfer via a tethered cable, also from Tether Tools, took just 2 to 3 seconds.
Attaching it to the camera
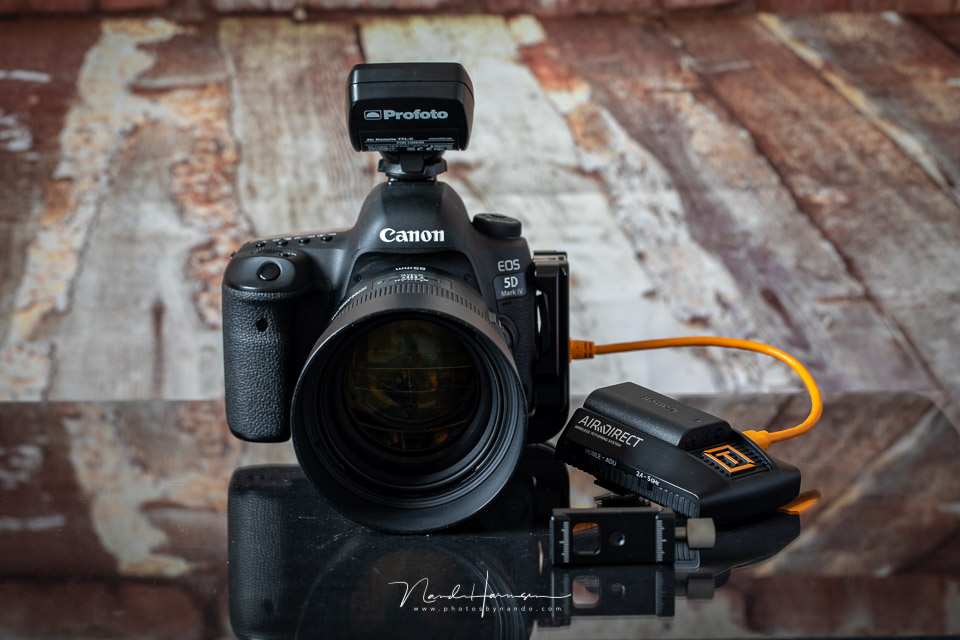
The Air Direct is attached to the camera via the hot shoe. This is, of course, where you place a flash trigger. If your flash trigger does not have its own hot shoe, you have a problem and cannot simply attach the Air Direct to your camera.
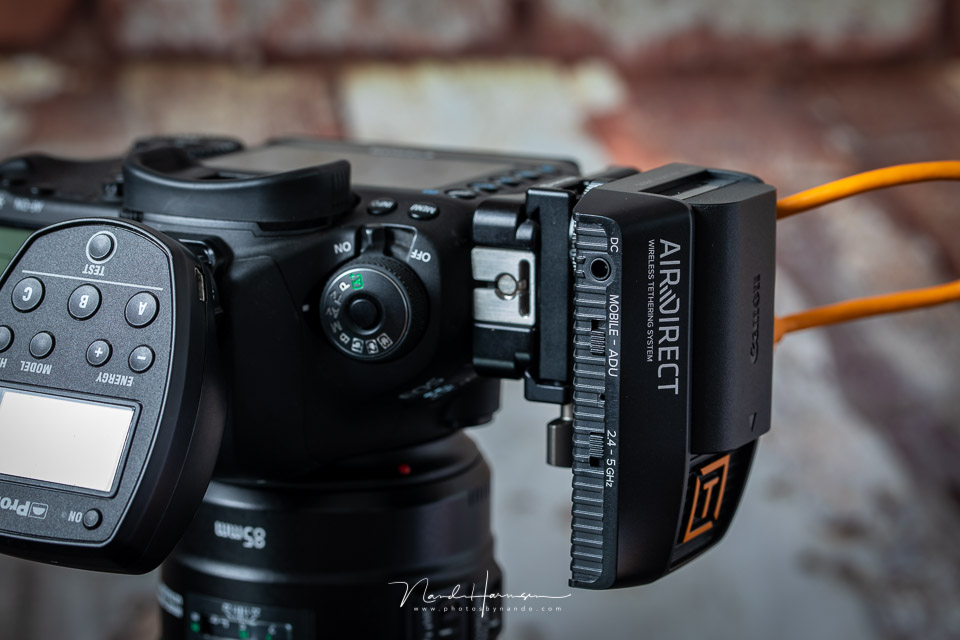
To get around this problem, you can choose the Air Direct Arca L-bracket clamp, simply a cold-shoe clamp that can be attached to an L-bracket. This does mean that your camera must have an L-bracket for this to work. If you do not have one, you will have to buy one.
My conclusion
Unfortunately, I did not have the opportunity to use the Air Direct in a real studio environment. But what I tested shows that the Air Direct works flawlessly with Lightroom Classic and a Canon camera, at least.
I did not test how far the signal reaches. A range of 60 metres is specified as the limit. It is unlikely that your studio will be that large, so I do not expect distance to cause any problems.
However, do take objects between the unit and the computer into account, such as concrete walls and steel doors.
The connection is easy to set up, and the images are transferred neatly from the camera to the computer. In my opinion, though, it takes too long to photograph smoothly and quickly.
When the transfer takes just 6 seconds, it already feels like a long time. But just as often it took 20 seconds, which is an eternity.
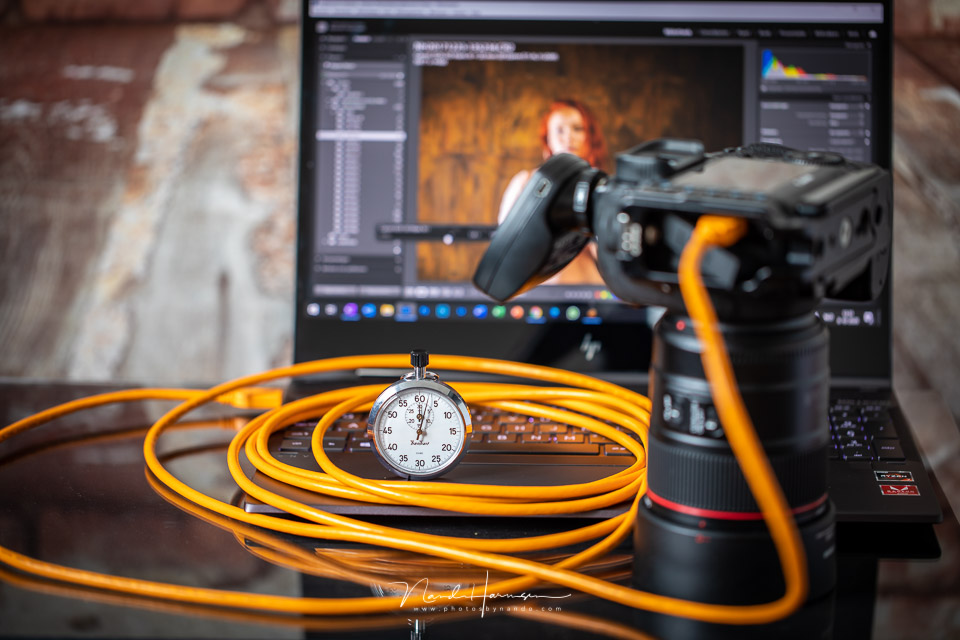
I realise that the transfer speed depends heavily on having a good connection. My experience with Wi-Fi is that it is not always equally reliable, and external factors can very easily affect it. When you do product photography, transfer speed is less important than when you are photographing a model.
Whether the transfer time is workable for you is something you can decide best for yourself. For me personally, it is not fast enough, and I still prefer a physical cable between the camera and the computer, despite all the disadvantages that come with it.
Nevertheless, the Air Direct works well and smoothly, and offers many advantages because there are no long, heavy cables. The Air Direct costs around 395 euros and is also available as a set with the cold-shoe clamp. And in other combinations.
What I found positive
- No more need for long connection cables
- Gives you plenty of freedom to move around
- Easy installation if you follow the instructions
- Canon-compatible battery, if you use Canon
- A very comprehensive set of connection cables for all variants is included
What I found to be a disadvantage
- Transfer speed depends on the quality of the connection
- Transferring a 25 MB raw file can take up to 20 seconds
- You have to disconnect your Wi-Fi from the internet before you can connect
- Attachment is via the hot shoe, where you would normally place the flash trigger
- Only a USB cable is supplied for the charger, with no plug
Using the cold-shoe clamp
One of the disadvantages mentioned is attaching it to the camera's hot shoe. If you use a flash trigger that does not have an additional hot shoe, you cannot attach the Air Direct to your camera. A separate cold-shoe clamp is available for this purpose.
This cold-shoe clamp has an Arca-Swiss-compatible connection, so you can attach it to a tripod plate. The Air Direct then hangs below your camera, and you can simply place the flash trigger on your hot shoe. The supplied cables may then be a little too short. Keep this in mind.
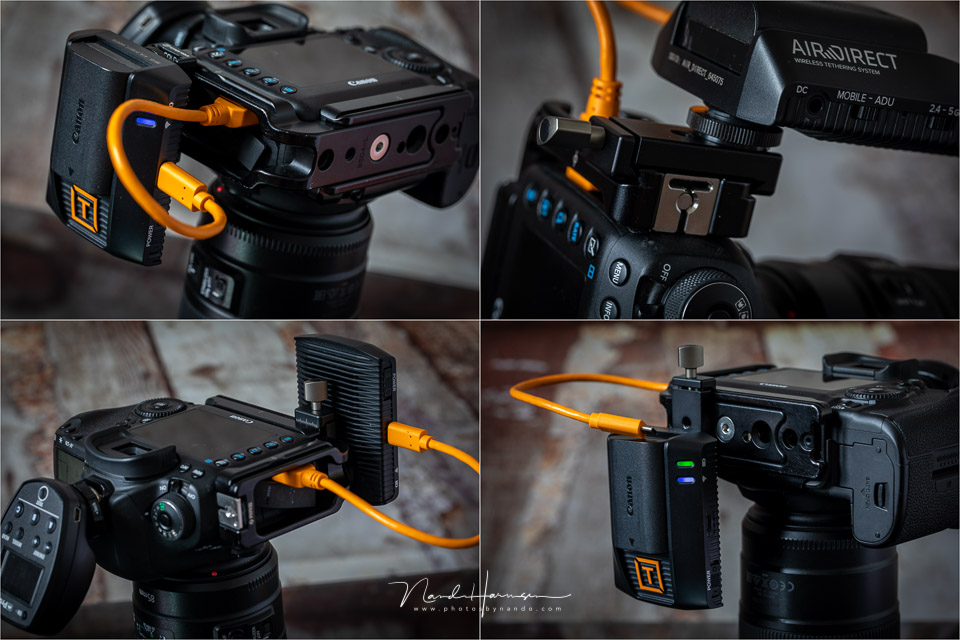
In fact, the cold-shoe clamp is therefore best used with an L-bracket. The Air Direct hangs next to your camera, and the cable connecting the Air Direct to the camera is more than long enough. You do need to have an L-bracket on your camera to make the most of it.
For your information, the supplier withdrew this product from sale from 2022 onwards. The reason is that the expected performance was not achieved.
Dit artikel is voor het laatst bijgewerkt op 15 juli 2022.
De eerste publicatiedatum is vrijdag 30 oktober 2020, 20:10.
About the author
Nando Harmsen has been photographing for more than 40 years. He specialises in wedding photography and landscape photography. Nando also gives talks, workshops, masterclasses and photo trips, and regularly reviews new and interesting equipment.
You might also like
-
 The three directions of light
by Nando Harmsen
-
 Review of the Canon EOS M50 mark II
by Nando Harmsen
-
 Capture One Mobile can now tether wirelessly with Canon cameras
by Nando Harmsen
-
 Taking the Direction of Light into Account
by Nando Harmsen
-
 Review: Canon EOS R50 mirrorless camera
by Nando Harmsen
-
 DJI Air 3 announced
by Elja Trum
6 comments
-
 Bernard wrote on Tuesday 3 November 2020 at 10:21 | reply
I own an air-direct, and smartshooter 4.18 . Which I use with my D800 nikon.
Translated from Dutch.
Regarding the transfer speed, you can set it to send the jpg file to the computer, this goes very quickly and put the raw shot on your sd-card.there's no use for that when viewing and assessing the shot anyway, raw is not a photo but a bundle of data.
If you want to edit later, you use the raw file on the sd card. -

 frank doorhof
wrote on Tuesday 3 November 2020 at 11:12
| reply
frank doorhof
wrote on Tuesday 3 November 2020 at 11:12
| reply
Hi Nando,
Translated from Dutch.
Thanks for your review and beautiful photos. Let me come back to your downsides for a moment:
*In most cameras you can set it so that the RAW stays on the card and the jpgs are sent. So the transfer is much faster
* There is now a pass through for the WiFi, so you can just use WiFi again afterwards.
* With the AD-Arca bracket you can attach the Air Direct to your Arca Mount or L-bracket so it is off your hotshoe.
* You can charge the battery from your laptop. Many international products no longer come with an adapter, because it is different everywhere and people often already have chargers.
Do you have any questions? Send me or Anenwiek a message -
 Martin wrote on Tuesday 3 November 2020 at 12:01 | reply
I'm curious how long the transfer of an average JPEG file takes.
Translated from Dutch.
Frank? -
frank doorhof
wrote on Tuesday 3 November 2020 at 13:09
| reply
Jpg is actually direct
Translated from Dutch.
What we advise customers is the following. And it is a shame that the reviewer didn't just ask about it.
Wifi on bridge if you need chromecasts or internet.
Set the camera to shoot JPG and RAW and choose the smallest option for JPG.
You can now simply give stars or flags.
After the session, download the card and check whether the RAW is to the left or right of the JPG. As soon as you know that, you can transfer all the ratings to the raws at lightning speed
These are very comprehensive devices, and you are often better off emailing or calling us for workflow tips if you can't figure something out. Most of what you want to do is simply possible, but you need to know where to set it in the camera. The air direct itself is not the problem. It is often the tangle of cameras that makes it difficult.
But so far, it actually works with almost all cameras that the raws stay on the card and the jpgs fly through the air
-
 Nando
wrote on Tuesday 3 November 2020 at 14:06
| reply
Nando
wrote on Tuesday 3 November 2020 at 14:06
| reply
I understand that it is not clear from the review what the jpeg transfer speed is. I did not measure that time, because this simply happens very quickly. Jpegs are simply smaller files and therefore it simply goes faster.
Translated from Dutch.
As Frank, Annewiek and Bernard say; it is better to do this with jpeg files, and not with raw files. -
frank doorhof
wrote on Wednesday 4 November 2020 at 14:57
| reply
For everyone reading this article who still has questions about bridging the wifi look here.
Translated from Dutch.
And here is more information about RAW Lossless Compress for your RAW.
Have your say
Please note: Articles older than a week can only be commented on by signed-in visitors.Would you still like to comment? sign in or create a free account.
Become a better photographer every week
A practical photography tip in your inbox every week.
39,024 photography enthusiasts already receive the tips! More about the weekly mail. Or keep up to date via  Facebook.

Elja Trum
Photofacts; everything to do with photography!
Would you like to take better photos and keep up with what is happening in photography? Photofacts publishes articles that teach you something about photography — from a product announcement to a practical shooting tip or a look at a website. Photofacts covers photography every day and is a hobby project of Elja Trum's that got out of hand. The articles are written by a team of volunteer authors. If you would enjoy writing one or more articles for Photofacts, do get in touch.More about PhotofactsPhotofacts is made possible in part by
