

Paying Attention to Timelapse Photography
Monday 4 November 2024, 16:32 by Nando Harmsen | 2,639 views | 2 commentsThis article was translated from Dutch with the help of AI. Read the original.
Timelapse photography seems simple. You set up the camera, set the interval and wait until it is finished. But it is rarely that simple. You need to stay with it for the best result. I discovered that once again during my photography masterclass in France.
The idea was perfect. During my photography masterclass in France, I planned to make several timelapses. That way, I would have plenty of time for my course participants.
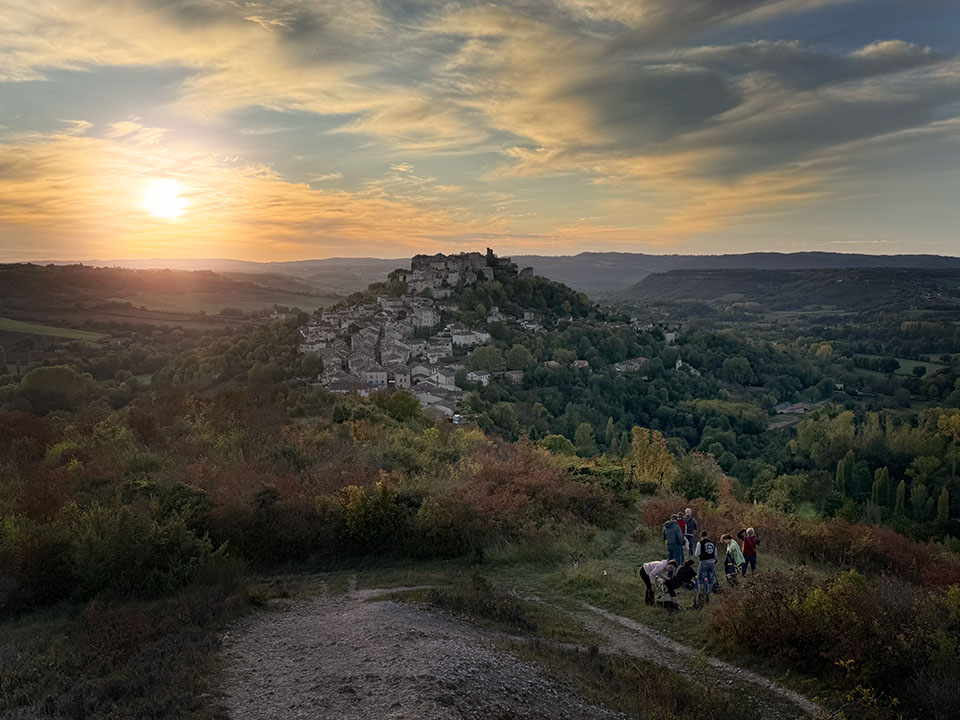
Unfortunately, it turned out not to be as easy as I had initially thought. Especially because many of these moments would be during sunrise and sunset, when the light conditions are constantly changing. These are the famous holy grail timelapses.
The idea behind a holy grail timelapse is to constantly correct the exposure manually. The camera must be set to manual exposure for this. But when I am teaching a masterclass, I cannot stay with the camera continuously. The participants are more important.
So I thought: I will use aperture priority. Then the camera can adjust the exposure itself as the light changes. If it gets darker, the shutter speed will automatically become slower.
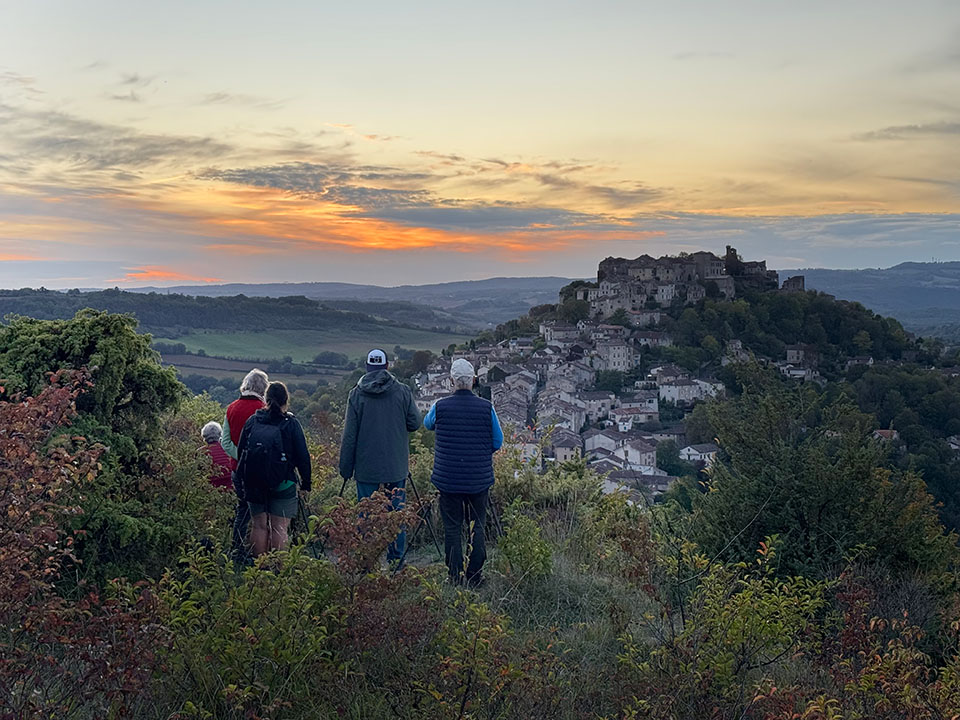
Although the theory behind it sounds good, it works less well in practice. For full control, manual exposure settings are best, with lots of adjustments in small steps. You need to stay with it and pay attention.
I did not have time for that, as I was there for the participants. My cameras were left on their own. I was busy explaining and assisting, and walked from one participant to another. Every now and then I went to check my cameras, only to discover that things were going wrong.
The shots became overexposed, or underexposed, meaning I had to apply exposure compensation. This made the steps for the holy grail too large. I had not paid enough attention to positioning a graduated ND filter, or the composition was not quite right after all.
The timelapses did work in principle, but they were not as good as they could have been. I had to make far too many corrections in Lightroom to bring out the darker areas. In short, it required an enormous amount of editing and correction afterwards.
In this case, it could not be avoided. I was busy with something else that had a higher priority. But it is an important lesson for anyone making timelapses. Make sure you stay with it. Pay attention when photographing a timelapse.
The better you do things while photographing, the less time you need for editing. It makes everything much easier, and ultimately gives you better results. Stay with it for the best result.
About the author
Nando Harmsen has been photographing for more than 40 years. He specialises in wedding photography and landscape photography. Nando also gives talks, workshops, masterclasses and photo trips, and regularly reviews new and interesting equipment.
You might also like
-
 Review: LRTimelapse Pro Timer 3 for timelapse photography
by Nando Harmsen
-
 Photographing a Timelapse by the Waal
by Nando Harmsen
-
 The importance of the interval in a timelapse
by Nando Harmsen
-
.jpg "Nature photography tip: Create a timelapse with your phone") Nature photography tip: Create a timelapse with your phone
Nature photography tip: Create a timelapse with your phoneby Rob Dijkstra
-
 Make a timelapse more engaging with video footage
by Nando Harmsen
-
 Create a delayed long timelapse with your GoPro
by Elja Trum
2 comments
-
 guest wrote on Wednesday 6 November 2024 at 16:02 | reply
Thanks for the reminder. With a regular timelapse (without adjustments in exposure) you still have some time to do something else. With a Holy Grail timelapse you'll indeed have to stay with it.
Translated from Dutch.
Short other question: How many stops are there between 'day and night' for you with a Holy Grail timelapse'? In other words, what starting settings (Exposure and ISO) do you start with and what do you end with? -

 Nando
wrote on Wednesday 6 November 2024 at 16:27
| reply
Nando
wrote on Wednesday 6 November 2024 at 16:27
| reply
Even with aperture priority, you have to keep checking, I've noticed. Especially when the sun is (or was) in your frame.
Translated from Dutch.
There is little to say about the number of stops between day and night. This depends on the circumstances.
If you know that daylight is around 14-15 EV and night with lighting is somewhere around 2-5 EV, then the difference can be as much as 10 stops or more.
Have your say
Please note: Articles older than a week can only be commented on by signed-in visitors.Would you still like to comment? sign in or create a free account.
Become a better photographer every week
A practical photography tip in your inbox every week.
39,024 photography enthusiasts already receive the tips! More about the weekly mail. Or keep up to date via  Facebook.

Elja Trum
Photofacts; everything to do with photography!
Would you like to take better photos and keep up with what is happening in photography? Photofacts publishes articles that teach you something about photography — from a product announcement to a practical shooting tip or a look at a website. Photofacts covers photography every day and is a hobby project of Elja Trum's that got out of hand. The articles are written by a team of volunteer authors. If you would enjoy writing one or more articles for Photofacts, do get in touch.More about PhotofactsPhotofacts is made possible in part by
