

Review: LRTimelapse Pro Timer 3 for timelapse photography
Friday 10 January 2025, 15:51 by Nando Harmsen | 3,297 views | 2 commentsThis article was translated from Dutch with the help of AI. Read the original.
To create a timelapse, you need to take photos at set intervals. Many cameras now have built-in interval functions or a timelapse setting. The LRTimelapse Pro Timer 3 is a separate timer aimed at professional use.
There are many ways to automatically take photos at set intervals. You need this if you shoot timelapse photography. Modern cameras may have an interval setting, but certainly not all of them.
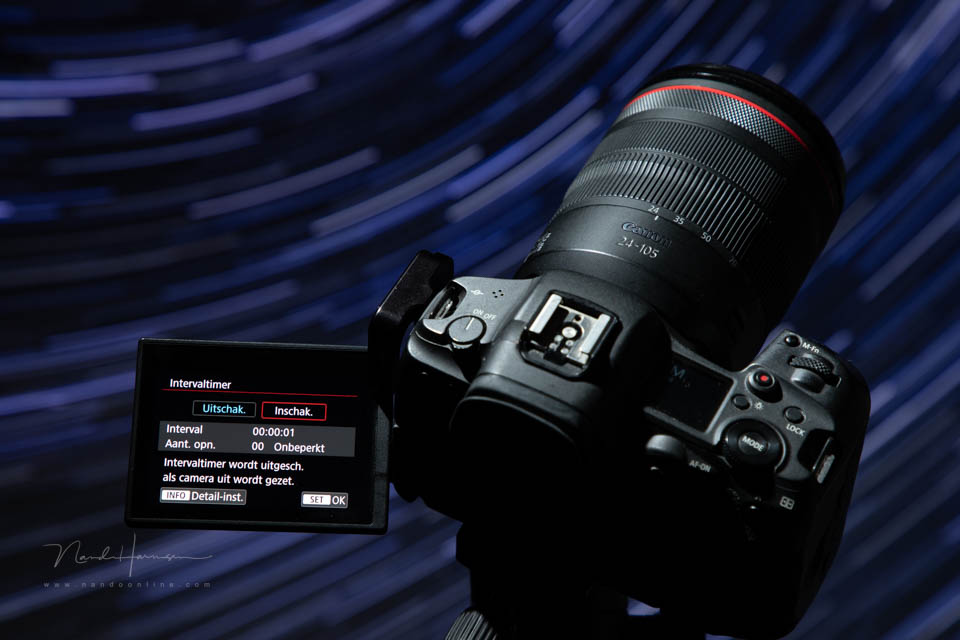
If the interval setting is available, you can use it. It works well, but with a minimum interval time of 1 second. You can set the number of photos, or let it run indefinitely. In the latter case, you stop the interval manually when you are done.
An alternative is a separate programmable timer or intervalometer. These come in different types, from timers made by a camera brand to universal timers. Most of these have many more functions built in. The LRTimelapse Pro Timer 3 is one of them.
One of the major differences compared with other timers or intervalometers is the ultra-short AF signal sent by the LRTimelapse Pro Timer 3. Normally, a timer first sends an AF signal to the camera, followed by the signal to take the photo.
This also happens when the camera is set to manual focus. This limits the minimum interval time. By keeping this signal as short as possible, the LRTimelapse Pro Timer 3 allows you to use an interval of just 0.4 seconds.
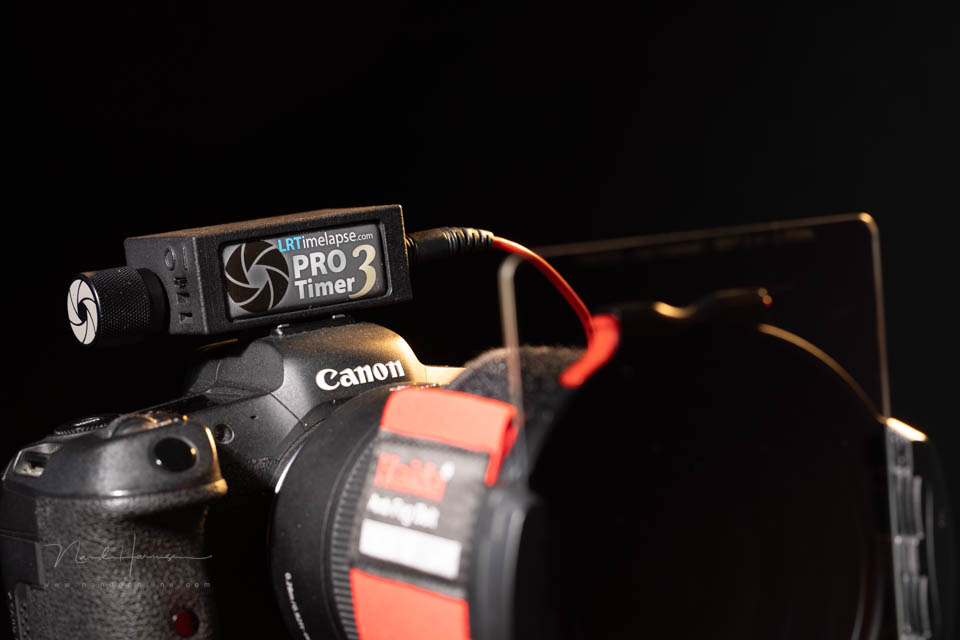
The LRTimelapse Pro Timer 3 is an interval timer aimed at professional use. Or at serious amateurs who specialise in timelapse photography. At 229 euros, the timer is not cheap, especially when compared with other universal models.
Because I often shoot timelapse photography, I decided to buy the LRTimelapse Pro Timer 3. I have now been using it for quite some time, giving me a good understanding of its capabilities. Is this timer worth its high purchase price?
Appearance and controls
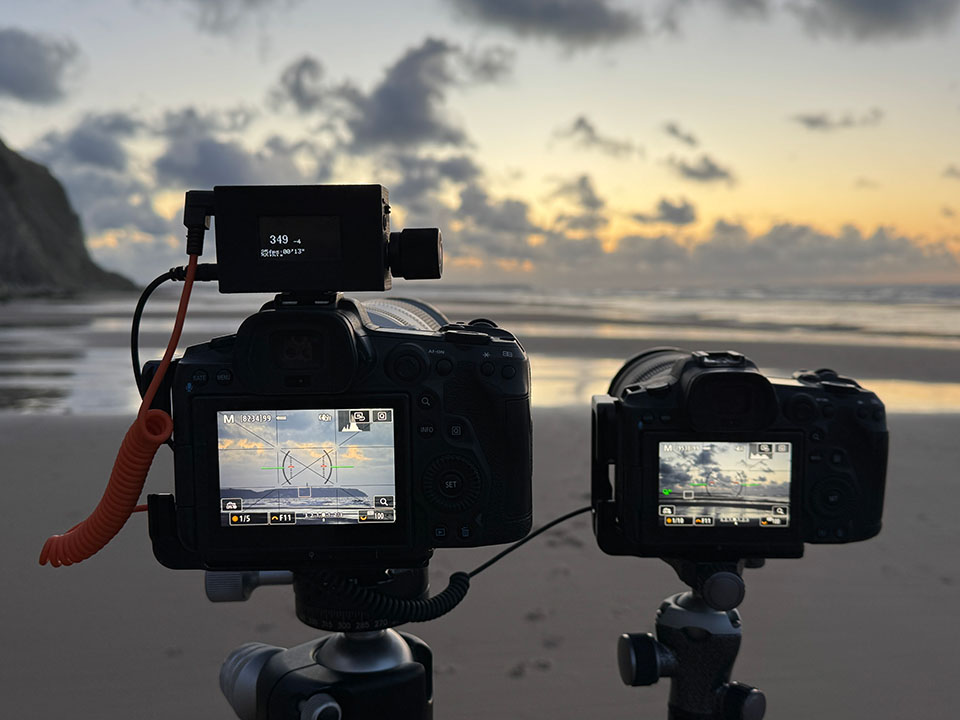
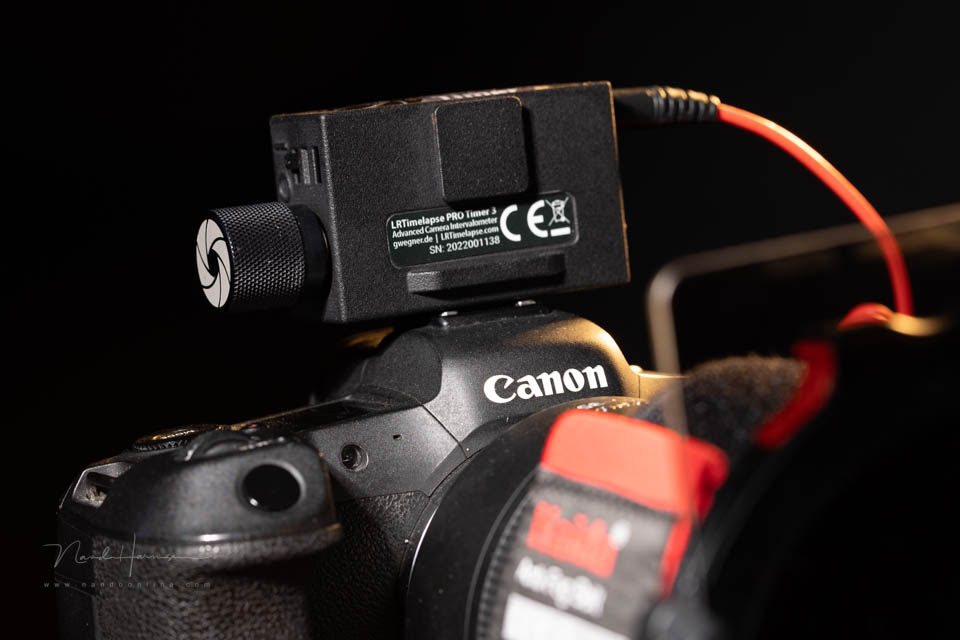
The Pro Timer 3 is very simple in design. It is a simple plastic box with two hotshoe connections, a round dial/button and a small switch for turning it on and off. You can connect two cameras to it at the same time.
The battery is charged via a USB-C cable. Remarkably, charging only works with a USB-C to USB-A cable. If you have a charger with a USB-C to USB-C connection, it will not work.
A full battery charge provides many hours of use. Unless you set out with an almost empty timer, you do not have to worry about the battery running out during your timelapse shoots.
The large dial is all you need to operate the timer. You can use the dial without any problems while wearing (thick) gloves. That alone is a major advantage over all other timers currently available.
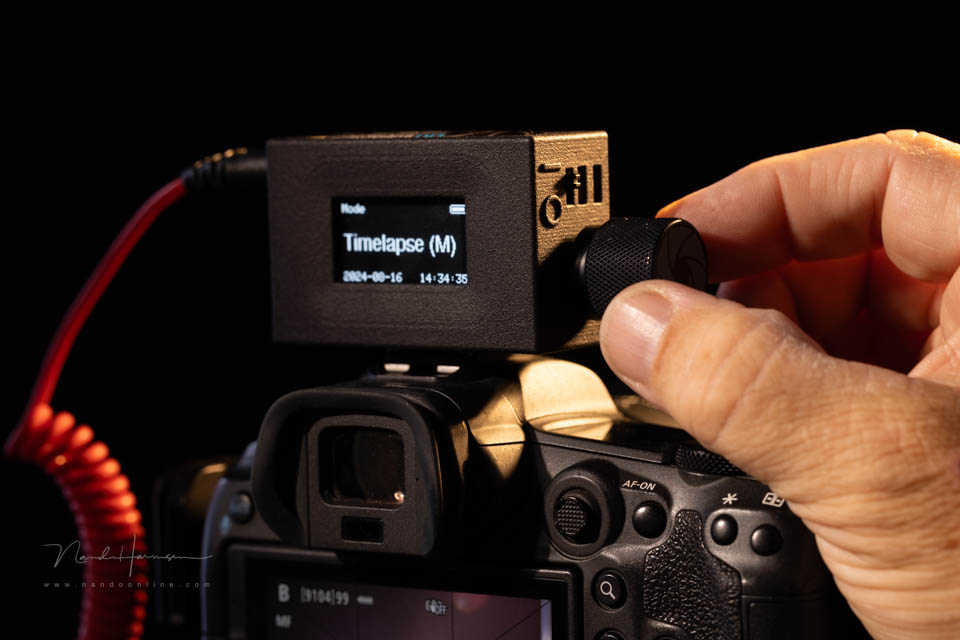
You turn the large dial to move through the menu or change settings. Press the dial to confirm your choice. To return to the previous menu page, press and hold the dial.
The Pro 3 Timer can be slid into the camera's hotshoe. This can be done in two positions, with the display on top or at the rear, or at the front if you prefer. Keep in mind that the timer is not held very securely.
Features and menu
The LRTimelapse Pro Timer 3 has several built-in options. You have standard timelapse (1), timelapse/Astro (2), single bulb timer (3), delayed timelapse (4), periodic timelapse (5), and a custom timelapse (6).
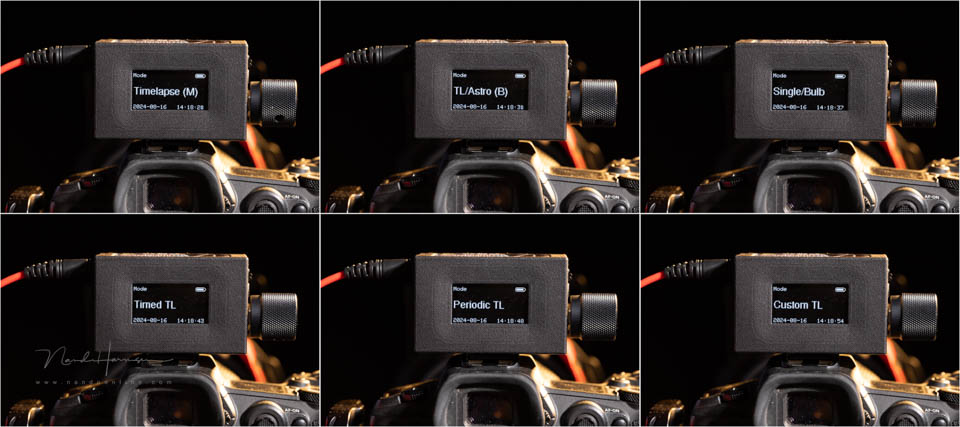
The first two settings are for a normal timelapse and a timelapse with bulb exposures. The third is a bulb timer that lets you use bulb mode with a set duration.
Delayed timelapse is a normal timelapse that starts automatically on a predefined day and time. You set up the camera in the evening for a sunrise and stay comfortably in bed. The timelapse then starts at the set time.
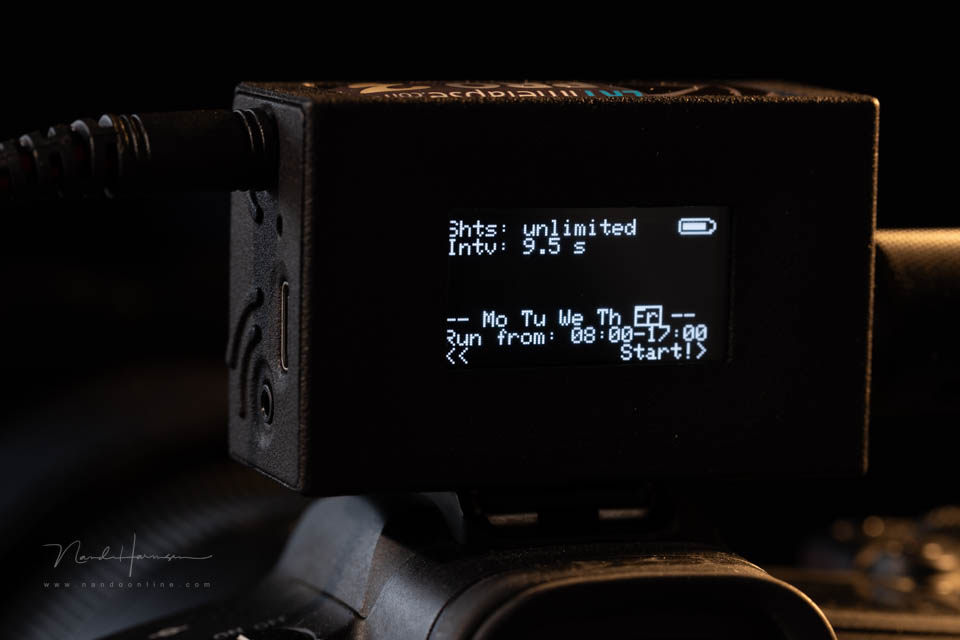
The periodic timelapse is similar, but can be programmed to take photos on certain days of the week during a set period. This is useful, for example, for photographing construction work on working days from 8:00 am to 5:00 pm.
The custom timelapse lets you combine several of the options above. You can also save a setting. This allows you to quickly call it up when you are on location.
The menu is easy to set up and largely self-explanatory. However, the settings offer very specific adjustment options that require some study or knowledge of your camera. Think of release time, autofocus time, dslm standby time and decouple time.
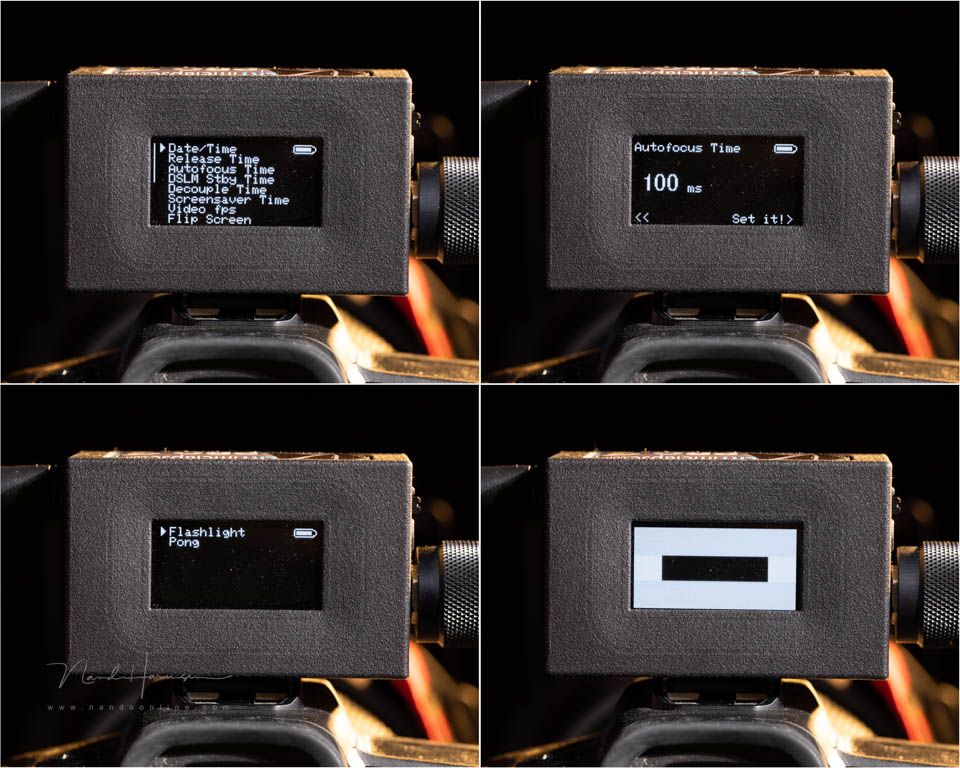
You can leave most settings as they are. If the camera is not being controlled exactly as you want, you can fine-tune it here. Other settings found here include the screen setting screensaver time and video framerate.
There are two standard 2.5mm connections for a trigger cable to the camera. One of them can also be used to control a dolly slider. This allows you to synchronise the camera movement with the photography.
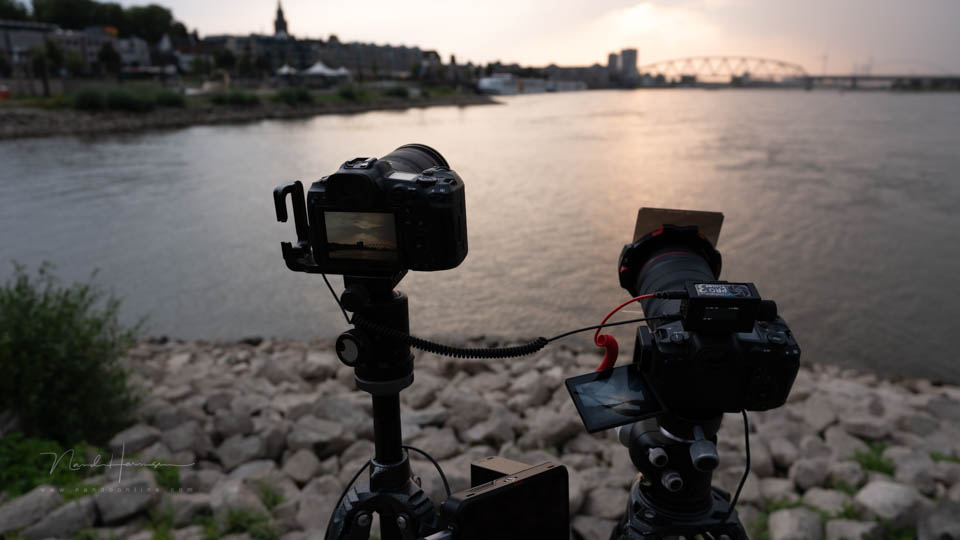
Using it for interval shooting
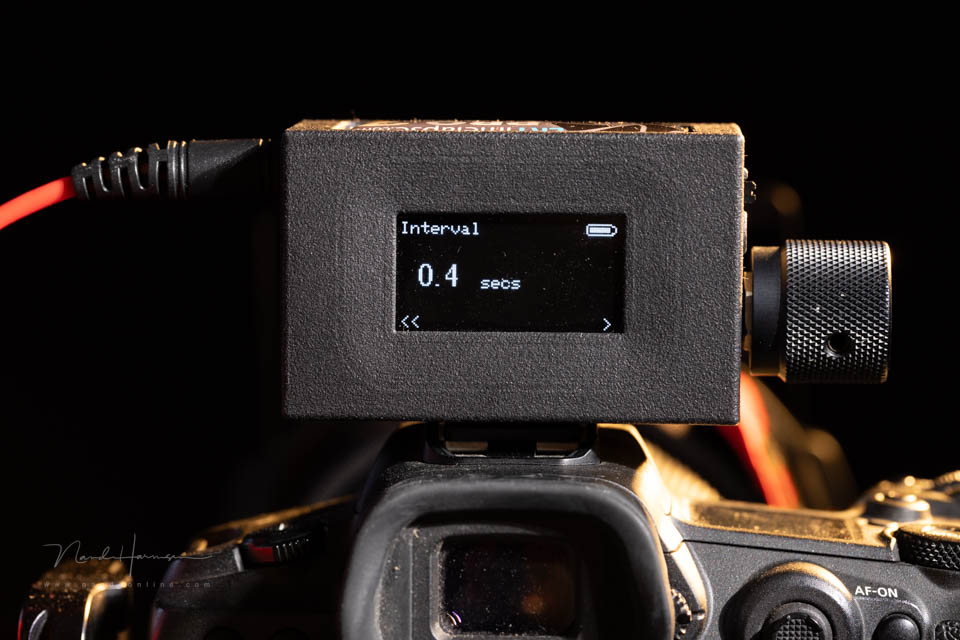
The special thing about this timer is the ability to set an interval time as short as 0.4 seconds. The maximum interval time is 12 hours. The interval can be selected to the nearest 0.1 second.
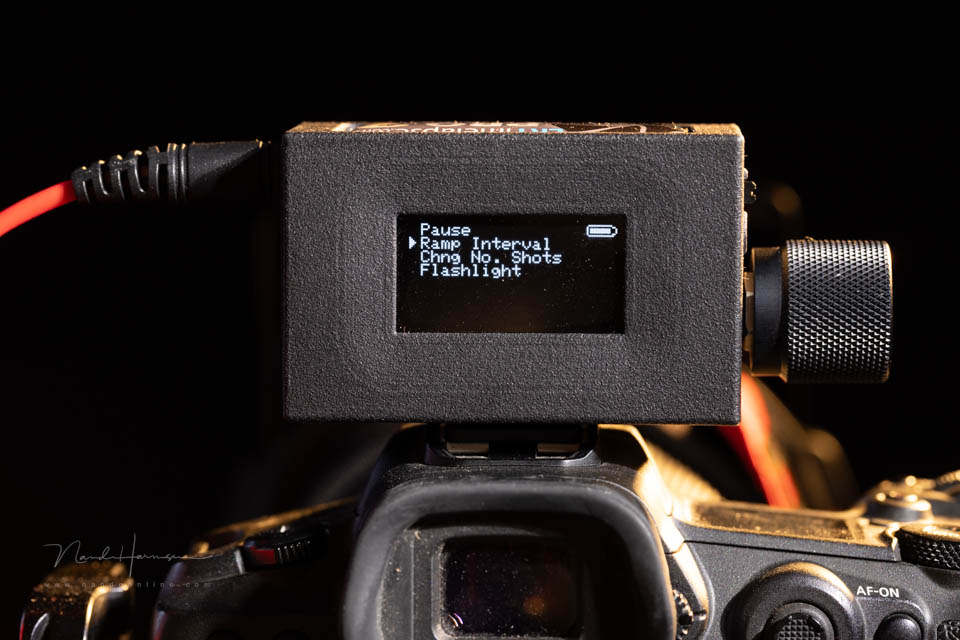
During a timelapse, you can gradually make the interval longer or shorter. This is called ramping. For example, you can go from a 5-second interval to a 10.5-second interval over half an hour.
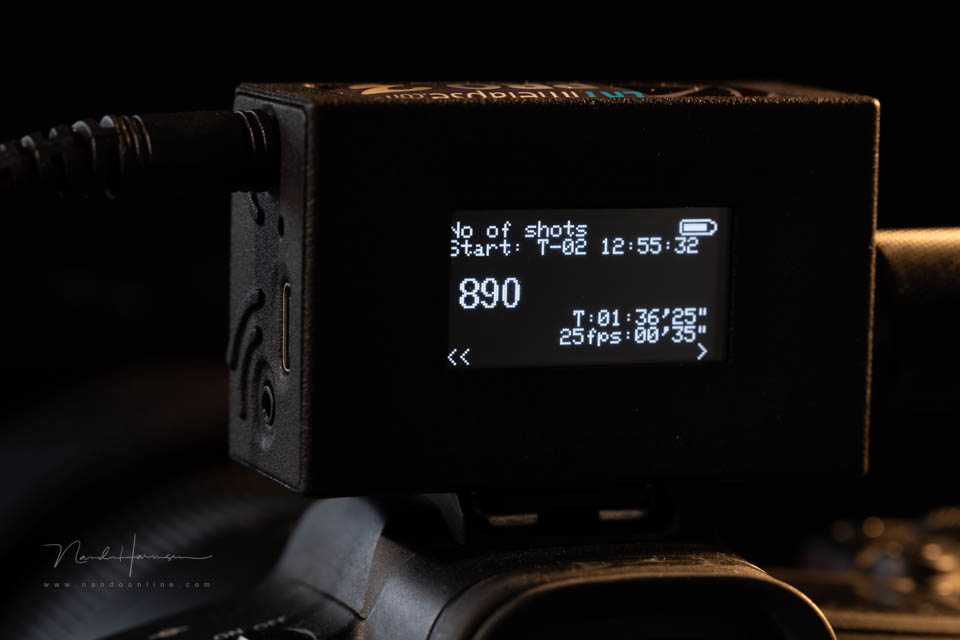
You can choose an unlimited number of photos or a desired number of shots. With the video framerate set correctly, the timer shows what time you will finish shooting, the total duration and how long the timelapse video will be.
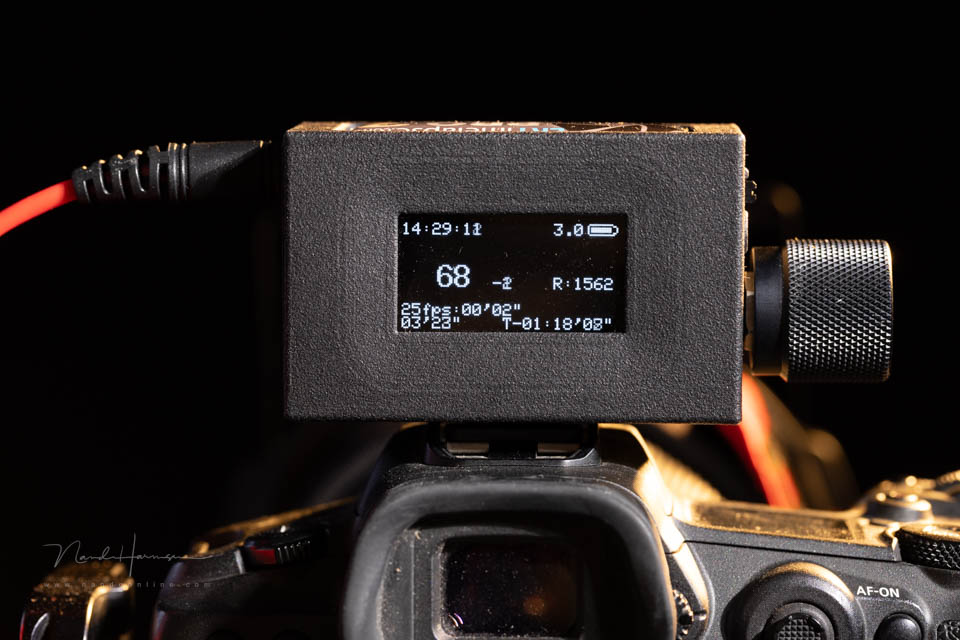
Timelapse with bulb (astro)
For night-time interval shots, you can use bulb mode. You set not only the interval time, but also the bulb exposure. Otherwise, it works the same as a normal timelapse, with the same options and information.
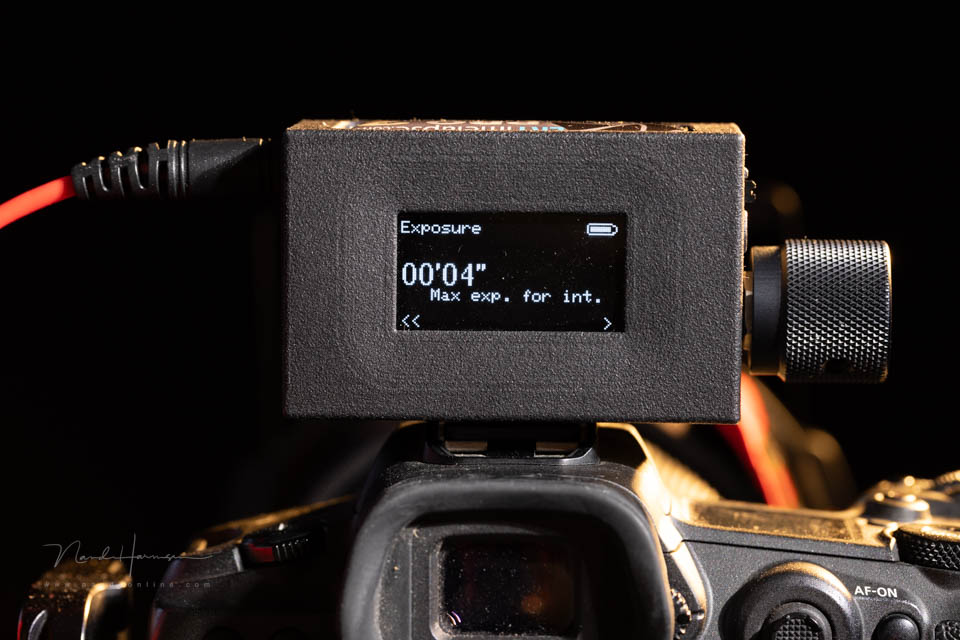
It is important to know that the interval time determines the bulb time you can set. The timer starts counting at the beginning of the exposure, which means that the interval must be at least 0.4 seconds longer than the bulb time you want to use.
The other timelapse options
I have not used the delayed and periodic timelapse settings. They are self-explanatory, however. The only thing you need to consider is using the right camera settings, because everything starts without you being there.
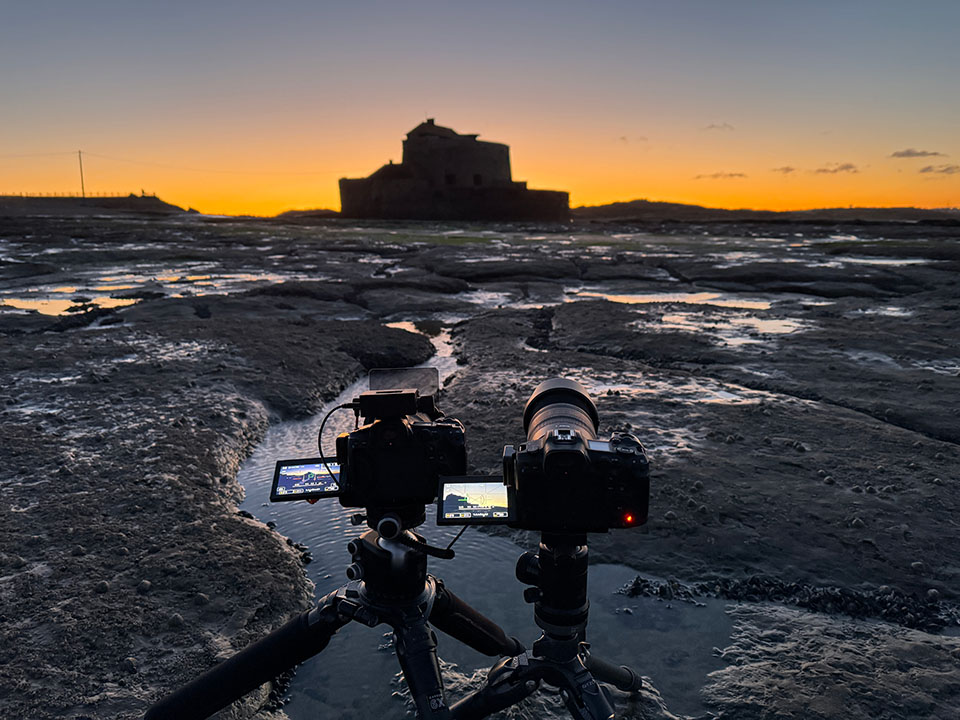
It is advisable to check the time and date before using these options. The clock drifts slightly over time. There is also no automatic correction for summer and winter time.
A light
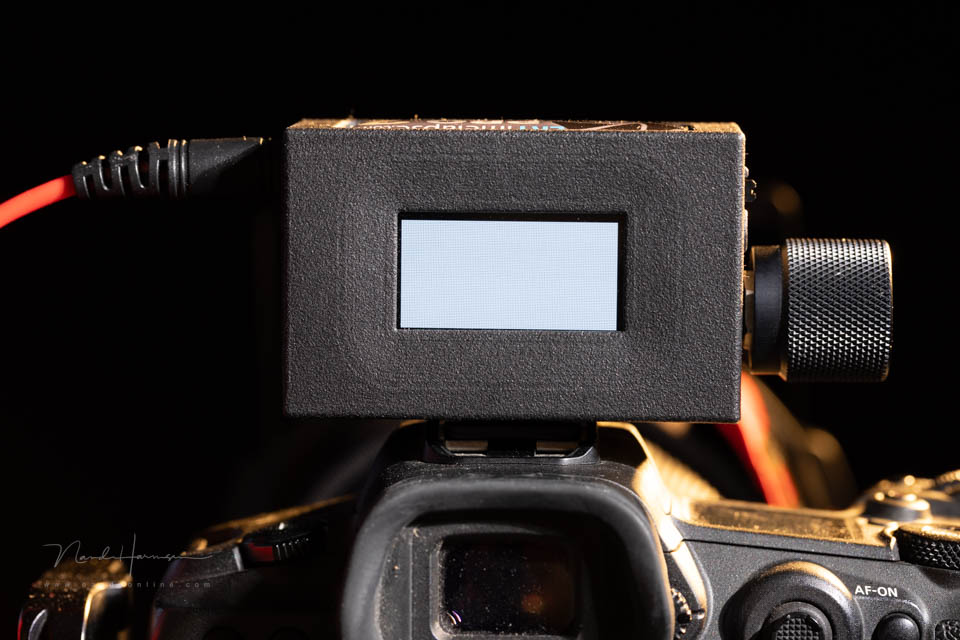
The timer has a flashlight that can be used to illuminate the foreground. It uses the screen for this, making it partly or completely white. Its usefulness is very limited and it is only suitable for objects that are very close. OR for extremely long bulb exposures.
It is amusing that a game is available on the timer. Under the tools menu, you will find pong. Perhaps it is there to pass the time while making a timelapse?
Conclusion
The LRTimelapse Pro Timer 3 is easy and user-friendly to use. For me, its main advantages are the minimum interval time of 0.4 seconds and the ability to control two cameras at the same time. The disadvantage is that the cameras can be as far apart as the cable is long.
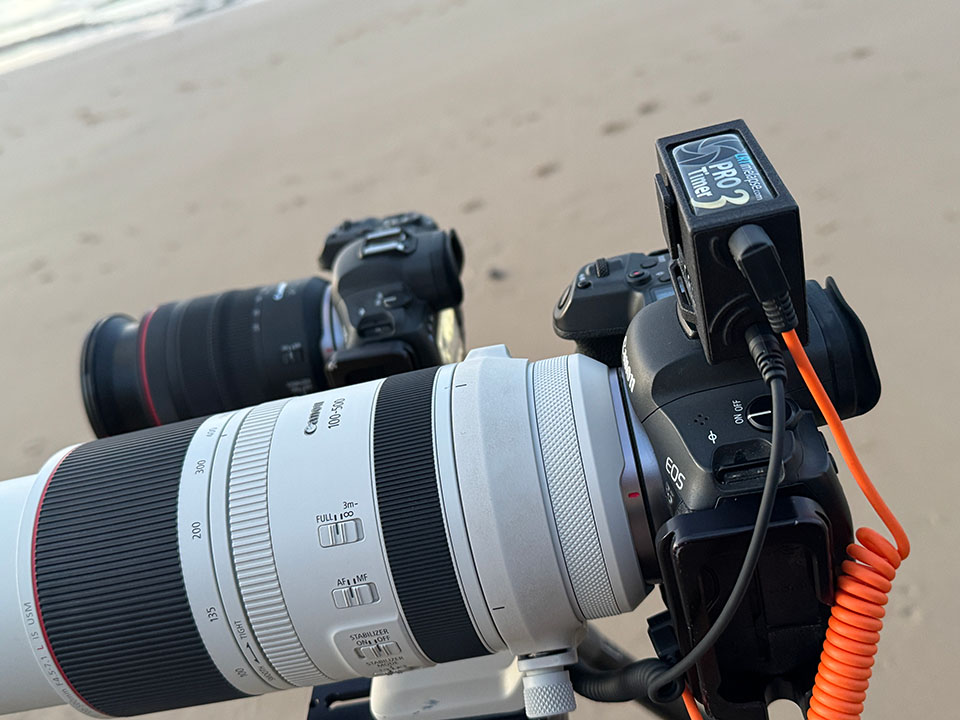
It is useful that the timer also allows you to make a timelapse using bulb mode. This option is not available on every timer.
The options offered by this timer are much more extensive than those of any other intervalometer I have seen. For the serious timelapse photographer, it is certainly worth buying. For anyone who only makes a timelapse now and then, the purchase price may be rather high.
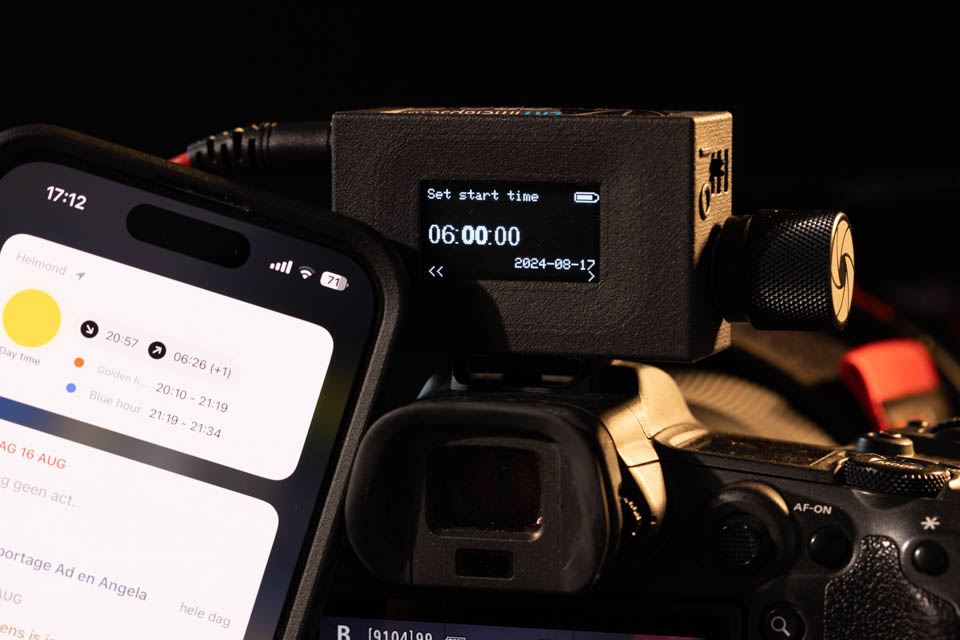
There are a few areas for improvement. The hotshoes could have a 1/4"-20 connection, so you could attach them in other ways as well. Charging via a USB-C to USB-C cable should be possible.
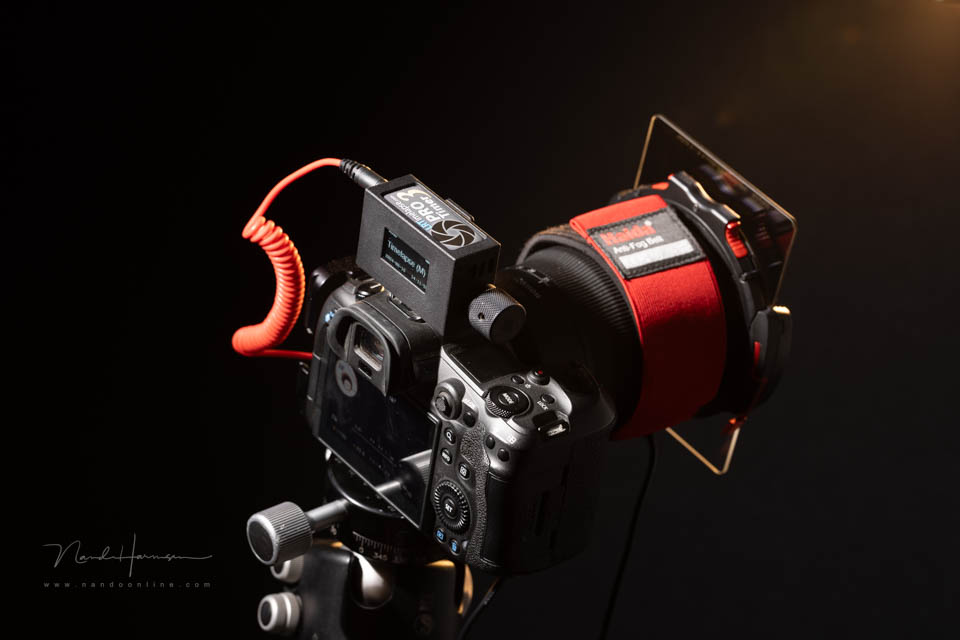
Since two cameras can be connected, it would be useful if you could use different settings for each camera. That would make the timer even more flexible.
The simplicity of the LRTimelapse Pro Timer 3 really appeals to me. It does not have an unnecessarily large or luxurious screen filled with redundant information. You can see all the information you need straight away, and there are plenty of options.
Advantages
- Very extensive timelapse settings
- Easy to use and configure
- Large button can be used perfectly even with thick gloves
- Two hotshoes
- Two 2.5mm connections for camera trigger cables
- Can also control a dolly slider
- Interval time adjustable to 0.1 seconds, with a minimum of 0.4 seconds
- Sends the shortest possible autofocus signal to the camera
- Dial and screen orientation can be reversed
- Good battery life
Areas for improvement and/or disadvantages
- Only chargeable with a USB-C to USB-A cable
- No separate timelapse settings per output
- The timer is rather loose in the camera's hotshoe
- No 1/4"-20 connection
- Flashlight has very limited usefulness
- Battery is difficult to replace, as the unit has to be unscrewed
- High purchase price
- A smart case or pouch would be desirable
Keep in mind that you still need to buy a separate camera trigger cable specifically for your camera. These cables are not included, which prevents you from receiving a load of cables for cameras you do not have anyway. A USB-A to USB-C cable is included.
The LRTimelapse Pro Timer 3 can be bought via the LRTimelapse website. You will also find more detailed information about the timer there.
About the author
Nando Harmsen has been photographing for more than 40 years. He specialises in wedding photography and landscape photography. Nando also gives talks, workshops, masterclasses and photo trips, and regularly reviews new and interesting equipment.
You might also like
-
 The importance of the interval in a timelapse
by Nando Harmsen
-
 Review: Canon EOS R8 full-frame mirrorless camera
by Nando Harmsen
-
 Photographing a Timelapse by the Waal
by Nando Harmsen
-
 Paying Attention to Timelapse Photography
by Nando Harmsen
-
.jpg "Nature photography tip: Create a timelapse with your phone") Nature photography tip: Create a timelapse with your phone
Nature photography tip: Create a timelapse with your phoneby Rob Dijkstra
-
 Review: Canon EOS R5
by Nando Harmsen
2 comments
-
 guest wrote on Monday 13 January 2025 at 15:24 | reply
Great review of a top little device. I’ve also bought one myself.
Translated from Dutch.
The timer also has an eyelet. I made a little loop there and during use I hang it from one of the knobs on my tripod head with it. That way you can read it more easily than when it’s in one position in the hot shoe. You also avoid possible unwanted vibrations in your timelapse photography during use. -

 Nando
wrote on Tuesday 14 January 2025 at 09:29
| reply
Nando
wrote on Tuesday 14 January 2025 at 09:29
| reply
Reading the screen when placed on the hot shoe has not been a problem even once.
Translated from Dutch.
But indeed, there is the option of using a string or Velcro. But with a cord, the little thing hangs dangling in the wind and then continuously bumps against the tripod. Unless it isn't windy, of course
Have your say
Please note: Articles older than a week can only be commented on by signed-in visitors.Would you still like to comment? sign in or create a free account.
Become a better photographer every week
A practical photography tip in your inbox every week.
39,024 photography enthusiasts already receive the tips! More about the weekly mail. Or keep up to date via  Facebook.

Elja Trum
Photofacts; everything to do with photography!
Would you like to take better photos and keep up with what is happening in photography? Photofacts publishes articles that teach you something about photography — from a product announcement to a practical shooting tip or a look at a website. Photofacts covers photography every day and is a hobby project of Elja Trum's that got out of hand. The articles are written by a team of volunteer authors. If you would enjoy writing one or more articles for Photofacts, do get in touch.More about PhotofactsPhotofacts is made possible in part by
