

Test how far your camera can go at ISO
Monday 21 July 2025, 16:32 by Nando Harmsen | 5,797 views | 5 commentsThis article was translated from Dutch with the help of AI. Read the original.
Modern cameras let you choose extremely high ISO values. Sometimes up to ISO 51200 or even higher. Are these values still usable? More importantly, how do you find the maximum ISO value you find acceptable?
The highest ISO value a camera can handle rarely produces a good-quality photo. Both luminance noise and colour noise make the photo unusable. But up to which ISO value is a photo still usable?
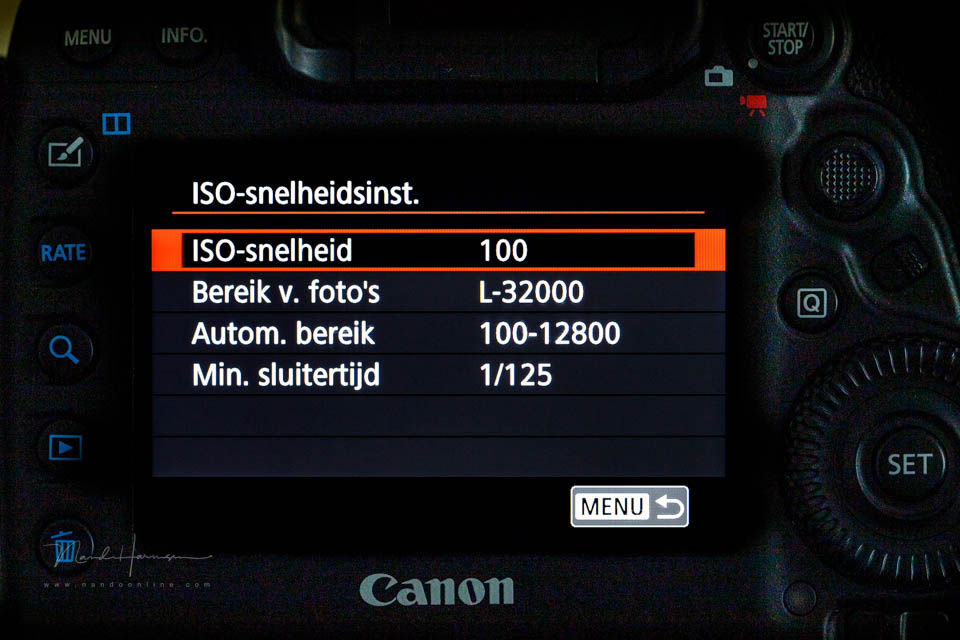
There is always a limit up to which the ISO value still produces a usable image. That limit depends on the camera, but even more on the photographer's personal preferences. What you find acceptable, someone else may already find unacceptable.
So it is not wise to rely on what you read or on preconceptions. Test for yourself how far you want to go with the ISO on your camera. This way, you can make optimal use of the possibilities your camera offers.
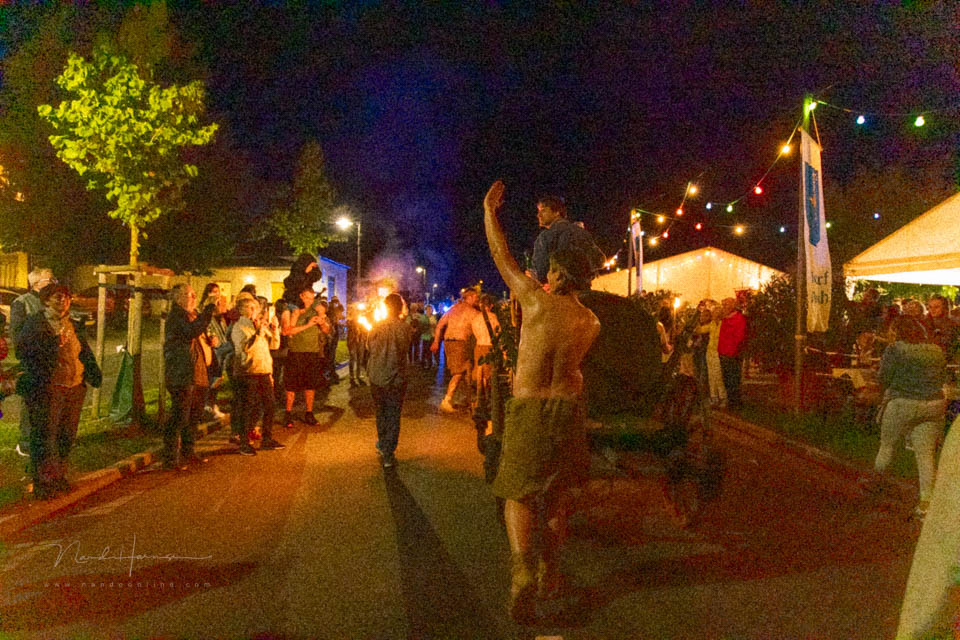
You can do the test in two stages. The first is based on a correct exposure. This is a real ISO test. The second tests how far you can correct underexposure. In effect, this tests the dynamic range of the camera.
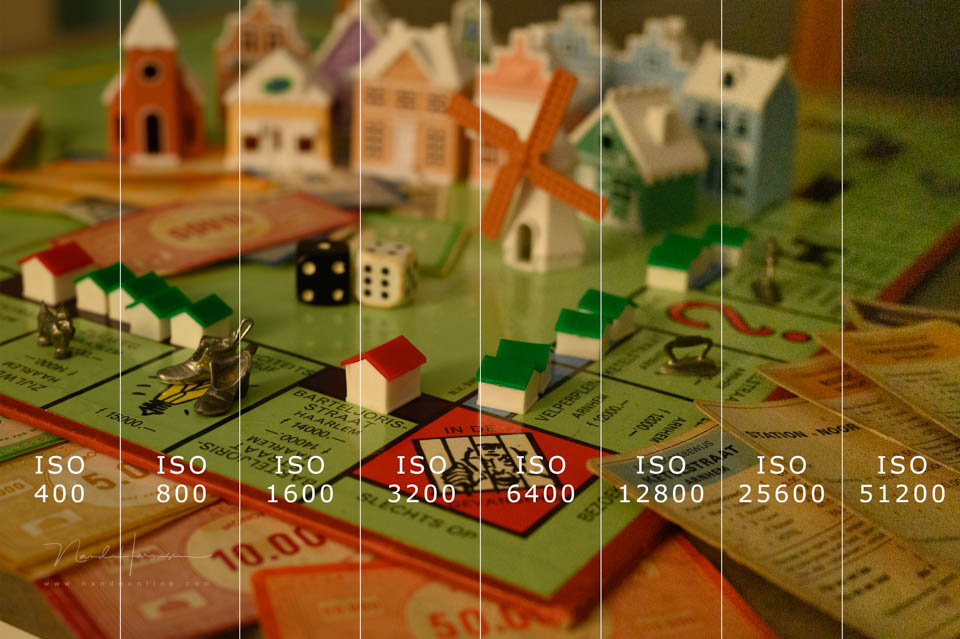
I recommend carrying out the test in the file format you always use. That is jpeg for photographers who do not edit their own photos, and raw for photographers who do.
ISO value test
Choose a subject in your living room and light it with a lamp. It does not matter which lamp, as long as the light does not change. Put your camera on a tripod and set the exposure manually at ISO100. Choose a fixed aperture, for example f/5.6 or f/8.
Take a photo at ISO100. Then raise the ISO by one stop, to ISO200, and make the shutter speed one stop longer. Take another photo. Then choose ISO400, make the shutter speed one stop longer again, and take another photo.
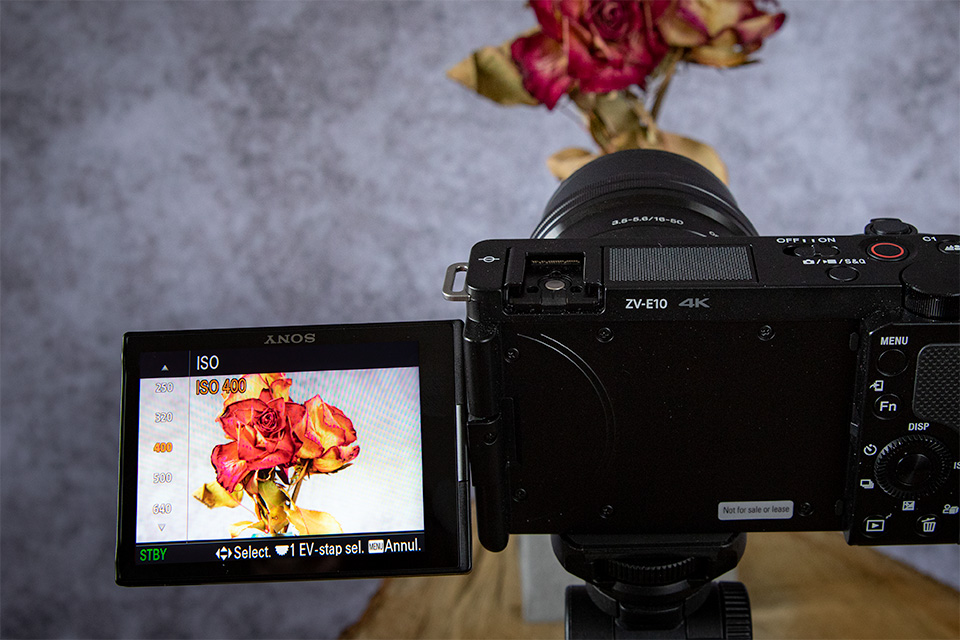
Repeat this process up to the highest ISO value you can set on your camera. Take one photo for each ISO value, adjusting the shutter speed to keep the exposure the same. Then load the photos into your favourite editing programme.
Check the noise levels in the photos. Do this at 50% and 100% magnification. Look at them calmly, one by one, and determine which photo still has no distracting noise. That is the maximum ISO value you find acceptable.
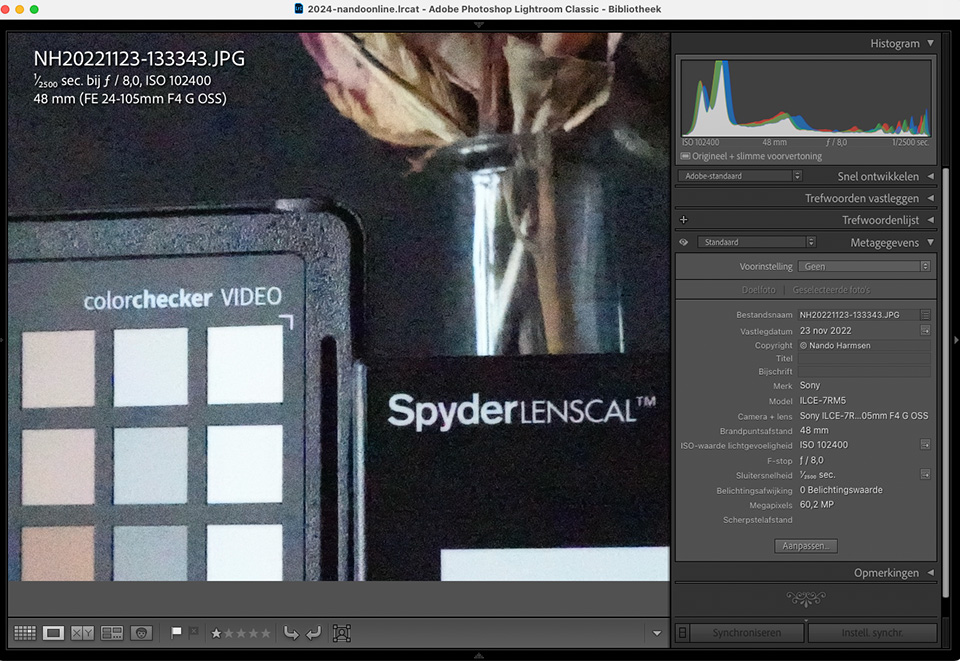
You can also check to what extent your software's noise reduction can 'save' a photo taken at a higher ISO value. But be careful, as this may also depend on the level of detail in your subject. Sometimes it is usable, sometimes it is not.
Underexposure test
You can also test how far you can recover underexposure. For example, by brightening dark areas. You can do this with the same setup described above. I always do this test at ISO400, but you can do it separately for each ISO value.
Take a correctly exposed photo at ISO400. Make the shutter speed one stop faster and take the photo again. This one is then underexposed by one stop. Then repeat this until you have about five or six stops of underexposure.
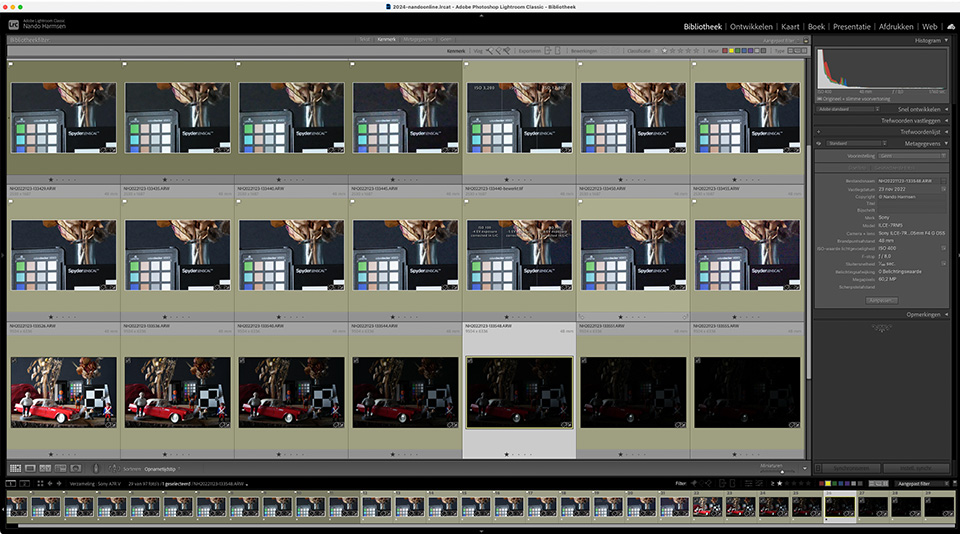
Open the photos in your favourite software and correct the underexposed photos. Brighten the photo with one stop of underexposure by one stop. Brighten the one with two stops of underexposure by two stops. And so on.
Lightroom can go up to a maximum of five stops. If you want six stops or more, use the slider for five stops and a graduated mask for the remaining stops. See how far you can correct the photo while it remains acceptable to you.
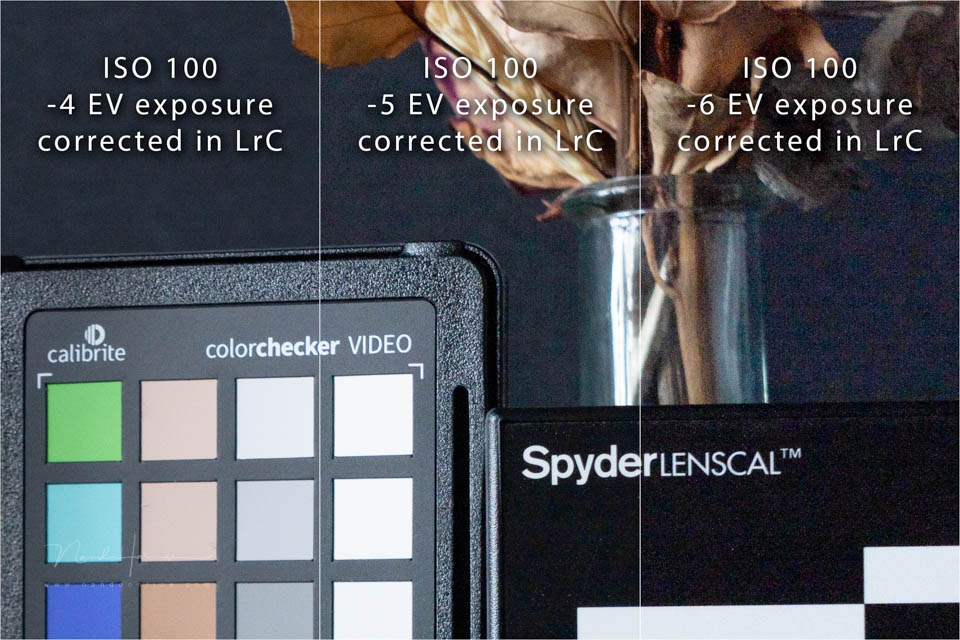
This shows you how much underexposure you can still recover in a photo. It is useful for the Exposure to the Right technique. Here too, you can supplement the test with noise reduction.
One extra important point: the photos you see in this article have of course been reduced in size for the internet. You cannot properly assess the noise levels at this size. Do this in your photo-editing programme at 50% and 100%.
Get to know your camera
I think this test is essential for getting to know your camera. You will know how far you can raise the ISO without the noise detracting from the photo. That limit is different for everyone. Test it so you can make optimal use of your equipment.
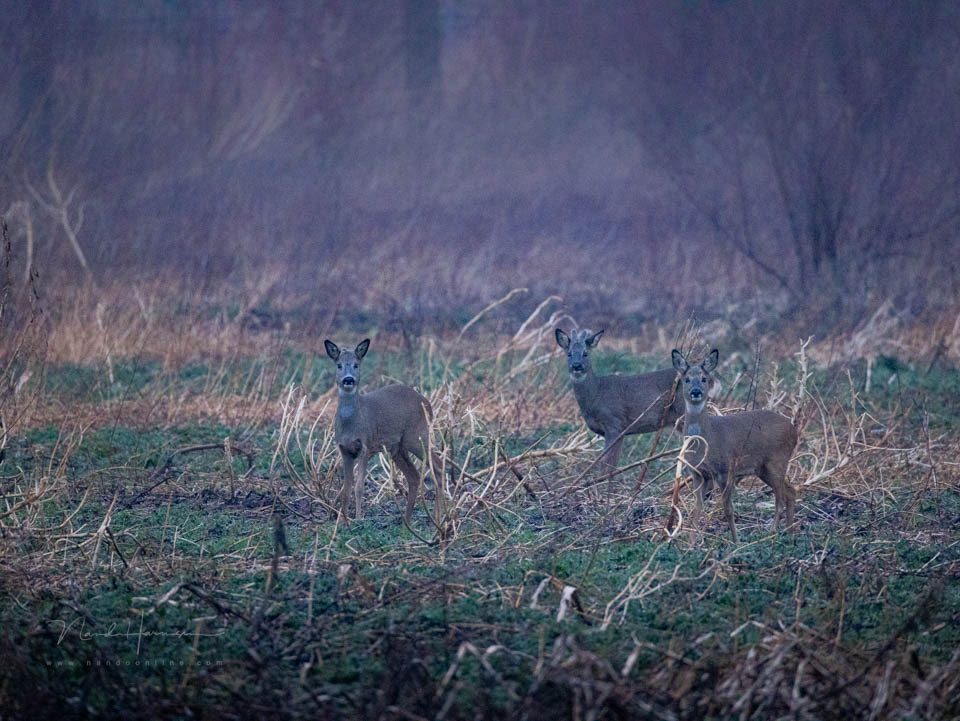
However, do not be too critical either, because a noisy photo is often better than no photo at all. In addition, there are many effective noise-reduction methods you can use.
About the author
Nando Harmsen has been photographing for more than 40 years. He specialises in wedding photography and landscape photography. Nando also gives talks, workshops, masterclasses and photo trips, and regularly reviews new and interesting equipment.
You might also like
-
 How can you avoid and reduce noise in your photos?
by Huub Keulers
-
 Street photography tip: Limit your ISO value and therefore your noise
by Michiel Heijmans
-
 Removing noise? Use it in moderation
by Nando Harmsen
-
 Which is better? Stacking or noise reduction?
by Nando Harmsen
-
 New update for Lightroom Classic enables AI noise reduction
by Nando Harmsen

5 comments
-
 René Prevo wrote on Tuesday 22 July 2025 at 10:34 | reply
If you want to keep the same exposure when increasing the ISO, you have to reduce the shutter speed!
Translated from Dutch. -

-
 Marijke Vermeulen wrote on Tuesday 22 July 2025 at 11:13 | reply
Hello Nando,
Translated from Dutch.
only just read your tips about ISO times, will definitely try it out. Took over the Nikon z6 2 from someone last year, but it's been sitting in the cupboard. I'm going to get started with it this week. Thanks. -
 A.j.j.Maas wrote on Tuesday 22 July 2025 at 13:07 | reply
Dear Nando,
Translated from Dutch.
Shutter speeds.....Oops! -


Have your say
Please note: Articles older than a week can only be commented on by signed-in visitors.Would you still like to comment? sign in or create a free account.
Become a better photographer every week
A practical photography tip in your inbox every week.
38,990 photography enthusiasts already receive the tips! More about the weekly mail. Or keep up to date via  Facebook.

Elja Trum
Photofacts; everything to do with photography!
Would you like to take better photos and keep up with what is happening in photography? Photofacts publishes articles that teach you something about photography — from a product announcement to a practical shooting tip or a look at a website. Photofacts covers photography every day and is a hobby project of Elja Trum's that got out of hand. The articles are written by a team of volunteer authors. If you would enjoy writing one or more articles for Photofacts, do get in touch.More about PhotofactsPhotofacts is made possible in part by
