

Photographing in the Evening During the Dark Months
Monday 20 October 2025, 20:02 by Nando Harmsen | 3,400 views | 1 commentThis article was translated from Dutch with the help of AI. Read the original.
The dark months are just around the corner. The time of year when it gets dark early. It may seem like a time when photography takes a back seat. But it doesn't have to. Make use of the darkness. I'll give you a few ideas.
You can shut yourself away and spend the dark winter days indoors. Perhaps you can tidy up your Lightroom catalogue, or make a yearbook. Give your camera or tripod a clean, if needed.
You can also go outside during the dark winter evenings. The darkness itself gives you the opportunity to play with light. No sunlight or daylight, but your own light. Or with the light of the stars.
Go outside and don't shut yourself away. Try things out and be creative. Not sure where to start? I'll give you a few ideas for inspiration.
1. Photographing star trails
you need a clear sky, but if you have one, you can photograph excellent star trails. Find a dark location, or challenge yourself and do it with the light of civilisation around you.
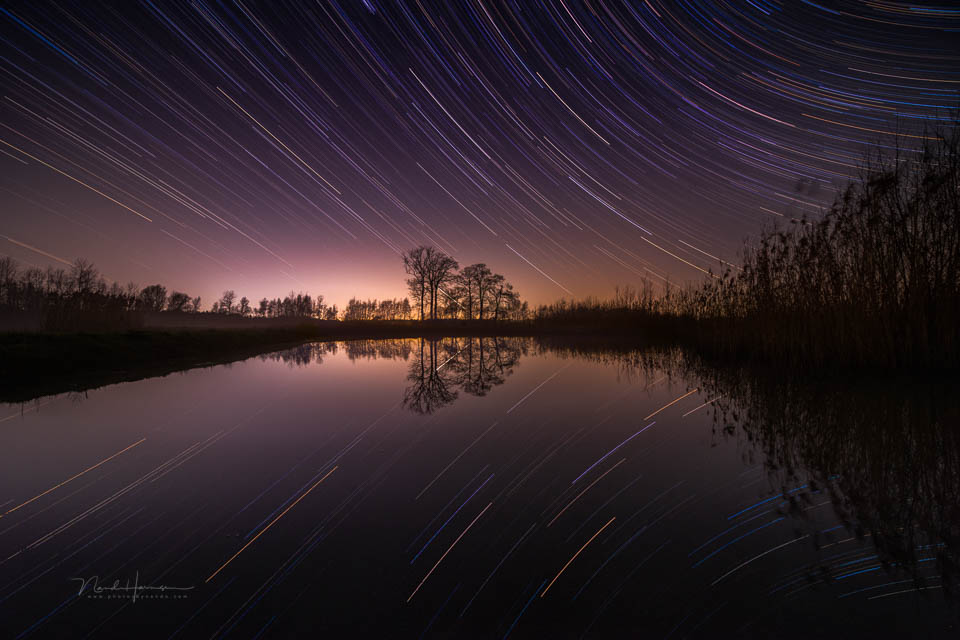
The great thing about the dark months is that you can set off early. And you'll be back on time, so it doesn't have to become a late-night affair.
2. Photographing light trails
Don't find star trails very interesting, or get bored with them quickly? Then you can also find a place to photograph light trails. Cars and cyclists, if they have their lights on, can create beautiful lines in your image.
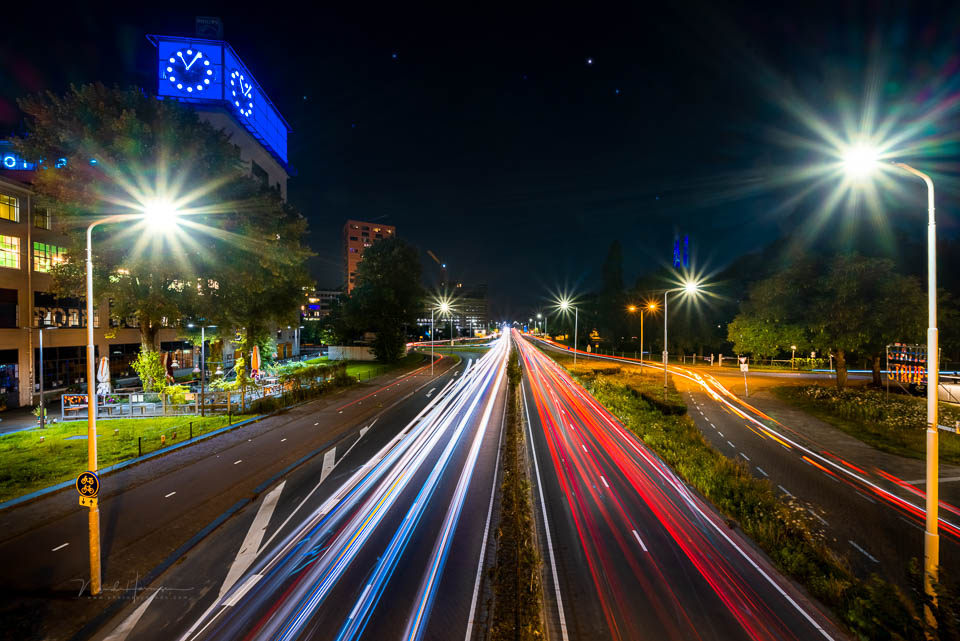
Do you live near an airport? Photograph aircraft light trails. Ships passing by on a river. Or choose the light trails of a passing train.
3. Light painting yourself
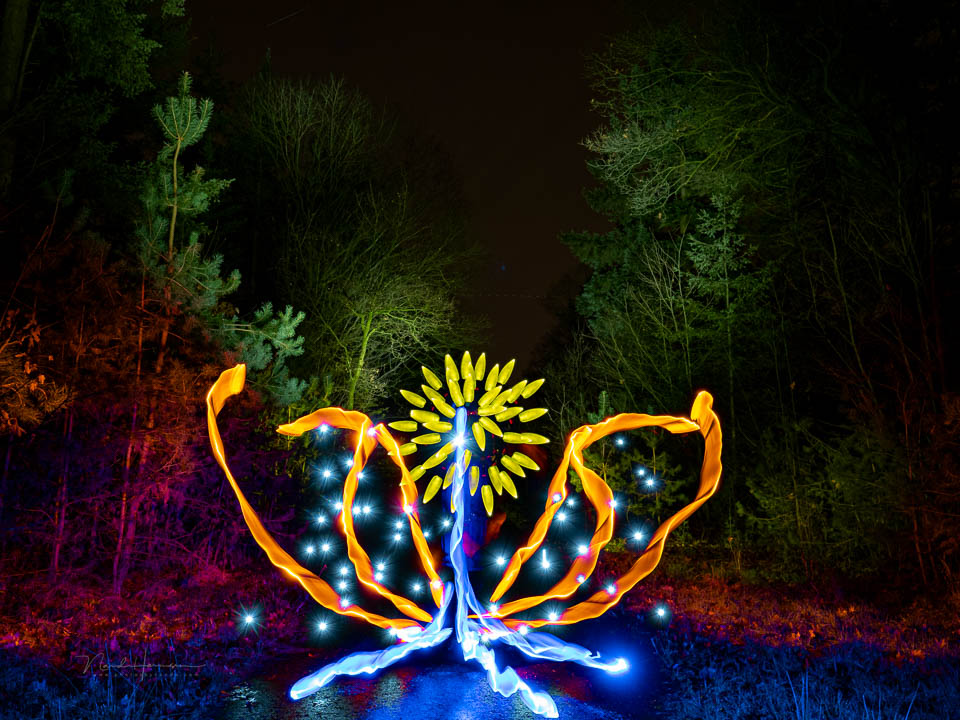
Feeling creative? Then try light painting yourself. You can use all sorts of things for it. Torches, string lights, or special tools for light painting. Make circles, orbs, or draw figures. Nothing is too crazy.
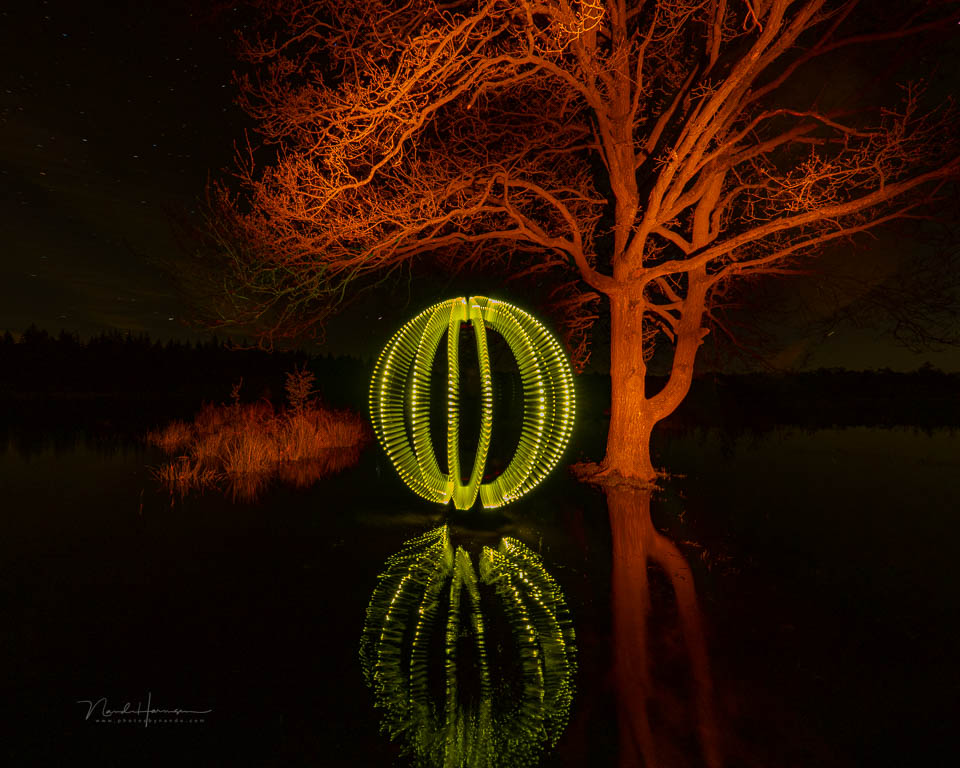
Light painting can be a challenge. But there are plenty of evenings to practise. Find a nice location and get started. The more often you do it, the better you become.
4. Model photography with a flash
Of course, you can also take a model to a location with street lighting. Take an off-camera flash with you and shoot model photos. Make sure you also include the ambient light.
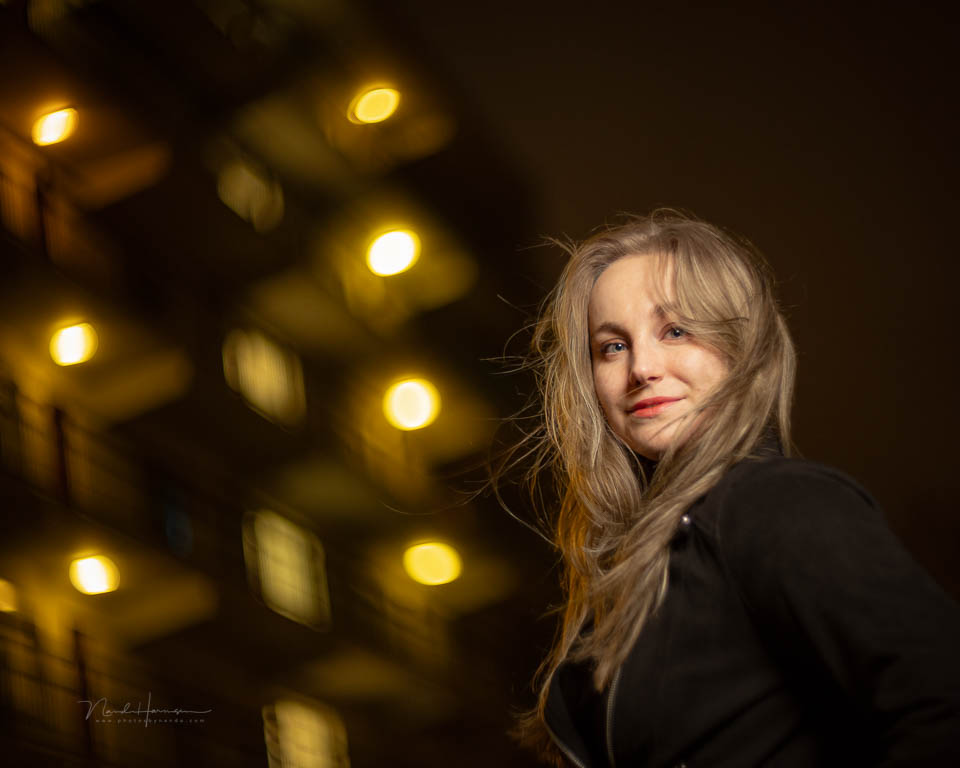
It's like having a studio on location. Use one flash, or choose more. With a shallow depth of field, you can also play with bokeh.
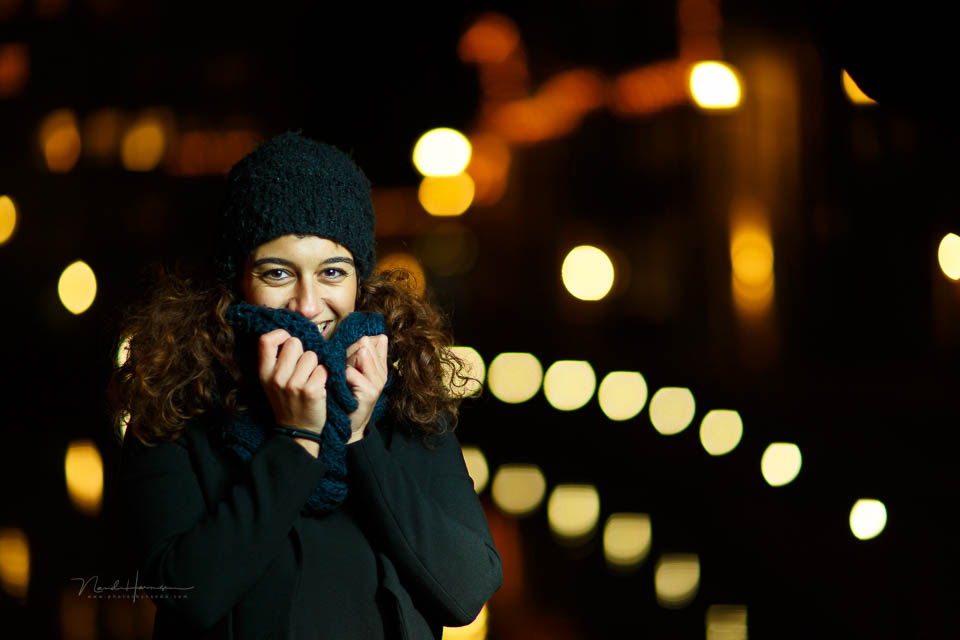
Don't feel comfortable in the dark? Take your partner or your model's partner along to help. They can carry the bag or support the light stand. And it's more sociable too.
5. Photographing the city at night
Of course, photographing a city in the dark can't be left out. Go into a city and photograph the lit streets. Preferably with people in them, because an empty city is so... empty.
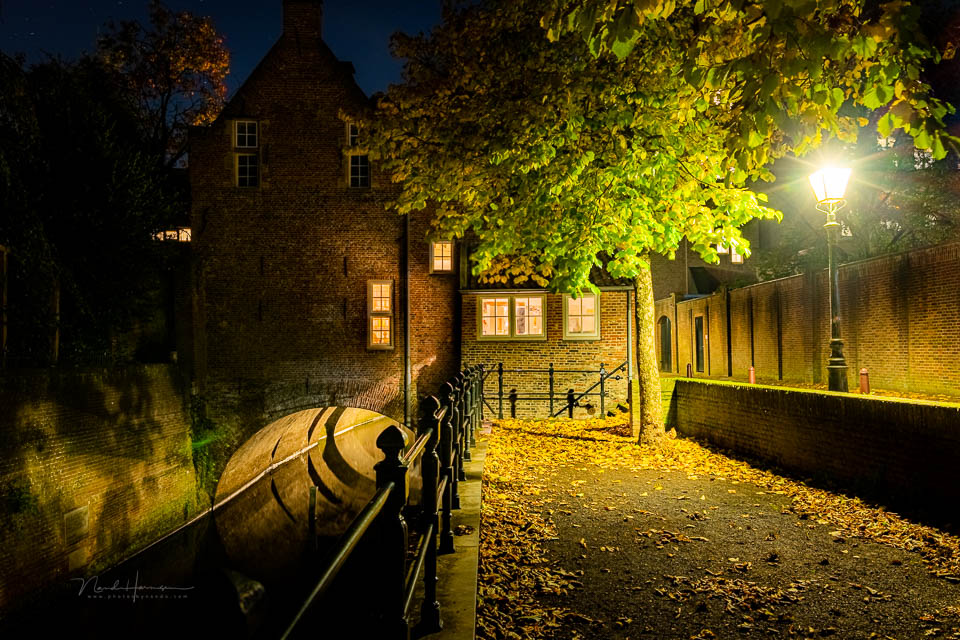
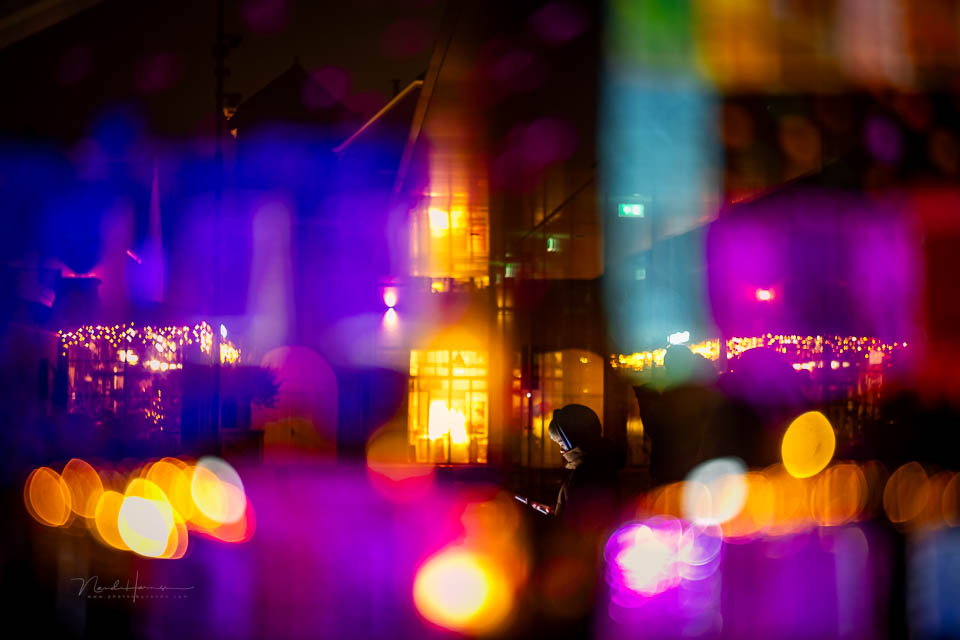
You can also photograph industry, such as Rotterdam or Antwerp. Refineries in particular are often lit up spectacularly. Or look for light festivals. Do you like Christmas and Christmas lights? Then December is the perfect time to go out.
6. Combine several things
You can of course combine all these separate 'types' of photography perfectly. A model in a city is an obvious choice. But you can also photograph the model in combination with light painting.
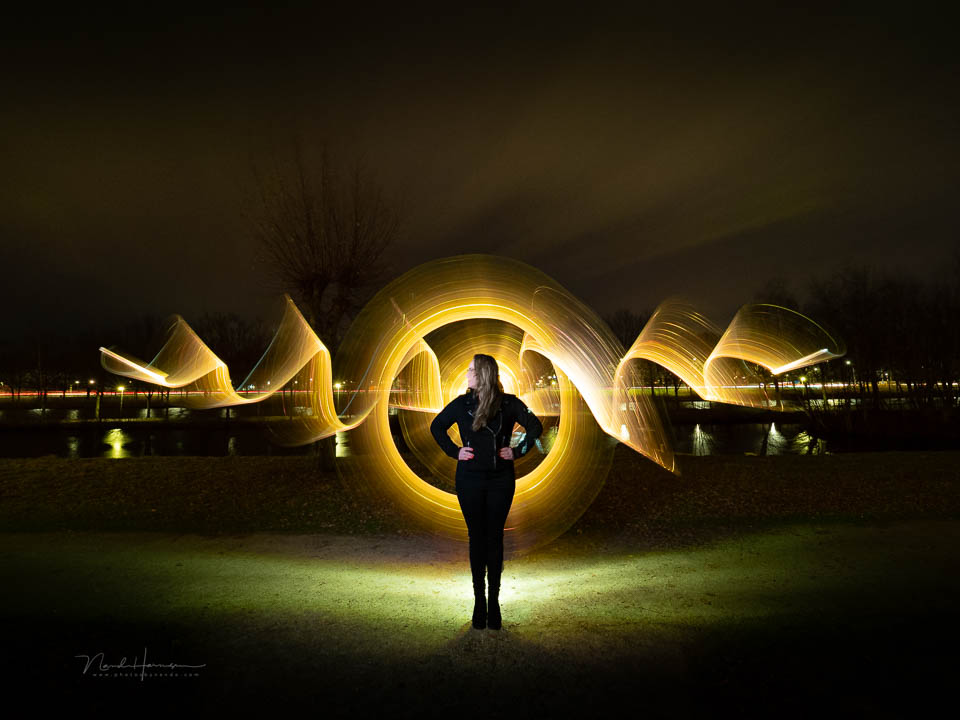
Take it a step further and photograph the lit city with star trails. It isn't easy, but it is possible. Or use the light trails of cars with star trails. Or add a model to the mix.
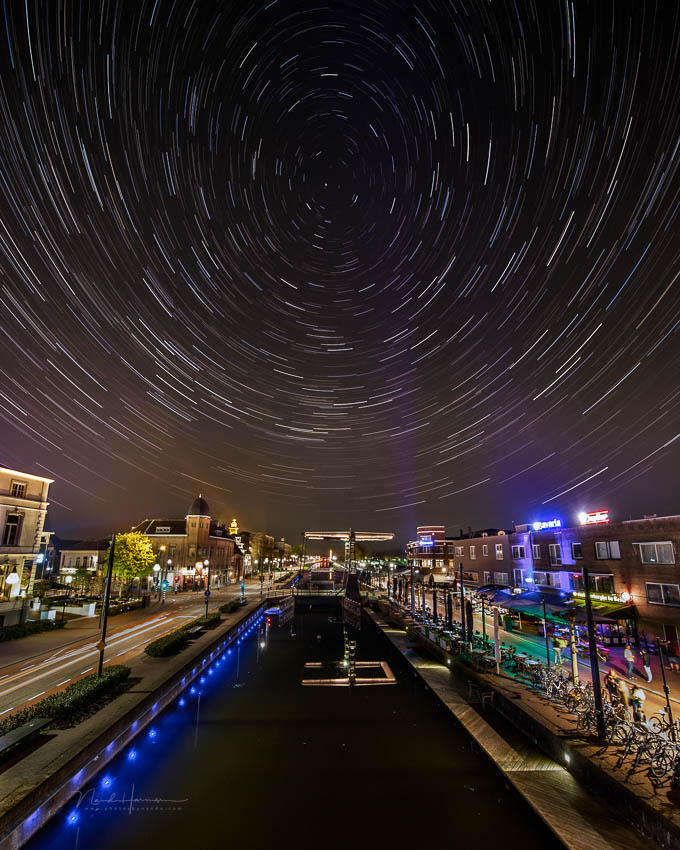
The dark months are ideal for photography. Precisely because it gets dark so early and stays dark for so long, you have many possibilities close at hand. Make use of them, and don't shut yourself away. That will only make you miserable.
Want to know how some of these techniques can be carried out? View the courses on Photofacts Academy covering star trails, light painting and photographing with a flash, among other things.
Of course, you can also use the dark months to watch the courses on Photofacts Academy. But do go out afterwards to practise... In the dark, of course.
About the author
Nando Harmsen has been photographing for more than 40 years. He specialises in wedding photography and landscape photography. Nando also gives talks, workshops, masterclasses and photo trips, and regularly reviews new and interesting equipment.
You might also like
-
 6 Tips for Creating Star Trails
by Nando Harmsen
-
 Light painting: a creative form of photography
by Nando Harmsen
-
 Combine star trails in Photoshop with an action
by Nando Harmsen
-
 10 tips for light painting
by Liesbeth van Asselt
-
 Which Strobist kit would you recommend?
by Elja Trum
-
 Paintshoot; playing with paint in the studio
by Elja Trum
1 comment
-
 Matt wrote on Tuesday 21 October 2025 at 19:46 | reply
One more tip: in photo 2 you can see that the light sources form so-called "sunstars". This can be achieved by choosing a small aperture, e.g. f/11.
Translated from Dutch.
The shape of the sunstar is determined by the aperture blades in the lens: the number of blades and their shape. Straight aperture blades generally produce the most beautiful sunstars.
Have your say
Please note: Articles older than a week can only be commented on by signed-in visitors.Would you still like to comment? sign in or create a free account.
Become a better photographer every week
A practical photography tip in your inbox every week.
39,013 photography enthusiasts already receive the tips! More about the weekly mail. Or keep up to date via  Facebook.

Elja Trum
Photofacts; everything to do with photography!
Would you like to take better photos and keep up with what is happening in photography? Photofacts publishes articles that teach you something about photography — from a product announcement to a practical shooting tip or a look at a website. Photofacts covers photography every day and is a hobby project of Elja Trum's that got out of hand. The articles are written by a team of volunteer authors. If you would enjoy writing one or more articles for Photofacts, do get in touch.More about PhotofactsPhotofacts is made possible in part by
