
Photographing Like Pep Ventosa
Sunday 30 January 2022, 15:15 by Laura van der Burgt | 10,482 views | 4 commentsThis article was translated from Dutch with the help of AI. Read the original.
Your photo archive is a valuable asset in several ways. For example, as a source of inspiration for new images or techniques. I scanned my archive from the past year for images I found interesting enough to look at for longer.
To my surprise, it was not so much a particular image that emerged, but rather a particular technique. Namely, the technique of multiple exposures. A technique that invites further exploration!
As it happens, my photography club presented a new quarterly assignment. You may have guessed what it was about, exactly! ... multiple exposures. Great!
To challenge us even further, it involved a special method of exposure, namely the Pep Ventosa technique. Perhaps you have heard of it before?
Pep Ventosa
Pep Ventosa is a photographer and artist originally from Spain, whose photographs are praised for the way they are created. He turns in circles around his subject and takes a photo at every step.
He combines all these photos into one image, resulting in a highly painterly representation of the subject in which the (busy) background has become unrecognisably blurred. The series 'In the round - Trees' is perhaps his best-known project.
The technique
The Pep Ventosa technique involves taking lots of images and processing them in an editing programme by laying them over one another and 'mixing' them.
Like a kind of photographic DJ, he places layers of similar photos on top of one another and mixes them into an abstract and surreal work of art that looks as though it has been painted.
Whether you like this art or not, it does offer a different view of an existing subject, a different perspective for your photography. In any case, it is an idea worth trying out on the ordinary things around us.
Experimenting
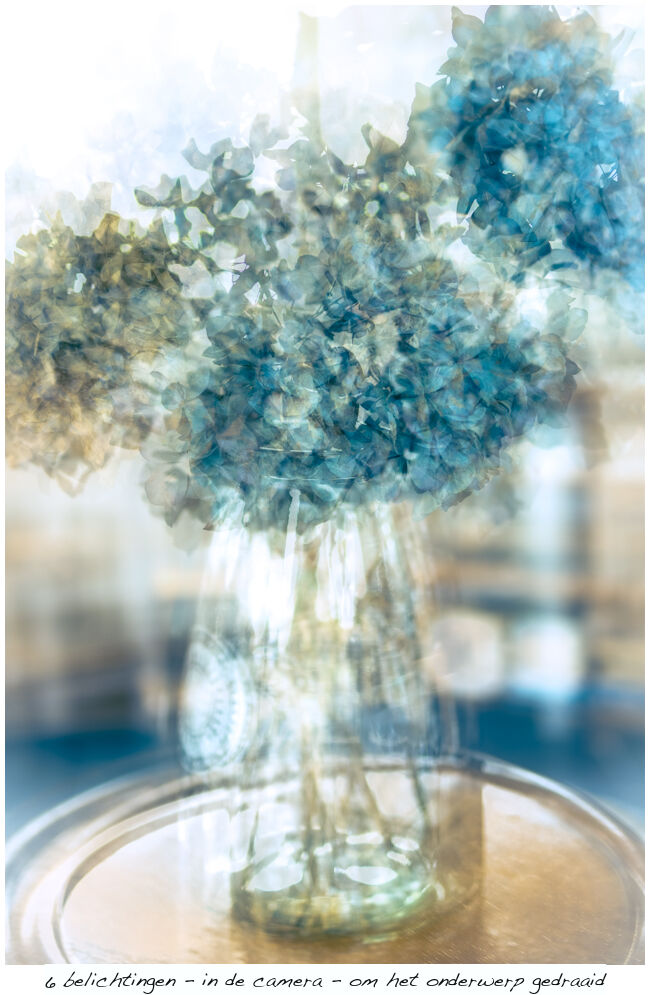
If your camera is suitable for laying multiple images over one another, you can start experimenting with this 'circle' method fairly quickly and easily.
For example, start by photographing six or more images over one another. Some cameras can lay as many as nine or ten images over one another. Check the manual to see whether your camera has this option too.
You do not necessarily have to go outside to experiment. There are fun challenges to be found at home too. Think of a still life à la Ventosa.
By trying things out, you learn what does and does not work with this method. As a result, you will naturally start looking for perhaps better conditions.
Start small. It is about trying and experiencing. Do not give up if it does not work straight away. Especially at the beginning, I would set the camera to jpg (not raw) and save only the result. Once you become more experienced, you can change the settings as you wish. Anything goes, nothing is wrong.
If your camera does not have this function, you will have to save all the images and stack and blend them in a photo editing programme. Instructions for this can be found online.
Variations on the theme
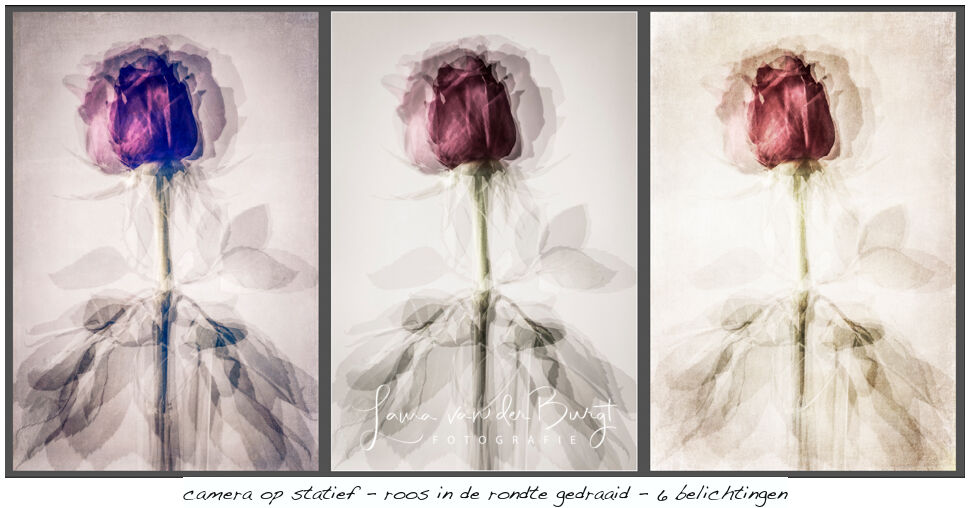
Instead of turning around a subject, you can also turn the subject itself around. For example, your camera is on a tripod and takes a photo after every turn.
That is how I got started with a rose on a vase, turning it slightly around its axis each time. It is important to make sure that you keep the stem in the same place.
Because the background does not change in this case, I held a piece of white card behind it. Instead of a rose, you can of course choose another subject.
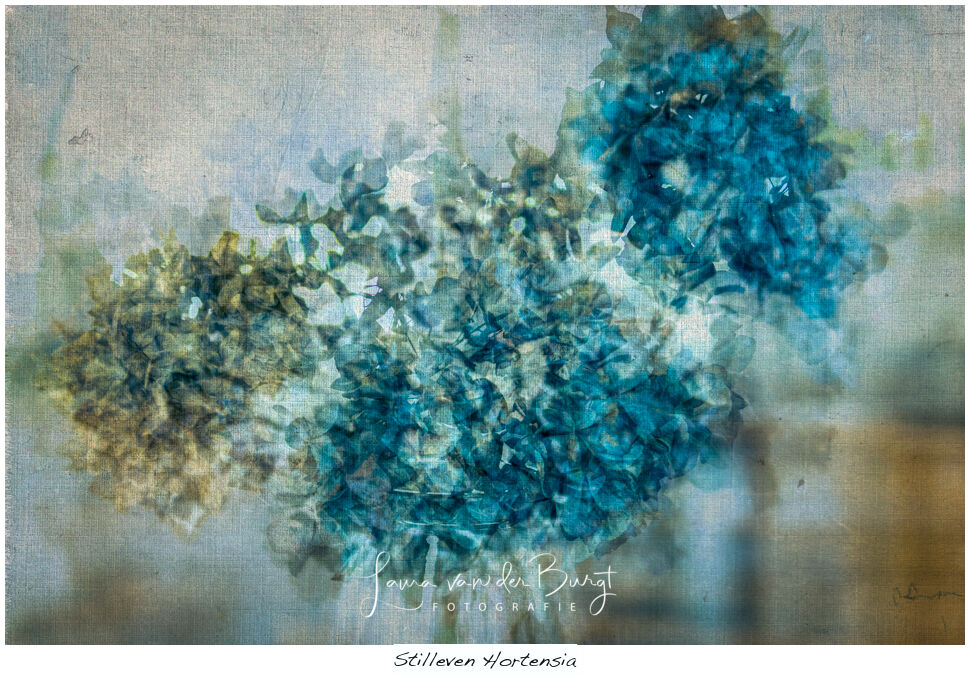
I put a hydrangea from the garden in a vase and photographed it as a still life à la Ventosa. I walked around the bouquet with an 85mm lens and made six exposures. I enlarged a detail from this and added a linen texture in Photoshop. This makes the whole image a little more atmospheric.
About the author
Natuurfotografie is voor Laura een samensmelting van het ongelooflijk genieten van in de natuur zijn en haar passie voor fotografie. Het fotograferen met een minimale scherptediepte is favoriet en ook trekt ze er vaak met de lensbaby op uit.
You might also like
-
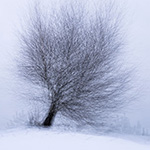 Have you ever heard of the Pep Ventosa technique?
by Nando Harmsen
-
 Photographing in the Shape of a Kaleidoscope
by Laura van der Burgt
-
 Disappointment over multiple exposures in new Canon cameras
by Nando Harmsen
-
 I Head Out and Let Myself Be Surprised!
by Erik Nevels
-
 Creative photography with dandelions
by Laura van der Burgt
-
 Taking creative portrait photos
by Elja Trum
4 comments
-
 Karijn wrote on Sunday 30 January 2022 at 21:33 | reply
Beautiful photos Laura. Nice to get started with a new technique again.
Translated from Dutch. -
 anToon Van Loon wrote on Tuesday 1 February 2022 at 11:38 | reply
The most difficult part of your roses seems to me to be the stem. It has to stand perfectly vertical to not become thicker.
Translated from Dutch.
Here it is a little slanted but still doesn't give a thick profile. How do you achieve that? -

 Laura van der Burgt
wrote on Tuesday 1 February 2022 at 19:14
| reply
Laura van der Burgt
wrote on Tuesday 1 February 2022 at 19:14
| reply
@Antoon. Because different exposures (layers) are placed over each other, the parts of the image that overlap each other are displayed darker. Especially the case when blindmode "dark"or "donker" is chosen.
Translated from Dutch. -
 Dianne wrote on Wednesday 2 February 2022 at 09:54 | reply
What another challenge within our club, and this assignment is right up your alley. Clear explanation, beautifully written and gorgeous shots.
Translated from Dutch.
Have your say
Please note: Articles older than a week can only be commented on by signed-in visitors.Would you still like to comment? sign in or create a free account.
Become a better photographer every week
A practical photography tip in your inbox every week.
39,083 photography enthusiasts already receive the tips! More about the weekly mail. Or keep up to date via  Facebook.

Elja Trum
Photofacts; everything to do with photography!
Would you like to take better photos and keep up with what is happening in photography? Photofacts publishes articles that teach you something about photography — from a product announcement to a practical shooting tip or a look at a website. Photofacts covers photography every day and is a hobby project of Elja Trum's that got out of hand. The articles are written by a team of volunteer authors. If you would enjoy writing one or more articles for Photofacts, do get in touch.More about PhotofactsPhotofacts is made possible in part by
